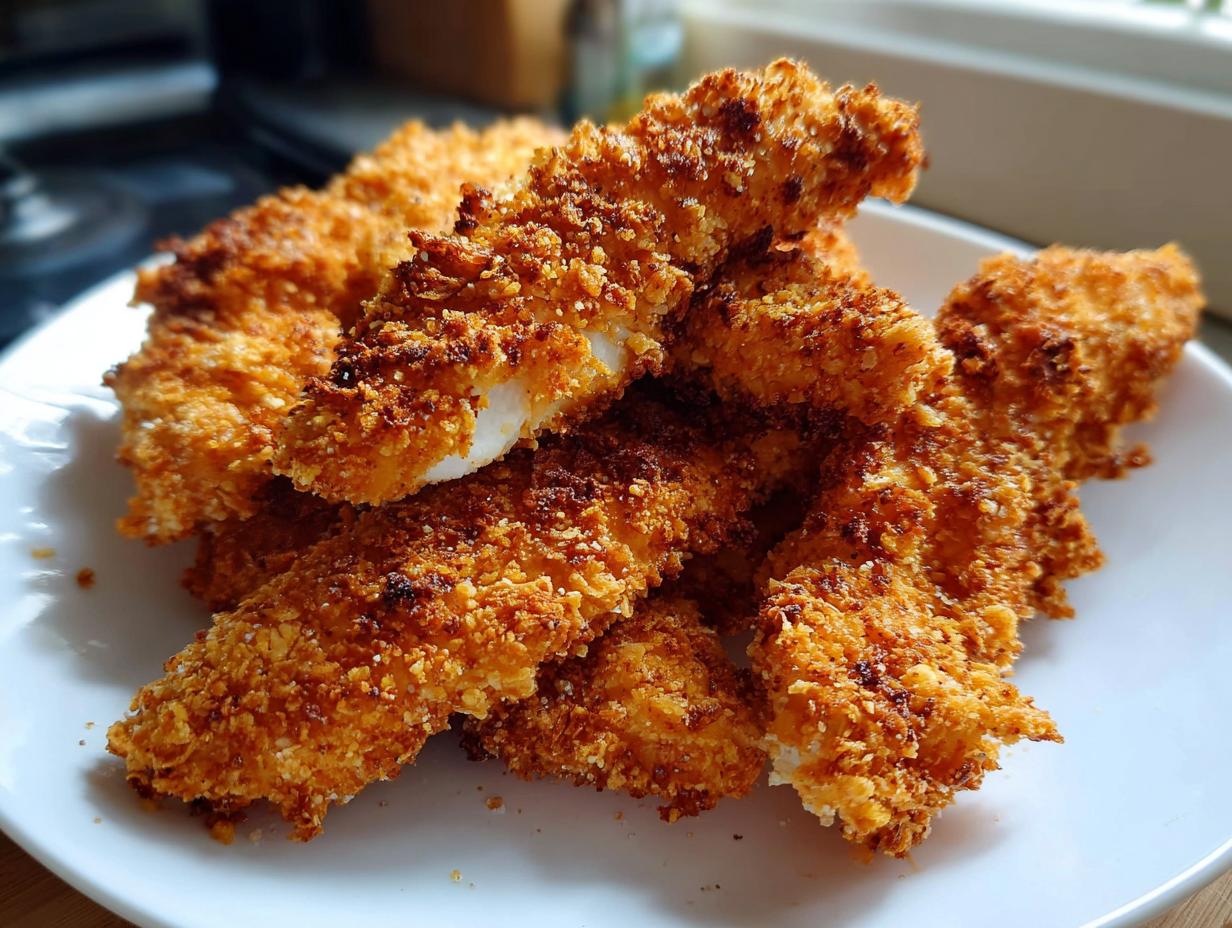
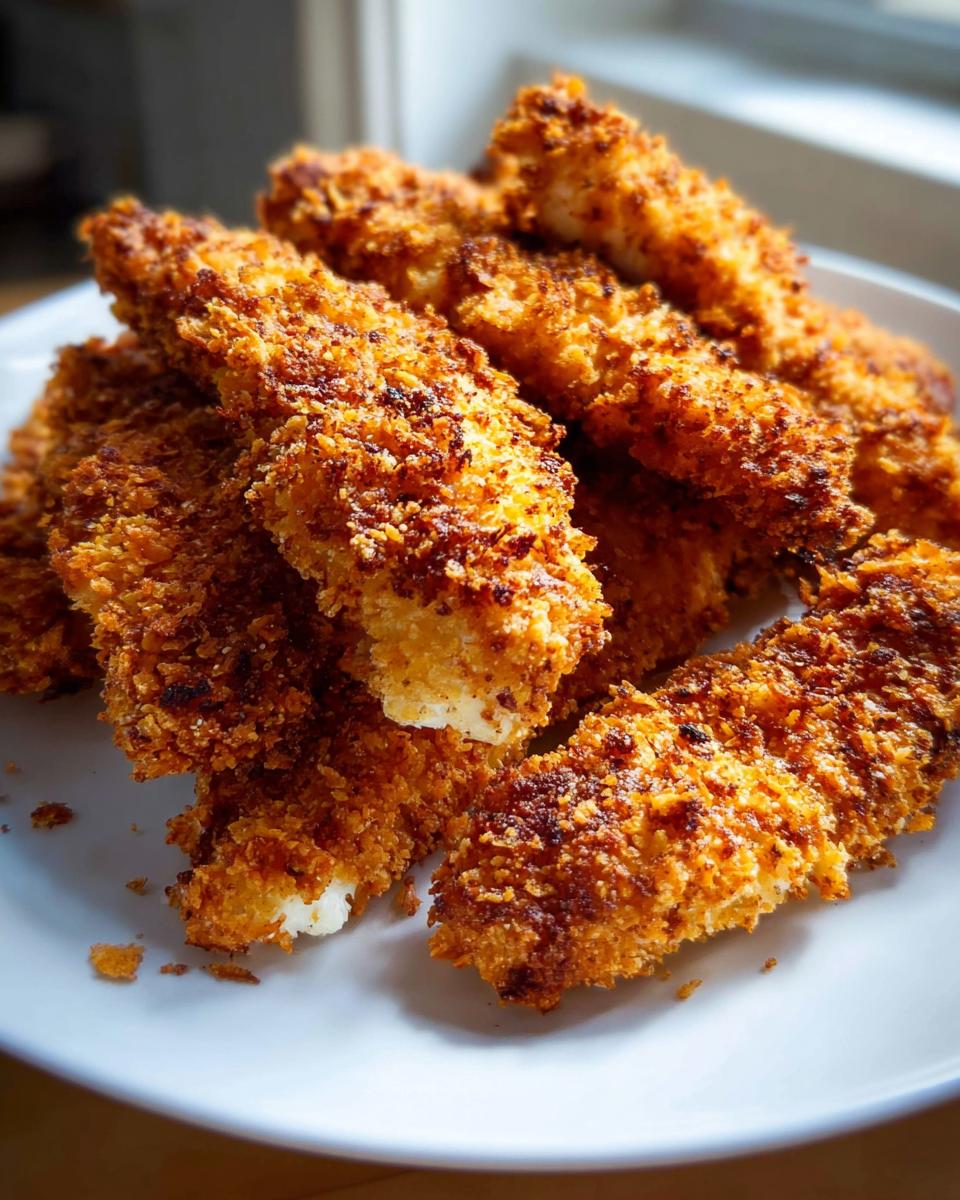
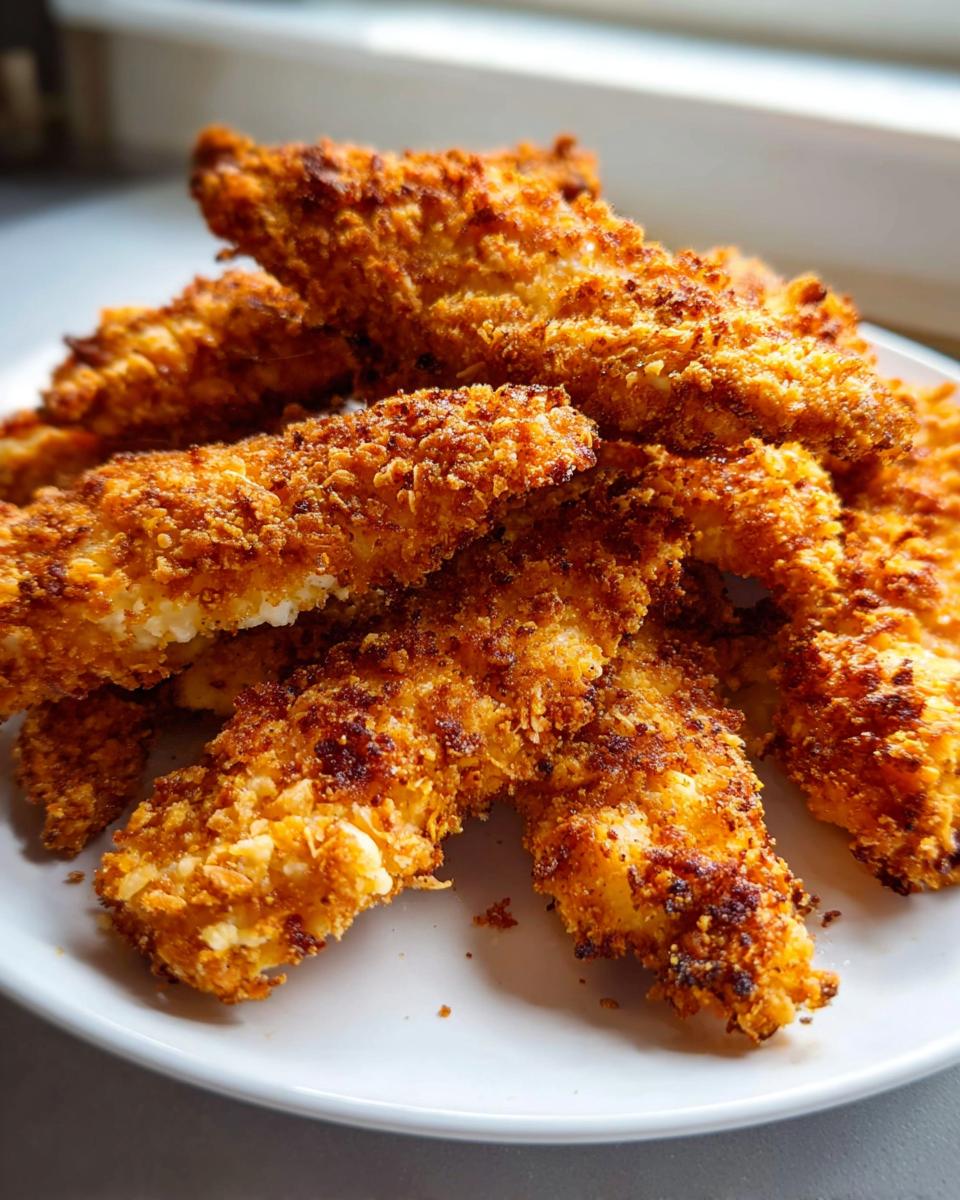
Sometimes you just need that satisfying crunch, right? You know the feeling—that craving for something perfectly golden and salty, usually reserved for a guilty indulgence. Well, I finally cracked the code on making that fantasy a reality without falling back into old habits, and these Air Fryer Chicken Tenders with Crunchy Coating have been a lifesaver in my house. Seriously, when I started focusing on real wellness, giving up simple comfort foods felt impossible. But the air fryer changed *everything*!
This recipe lets you achieve that deep-fried flavor profile with such minimal oil, it’s almost unbelievable. We’re talking tender, juicy chicken tucked under an unbelievably crispy shell. I used to dread cleaning up heavy fryers, and honestly, the grease fogged up my kitchen for hours. Now, I have these tenders done, crispy, and plated in under 25 minutes, guilt-free. These aren’t just quick; they are the cleaner version of the comfort food we all crave when life gets busy, and that’s why I know you’ll love them as much as I do.
Why You Will Crave These Air Fryer Chicken Tenders with Crunchy Coating
I promise you, once you make a batch of these, they’ll become a staple. We aren’t messing around with soggy coatings here—I’ve tested this blend until it delivers real, satisfying texture. You’ll be pulling these out of the basket week after week because they tick every box for quick, healthy meals.
- Incredible Speed: Seriously, you only need about 10 minutes of prep time before they hit the basket!
- Maximum Crunch Factor: We get that deep-fried texture without ever touching a deep pot of oil. It’s magic, I tell you!
- Clean-Eating Approved: Because we use the air fryer, you slash the fat content drastically. Hello, energy!
If you’re looking for more ways to make weeknights simple without sacrificing flavor, check out some of my other quick ideas over in the healthy and easy recipes section!
Essential Equipment for Perfect Air Fryer Chicken Tenders with Crunchy Coating
You actually don’t need a million fancy gadgets for this recipe, which is part of why it’s so great for real life! The two main things you absolutely must have are a good air fryer and a couple of mixing bowls—one for the wet dredge and one for that amazing coating.
My biggest piece of advice? If you want them truly crispy, don’t cram the basket! You must ensure your tenders are in a single layer so the hot air can actually circulate around every piece. It’s tempting to stuff them in, but trust me, overcrowding leads to sad, lukewarm spots. For more great ways to use your machine, take a peek at my collection of air fryer chicken recipes!
Ingredient Clarity for Your Air Fryer Chicken Tenders with Crunchy Coating
Okay, let’s talk ingredients because this is where the magic of the crunch happens! We keep things straightforward, focusing on quality where it counts. You’ll need about 1 lb of chicken tenders—try to trim them so they are fairly uniform in size so they cook evenly. Then we move to our dredging station setup.
First, we have the dredging duo: two beaten eggs, which act like the perfect glue. And then the real star of the coating mixture! That’s breadcrumbs mixed with grated Parmesan cheese. Don’t skip the Parmesan; it adds this incredible savory depth that white flour just can’t touch. We’re also adding garlic powder, a good pinch of paprika for color (and a tiny bit of warmth), salt, and pepper. Simple, effective, and full of flavor!
Coating Mixture Notes and Substitutions
When it comes to the breadcrumbs, listen to your auntie Emilia: I highly recommend Panko breadcrumbs if you can grab them. They are lighter and flakier than regular ones, which gives you that maximum structural crunch when they hit the hot air. If you’re staying gluten-free, swapping to your favorite GF breadcrumb works perfectly fine—just make sure they’re finely crushed.
The paprika isn’t just for looks, though it certainly gives the tenders that gorgeous golden hue! It adds a subtle earthy sweetness that plays really nicely against the salty cheese. Don’t skip it; it ties the whole flavor profile together before they even go in the fryer.
Step-by-Step Instructions for Air Fryer Chicken Tenders with Crunchy Coating
This is where the transformation happens! Honestly, watching the raw chicken turn into perfectly cooked, crispy tenders in minutes always gives me a little thrill. The main thing here is organization—get your dredging stations set up before you start dipping!
- First thing, always, is preheating your machine! Set that air fryer to 375°F (190°C). A hot basket is crucial for immediate crisping, so don’t skip this step, even if you’re in a rush.
- Next, manage your chicken. You’re going to take each tender, quickly dip it into the beaten eggs—just a quick dunk so it’s coated lightly. Let any excess drip off; we don’t want soggy breading!
- Immediately transfer that wet tender into your breadcrumb/Parmesan mixture. Press that coating onto the chicken gently to make sure it really sticks everywhere.
- Arrange the coated tenders in the air fryer basket now. Please, please make sure they aren’t touching too much. Just like in the oven, air needs space to work its magic.
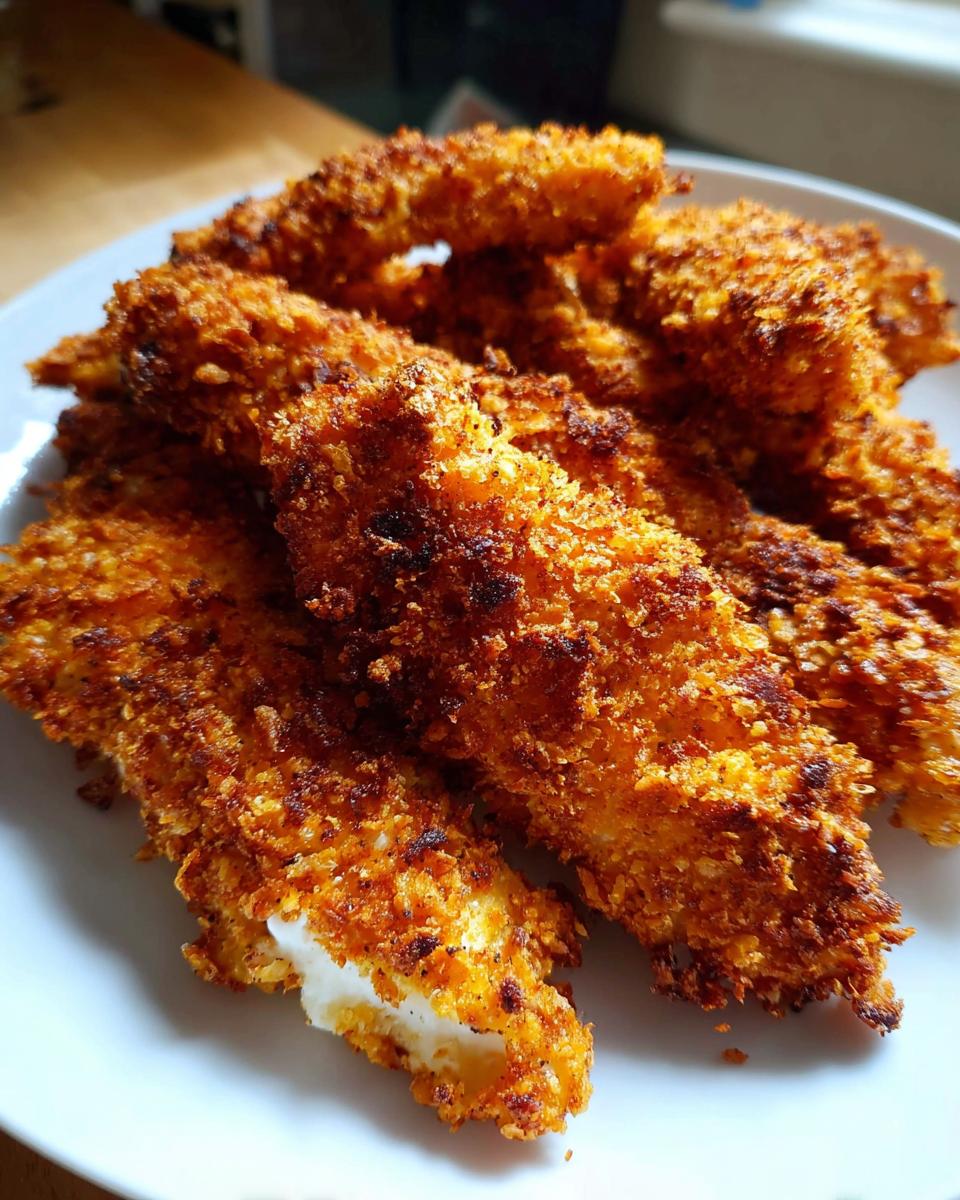
- Cook for 10 to 12 minutes total. The key part here is flipping them halfway through—usually around the 5 or 6-minute mark.
- Once time is up, you must check the temperature! For safety, chicken needs to hit 165°F (74°C) internally. If it’s not quite there, pop them back in for another minute or two. They are SO good fresh out of the basket!
If you need more inspiration for quick, satisfying meals like this, head over and check out my guides on chicken recipes—it’s full of simple ideas!
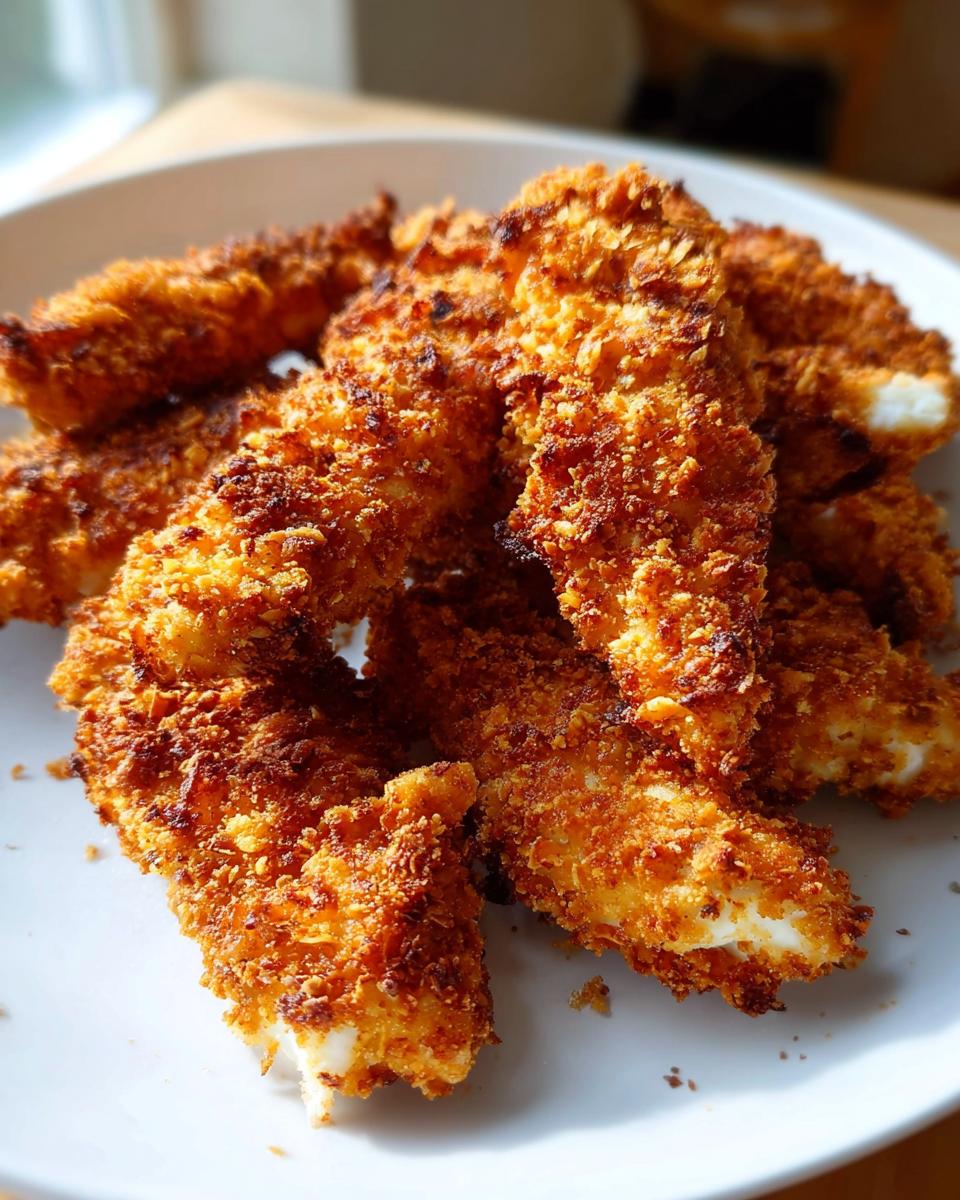
Achieving Maximum Crispiness in the Air Fryer
I know the biggest fear with air frying is that you end up with tenders that look done but feel a little soft, right? We can fix that!
Remember what I said about the single layer? That’s rule number one. Rule number two involves a quick spritz of olive oil right before they go in the basket. It doesn’t add much fat, but that little bit of oil helps the breading brown beautifully and stay locked onto the chicken. Trust me, that light spray makes a huge difference between good and *amazing* crunch.
Tips for Success with Air Fryer Chicken Tenders with Crunchy Coating
Listen, cooking is intuitive, but a few little tricks I learned the hard way can save you a lot of frustration between batches! The most important thing for these tenders is uniformity. If you’re using larger pieces of chicken breast instead of thin tenders, take a minute to slice them to roughly the same thickness.
Why? Because if you have one thick piece next to a super thin one, the small piece will be dry before the large one is even cooked through! If you notice your tenders are thicker than average, you’ll probably need to bump that cook time up by two or three minutes—maybe try 13 or 14 minutes total, flipping halfway, just to be safe.
Also, treat your air fryer basket like precious real estate! If you have a small machine, you might need to cook these in two or even three small batches. It’s worth the tiny wait rather than sacrificing that beautiful crunch we worked so hard to build up on the outside. For more simple ideas that fit seamlessly into a busy day, check out my collection of healthy recipes!
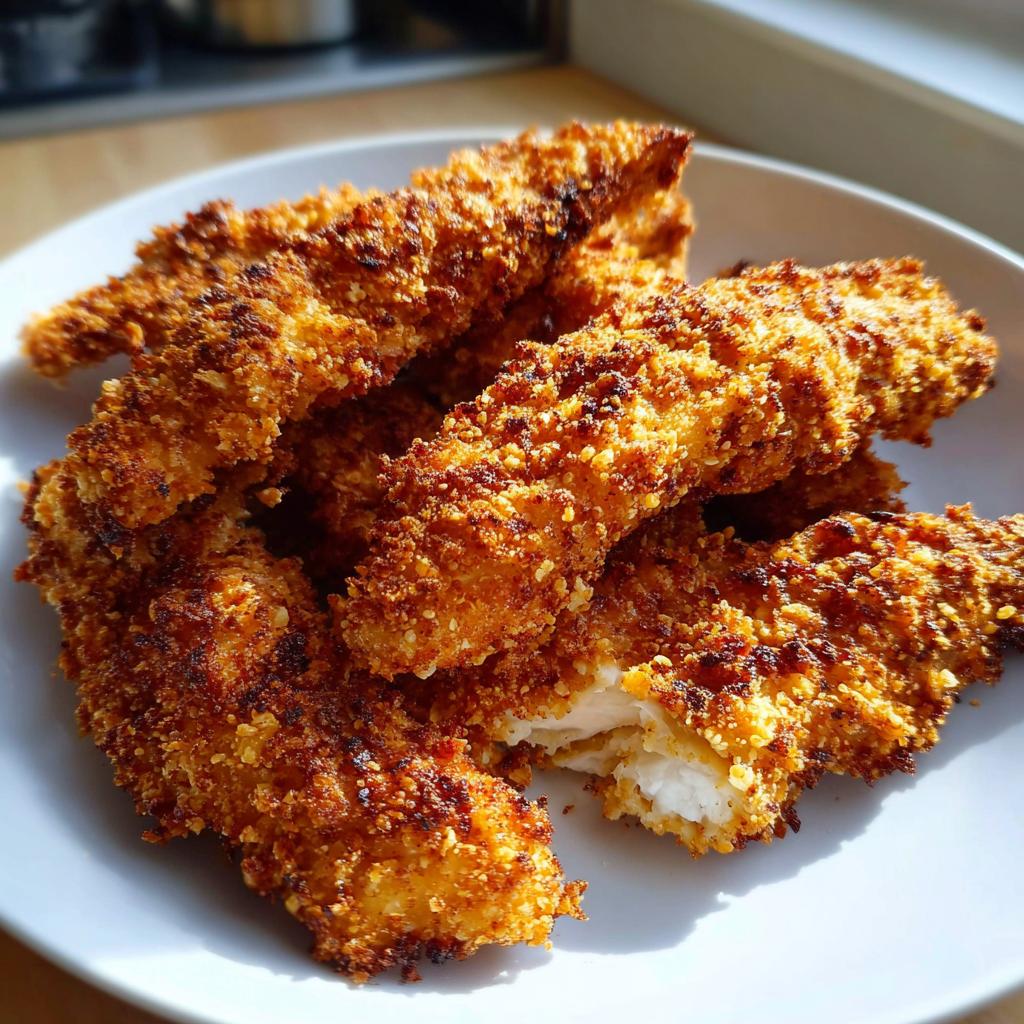
Serving Suggestions for Your Air Fryer Chicken Tenders with Crunchy Coating
Now that you have perfectly crispy tenders, what are you dipping them in? This is where we keep things light and clean to match the vibe of the cooking method! Skip the thick, sugary bottled sauces.
I love pairing these with a big, bright side, like a quick lemon-dill yogurt dip, which is tangy against the savory coating. If you want a side dish, sweet potato fries thrown in the oven (or air fryer!) are amazing alongside them.
For a real lunch win, pile those tenders onto a bed of mixed greens with some sliced avocado and a light vinaigrette. It’s just fantastic! For more ideas on light and fresh meal pairings, you should definitely browse my light and fresh lunch ideas for inspiration!
Storage and Reheating Air Fryer Chicken Tenders with Crunchy Coating
Nobody wants sad, limp tenders the next day, so listen up! The key to leftovers is speed and the right method for reheating. If you have any extras—which is rare in my house, by the way—make sure you toss them into an airtight container immediately.
They generally keep well for up to three days in the fridge. But here’s the secret weapon: never, ever try to reheat these in the microwave! That just steams the crust and turns your beautiful crunchy coating into mush. You absolutely have to bring them back to life in the air fryer for just 3 to 4 minutes at about 380°F. They pop right back to glorious crispiness. You can find more make-ahead inspiration for healthy meals over in my archives on make-ahead healthy lunch ideas!
Common Questions About Making Air Fryer Chicken Tenders with Crunchy Coating
When I first started making these, I had a million questions bubbling up. Don’t worry if yours seem basic—that usually means you’re focused on getting the texture right, and that’s exactly what matters!
Can I use thick chicken breasts instead of tenders?
You absolutely can, but you must adjust your approach! Chicken breast tends to be thicker, so I always suggest cutting it into uniform, thinner strips before you start dipping. If the pieces are significantly thicker than a typical tender, you’ll need to extend the cooking time by a few minutes, checking that internal temperature often. Remember, we need everything to reach 165°F safely! For more diet-friendly swaps and adjustments, check out my diet recipes section for ideas.
Why does my coating keep falling off the crispy chicken?
Ugh, the dreaded shedding coating! This is almost always a moisture issue. Make sure your chicken pieces are patted totally dry with a paper towel before they even look at the egg wash. The egg acts as the glue, but it needs a dry surface to adhere to properly. Also, be gentle but firm when pressing the breadcrumb mixture on—you need to really adhere that coating!
Can I make this recipe ahead of time?
You can prep the breaded tenders ahead of time! If you do this, lay them out on a tray and freeze them solid first. Once they are fully frozen, you can transfer them to a freezer bag. When you cook them from frozen, you’ll typically need to add about 3 to 5 extra minutes to the total cook time in the air fryer. They freeze beautifully!
Next Steps After Making This Recipe
I truly hope these tenders become a weekly staple for you just like they are for me! When you pull that golden, crispy batch out, I really want to hear about it.
Did you rate them five stars? Tell me below in the comments what you dipped them in! Snap a photo and share it on social media—tagging me lets me cheer you on. If you’re ready for more simple, energy-boosting inspiration, head over to the Melt It Clean blog for the next healthy habit swap!
Nutritional Estimates
Since we’re focusing on real, whole ingredients and using the air fryer, these come out light and satisfying! Based on standard calculations for four servings, you’re looking at an estimated count of around 350 calories per serving, with decent protein and much lower fat than its deep-fried cousin.
Now, remember this is just an estimate! Since brand sizes, the exact oil used (if any), and the type of breadcrumbs vary, always treat these numbers as a guide rather than gospel. Real wellness is about loving the food, not stressing the maths!
By EMILIA, founder of MeltItClean.com
Hi, I’m EMILIA, the founder of MeltItClean.com – your digital space for natural weight loss, real wellness habits, and clean-living inspiration that actually fits your life.
For years, I struggled with the ups and downs of dieting. I tried everything — juice cleanses, low-carb crazes, fitness challenges — but I always ended up back where I started: tired, bloated, and frustrated. I didn’t just want to “lose weight” — I wanted energy, mental clarity, glowing skin, and confidence without sacrificing my joy or sanity.
After years of experimenting, learning, and unlearning, I discovered a simple truth: your body is already powerful — it just needs support, not restriction. That’s when I created Melt It Clean — a site dedicated to real transformation through clean, intentional, and nourishing daily habits that anyone can follow.
My goal was simple: build a place where people could feel informed, supported, and empowered without being overwhelmed by wellness fads.
Air Fryer Chicken Tenders with Crunchy Coating
Ingredients
Equipment
Method
- Preheat the air fryer to 375°F (190°C).
- In a bowl, mix breadcrumbs, Parmesan, garlic powder, paprika, salt, and pepper.
- Dip each chicken tender in beaten eggs, then coat with the breadcrumb mixture.
- Place tenders in the air fryer basket in a single layer. Lightly spray with olive oil if you are using it.
- Cook for 10 to 12 minutes, flipping halfway, until golden and crispy.
- Check that the internal temperature reaches 165°F (74°C). Serve immediately.