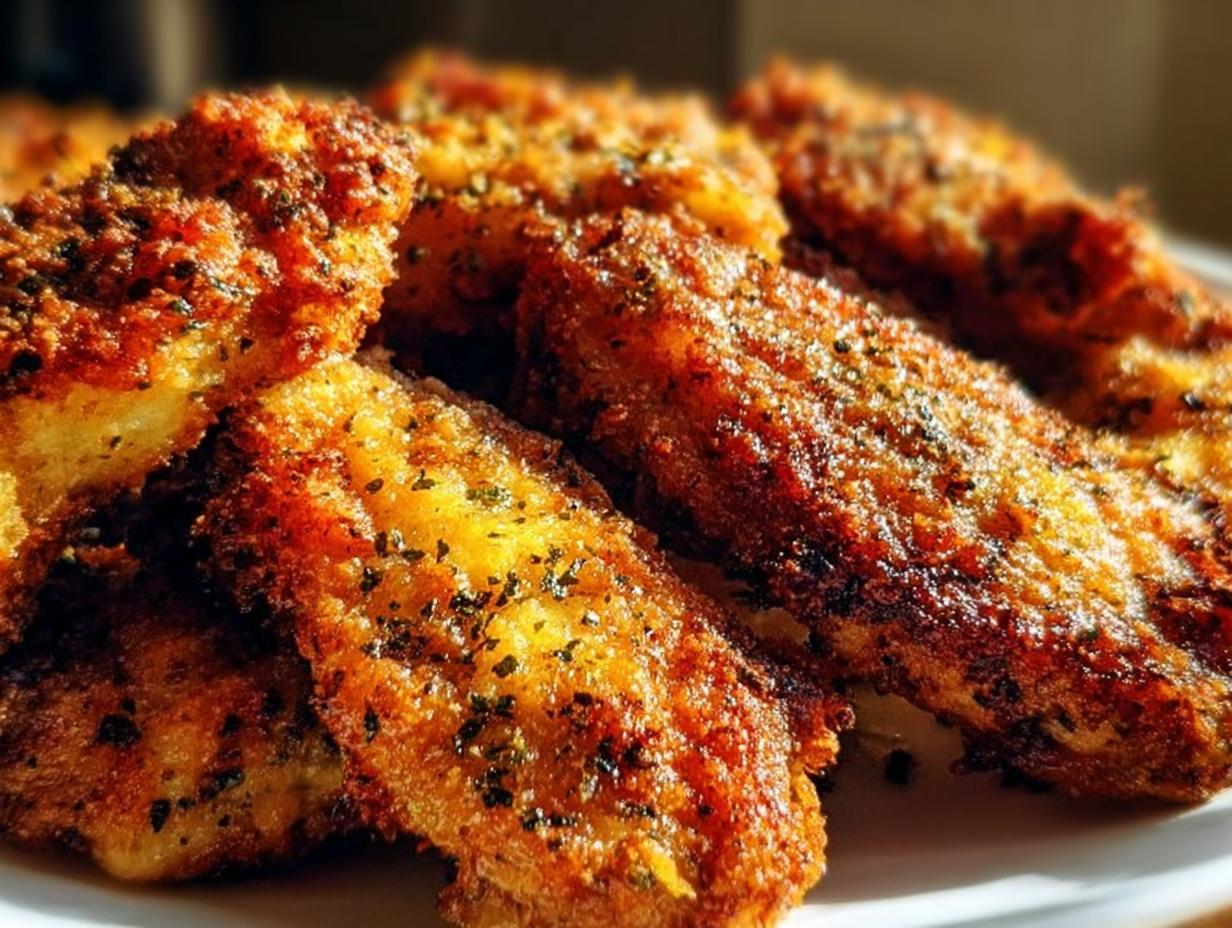
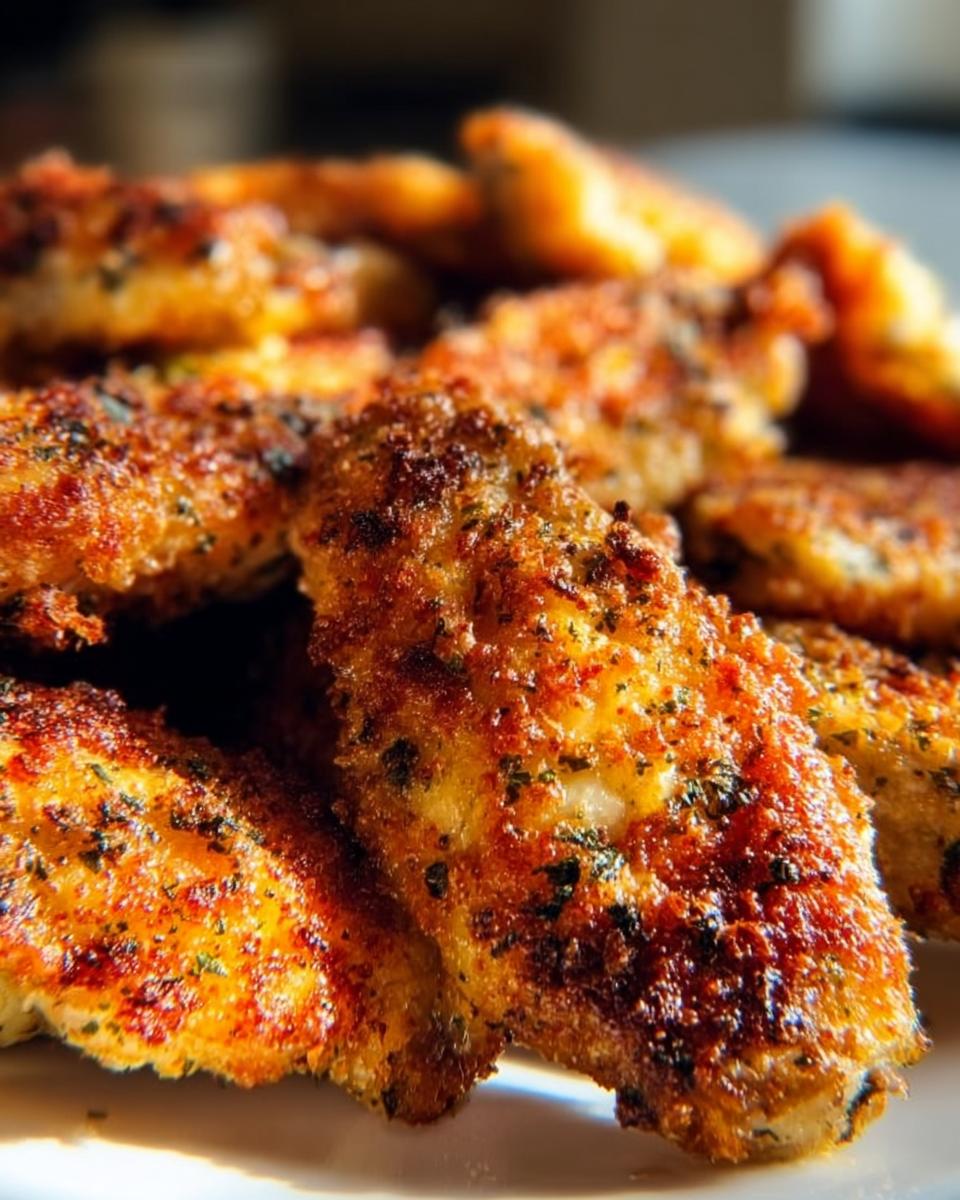
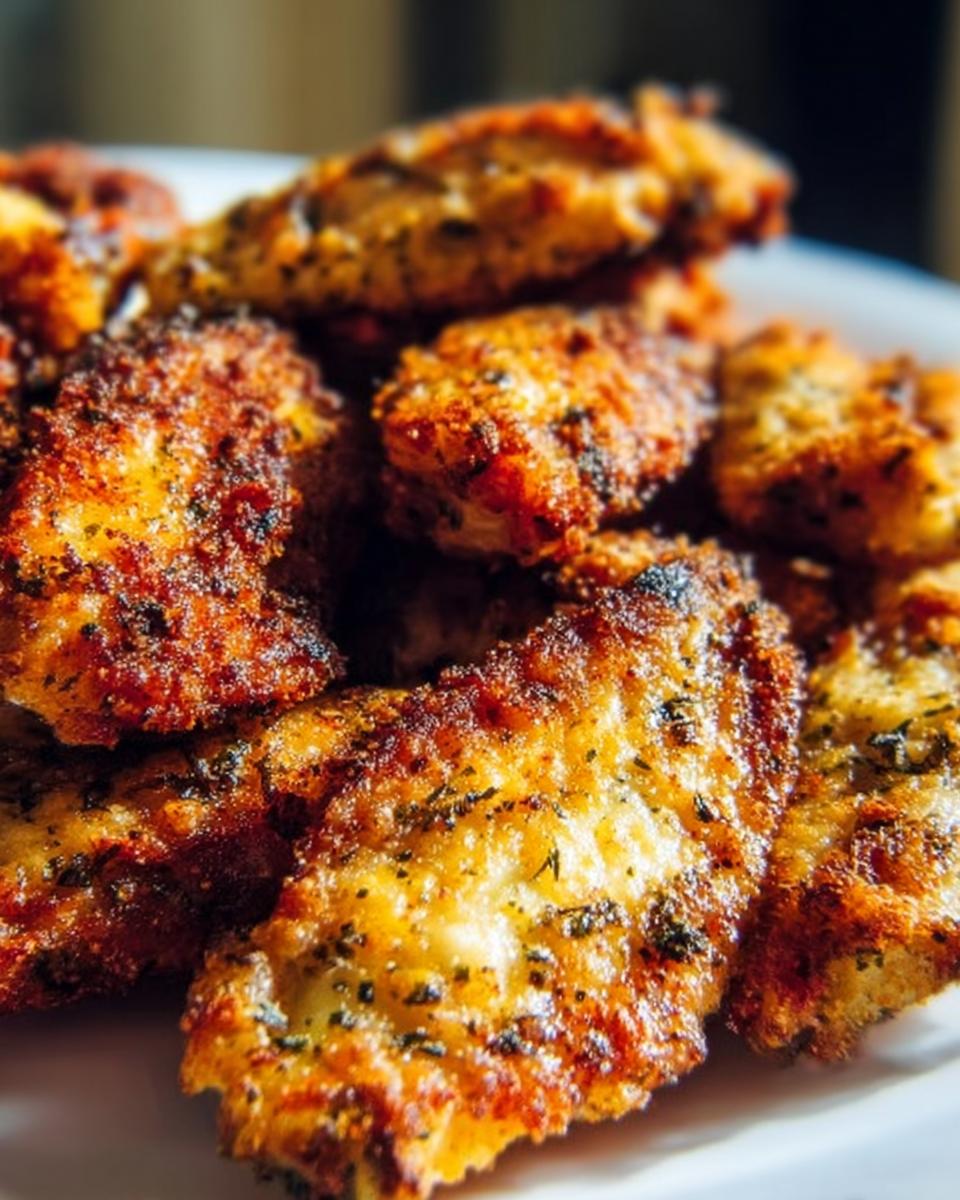
Are you craving that satisfying crunch of perfectly fried chicken wings but just don’t want the mess, the splatter, or the heavy oil feeling afterwards? I *totally* get it. Sometimes life is moving too fast—kids need feeding, your favorite team is playing, or you just need a reliable comfort food fix—and you don’t have time for a deep fryer setup. That’s why I perfected these Ranch Seasoned Wings with Crispy Finish. Trust me, by mastering the simple trick with baking powder, we achieve that spectacular golden-brown crunch you crave, all baked right on a sheet pan. This recipe is my go-to, tested solution for delivering huge flavor fast. If you’re looking for easy, savory weeknight snacks that actually taste like they took hours, you are in the right place!
I remember trying batch after batch of baked wings early on, and they always came out looking steamed, like sad little rubber gloves. It was so frustrating! I needed a way to lock in flavor without feeling guilty about the cooking method. After testing different temperatures and coatings suggested by my own clean-living blueprint, this process clicked. It proves that intentional habits—even in something as simple as making wings—can totally transform the result. Now, I can serve these baked wonders knowing they provide that game-day satisfaction while supporting my overall wellness goals. Check out these other baked chicken favorites!
Who Will Love These Ranch Seasoned Wings with Crispy Finish (Meal Planning Focus)
This recipe isn’t just for game days, although they certainly shine then! If you’re anything like me, you need reliable, satisfying recipes that slot easily into a busy week. These wings are designed for the busy home cook who prioritizes real food habits but doesn’t want to spend an hour prepping snacks.
They are perfect if you’re leaning into meal planning because the prep takes literally ten minutes. You can easily double or triple the batch on Sunday, bake them off, and have crispy, high-protein snacks ready for lunches or quick refueling after an evening workout. Forget about complicated frying setups; these wings integrate seamlessly into any balanced meal plan. You get that incredible savory flavor profile without derailing your healthy focus. Check out how you can start making meal prep taste great!
Essential Ingredients for Perfect Ranch Seasoned Wings with Crispy Finish
When we talk about achieving that amazing crunch without the fryer oil, the ingredients aren’t just suggestions—they are the building blocks of success! I make sure I have all of this ready before I even think about preheating the oven, because timing matters when you’re moving fast.
Here is what you need for four servings of pure, crispy satisfaction:
- 2 lbs chicken wings (make sure you get a good mix of both drumettes and flats!)
- 1 tbsp aluminum-free baking powder (This is the secret weapon, don’t skip it!)
- 1 tsp salt
- 1/2 tsp black pepper
- 2 tbsp olive oil
- 3 tbsp ranch seasoning mix (The good, reliable brand works great here!)
See how simple? The magic hides in that baking powder. It changes the pH level of the chicken skin, helping it dry out and crisp up beautifully in the high heat. Trust me, it’s a game-changer for baked wings.

Ingredient Notes and Substitutions for Ranch Seasoned Wings with Crispy Finish
Let’s talk about customization, because I know pantry items vary! First, that baking powder must be aluminum-free. Regular baking soda can sometimes leave an unpleasant metallic aftertaste when used in larger quantities like this, and we want pure ranch flavor, not chemistry experiments!
If you don’t have olive oil, avocado oil or even melted coconut oil work just fine for tossing the wings. But if you’re out of the dry ranch seasoning mix, you can whip up a quick homemade blend using dried herbs like parsley, dill, garlic powder, onion powder, and a little buttermilk powder, though the pre-mixed stuff is definitely faster for a weeknight meal.
Step-by-Step Instructions for Ranch Seasoned Wings with Crispy Finish
Okay, this is where the magic happens! Don’t be intimidated by the two-step baking process; it’s what separates a lackluster baked wing from something truly spectacular. Remember, we need structure before we add the flavor!
- First things first: Get that oven ready! Preheat your oven to 400°F (200°C). While it’s warming up, quickly line a sturdy baking sheet with parchment paper. Then, put a wire rack right on top of that sheet. This setup is key because it lets air circulate underneath the wings, preventing soggy bottoms.
- Now, lean into this step—it’s non-negotiable if you want crisp wings! Take your 2 lbs of chicken wings and pat them down, using paper towels until they feel as dry as possible. Seriously, remove all surface moisture.
- In your big bowl, toss those dry wings with the baking powder, salt, and pepper. Make sure every single piece gets a decent coating of that white powder mixture. Then, drizzle on the olive oil and toss again until they look slick and ready for the heat.
- Carefully spread the wings out onto your wire rack. They need space to breathe, so avoid overcrowding them! If they are piled up, they will steam. Bake them for 45 to 50 minutes total, making sure you flip them over halfway through.
- Here’s the important technique tweak: For the last 10 minutes of baking time, crank that oven temperature up to 425°F (220°C). This final blast of high heat is what gets that skin tight and golden.
- Once they come out looking golden and amazing, toss those piping hot wings immediately in a clean bowl with the 3 tablespoons of ranch seasoning mix. Shake it up so every wing gets hugged by that savory powder. Serve them right away while they’re screaming hot! If you want to see more ways to perfect baked chicken recipes, this link is a great place to look!
The Secret to the Crispy Finish on Your Ranch Seasoned Wings with Crispy Finish
You might be asking why we bother with the baking powder detour instead of just frying them. It all comes down to that satisfying final texture combined with cleaner eating habits! Baking powder, specifically the aluminum-free kind, is alkaline. When it hits the protein in the chicken skin under dry, high heat, it speeds up the browning process and actually dries out that surface layer.
That means we get a crust that rivals frying but without submerging the meat in oil. The initial lower temperature cooks the chicken through safely and renders out some of the fat, and that last big blast of high heat crisps the coating we created. It’s science working for your snack time, giving you that amazing, satisfying crunch every single time you make these Crispy Baked Wings!
Equipment Needed for Making Ranch Seasoned Wings with Crispy Finish
You don’t need fancy gadgets for these wings, which is part of why I love them for busy nights! Keeping the equipment simple means less cleanup later, and that’s a huge win for sticking to clean habits.
Here are the essential things you’ll want gathered before you start:
- Your trusty Oven (set to bake, not convection unless you adjust times!)
- A good sturdy Baking sheet—something reliable that won’t warp under high heat.
- A Wire rack. This is crucial so air can circulate underneath. Don’t skip this part for crispiness!
- A Large bowl for mixing everything up quickly.
- Plenty of Paper towels. I mean it—you need these to get those wings super dry!
Honestly, that’s it! Ten minutes of prep and you’re good to go. Having these few items ready means you can whip up a batch of these Ranch Seasoned Wings with Crispy Finish any night of the week.
Tips for Success When Preparing Ranch Seasoned Wings with Crispy Finish
I’ve learned a few hard-earned lessons about getting baked wings right. My very first attempt was a total disaster; I tossed them in the oven thinking I was being smart, and they came out pale and distinctly chewy. I realized then that drying the skin is everything! If you skip properly patting them dry with paper towels, the moisture creates steam underneath, and steam equals soggy wings—a true tragedy for any batch of Ranch Seasoned Wings with Crispy Finish.
Here are my non-negotiable rules for that perfect crunch every time:
- Space is Luxury: Never, ever overcrowd your wire rack! If the wings are touching, they are sharing steam. Give them breathing room so the hot air can circulate around every surface for even crisping.
- The Rack Must Be Elevated: Make sure your wire rack is actually resting on the baking sheet, allowing maximum airflow underneath. This mimics frying airflow.
- Seasoning Last: Always toss in that ranch powder *after* the wings come out of the oven. If you put the dry seasoning on before baking, it tends to burn in that high heat, leaving a bitter, dusty coating. We want them hot and immediately coated for maximum adherence!
Follow these tiny steps, and you’ll consistently create the crispiest wings without ever turning on the deep fryer.
Serving Suggestions for Your Ranch Seasoned Wings with Crispy Finish
Even satisfying snacks should support our overall wellness goals, right? My goal is always to make these wings feel like a complete, joyful treat rather than just a heavy appetizer.
When I serve these Ranch Seasoned Wings with Crispy Finish, I pair them with tons of crunchy raw veggies. Forget the heavy blue cheese dressing—I mix plain Greek yogurt with a little lemon juice, garlic powder, and dill to make the creamiest, guilt-free dipping sauce. Seriously, you won’t miss the traditional stuff!
They’re also fantastic served alongside a big, crisp green salad dressed with a light vinaigrette. This balances the savory flavor beautifully and makes the wings feel like an intentional, balanced part of a healthy dinner. They hold up great even when served cold the next day!
Storage and Reheating Instructions for Leftover Ranch Seasoned Wings with Crispy Finish
I always hope they disappear the first night because these wings are genuinely best right out of the oven, but let’s be real—sometimes leftovers happen! If you do have any crispy friends left, you need to treat them right so they don’t turn sad and chewy overnight.
Store them in an airtight container in the fridge. Don’t try to microwave these if you want to keep that texture we worked so hard for! No, no, no. The microwave steams the crust right away.
For reheating, the oven set to about 375°F or your air fryer on a medium setting works wonders. A short burst of dry heat will bring that glorious crispness right back to your Ranch Seasoned Wings with Crispy Finish. Five to ten minutes is usually all it takes!
Frequently Asked Questions About Baked Ranch Seasoned Wings with Crispy Finish
Can I use regular baking soda instead of baking powder?
Oh, I strongly advise against this if you want that guaranteed crisp texture! Regular baking soda is much stronger and more alkaline than baking powder. If you use it here, you risk that off-taste I mentioned, and it doesn’t give you the same drying, browning effect on the skin as the powder does. Baking powder contains a little bit of acid, which is why it reacts perfectly with the chicken skin under dry heat to create the best results for your Ranch Seasoned Wings with Crispy Finish.
How do I make these wings less salty if my ranch mix is very salty?
That’s a smart question, especially when you’re trying to keep things balanced in your healthy eating plan! The easiest fix is to simply skip adding the extra salt in step three of the main recipe. You’re already getting salt from the ranch seasoning, and ranch tends to vary widely by brand. Start with zero added salt, toss the wings after baking with the ranch mix, and then taste one before serving. If you feel they need a tiny boost, you can sprinkle a pinch of fine salt over them at the very end. This gives you total control!
My wings aren’t crispy enough—what went wrong?
Don’t sweat it; this is the number one hurdle everyone faces with baked wings! Nine times out of ten, it comes down to moisture or overcrowding. Were the wings completely dry when you tossed them? If they weren’t patted dry, they steamed instead of baked. Also, were they touching on the rack? They need space! If you followed those steps and they are still a little soft, next time, make sure you use that high heat blast (425°F) for the final ten minutes. That final heat surge seals the deal for a true Crispy Baked Wings texture.
Can I prep the wings ahead of time without the ranch powder?
Yes, you absolutely can! This is fantastic for meal planning. You can complete step one through step four—pat dry, coat with baking powder/oil/pepper, and bake them fully. Then, let them cool completely. Store the fully cooked wings in the fridge for up to two days. When you’re ready to eat, reheat them in a 400°F oven for about 8 minutes to crisp them up, and *then* toss them in the ranch seasoning. This keeps the seasoning fresh and maximizes that final seasoning adherence!
Nutritional Snapshot of Ranch Seasoned Wings with Crispy Finish
When you’re focused on wellness and real habits, even snack time should fit into your plan! Since these are baked and not fried, they are already miles ahead of your typical appetizer when it comes to keeping things clean. Knowing the basics helps you balance out your day and make sure you’re hitting those protein goals.
Based on the ingredients listed for four servings, here’s what you can generally expect per serving. Remember, I always say these are estimates because the exact fat content of your wings and the sodium level in your ranch mix can change things!
- Estimated Calories: 350-380 kcal
- Estimated Total Fat: 20g
- Estimated Protein: 32g
- Estimated Carbohydrates: 4g
See that protein count? That’s what makes these wings such a great choice for sustaining energy, especially after a workout or when you need a filling snack to hold you over until dinner. It’s about thoughtful choices, not restriction, and these baked wings definitely fit the bill for clean-living inspiration. If you’re tracking, always lean on the higher end of the estimate just to be safe!
By Hi, I’m EMILIA, the founder of MeltItClean.com – your digital space for natural weight loss, real wellness habits, and clean-living inspiration that actually fits your life.

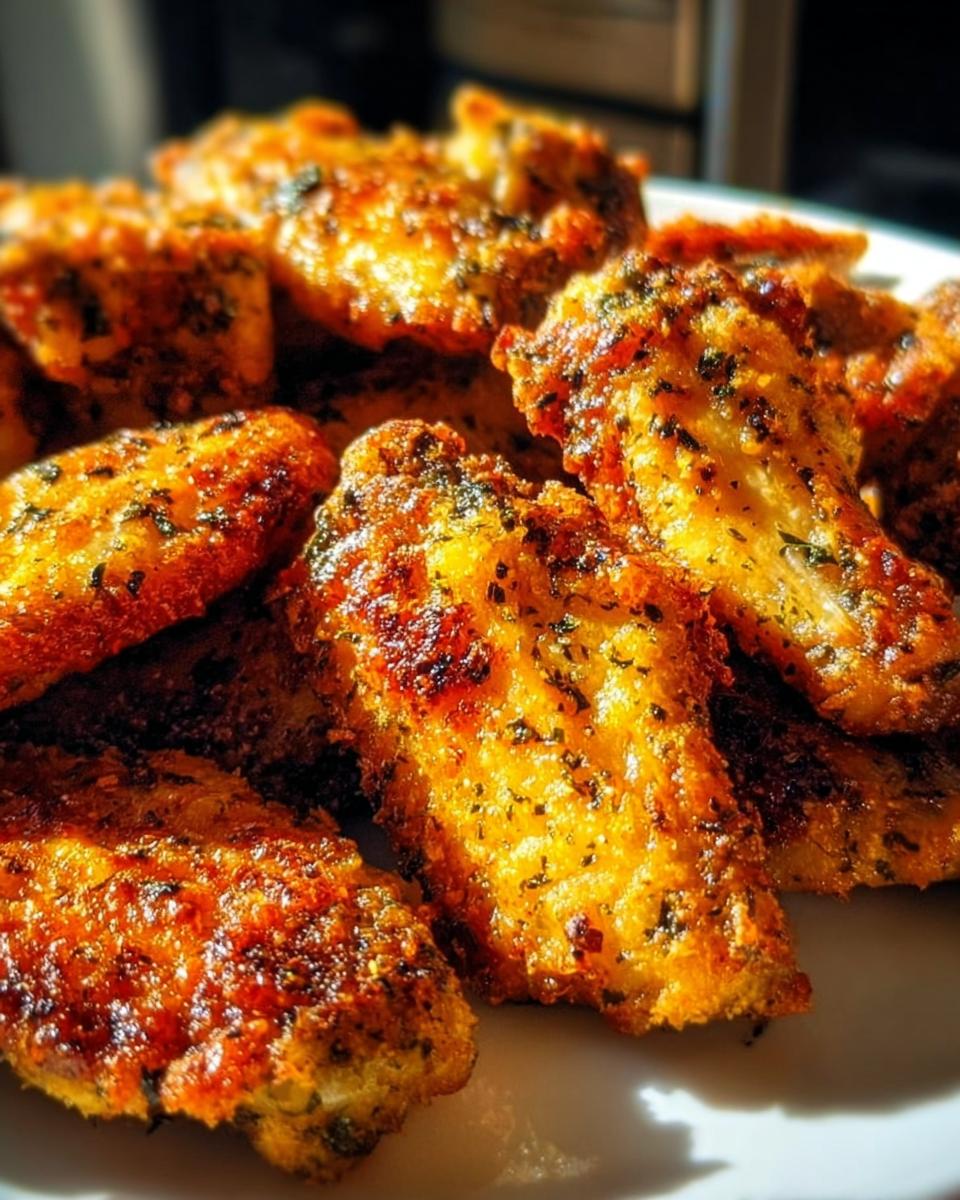
Crispy Baked Ranch Chicken Wings
Ingredients
Equipment
Method
- Preheat oven to 400°F (200°C). Line a baking sheet with parchment and place a wire rack on top.
- Pat chicken wings thoroughly dry using paper towels.
- In a large bowl, toss wings with baking powder, salt, and pepper until coated. Drizzle with olive oil and toss again.
- Spread wings on the rack in a single layer. Bake for 45–50 minutes, flipping halfway.
- Increase oven temp to 425°F (220°C) for the last 10 minutes.
- Toss hot wings with ranch seasoning in a clean bowl and serve immediately.