Are you tired of those sad, chalky, ‘healthy’ desserts that just leave you craving the real thing? I totally get it. For the longest time, satisfying a sweet tooth while staying committed to clean eating felt like it required a huge compromise, usually meaning hours in the kitchen or artificial sweeteners that left a weird aftertaste. That struggle is exactly why I developed this recipe. We need treats that support our goals, not derail them!
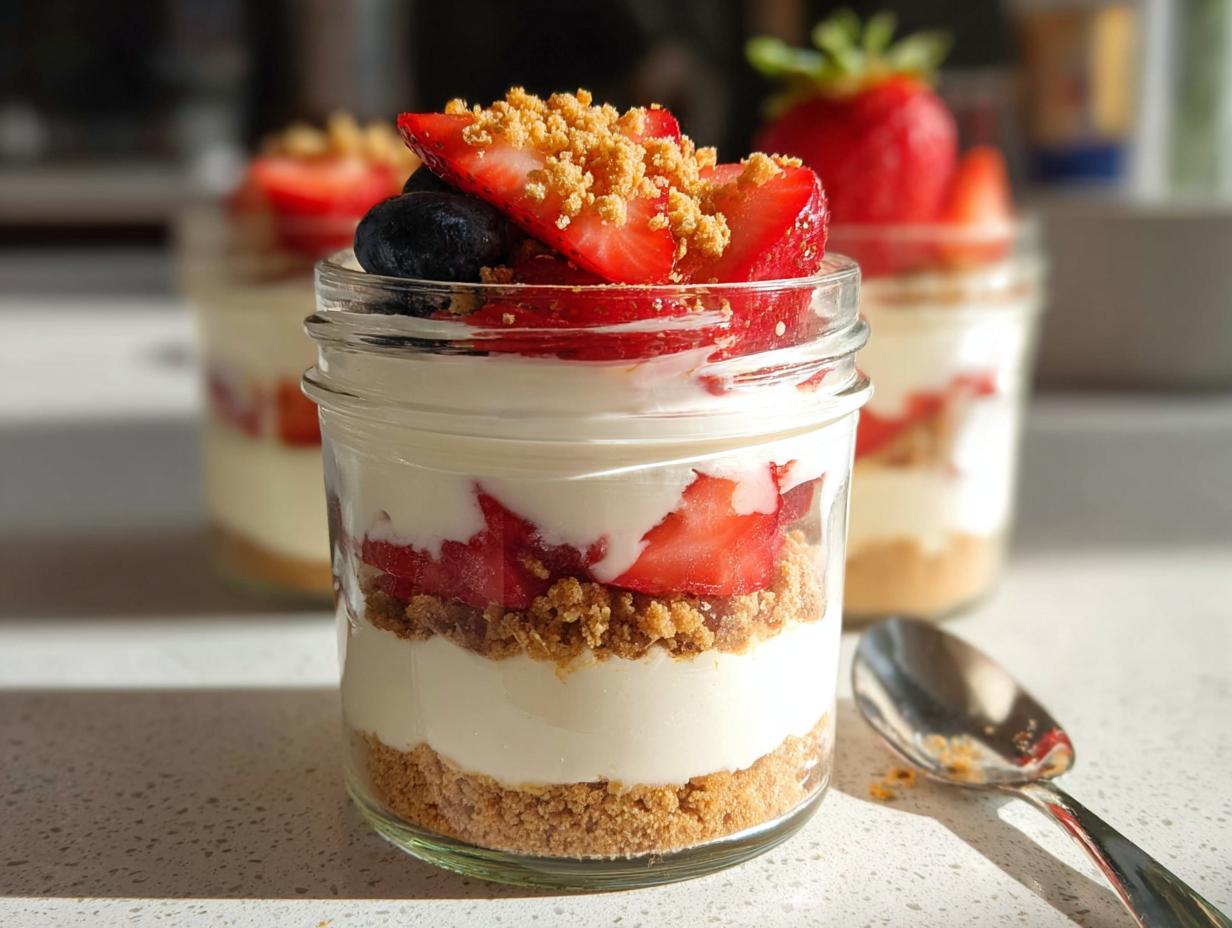
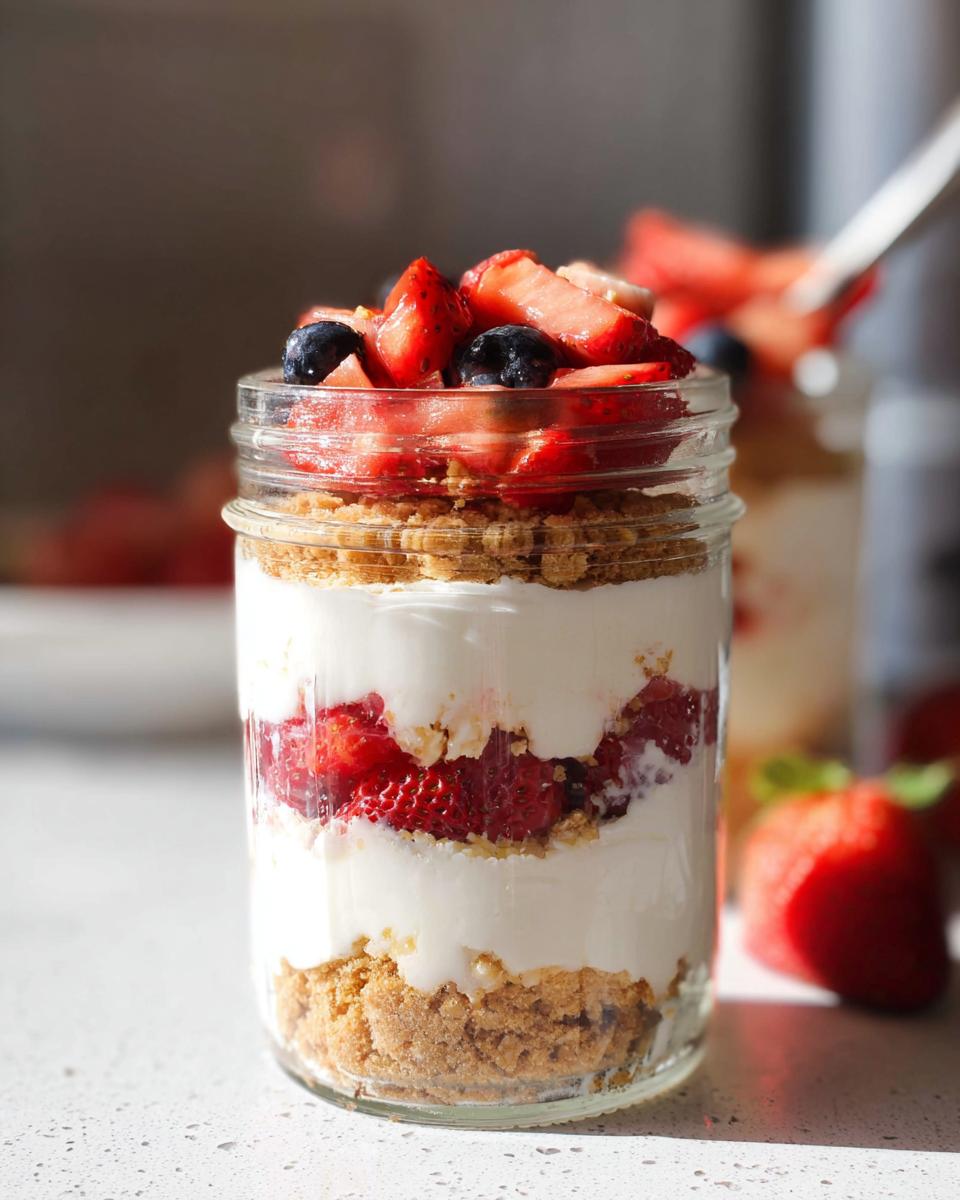
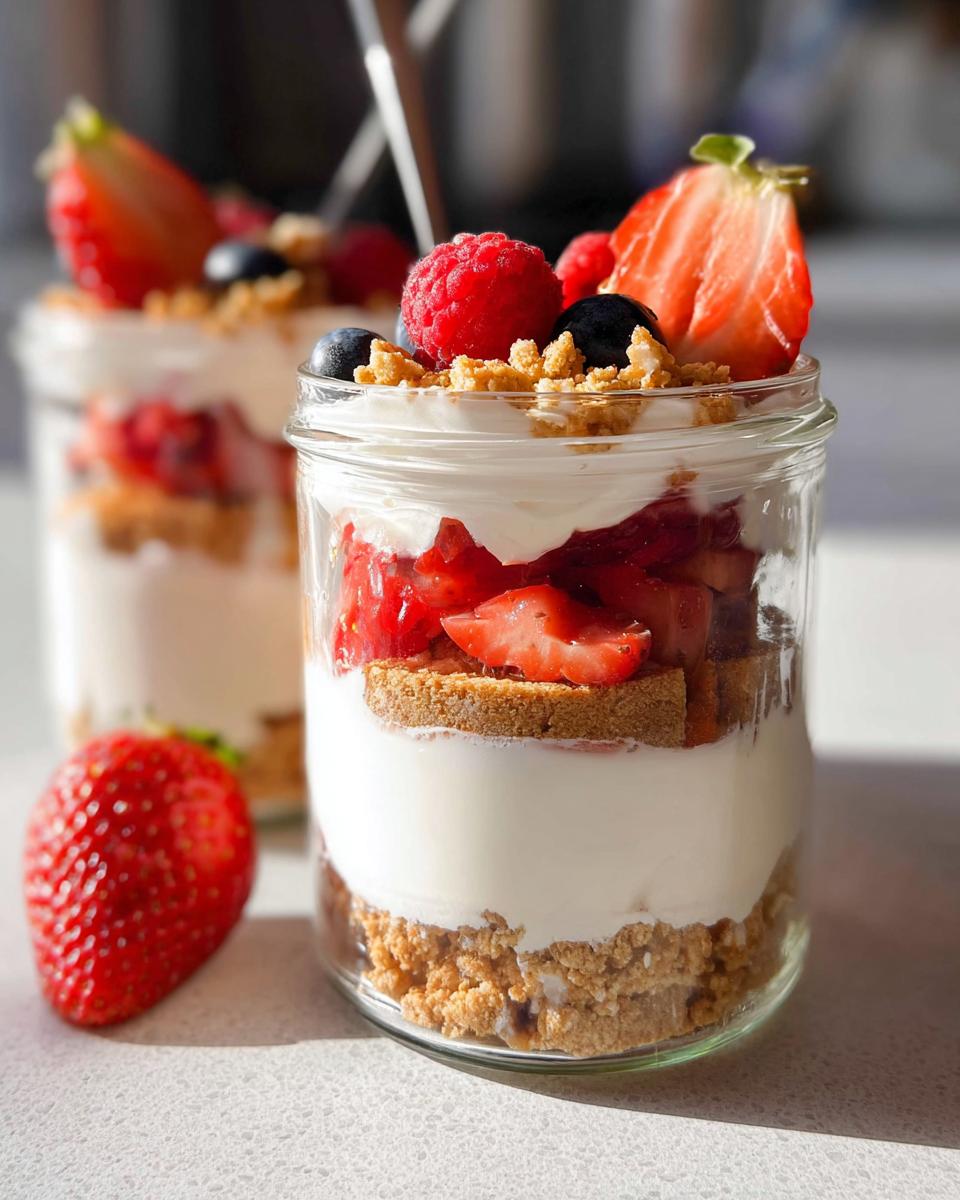
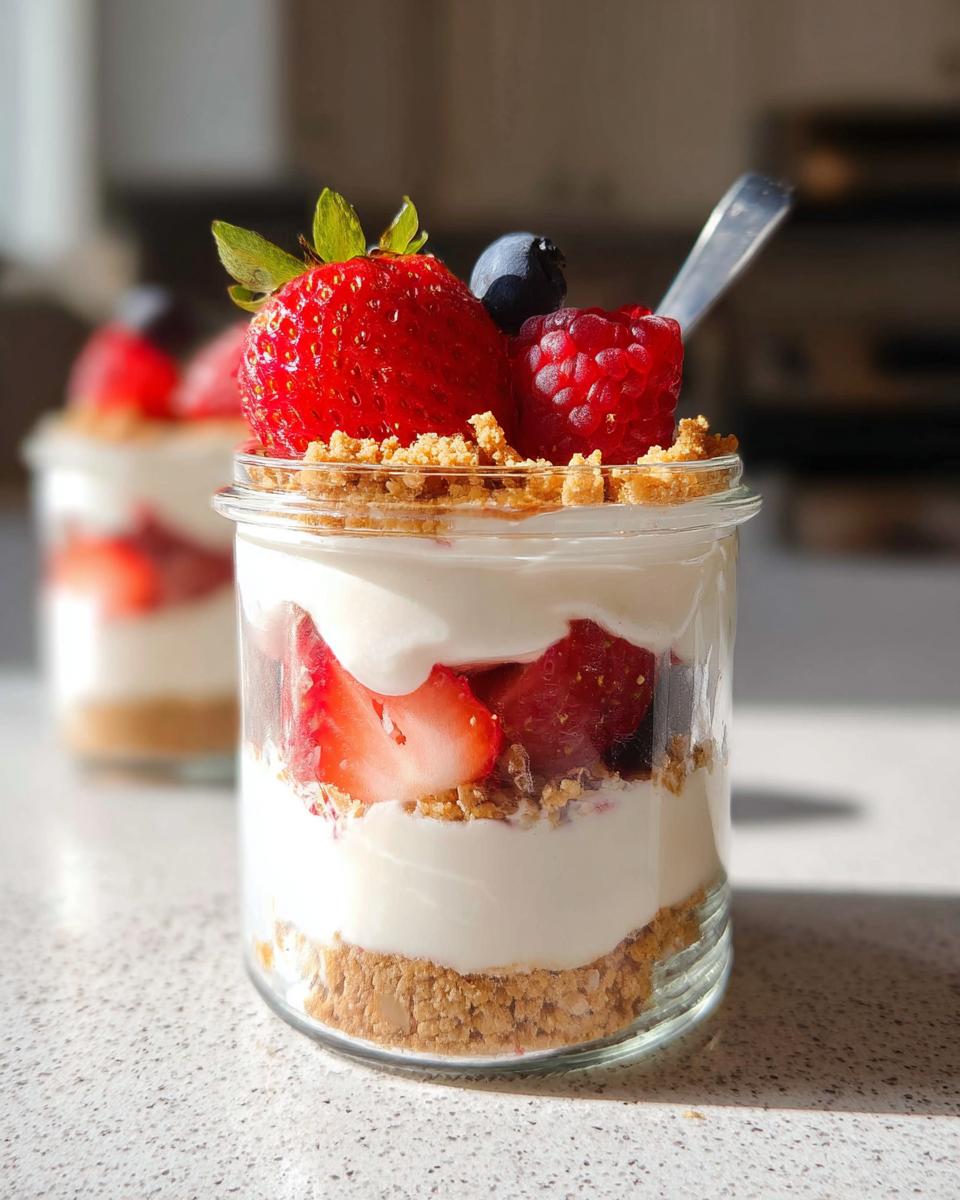
Forget baking! These are layered, ridiculously creamy, and packed with the protein we need to stay full and energized. They are ready in minutes, totally portable, and taste like a decadent treat you’d find at a fancy café. Trust me, once you whip up a batch of these **High Protein Cheesecake Jars**, you’ll wonder how you ever lived without them. They are the perfect, guilt-free solution for getting that cheesecake fix while supporting your wellness journey.
Who Should Make These High Protein Cheesecake Jars?
Honestly? If you love dessert but hate feeling guilty afterward, this recipe is for you! These jars are perfect for anyone focusing on real wellness habits but still missing that satisfying creamy texture. Are you hitting the gym and needing an easy protein boost that isn’t a chalky shake? That’s us!
This recipe is built for people like me—busy individuals who need grab-and-go smart snacks. If you clean up your plate most of the time but just need something sweet and simple to finish the day without undoing your hard work, welcome home. We focus on real, nourishing stuff here, so you get great flavor without the fuss. Check out some other ways to boost your protein if you need more ideas for energy like these high-protein healthy dinners for energy.
Why These High Protein Cheesecake Jars Are Your New Favorite Snack
Okay, so why should you drop everything and make these right now? Because they tick every single box we have over at Melt It Clean. This isn’t your grandma’s decadent, heavy cheesecake—it’s engineered support for your goals, disguised as dessert. You get all the joy without the usual diet dread!
Here are the real game-changers that make this recipe a staple for me:
- Massive Protein Punch: You’re getting a huge amount of protein from both the cottage cheese and the Greek yogurt. This keeps you feeling satisfied way longer than sugary snacks, which is crucial for stopping those afternoon energy crashes.
- Zero Oven Required: Seriously, no baking means you can whip these up faster than you can talk yourself out of them. They’re truly a no-bake dream when you need something sweet fast.
- Portability Perfection: Since they’re already layered in jars, you just pop a lid on them and walk out the door. Perfect for stuffing into a lunch bag or taking to work. If you’re looking for more meal prep wins, check out my tips on high protein breakfast ideas for 2025—the same mindset applies!
- Real Food Foundation: We’re using wholesome ingredients you can recognize, mainly quality dairy, not a mile-long list of weird stabilizers. That aligns perfectly with creating real wellness habits!
Essential Equipment for Perfect High Protein Cheesecake Jars
You don’t need a ton of fancy gear for these, which is another huge plus when you’re moving fast. The absolute star of the show here is your food processor. Why? Because we need that cottage cheese to go from lumpy frustration to smooth silk, and only a processor can do that job quickly.
You’ll also need a good mixing bowl for combining the whipped cheese base with the Greek yogurt. Don’t forget your silicone spatula for scraping down every last bit—we don’t waste ingredients here!
And most importantly: the jars! Make sure you use four small jars that have tight-fitting lids. Trust me on this, if the lids aren’t solid, you end up with messy backpacks instead of portable snacks. Getting the right seal means these **High Protein Cheesecake Jars** travel perfectly!
Ingredient Notes and Smart Substitutions for High Protein Cheesecake Jars
We’re dealing with a power-packed base here, so the quality of your dairy really matters. The cottage cheese is the workhorse of this recipe, and I can’t stress this enough: use the best quality you can find! It must be blended until it’s completely smooth—no grainy bits allowed. If your cottage cheese is naturally chunkier, you might need to process it for an extra minute. This is the secret to that amazing creamy filling!
When it comes to the Greek yogurt, skip the non-fat stuff if you want that authentic, decadent cheesecake texture. Full-fat yogurt gives us the necessary richness so these **High Protein Cheesecake Jars** don’t taste watery. It just blends so much better!
For sweetener, I use maple syrup because I prefer the warmth it adds, especially alongside the graham crackers. But if you are aiming for super low sugar, a few drops of liquid stevia or monk fruit sweetener works just fine. Just taste as you go, because those sweeteners are potent! If you’ve ever made my crab cottage cheese bowl, you know how crucial texture is—the same idea applies here!
Step-by-Step Instructions for Assembling Your High Protein Cheesecake Jars
Now for the fun part—putting it all together! Remember, because these are no-bake, the assembly needs to be straightforward and quick. The goal is smooth layers that hold up, so pay close attention to that first blending step. This is where a lot of people rush and end up with sad, lumpy cheesecake, and we definitely don’t want that!
- Create the Cream Base: Toss your cottage cheese into your food processor. You need to blend this until it looks like velvety smooth icing—no little curds allowed! This usually takes a good minute or two. If you skip this step, your final product will be grainy, trust me.
- Sweeten It Up: Once it’s silky smooth, pour in your maple syrup and pulse it a few more times until everything is perfectly integrated.
- Fold in the Fluff: Transfer that smooth cottage cheese mixture into a regular mixing bowl. Now, gently fold in your full-fat Greek yogurt using your spatula. You aren’t trying to beat air in—just gently combine it until you have one beautiful, thick, creamy base. This is your cheesecake filling!
- Begin Layering: Grab your four little jars. Start by sprinkling the bottom of each jar with a layer of crushed graham crackers. Don’t pack them down!
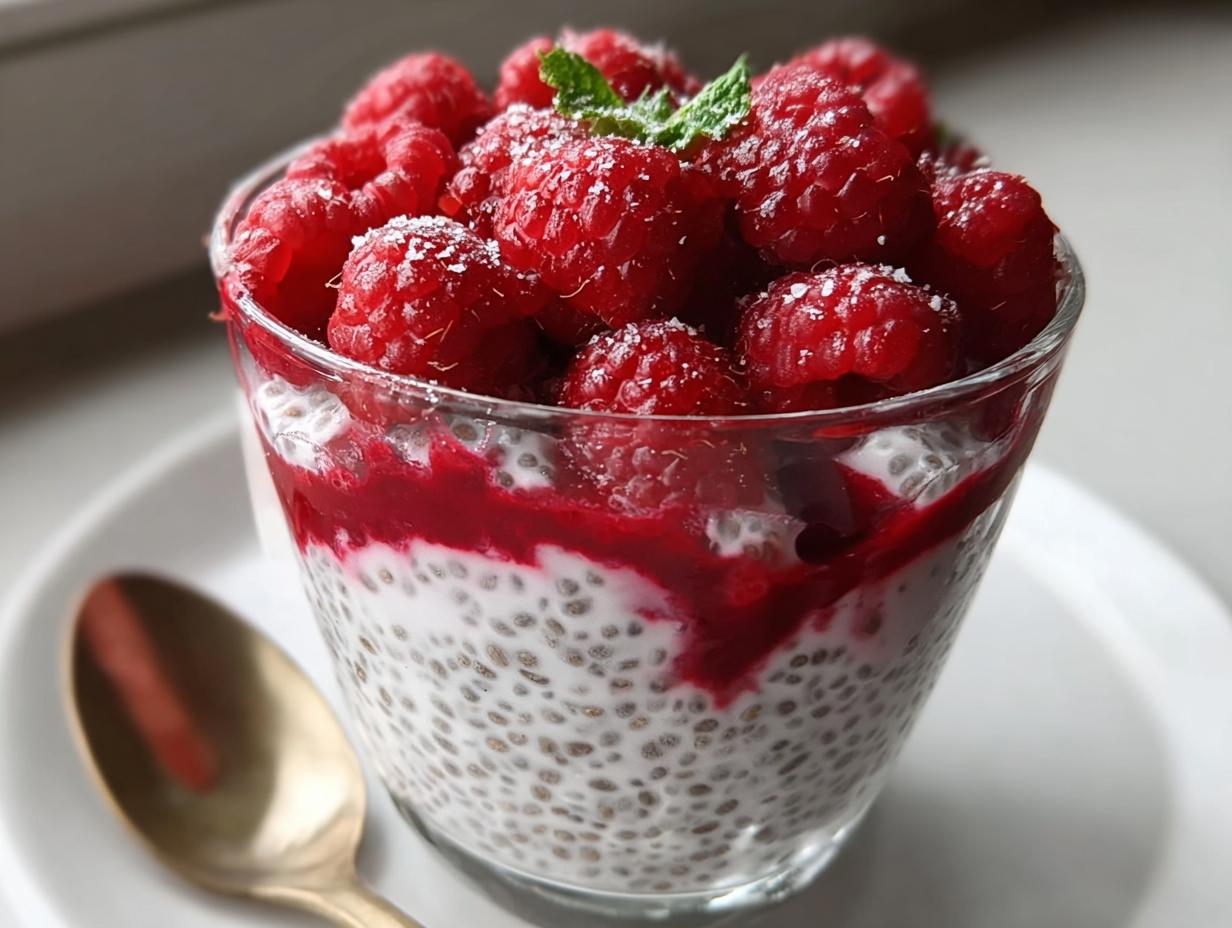
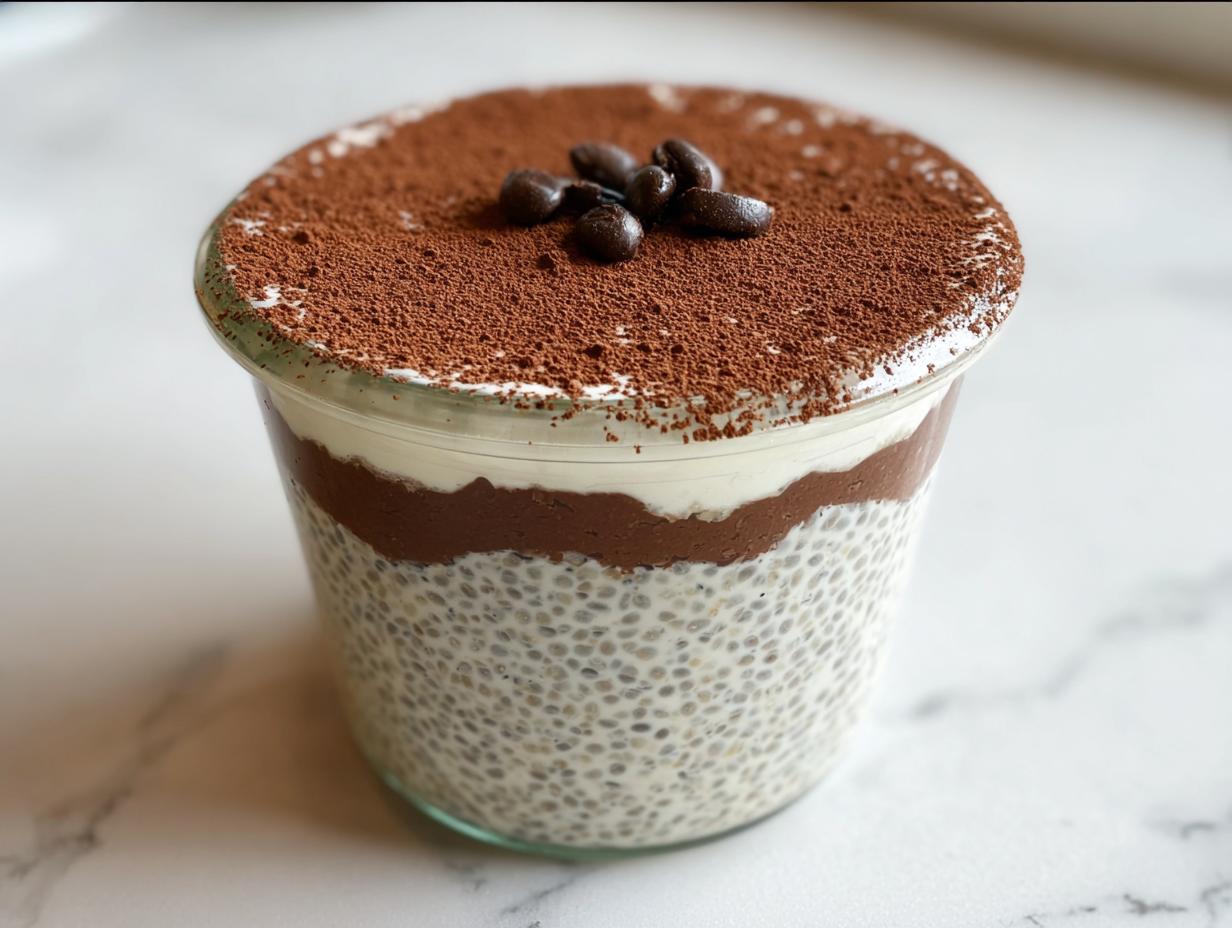
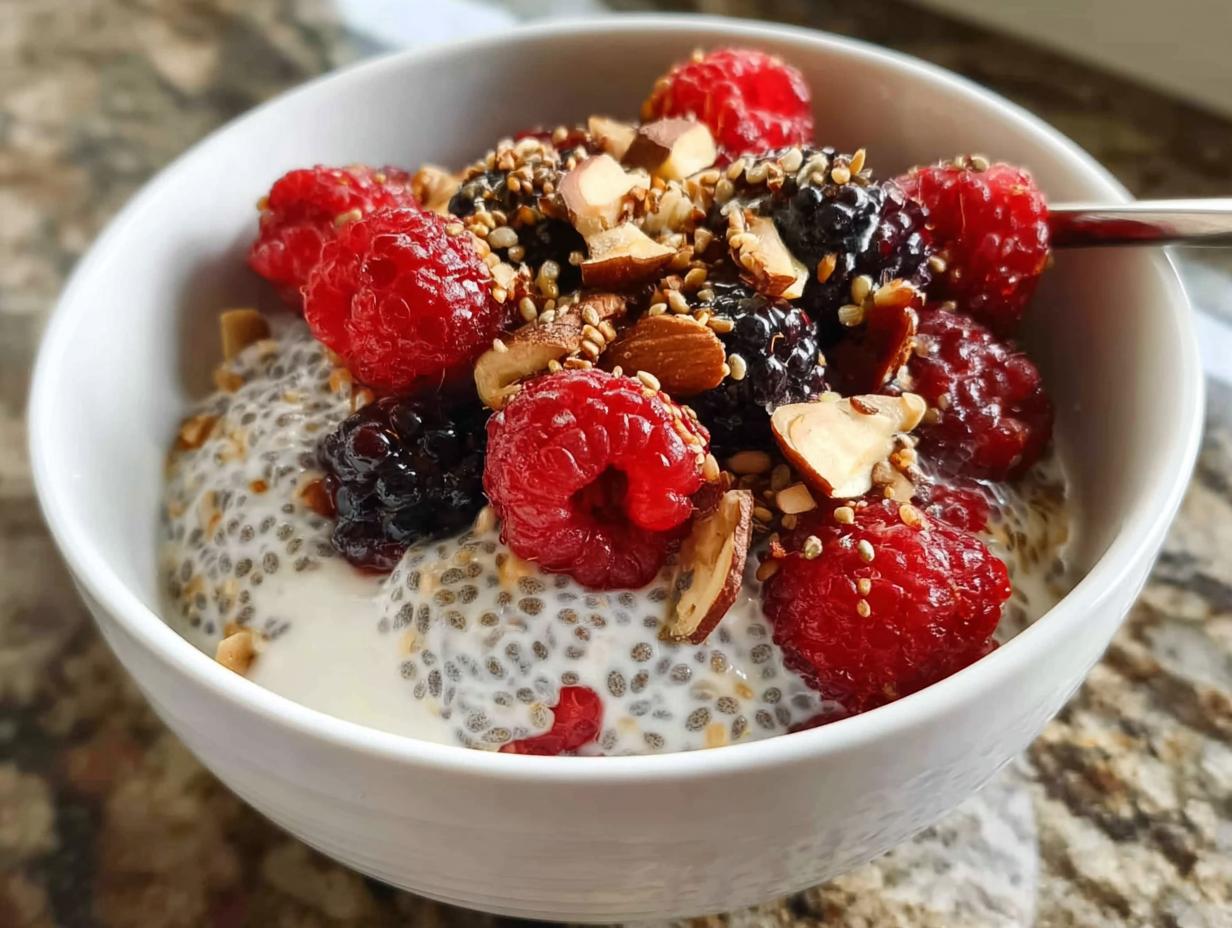
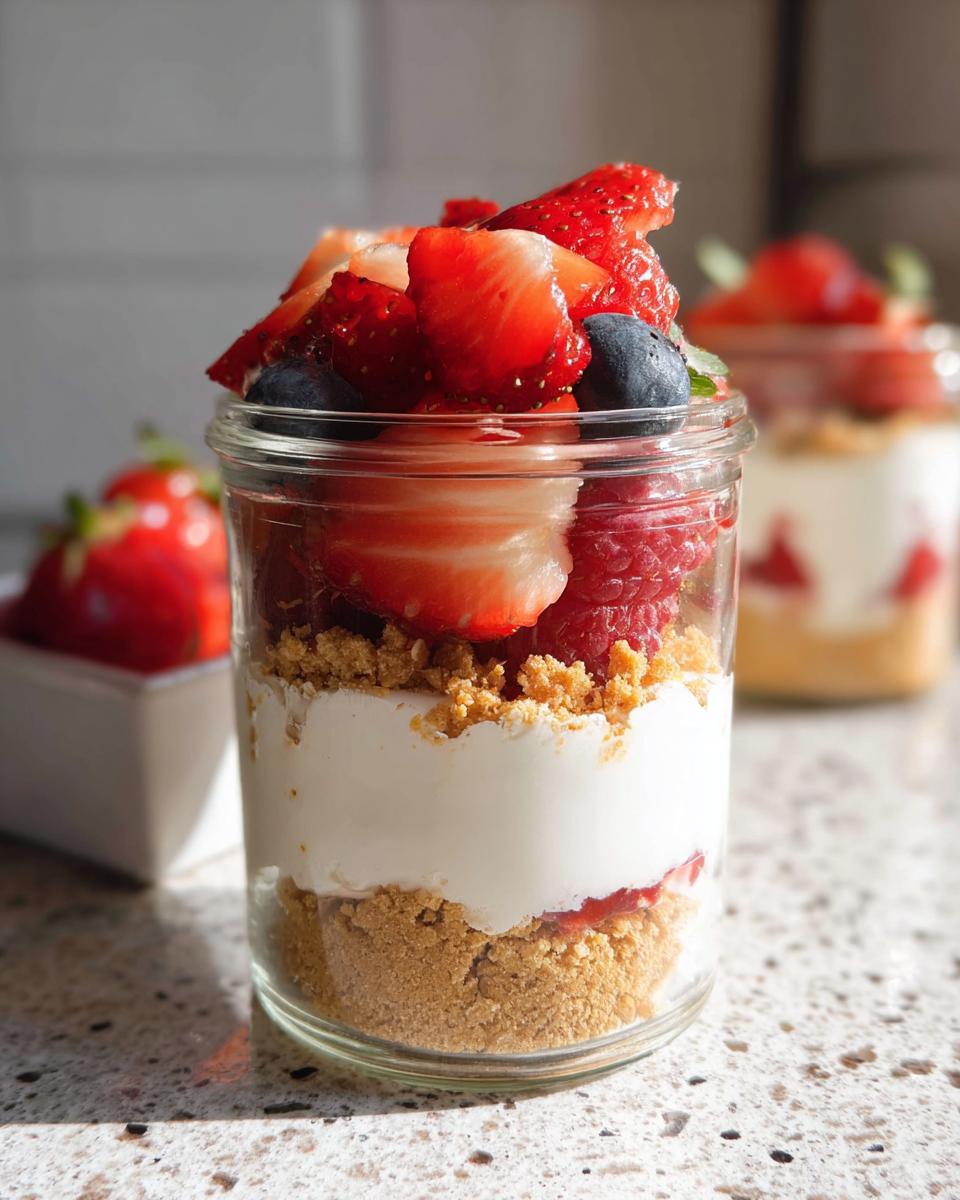
- Build the Jar: Now, layer everything up in this order: A scoop of the cheesecake mixture goes over the crackers, then a sprinkle of more graham crackers, then your berries, and top it all off with a final generous layer of the creamy cheesecake mix.
The final, non-negotiable step: chill them out! Even though it’s a no-bake recipe, these **High Protein Cheesecake Jars** truly shine after they’ve rested. You need to let them hang out in the fridge for at least an hour before digging in. This chilling time allows the flavors to really settle together, and it firms up the layers nicely. If you’re looking for other easy no-bake treats, you have to check out my recipe for a no-bake cottage brownie—it uses a similar creamy base!
Tips for Making the Best High Protein Cheesecake Jars Every Time
You’ve got the main steps down, but let me give you a few little secrets to take these **High Protein Cheesecake Jars** from good to absolutely addictive. First up: ingredient temperature! I know we aren’t baking, but the temperature of your dairy still matters. Try to let your cottage cheese and yogurt sit out on the counter for about 15 minutes before you start blending. Cold ingredients don’t combine as smoothly, so room-temperature dairy helps you get that unbelievably smooth, creamy cheesecake base on the first try.
As you’re layering them up, be gentle! If you dump the cheesecake filling in too fast on top of the crackers, it just pushes them right into the bottom jar layer, and you lose that nice, distinct texture contrast. Use a small spoon and gently dollop the filling, then place your berries carefully so they sit between the layers rather than sinking to the bottom.
And please remember: this is inherently a no-bake, fridge-set recipe, so don’t look for an oven rack! If you want to experiment with flavor, try adding a tiny bit of vanilla extract to the main filling or even sprinkling a pinch of cinnamon over your graham crackers for a different vibe, almost like my healthy chocolate mug cake offers a different spin on a classic!
Storing and Keeping Your High Protein Cheesecake Jars Fresh
Since these **High Protein Cheesecake Jars** are full of fresh dairy and fruit, storage is key. You want to make sure you seal them up tight! I always recommend placing the lids on firmly right after you finish layering them. Because they’re so fresh, they are best enjoyed within three to four days. After that, the texture starts to change a little, and we want them at their peak deliciously creamy state, right?
Also, don’t forget that chilling time I mentioned earlier! Even if you can’t wait the full hour, giving them some fridge time is essential for the flavors to really mingle. Think of it as a mini-fermentation where the sweetness of the maple syrup marries the tang of the yogurt. If you’re looking for other ways to maximize your weekly food prep, you should take a look at my guide on easy meal prep recipes for a healthy week—these jars fit right into that system!
Variations to Customize Your High Protein Cheesecake Jars
The beauty of this super simple base recipe is how adaptable it is! We are using the cottage cheese and yogurt for structure, but the flavor profile can change completely based on what you mix in. I mean, who wants the same snack every single day? That’s no way to stick to clean living!
My absolute favorite swap is adding a half teaspoon of pure vanilla extract directly into the cottage cheese blend before you add the yogurt. It just deepens that classic creamy flavor. If you’re feeling bold, try swapping the berries for some lemon zest and a touch of fresh lemon juice—it makes it taste like a light, bright dessert!
For the crunch layer, instead of plain graham crackers, try mixing in a tablespoon of peanut butter powder with the crumbs before layering. That adds a fantastic flavor boost without the extra fat. If you like these kinds of mix-and-match ideas, you’ll love the flexibility you get with my high-protein overnight oats line-up, too!
By Hi, I’m EMILIA, the founder of MeltItClean.com – your digital space for natural weight loss, real wellness habits, and clean-living inspiration that actually fits your life.
Understanding the Nutrition of These High Protein Cheesecake Jars
We talk a lot about clean habits and making food support your energy, which means we need to check the numbers, right? I always track my protein because that’s what keeps me full until my next real meal. For one of these **High Protein Cheesecake Jars**, here’s what you’re looking at, roughly speaking:
- Calories: About 250
- Protein: Around 15 grams
- Carbs: Approximately 35 grams
- Fat: Roughly 8 grams
Now, I have to give you the standard wellness disclaimer here because I want you to feel informed! These numbers are based on the full-fat yogurt and 2% cottage cheese. If you swap out the maple syrup for zero-calorie drops or decide to use ultra-low-fat dairy, those numbers change dramatically. Always treat these as a great starting estimate, and if you’re tracking tightly, double-check your specific brands. It’s about giving your body the right fuel to help you balance everything out. For more ideas on pairing treats like this with balanced meals, take a look at my favorite quick healthy meals for weight balance.
High Protein Cheesecake Jars
Ingredients
Equipment
Method
- Add the cottage cheese to a large food processor. Blend for 1 to 2 minutes or until smooth and creamy.
- Add the maple syrup and blend again until fully combined.
- Mix the whipped cottage cheese and Greek yogurt in a mixing bowl with a silicone spatula until well blended.
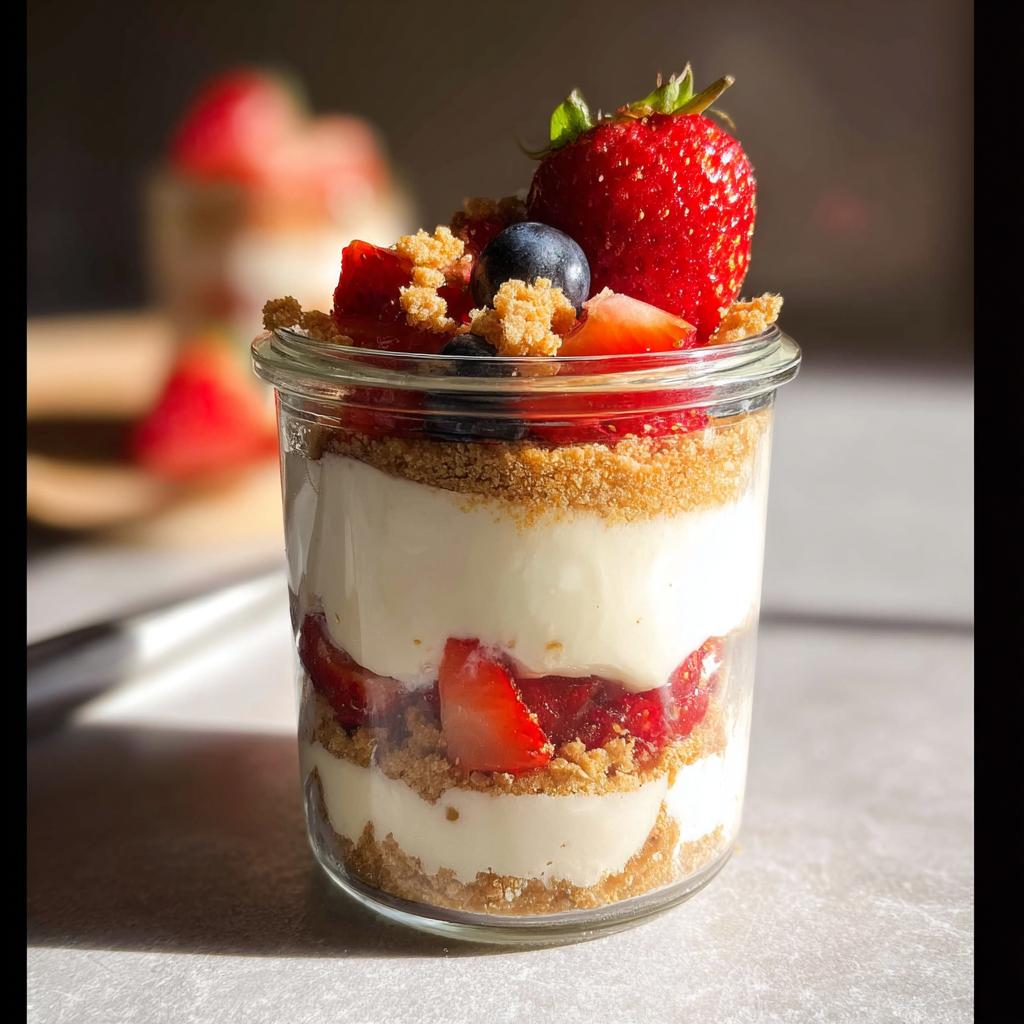
- Layer the jars in the following order: graham crackers, cheesecake mixture, graham crackers, berries, and cheesecake mixture in a jar.
- Garnish with more berries when ready to serve or serve immediately.