
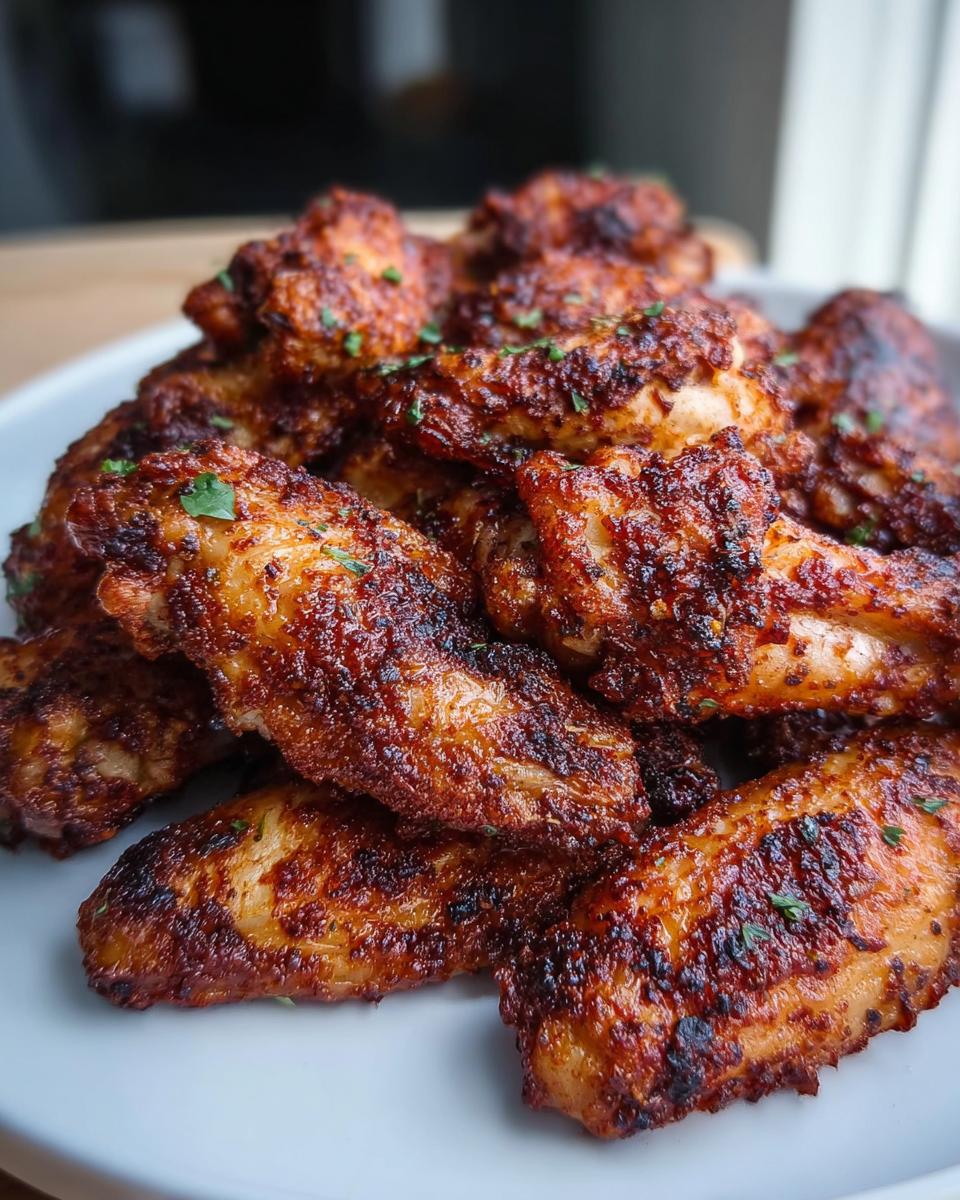
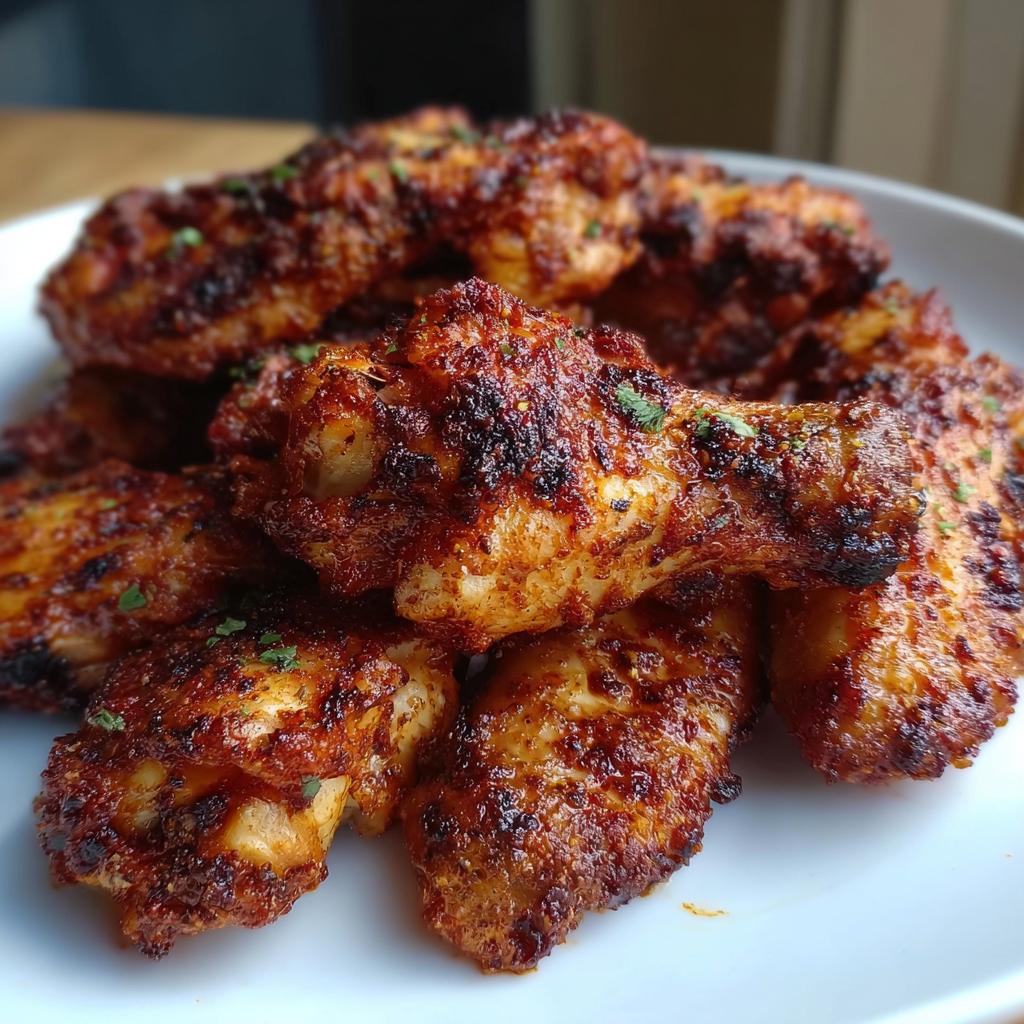
Okay, let’s talk wings, because sometimes you just need that satisfying, crunchy bite, right? For years, I swore you needed a deep fryer to get that perfect crackle, which never fit my clean-living vibe. I was tired of heavy sauces masking sad, steamed-out wings. So, I spent way too many weekends fiddling with my oven until I cracked the code! We aren’t messing around with marinades here; we’re hitting maximum flavor with a powerful shake of spices. These Dry Rub Wings with Bold Spices are baked, unbelievably crispy, and they support the intentional, flavorful habits I want us all to build. Trust me, once you nail this, you won’t even think about frying again!
Who Needs These Dry Rub Wings with Bold Spices?
Listen, if you’re busy—and who isn’t?—but you crave that serious wing flavor without the greasy mess, these are for you. They are perfect for anyone focused on real wellness habits but who refuses to eat bland food. Seriously, they are a game-changer for game day or a quick weeknight dinner when you need something genuinely satisfying. If you want flavor bombs that are cooked intentionally, come right this way. Check out all my favorite meal prep ideas for busy weeks!
The Secrets to Perfect Crispy Dry Rub Wings with Bold Spices
Getting that deep-fried crunch *without* the deep fryer is my absolute favorite kitchen magic trick! It all comes down to one non-negotiable ingredient in the spice blend: baking powder. Now, listen closely, because this is where people mess everything up. You need baking powder, NOT baking soda. Baking powder reacts with the chicken skin proteins and dries them out just enough during baking to create that glorious shatter. Don’t skip this step if you want the real deal in your Dry Rub Wings with Bold Spices.
Essential Equipment for Your Dry Rub Wings with Bold Spices
You don’t need fancy gear, but you do need the right staging for the wings. First, you must have a metal wire rack placed on top of a lined baking sheet. This is non-negotiable! The wire rack lifts the wings so the hot air circulates completely underneath them. If they sit directly on the pan, the bottom steams and gets soggy—and we are definitely not making soggy wings here, right?
You’ll also need your trusty oven (preheated high!), a large bowl for tossing everything together, and a pair of tongs for flipping them later. That’s it! Simple tools for maximum flavor and crunch.
Gathering Ingredients for the Ultimate Dry Rub Wings with Bold Spices
Okay, getting the right ingredients is where we set the stage for success. If you’re looking for simple, clean components that pack a punch, this recipe delivers. We break it down into two main groups: the wings themselves and the spice blend that makes them famous. Remember, the quality of the chicken matters! Get 2 pounds of wings, split into drumettes and flats—no excuses for buying pre-mixed bags, we want even cooking!
The most important thing regarding the dry mix is that exact measurement for the baking powder we talked about before. Pay close attention when you’re measuring out the powders and the salt. We’re aiming for a savory, smoky, slightly spicy coating. Don’t worry if you think you’re adding too much rub; these wings soak up seasoning beautifully!
The Flavor Base: Components of the Bold Spice Rub
This is the heart of the whole operation for our **Dry Rub Wings with Bold Spices**! We start with a full tablespoon of smoked paprika. That smoky depth is what makes everyone ask how you cooked these—it tricks your brain into thinking they were slower smoked or grilled. Then comes the standard savory base: garlic powder and onion powder, adding that essential background flavor that grounds the heat.
For the kick, we use just half a teaspoon of cayenne pepper. If you’re hosting a crowd, you might want to bump that up to a full teaspoon, but this starting point gives a beautiful warmth without being overwhelming. A teaspoon of kosher salt and half a teaspoon of black pepper are there to amplify everything else. And for a tiny bit of caramel balance? A single teaspoon of brown sugar—just enough to help everything brown up beautifully in the oven without making the wings sticky. It’s all about balance, remember?
Step-by-Step Method for Making Dry Rub Wings with Bold Spices
If you’ve got your ingredients ready, the actual cooking process is shockingly straightforward, which is exactly what fits our clean-living, stress-free habits! First thing’s first: get that hot air moving. You need to crank your oven up to 425°F (220°C). While it’s heating, get your baking sheet lined with foil and place that crucial wire rack on top. This setup is what ensures you get that crispy exterior all the way around.
These cooking times are based on letting the oven do the heavy lifting, so resist the urge to check them too often during the initial bake!
Prep Work: Drying and Seasoning the Wings
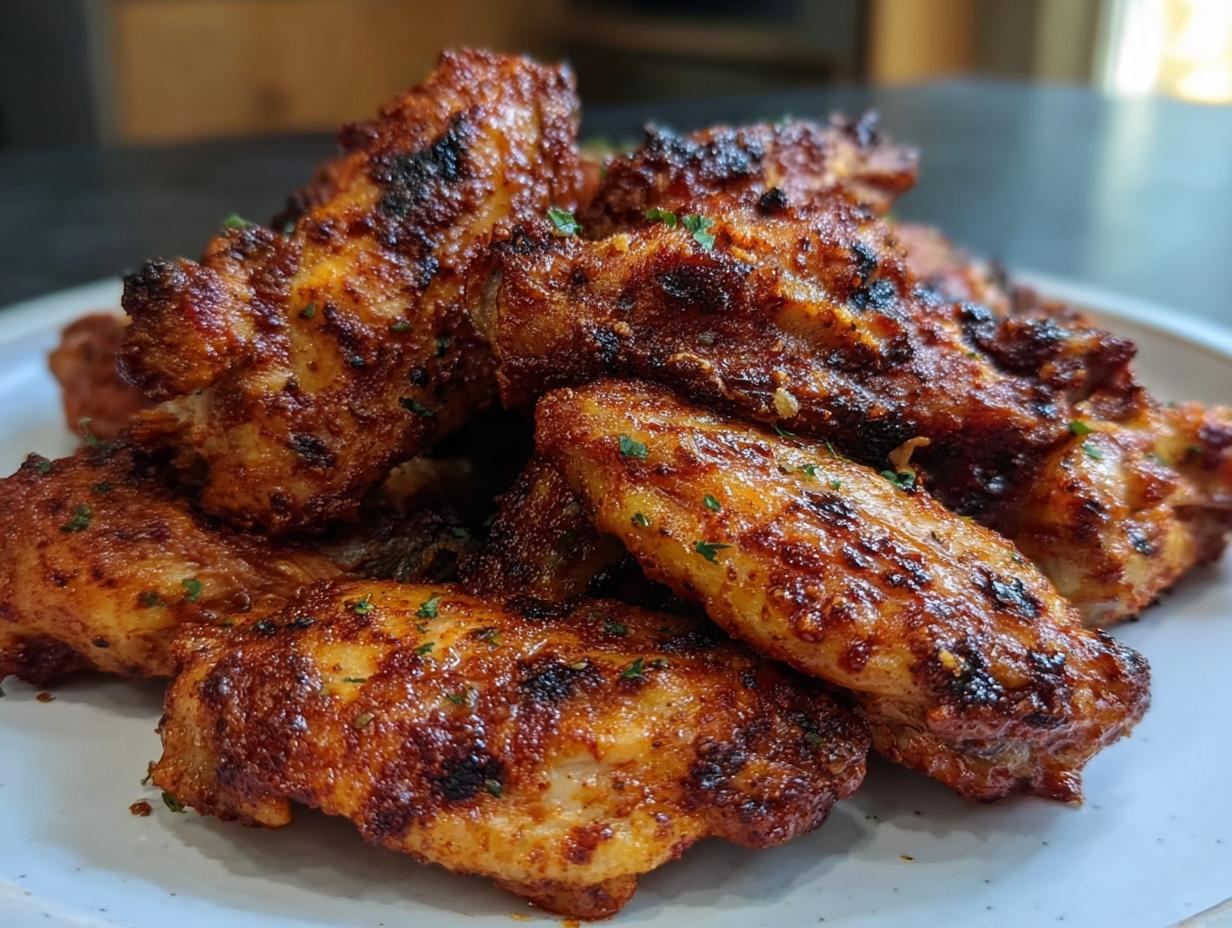
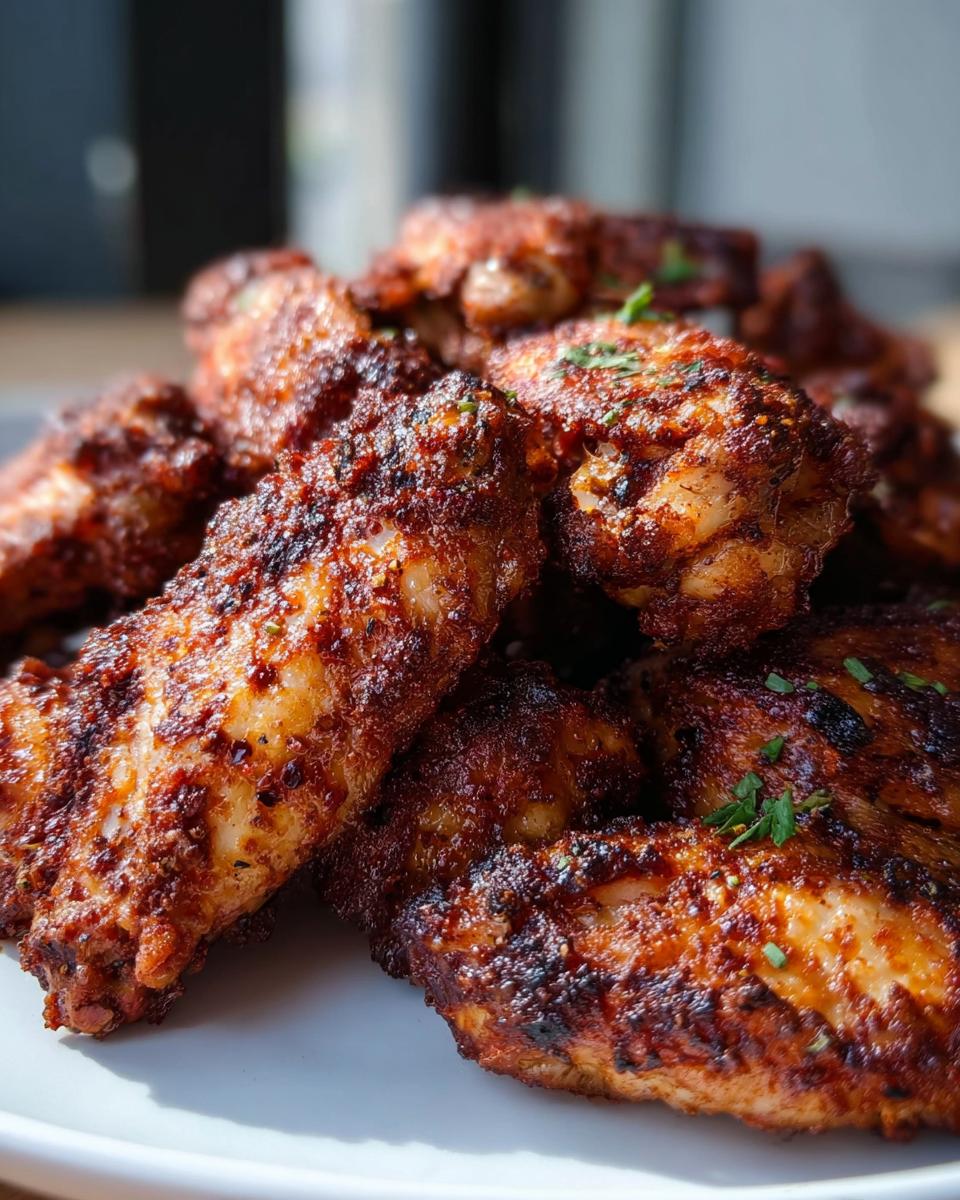
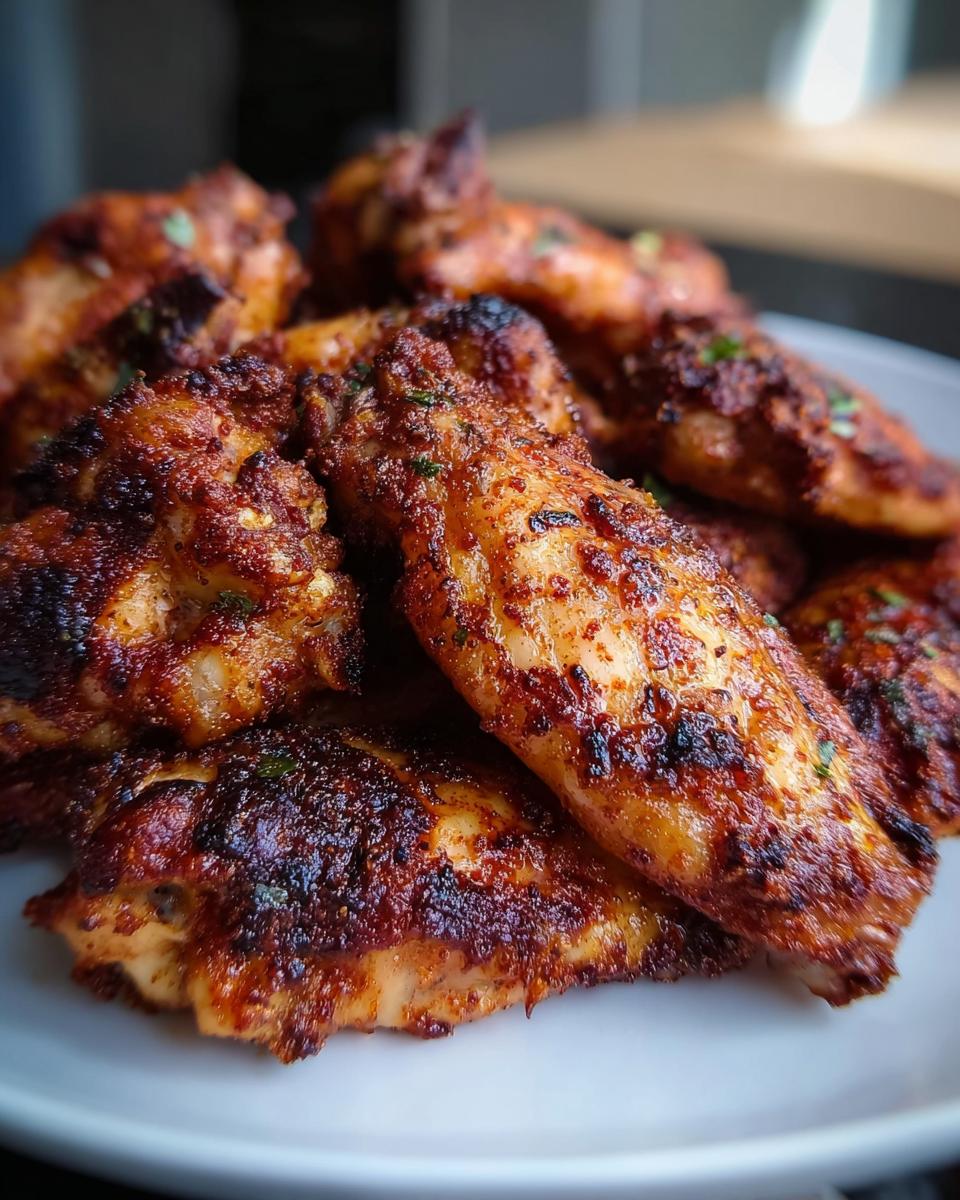
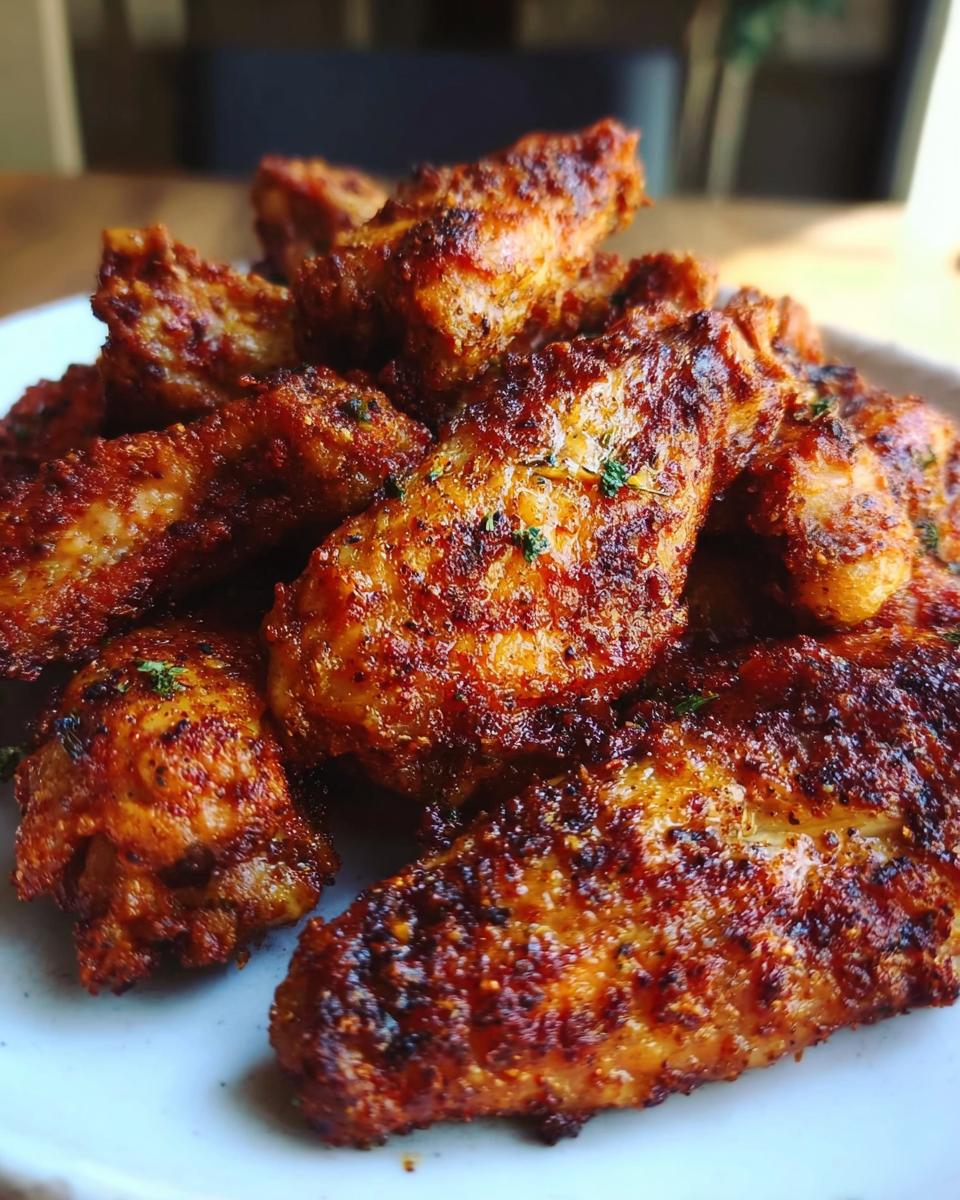
This next part is non-negotiable if you want that amazing crunch in your **Dry Rub Wings with Bold Spices**—you must dry the wings out! Take those 2 pounds of wings and pat them down mercilessly with paper towels until they feel practically dusty. Any leftover moisture is the enemy of crispiness. Once they are bone-dry, toss them into that large bowl filled with all your spice mix. Make sure you toss, toss, toss until every single flat and drumette is completely coated in that bold seasoning blend. They should look richly colored before they even hit the heat.
Baking Technique for Maximum Crunch in Dry Rub Wings with Bold Spices
Now, arrange your perfectly seasoned wings on the wire rack. Make sure they aren’t touching! They need space for the air to work its magic. Pop them in the hot oven for 20 minutes. When the timer rings, use your tongs to flip every wing over. This is key for even coloring. Slide them back in for another 20 to 25 minutes. You’re looking for that deep golden-brown shade and skin that looks almost crackly. Once they look done, let them rest right on the rack for about five minutes before serving. This lets the juices settle in, keeping the meat unbelievably juicy inside where all the flavor is hiding!
For more tips on mastering your cooking flow, check out my guide on how to make chicken recipes like a pro.
Pro Tips for Achieving Restaurant-Quality Dry Rub Wings with Bold Spices
Okay, now that you’ve got the main steps down for your Dry Rub Wings with Bold Spices, let me share a few professional tricks that helped me move from “pretty good” wings to “OMG, what are these amazing wings?” territory. When I first tried skipping the deep fryer, I was so disappointed; the skin was always sort of leathery. Then I finally listened to an old chef friend who whispered the secret: baking powder, used correctly, changes EVERYTHING.
When I mixed that tablespoon of baking powder into the rub for the first time, I was skeptical. But pulling those wings out, golden brown and practically vibrating with crispness? Wow! It was supportive of my clean-living goal because it removed the need for unhealthy oils, but it delivered the texture payoff I craved. It’s proof you don’t need restriction to get satisfaction!
Here are the essential tweaks to ensure your wings are always restaurant-quality:
- When you pat the wings dry, use two different sets of paper towels—one for the tops, one for the bottoms, just so you don’t cross-contaminate any moisture back onto the skin.
- Don’t rush the preheat! Make sure your oven is absolutely screaming hot at 425°F before those wings even think about going in. Hot air circulation is key to setting that crisp crust fast.
- If, after that last 20 minutes, your wings look cooked but aren’t quite shattered enough, don’t panic! Switch your oven setting to BROIL for just 60 to 90 seconds. Watch them like a hawk during this step—they go from perfect to burnt quicker than you can shout “wellness habit!”
- The rest period after baking is important. Just 5 minutes sitting on that wire rack allows the internal juices to redistribute so you get savory meat beneath that crunchy exterior.
Follow these little nudges, and you won’t just have baked wings; you’ll have the best **Dry Rub Wings with Bold Spices** you’ve ever made at home. It’s about intentional flavor delivery, friends!
Serving Suggestions for Your Dry Rub Wings with Bold Spices
Even the boldest, crispiest **Dry Rub Wings with Bold Spices** need a little friend on the plate, right? Because the rub itself is so punchy and savory, I always look for sides that bring balance and lightness to the meal. We want that clean-living energy boost, not a heavy food coma!
My go-to pairing is usually something cool and refreshing. A big, crunchy slaw mixed with just a little bit of apple cider vinegar and a touch of honey is absolutely perfect. It cuts through the smokiness of the paprika beautifully. If you want something cooked, roasted broccoli or even some sweet potato fries are fantastic accompaniments that keep the whole meal feeling intentional and nourishing. You can find some of my favorite ideas for balanced meals that complement these wings perfectly.
And for dipping? Skip the heavy bottled ranch! A simple homemade yogurt-based dip with fresh dill and a big squeeze of lemon juice makes these wings feel gourmet while keeping things clean. Presentation-wise, pile them high on a platter—maybe with a sprinkle of fresh parsley for a pop of color—and watch them disappear! They look impressive, but honestly, they are so easy to put together.
Storage and Reheating Your Delicious Dry Rub Wings with Bold Spices
No one wants to see these amazing, crispy **Dry Rub Wings with Bold Spices** go to waste, but you need to store them correctly if you want them to taste good the next day! Remember how much work we did making sure the skin was super dry and crispy? Well, putting them straight into a sealed container while they’re still warm is the fastest way to ruin all that hard work. Condensation is the enemy of crunch!
First, let them cool completely on the wire rack—or even on a fresh plate—until they reach room temperature. Once they are totally cool, transfer them into an airtight container. I usually layer them with a paper towel between the layers just to absorb any lingering moisture overnight. They keep perfectly fine in the refrigerator for about three to four days. For even easier planning next week, you can prep them entirely ahead of time. You can make a big batch on Sunday and have lunch ready for Monday and Tuesday!
Now, for the crucial part: reheating! Please, please do not make the mistake of using the microwave unless you absolutely have to. Microwaves are the reincarnation of sogginess; they will steam the skin right back into oblivion. If you want those beautiful, bold flavors and that satisfying snap back, you have two excellent, clean-living approved options:
- The Oven Method: This is my favorite way to bring them back to life. Preheat your oven to about 375°F (190°C). Place the completely cooled wings directly onto a clean wire rack set over a baking sheet. Bake for about 8 to 10 minutes. This slow, dry heat wakes up the spice and crisps the skin beautifully.
- The Air Fryer MVP: If you have an air fryer, this is even faster! Pop them in at 350°F (175°C) for about 4 or 5 minutes. They come out tasting almost freshly made.
A little effort in the reheating stage goes a long way toward enjoying your **Dry Rub Wings with Bold Spices** the second time around!
Frequently Asked Questions About Dry Rub Wings with Bold Spices
It’s totally normal to have a few questions when you’re diving into a new recipe, especially one that promises major crunch without the fry! I get asked variations of these all the time, so I figured I’d gather the most common ones right here. Getting these little details right is what separates a good wing from one of our phenomenal **Dry Rub Wings with Bold Spices**.
Can I use chicken thighs or breasts instead of wings?
You absolutely can adapt this rub for other cuts of chicken, but you have to adjust your expectations and your cooking time significantly. Chicken thighs or breasts are much thicker, which means they won’t get that ultra-crispy skin texture that the thin wing pieces achieve. If you use thighs, you’ll definitely need to keep them on the wire rack so air can circulate underneath. For the best results and true crispiness, stick to the wings for this method. If you’re looking for quicker meals, check out the 20-minute meal ideas I share!
How do I adjust the spice level in the dry rub?
This is totally personal, and that’s the beauty of a good dry rub! The recipe includes half a teaspoon of cayenne, which gives you a noticeable warmth—it’s flavorful heat, not palate-scorching fire. If you truly love bold, intense spice, don’t be afraid to dial that cayenne up to a full teaspoon or even slightly more. Conversely, if you are serving kiddos or spice-averse friends, skip the cayenne entirely! The smoked paprika and the garlic/onion powder still provide tons of savory flavor even without the punch of heat.
Can I prepare the bold spice rub ahead of time?
Yes, and I highly recommend it! Making the spice mixture in advance is one of those great habits that makes weeknights so much smoother. Whisk all your dry spices together—the baking powder, paprika, cayenne, salt, etc.—in a small airtight jar. It will keep perfectly fine on your spice shelf for several months. When you’re ready to cook your **Dry Rub Wings with Bold Spices**, all you have to do is pat the chicken dry, dump the wings into a bowl, and shake in the pre-mixed rub. It saves you about 5 minutes of measuring right before you need high oven heat, which is totally worth it!
Why is patting the chicken wings dry so important?
I know I mentioned it before, but this is perhaps the single most critical step for crispiness! Think of it this way: water (moisture) and hot air/oil repel each other initially, and that moisture has to steam off before the skin can truly crisp up. If you skip drying them, you end up steaming the skin inside your oven, and nobody wants rubbery wings! Dedicate a good minute or two per batch to patting those wings down until they feel completely dry. It’s a small habit that provides massive flavor payoff with your **Dry Rub Wings with Bold Spices**.
Sharing Your Success with Dry Rub Wings with Bold Spices
I truly hope you give these **Dry Rub Wings with Bold Spices** a try this week! When you focus on building intentionally flavorful habits, food just tastes better, and that’s exactly what these wings deliver alongside that amazing crispiness.
When you’re finished—and please, I mean *when*—I absolutely want to hear all about it! Did you bump up the cayenne? Did you try a different side pairing? Head down to the comments section below and drop a rating and let me know how your kitchen experiment went. Five stars if they shattered your expectations!
And because sharing our successful wellness endeavors is what builds this community, snap a quick photo once they come out of the oven. Tag me on social media! Seeing your perfectly seasoned, baked wings makes my day and shows everyone else that clean living never means sacrificing the best tastes. You’ve got this, and I can’t wait to see those delicious **Dry Rub Wings with Bold Spices** you made. For more satisfying meals that fit your real life, you can always check out my favorite recipes here!
By EMILIA, the founder of MeltItClean.com – your digital space for natural weight loss, real wellness habits, and clean-living inspiration that actually fits your life.
For years, I struggled with the ups and downs of dieting. I tried everything — juice cleanses, low-carb crazes, fitness challenges — but I always ended up back where I started: tired, bloated, and frustrated. I didn’t just want to “lose weight” — I wanted energy, mental clarity, glowing skin, and confidence without sacrificing my joy or sanity.
After years of experimenting, learning, and unlearning, I discovered a simple truth: your body is already powerful — it just needs support, not restriction. That’s when I created Melt It Clean — a site dedicated to real transformation through clean, intentional, and nourishing daily habits that anyone can follow. If you want to see more about my wellness journey, check out my full story here.
My goal was simple: build a place where people could feel informed, supported, and empowered without being overwhelmed by wellness fads. I share tasty, bold recipes like these **Dry Rub Wings with Bold Spices** because wellness should never mean missing out on great food!
Dry Rub Wings with Bold Spices
Ingredients
Equipment
Method
- Preheat your oven to 425°F (220°C). Line a baking sheet with foil and set a wire rack on top. If your oven runs hot, lower to 400°F (200°C) to avoid burning.
- Pat the 2 pounds (900g) of chicken wings completely dry with paper towels.
- In a large bowl, mix 1 tablespoon baking powder, 1 tablespoon smoked paprika, 1 teaspoon garlic powder, 1 teaspoon onion powder, ½ teaspoon cayenne pepper, 1 teaspoon kosher salt, ½ teaspoon black pepper, and optional 1 teaspoon brown sugar until well combined.
- Add the dry wings to the bowl and toss with the dry rub until every piece is evenly coated.
- Place the wings in a single layer on the wire rack, making sure they are not touching. Bake for 20 minutes.
- Flip each wing over using tongs and continue baking another 20-25 minutes until golden brown and crispy.
- Check for doneness by looking for deep golden color and crackly skin; internal temperature should be at least 165°F (74°C).
- Let the wings rest on the rack for 5 minutes before serving.


