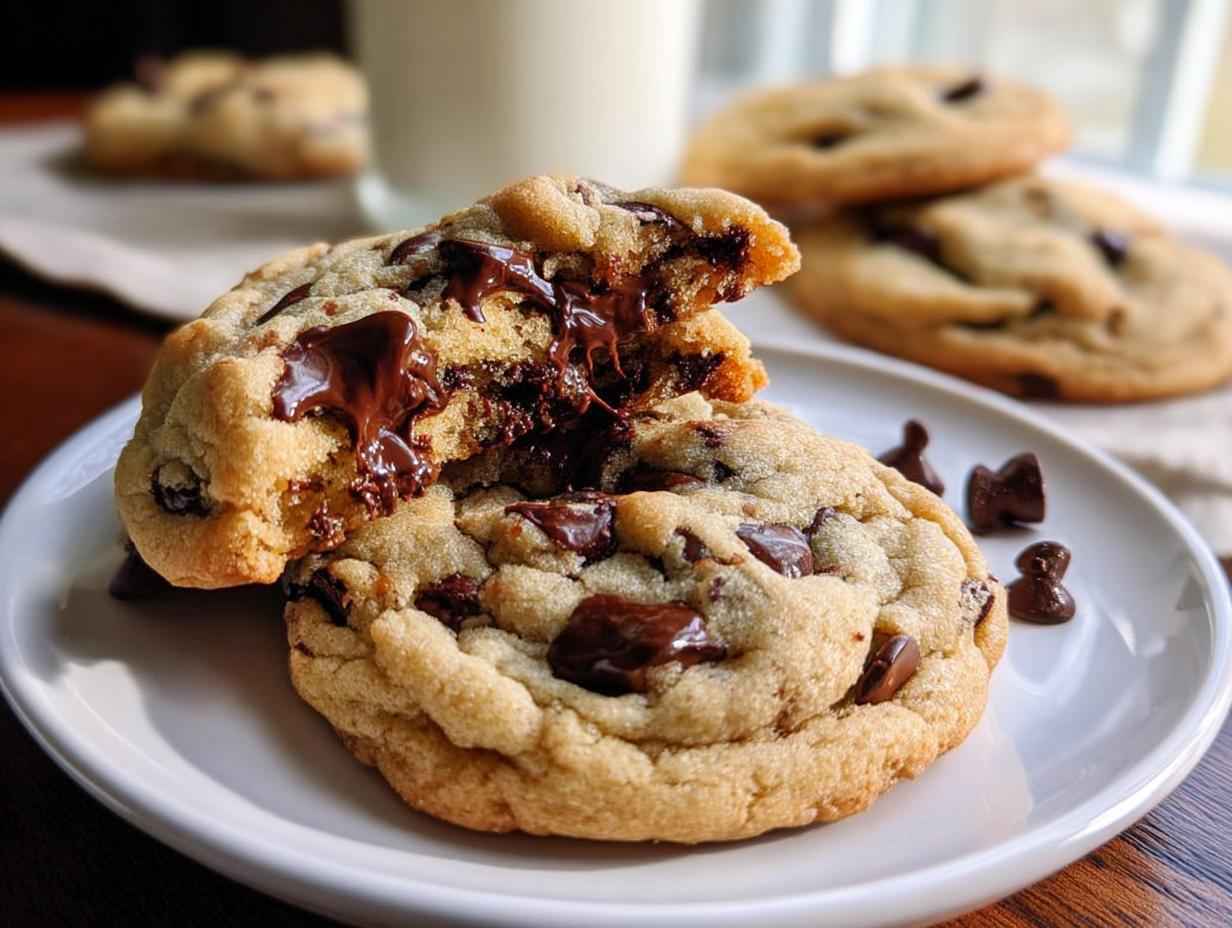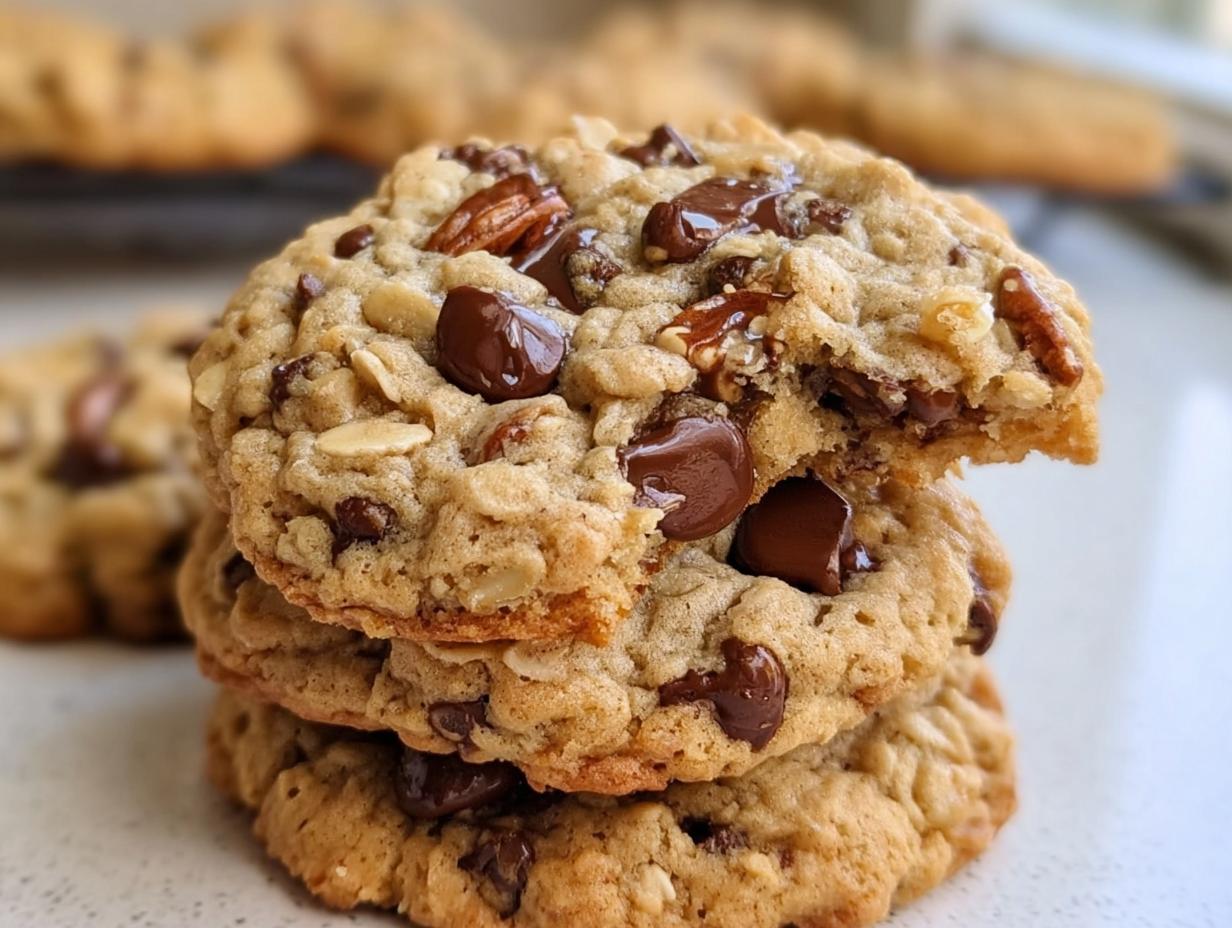
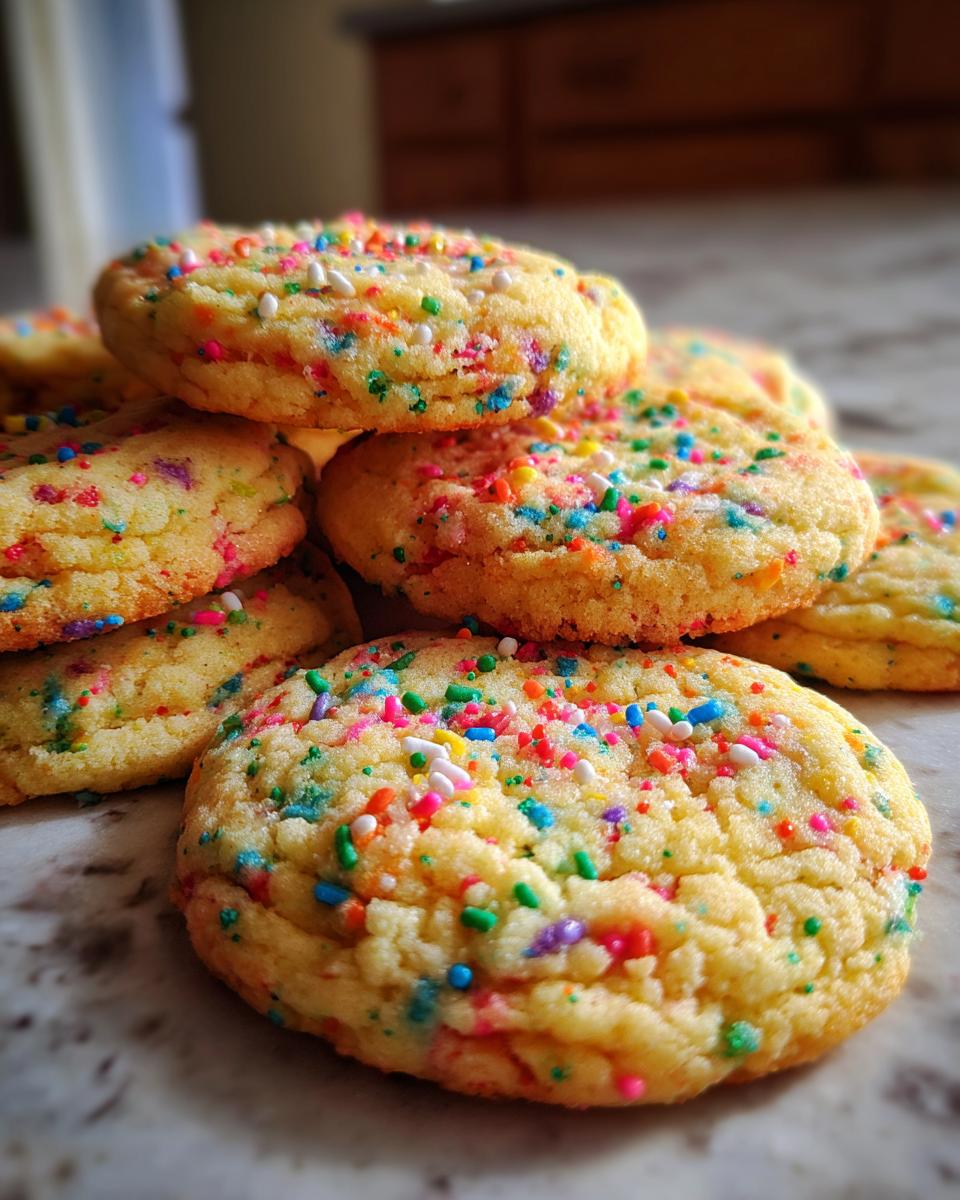
Confession time: when a party invitation pops up, sometimes my first thought isn’t “what gift should I bring?” but “oh no, what treat am I going to make?!” And then, like a delicious beacon of hope, I remember my amazing Slice-and-Bake Party Cookies! Seriously, these things are a lifesaver. They look fancy, taste incredible, and the best part? They’re ridiculously simple. You bake ’em, you slice ’em, and then you go to town decorating them for whoever’s party it is. I’ve whipped these up for everything from birthdays to last-minute bake sales, and they always disappear way too fast!
Why These Slice-and-Bake Party Cookies Are a Must-Have
Honestly, these cookies are my go-to for a reason! They’re practically magic for any get-together:
- Super Easy Prep: We’re talking minimal effort here. Cream, mix, roll, chill, slice, bake. That’s it! No complicated shaping or fiddly bits.
- Endless Versatility: This is where the “party” part really shines. You can roll the logs in sprinkles *before* chilling, or go wild with icing and themed decorations once they’re baked and cooled. Think holiday colors, school spirit, your friend’s favorite character – anything goes!
- Make-Ahead Champion: Life gets crazy, right? The best part is you can make the dough logs and keep them in the fridge for a few days, or even freeze them for up to three months. Need cookies in a pinch? Just slice and bake!
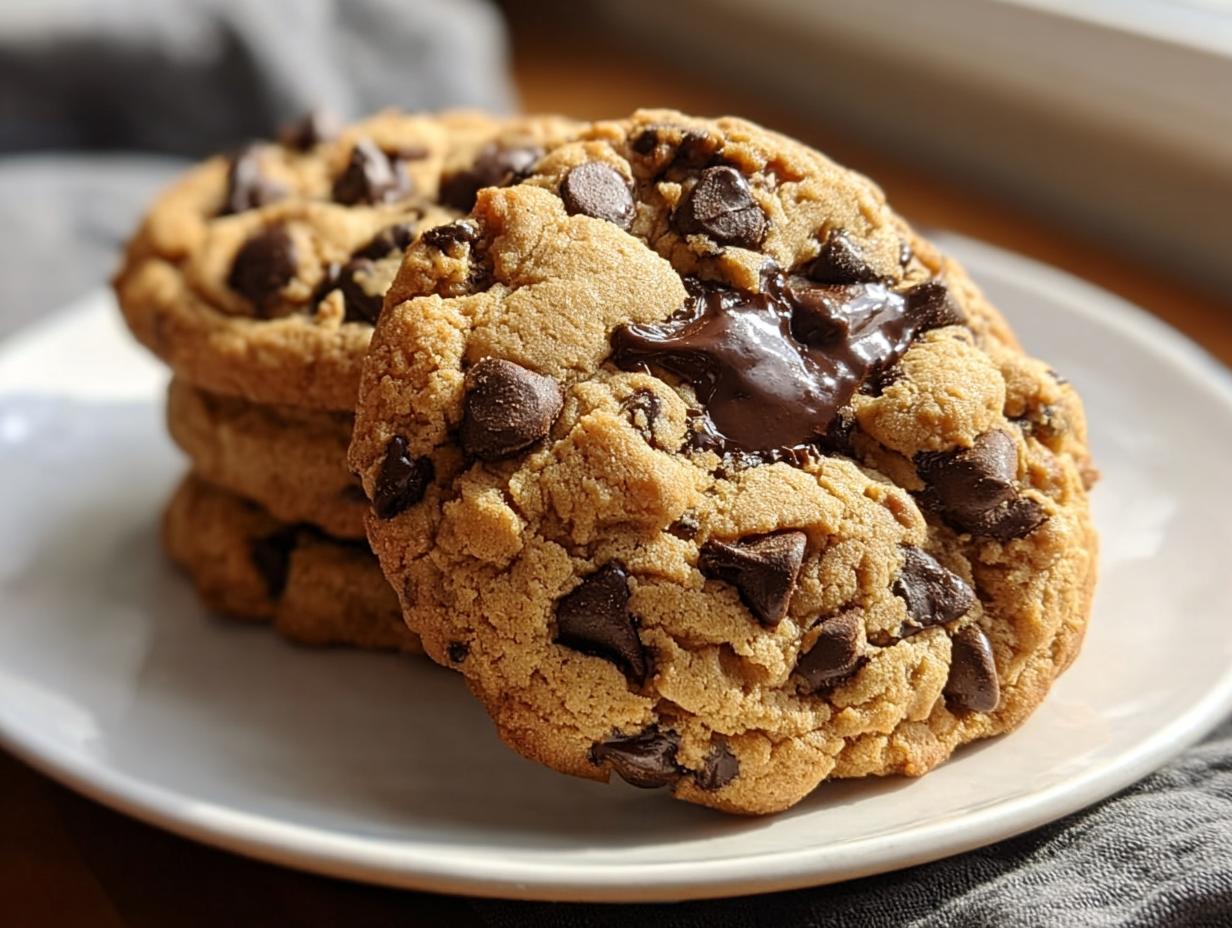
- Tastes Like Homemade Love: Even though they’re easy, these cookies bake up with that perfect buttery, slightly sweet flavor that just screams “homemade goodness.” They’re never too fussy, but always satisfying.
Gather Your Ingredients for Perfect Slice-and-Bake Party Cookies
Okay, let’s get our ingredients lined up. The beauty of these Slice-and-Bake Party Cookies is that they use simple, everyday things you probably already have lurking in your pantry. But trust me, using good quality stuff really does make a difference – you can totally taste it!
For the Cookies:
- 1 cup unsalted butter, just softened (not melted, mind you!)
- 1 cup granulated sugar
- 1 large egg
- 1 teaspoon vanilla extract
- 2.5 cups all-purpose flour
- 1 teaspoon baking powder
- 0.5 teaspoon salt
Optional Decorations:
- Sprinkles (the more, the merrier!)
- Icing (store-bought or your favorite homemade recipe works great)
Essential Equipment for Making Slice-and-Bake Party Cookies
You don’t need a whole professional bakery setup for these! Just a few trusty basics will do the trick:
- Baking sheets: You’ll need a couple of these so you can bake cookies in batches.
- Parchment paper: This is a lifesaver for preventing sticking and making cleanup a breeze. Trust me, you’ll thank yourself later!
- Mixing bowls: A couple of good-sized bowls are essential for getting everything mixed up nicely.
- Electric mixer: While you *could* do it by hand, an electric mixer makes creaming the butter and sugar so much easier and faster.
- Rolling pin: Handy for getting those dough logs a nice, uniform size before chilling.
- Plastic wrap: Super important for keeping your dough logs nice and firm while they chill.
Having these ready makes the whole process smooth sailing. You can read more about kitchen essentials on my blog!
Step-by-Step Guide to Creating Your Slice-and-Bake Party Cookies
Alright, let’s get our hands a little floured and make some magic! This is where the fun really begins. Don’t worry, it’s all super straightforward, and I’ve got some little tips along the way to make sure your Slice-and-Bake Party Cookies turn out amazing every single time.
Mixing the Dough for Your Slice-and-Bake Party Cookies
First things first, grab a big bowl and your softened butter and sugar. You want to cream these together until they’re nice and fluffy, like pale yellow whipped clouds. This is super important for the texture later! Then, beat in that egg and the yummy vanilla extract until everything’s smooth. Don’t go crazy mixing here, just until it’s all combined.
Chilling and Shaping the Slice-and-Bake Party Cookie Dough
Now, get another bowl and whisk together your flour, baking powder, and salt. Gently add these dry bits to the butter mixture. Mix *just* until it comes together – seriously, don’t overmix, or your cookies will be tough! Divide the dough in half, then shape each half into a log about 1.5 inches wide. Wrap ’em up tight in plastic wrap, and pop them in the fridge for at least 30 minutes. They need to get nice and firm so you can slice them cleanly.
Baking Your Perfect Slice-and-Bake Party Cookies
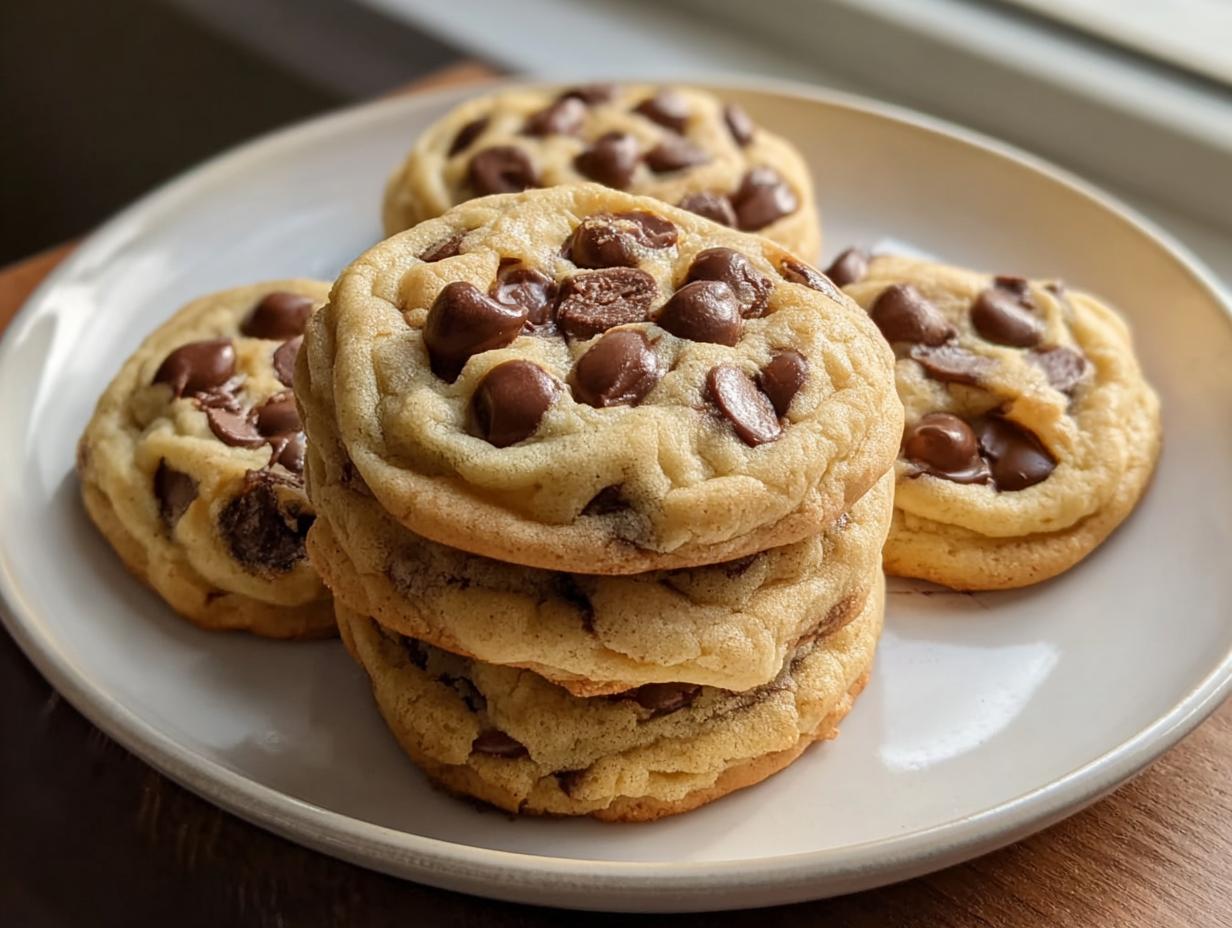
Time to get that oven ready! Preheat it to 350°F (175°C) and line a couple of baking sheets with parchment paper – it makes life SO much easier. Once your dough is firm, unwrap those logs and slice them into about 1/4-inch rounds. Lay them on your prepared sheets, giving them a little space to spread out. Bake for about 10 to 12 minutes. You want those edges to be just barely golden brown. Pull them out then – they’ll keep cooking a little on the hot pan, and you don’t want them crispy unless you’re going for that kind of cookie!
Cooling and Decorating Your Slice-and-Bake Party Cookies
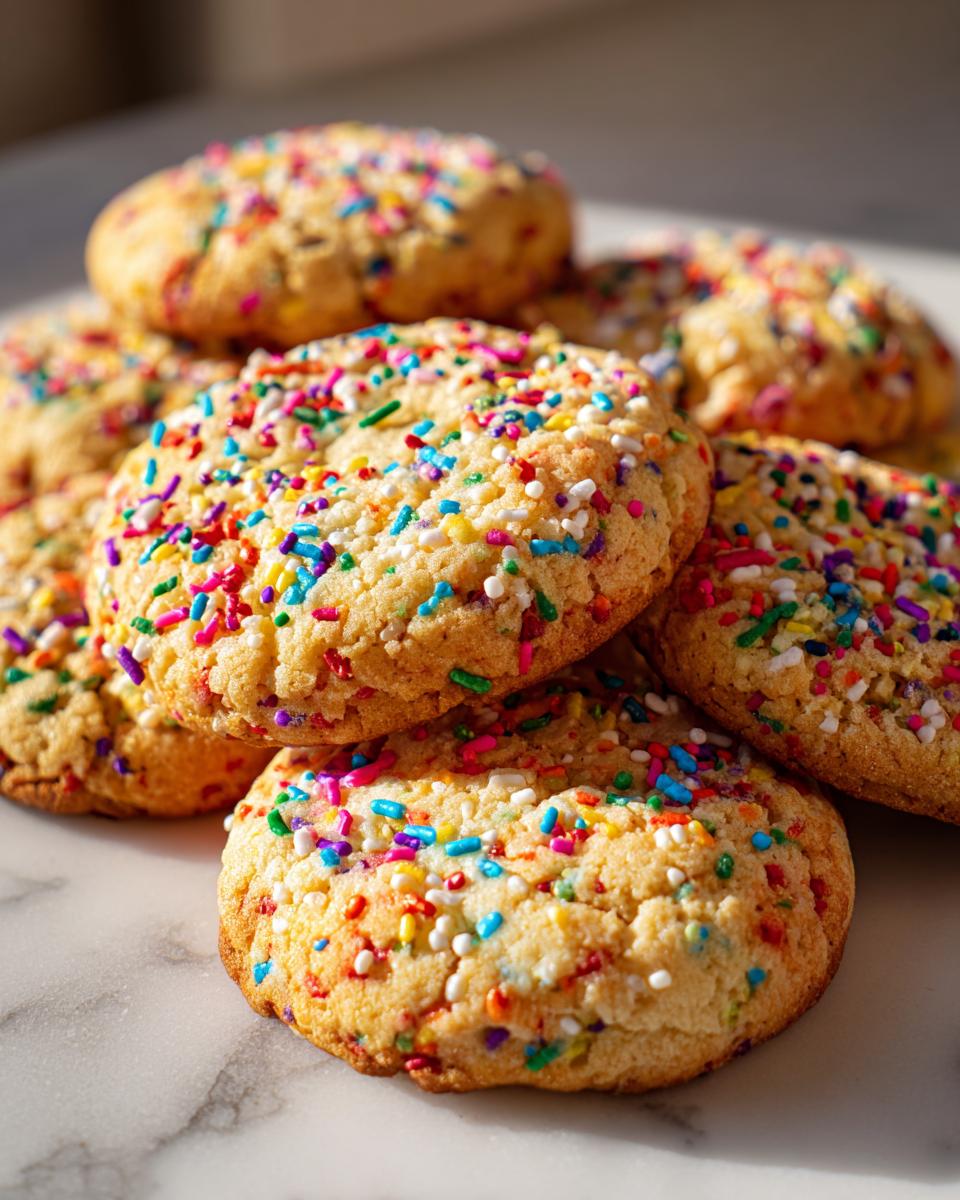
Let those beauties hang out on the baking sheets for maybe 5 minutes to firm up a bit. Then, carefully move them over to a wire rack to cool completely. This is the fun part! Once they’re totally cool, you can go wild with icing, sprinkles, or whatever makes your party heart sing!

Tips for Success with Slice-and-Bake Party Cookies
You’ve got the basics down, but here are a few little tricks I’ve learned over the years to make your Slice-and-Bake Party Cookies extra special and keep those party planning stress levels super low:
- Color Bombs: Want cookies that really pop? Divide the dough *before* you roll it into logs and add a drop or two of food coloring to each portion. Mix it in gently until it’s just combined. Then, you can swirl them together or make separate colored logs! It’s so fun.
- Freezer Friendly is My Friend: Seriously, I always have a log or two tucked away in the freezer wrapped really well. Life happens, and when you get that last-minute invite, you can pull out a log, let it thaw for about 15-20 minutes on the counter (just until it’s sliceable, not soft), and bake fresh cookies. It’s my secret weapon! You can find great advice on ingredients and temperatures here that’ll help with freezing too.
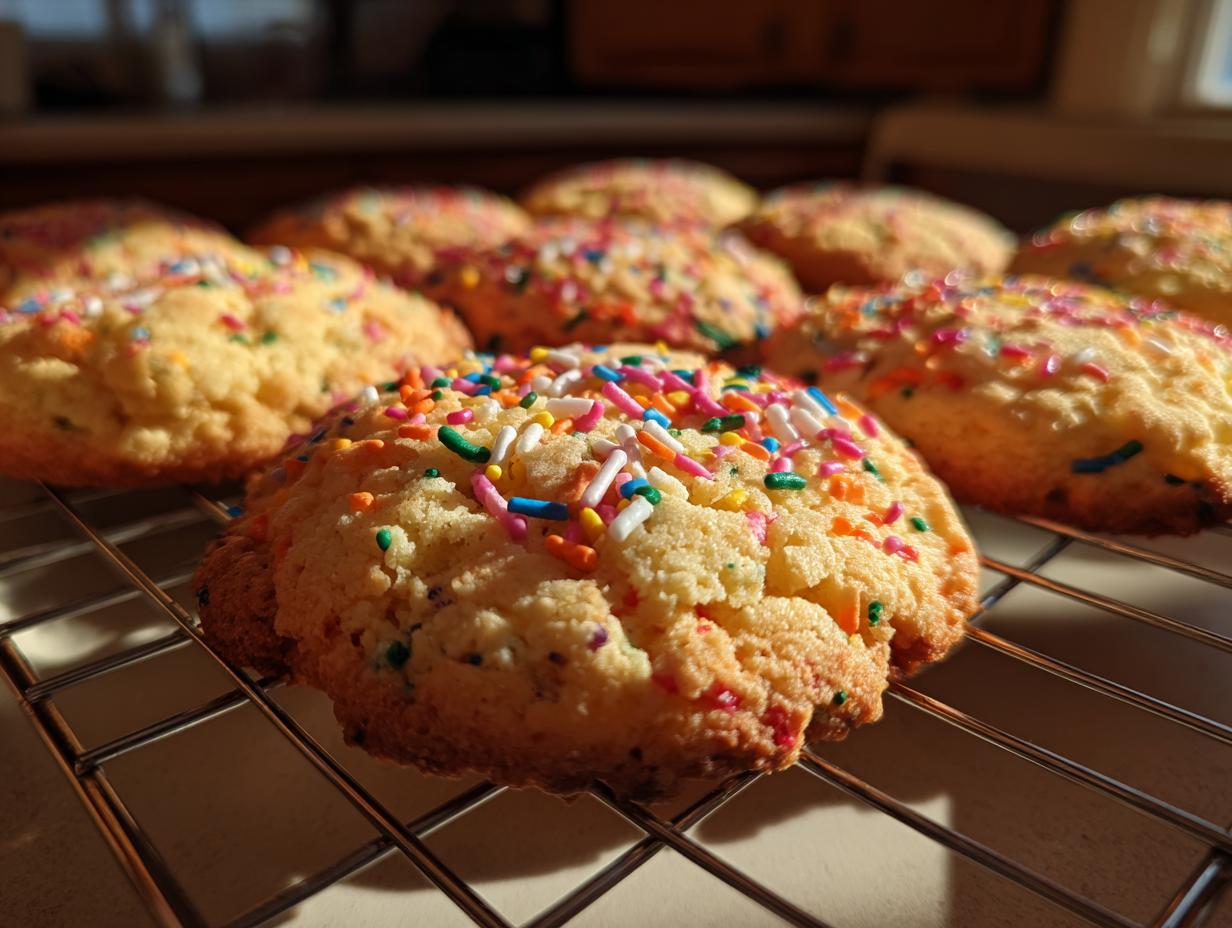
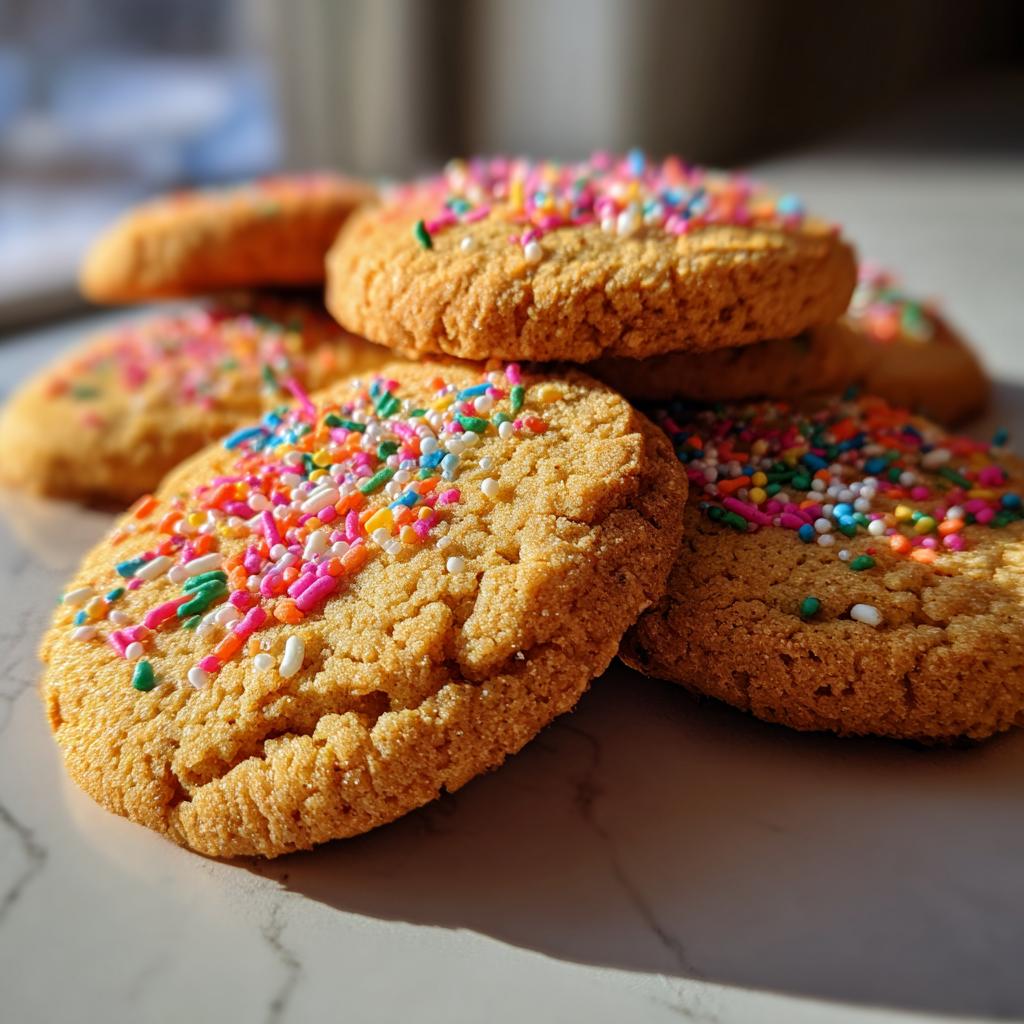
- Sprinkle Power! Before you wrap those logs to chill, give them a good roll in a shallow dish of sprinkles. It pushes them right into the dough and gives you instant festive flair without needing extra icing later. It’s messy but SO worth it!
- Storage Savvy: Once cooled, these cookies stay fresh in an airtight container at room temperature for about 3-4 days. If you decorated them with a lot of icing, it’s best to layer them with wax paper so they don’t stick together.

Frequently Asked Questions about Slice-and-Bake Party Cookies
Got questions about these super easy Slice-and-Bake Party Cookies? I’ve got you covered! Here are some things people often ask:
Can I freeze the dough for these party cookies?
Oh, absolutely! This is one of my favorite things about this recipe. Wrap the dough logs tightly in plastic wrap, then tuck them into a freezer-safe bag or container. They’ll keep for up to 3 months. When you need them, just let them thaw on the counter for about 15-20 minutes until they’re sliceable!
How long will homemade slice-and-bake cookies stay fresh?
Once baked and cooled, these cookies are pretty happy at room temperature in an airtight container for about 3 to 4 days. If you went wild with icing, it’s a good idea to put a little wax paper between layers so they don’t get all sticky.
Can I make these slice-and-bake cookies gluten-free?
You sure can try! I haven’t personally tested it with all gluten-free flours, but usually, a good 1-to-1 gluten-free baking blend should work well. You might need to add a tiny bit more liquid or flour to get the dough consistency just right, as GF flours can be a bit different. Let me know if you try it!
What kind of sprinkles are best for decorating these party cookies?
Honestly, use whatever you love! Jimmies (the long skinny ones), nonpareils (the tiny balls), sanding sugar for sparkle – they all work beautifully. For a real festive touch, rolling the logs in sprinkles *before* you chill them is fantastic, or you can just go to town decorating them after they’re baked and cooled. Have fun with it!
Nutritional Information Disclaimer
Just a friendly heads-up! The nutritional info for these Slice-and-Bake Party Cookies is an estimate, okay? It can change depending on the specific ingredients and brands you use. We’re all about delicious baking here, not exact science!
For more details, you can always check out our full disclaimer page.
Slice-and-Bake Party Cookies
Ingredients
Equipment
Method
- In a large bowl, cream together the softened butter and granulated sugar until light and fluffy.
- Beat in the egg and vanilla extract until well combined.
- In a separate bowl, whisk together the flour, baking powder, and salt.
- Gradually add the dry ingredients to the wet ingredients, mixing until just combined. Do not overmix.
- Divide the dough in half. Shape each half into a log, about 1.5 inches in diameter. Wrap each log tightly in plastic wrap and refrigerate for at least 30 minutes, or until firm.
- Preheat your oven to 350°F (175°C). Line baking sheets with parchment paper.
- Remove the dough logs from the refrigerator. Unwrap and slice each log into 1/4-inch thick rounds.
- Place the cookie slices onto the prepared baking sheets, about 1 inch apart.
- Bake for 10-12 minutes, or until the edges are lightly golden brown.
- Let the cookies cool on the baking sheets for a few minutes before transferring them to a wire rack to cool completely.
- Decorate with sprinkles or icing as desired once the cookies have cooled.