

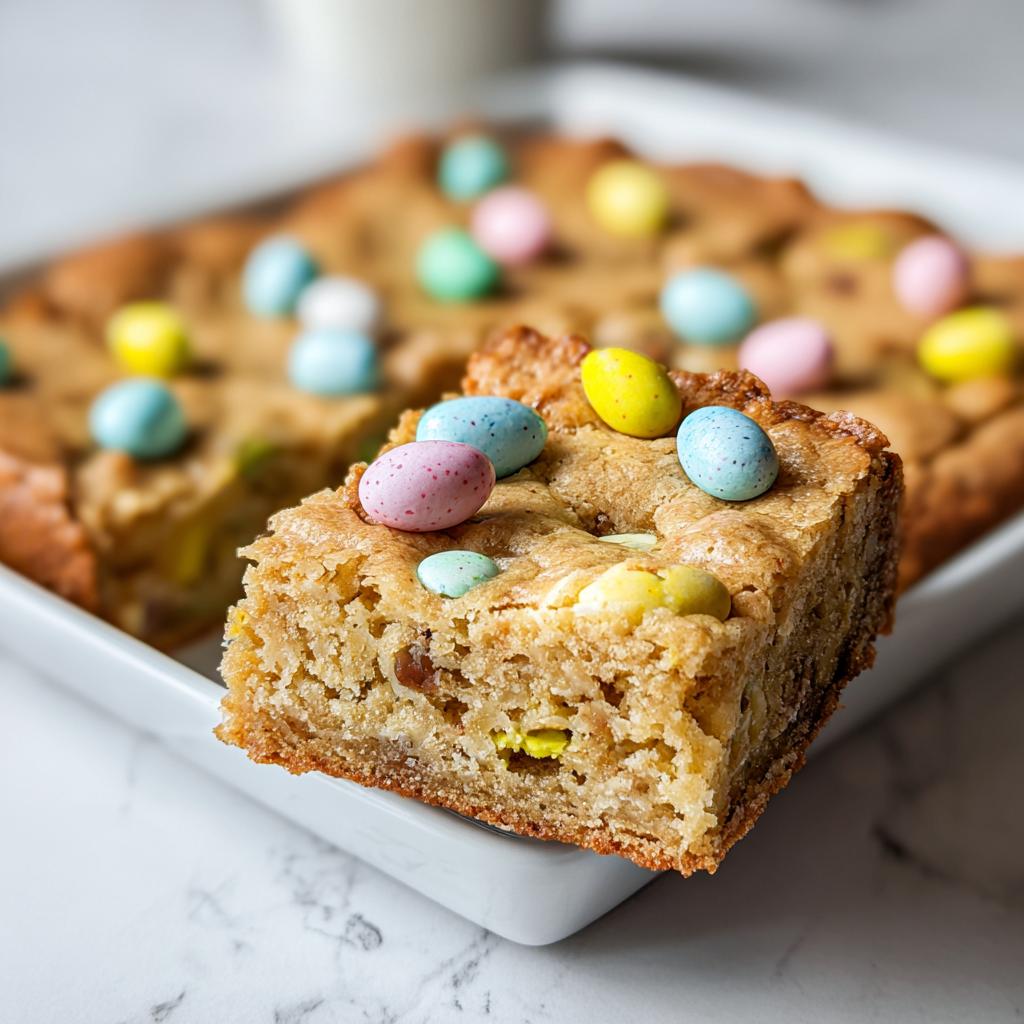
Okay, you guys, let’s talk about pure joy. That’s what these Mini Egg Cookie Bars are! Seriously, the combination of a perfectly chewy, buttery cookie base with those delightful little bursts of crunchy chocolate from mini eggs? It’s pure magic in every bite. I remember making a big batch of these last spring for a neighborhood get-together, and they disappeared faster than I could blink! It’s those kinds of treats that remind me why I love baking so much – creating something delicious that brings people together. Trust me, this recipe is a winner.
Who Will Love These Mini Egg Cookie Bars?
Honestly? Pretty much everyone! These bars are a dream for families looking for a fun weekend baking project, busy parents needing a quick and impressive dessert, or anyone who just has a serious chocolate craving. If you love classic chocolate chip cookie flavors but want something a little more festive and easy to share, these are for you. They’re perfect for Easter, but honestly, any day is a good day for a mini egg cookie bar!
The Perfect Tone and Style for Your Mini Egg Cookie Bars
When we talk about these amazing bars, you’ll find my voice is all about being super friendly and approachable. Think of me as your baking buddy, cheering you on! The style is all about keeping things clear and super easy to follow. No fancy jargon here – just straightforward steps that make baking these bars totally doable, whether you’re a total newbie or a seasoned pro. We want everyone to feel confident and have fun in the kitchen!
My Personal Mini Egg Cookie Bars Story
You know, there was a year I felt totally overwhelmed with holiday baking. I had a million recipes scattered everywhere, and I just wanted something simple but also super special. That’s when I remembered my grandma’s basic bar cookie recipe, and I thought, “What if I jazz it up?” I happened to have a giant bag of mini eggs leftover from Easter, and on a whim, I folded them into the dough and topped the whole thing with a few more. Seeing the faces of my family light up when they took that first bite? Priceless. It wasn’t just a regular cookie; it was a fun, festive surprise that felt like a big hug. That’s the magic these little bars hold for me!
Gather Your Ingredients for Mini Egg Cookie Bars
Alright, let’s get our baking game face on! To whip up a batch of these incredible Mini Egg Cookie Bars, you’ll need a few key things. First up, we’ve got the base: 110 grams of unsalted butter, which I like to melt and brown a little for an extra nutty flavor – it makes such a difference! Then, grab 200 grams of lovely brown sugar to make them nice and chewy. Don’t forget 1 large egg and 1 teaspoon of vanilla extract to bring it all together.
For the dry ingredients, we’re looking at 210 grams of plain flour, half a teaspoon of baking powder, half a teaspoon of bicarbonate of soda for that perfect lift, and half a teaspoon of salt to balance the sweetness. And, of course, the stars of the show: 250 grams of those adorable mini eggs! Make sure you have some whole ones for topping and a few lightly crushed ones to mix right into the dough. That’s everything you need for cookie bar perfection!
Step-by-Step Guide to Making Mini Egg Cookie Bars
Alright, let’s get down to business and make these incredible Mini Egg Cookie Bars! It’s pretty straightforward, so don’t get intimidated. First things first, grab a small saucepan and melt your butter over medium-low heat. Keep an eye on it – you want it to brown just a little, smelling nutty and delicious. Once it’s got that lovely aroma, take it off the heat and let it cool down for a few minutes. While that’s happening, preheat your oven to 180°C (that’s 350°F for my US friends!) and line an 8-inch square baking tray with parchment paper. Trust me, this little step makes life SO much easier when it’s time to get the bars out!
Now, in a good-sized mixing bowl, pour in that cooled brown butter and your brown sugar. Grab your electric whisk and beat them together until the mixture looks pale and seriously creamy. This usually takes about 4 to 5 minutes – it’s worth the arm workout! Next, add in your egg and that splash of vanilla extract, and just whisk it all together until it’s well combined.
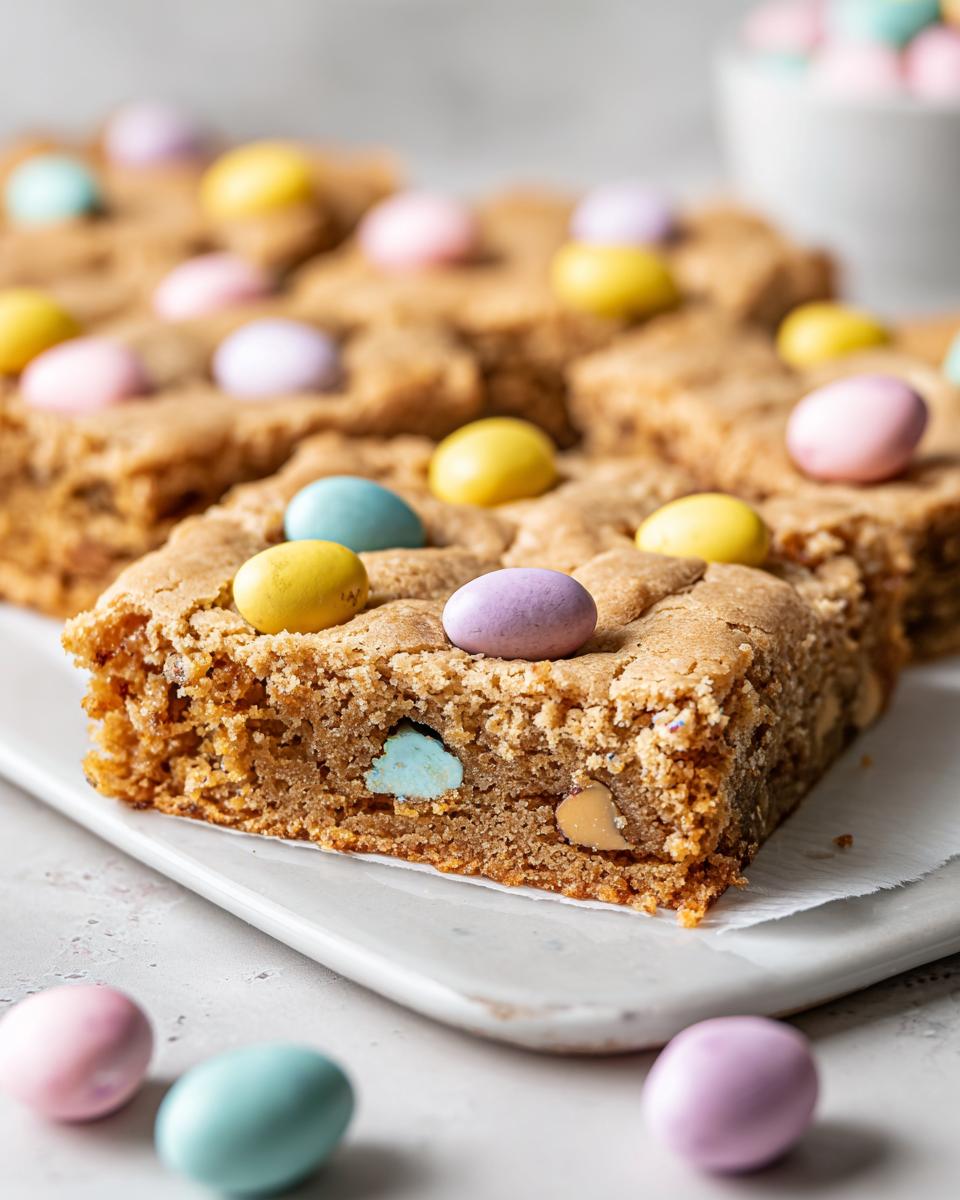
Time for the dry stuff! Sift in your flour, baking powder, bicarb soda, and salt. Now, using a spatula (not the whisk this time!), gently fold these dry ingredients into the wet until it’s *just* combined. You don’t want to overmix at this stage, or your bars can get tough! Now, take a little handful of those mini eggs and set them aside – these are for the topping. Stir the rest of the mini eggs right into the dough. You can give a few a gentle crush beforehand if you like, for extra pockets of chocolatey goodness.
Spoon all that glorious cookie dough into your prepared baking tray. Use your spatula or the back of a spoon to press it down evenly, making sure it reaches all the corners. 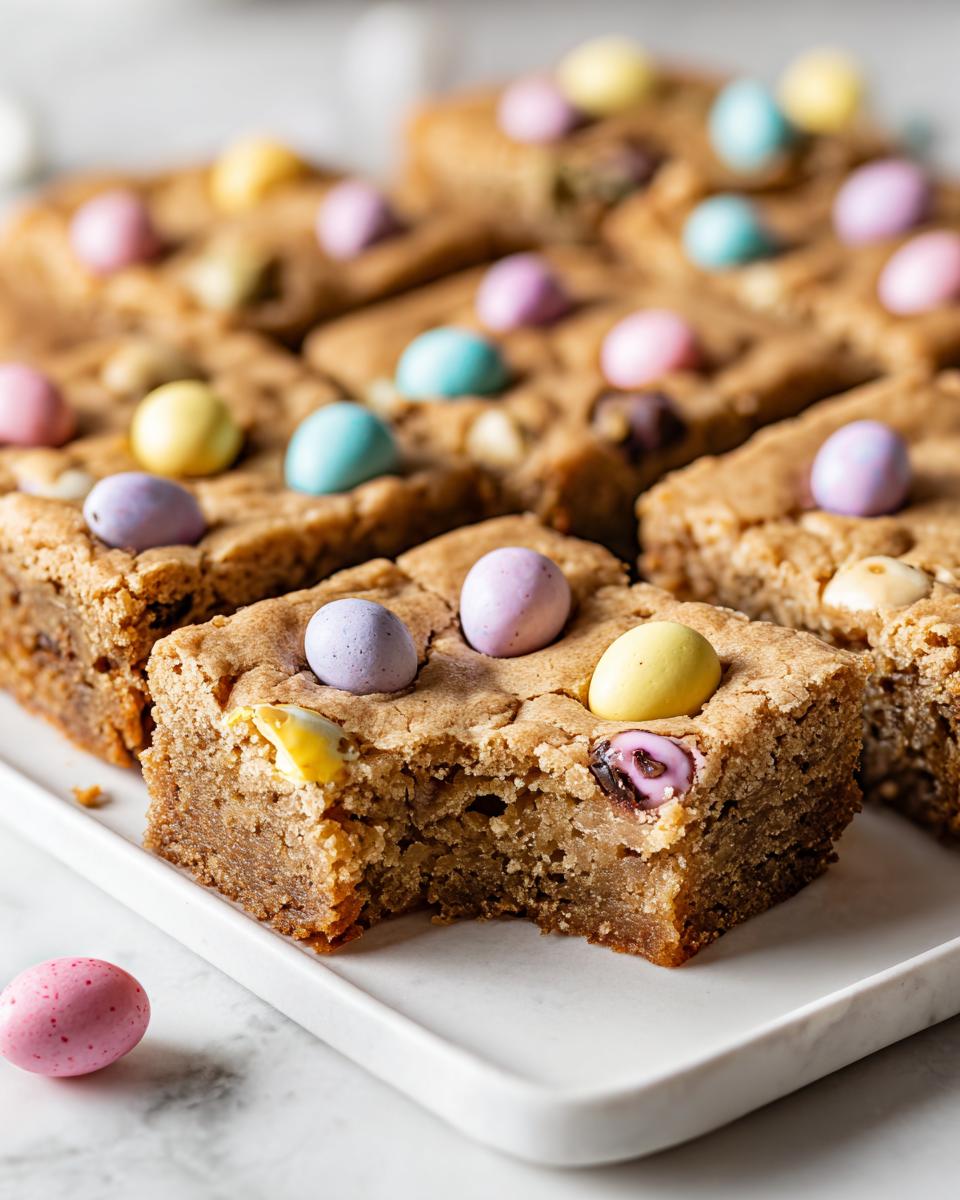 Pop that tray into your preheated oven and bake for about 15 to 18 minutes. You’re looking for the top to be golden and have a light crust, but it should still feel a little soft underneath. Remember, these bars will continue to cook a bit as they cool, so we don’t want them rock hard straight out of the oven – that’s the secret to a chewy center! Once they’re done, pull them out. Immediately, while the bars are still warm, press those reserved whole mini eggs firmly into the top. They’ll sink in just a little and look absolutely stunning.
 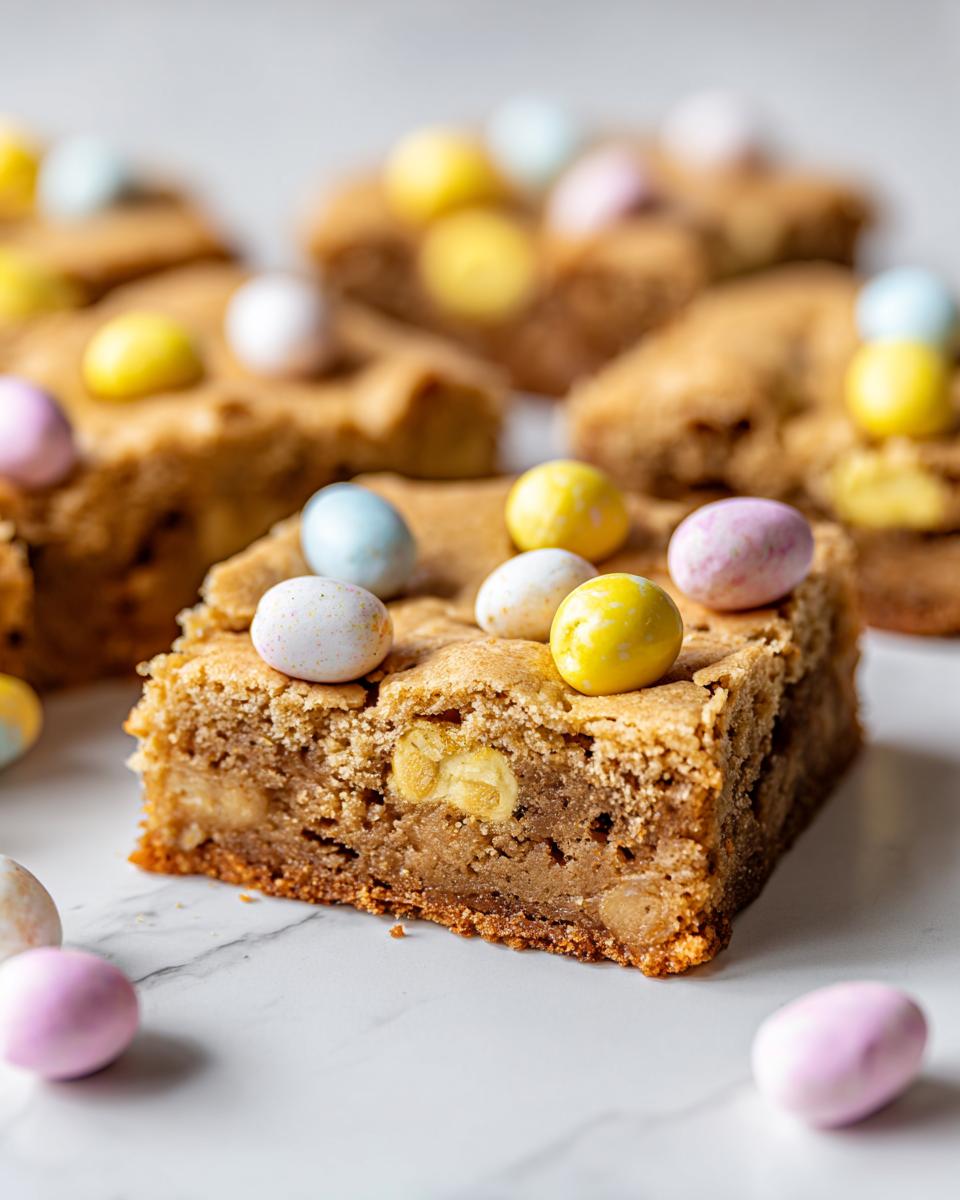 The most important part now? Let them cool COMPLETELY in the tin before you even think about cutting them. It takes patience, but it’s essential for clean slices and that perfect texture. You can find more tips for great cookie bars here, and if you love chocolate, check out these fudgy bars too!
Tips for Perfect Mini Egg Cookie Bars Every Time
You know, getting these Mini Egg Cookie Bars just right is all about a few little tricks I’ve learned over the years. First off, make sure your butter isn’t piping hot when you mix it with the sugar. A little warm is good for that chewy texture, but too hot and it’ll melt the sugar too much. And speaking of mixing, don’t go crazy with the flour! Fold it in *just* until it disappears. Overmixing is the enemy of tender bars, trust me on this. When it comes to baking, keep an eye on them. They should look golden around the edges but still a bit soft in the middle. They’ll firm up as they cool. Pressing those extra mini eggs into the warm bars right after they come out of the oven is key for that pretty, candy-studded top.
 For more great tips on cookie bar perfection, you can check out this guide on achieving the best cookie bar texture!
Ingredient Notes and Substitutions for Your Cookie Bars
Let’s chat about a couple of things in this recipe! That browned butter? It adds a totally delicious toasty, nutty layer of flavor, but if you’re short on time or just don’t have it in you, regular melted unsalted butter works perfectly fine. The bars will still be amazing, just with a slightly different flavor profile. As for the mini eggs, they’re the star here, but if you can’t find them, you could totally use regular chopped chocolate Easter eggs or even a good quality milk chocolate chip. Just remember that mini eggs have that lovely candy shell that makes them extra fun and gives a nice textural contrast!
Storage and Reheating Instructions for Mini Egg Cookie Bars
Got leftovers? Lucky you! These Mini Egg Cookie Bars stay wonderfully chewy when stored correctly. Just pop them in an airtight container at room temperature, and they’ll be delicious for about 3-4 days. Any longer, and they might get a bit too hard. If you need to reheat them just slightly to get that gooey, fresh-from-the-oven feel, pop a square in the microwave for about 10-15 seconds. Don’t overheat, though – we want warm and melty, not a molten chocolate disaster!
Frequently Asked Questions About Mini Egg Cookie Bars
Can I use something other than mini eggs in these cookie bars?
Absolutely! While the mini eggs give these bars their special springtime charm, they’re totally versatile. You can swap them out for regular chocolate chips (milk chocolate, dark chocolate, or even white chocolate work great!), or use chopped-up solid chocolate Easter eggs. Just make sure you have about 250g worth. They’ll still be incredibly delicious!
How do I know when my Mini Egg Cookie Bars are perfectly baked?
This is key for that chewy texture! You want to pull them out when the edges look golden brown and set, but the center still looks a little soft and underbaked. It might even look a tiny bit glossy. They’ll continue to bake and firm up in the pan as they cool, so resist the urge to overbake them! For more tips on getting cookie bars just right, check out this guide to cookie bar perfection.
Can I freeze these cookie bars?
Yes, you can definitely freeze them! For the best results, I like to cut them into squares first and then wrap each square individually in plastic wrap, followed by a layer of aluminum foil or popping them into a freezer-safe bag. They should keep well for up to about 2-3 months. When you’re ready to enjoy one, just let it thaw on the counter for about an hour. They taste almost as good as fresh!
Why is my cookie bar dough so thick?
That thick dough is exactly what we want for these bars! It’s designed to give you that dense, chewy texture. If it seems *impossibly* thick, double-check your ingredient measurements, especially the flour. Sometimes different brands of flour can absorb liquid differently. Just make sure you’re packing the brown sugar and measuring the flour accurately. Give it a good stir to combine everything.
Nutritional Information Disclaimer
Just a little note about the nutrition info you might see for these delightful Mini Egg Cookie Bars: please remember that any figures provided are estimates only! They can really vary depending on the exact ingredients you use, portion sizes, and even how you prepare them. We aim for transparency, but think of these numbers as a general guideline rather than a hard-and-fast rule. For precise details, you’d want to calculate it based on your specific ingredients. You can find more info on our disclaimer page.
Share Your Mini Egg Cookie Bar Creations!
Okay, have you made these amazing Mini Egg Cookie Bars yet? I *really* want to hear all about it! Did they turn out perfectly chewy? Did the mini eggs add that pop of fun you were hoping for? Please, spill the beans in the comments below! And if you snap any pictures, tag me on social media – I’d absolutely love to see your beautiful creations! Your feedback and photos mean the world to me. 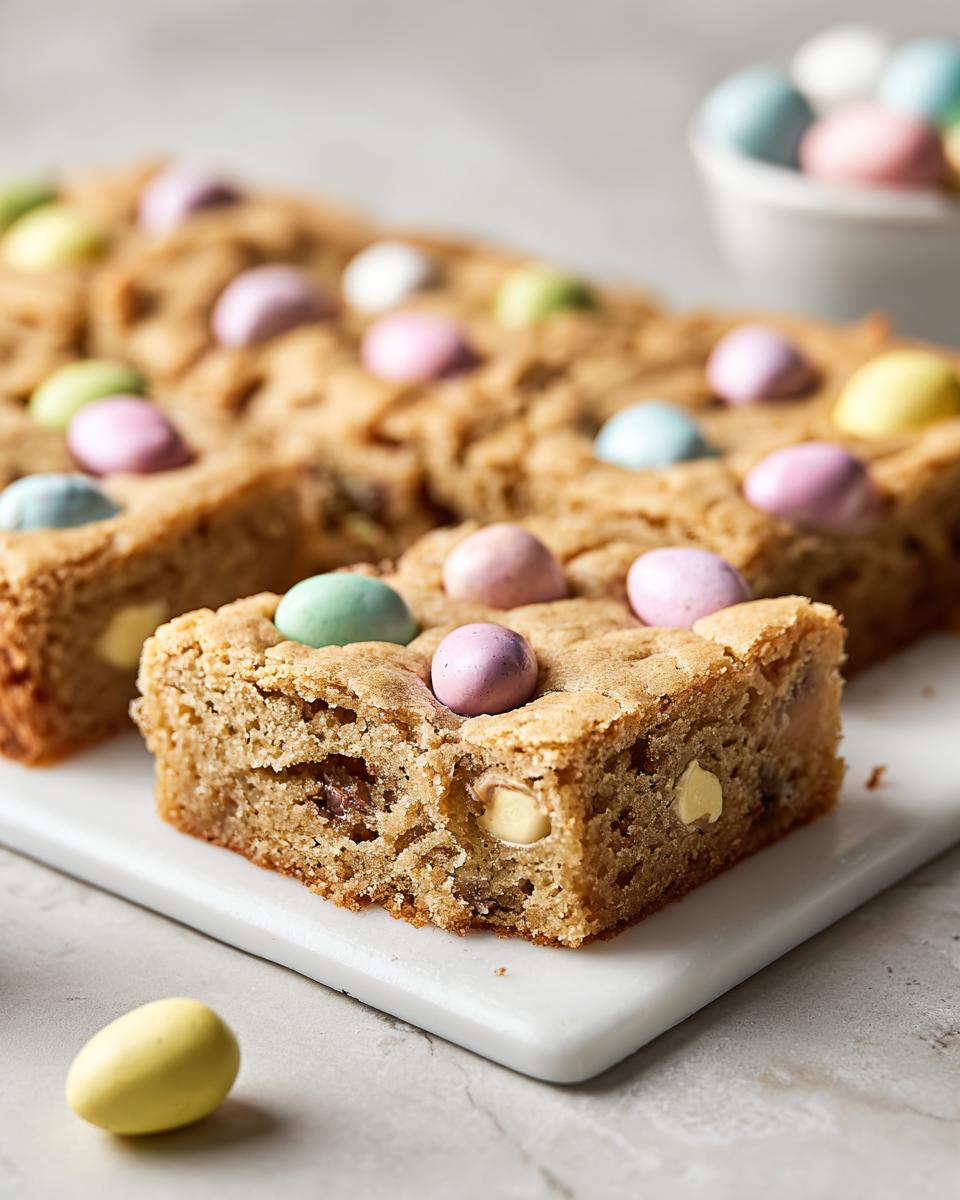
By Emilia
Hi, I’m EMILIA, the founder of MeltItClean.com – your digital space for natural weight loss, real wellness habits, and clean-living inspiration that actually fits your life.
For years, I struggled with the ups and downs of dieting. I tried everything — juice cleanses, low-carb crazes, fitness challenges — but I always ended up back where I started: tired, bloated, and frustrated. I didn’t just want to “lose weight” — I wanted energy, mental clarity, glowing skin, and confidence without sacrificing my joy or sanity.
After years of experimenting, learning, and unlearning, I discovered a simple truth: your body is already powerful — it just needs support, not restriction. That’s when I created Melt It Clean — a site dedicated to real transformation through clean, intentional, and nourishing daily habits that anyone can follow. My goal was simple: build a place where people could feel informed, supported, and empowered without being overwhelmed by wellness fads.
Read more about my journey and how I can help you find your own path to a healthier you here.
Mini Egg Cookie Bars
Ingredients
Equipment
Method
- Melt the butter in a small saucepan over medium-low heat. Increase heat slightly to medium and stir continuously until the butter browns and smells nutty. Turn off heat and let it cool slightly.
- Preheat your oven to 180C/350F. Line an 8-inch square baking tray with parchment paper.
- In a mixing bowl, combine the cooled brown butter and brown sugar. Beat with an electric whisk until pale and creamy, about 4-5 minutes. Add the egg and vanilla, and beat to combine.
- Sift in the flour, baking powder, bicarbonate of soda, and salt. Fold these dry ingredients into the wet ingredients using a spatula until just combined. Reserve a handful of whole mini eggs, then stir the rest into the dough.
- Tip the cookie dough into the prepared baking tray and press to level. Bake for 15-18 minutes, until the top is golden with a light crust but still soft underneath.
- Remove from the oven and immediately press the reserved mini eggs into the top. Let the bars cool completely in the tin before cutting into pieces.


