

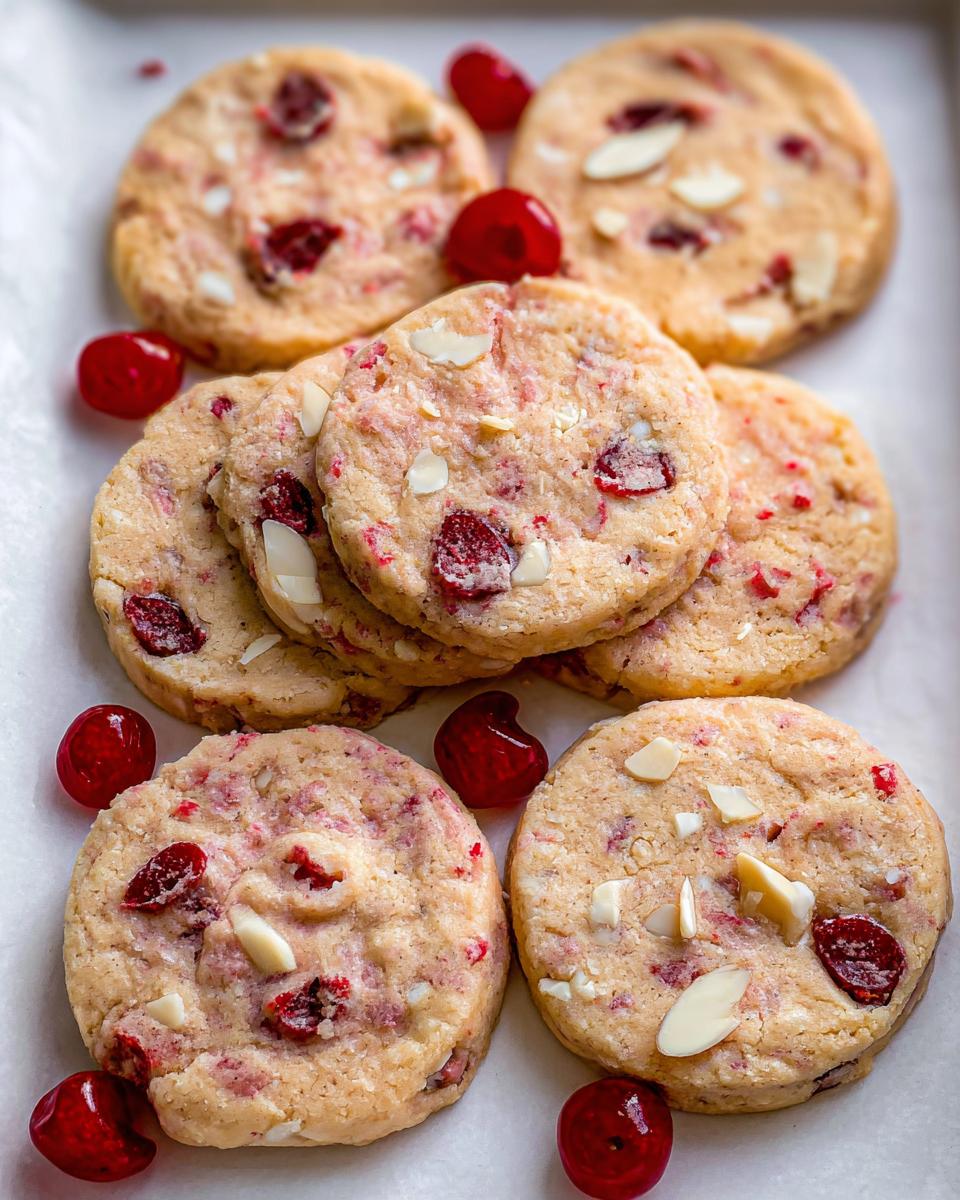
Oh, the sheer joy of pulling a plate full of warmly spiced, perfectly tender cookies out of the oven! There’s just something so comforting and special about homemade treats, isn’t there? And when you find a recipe that’s not only delicious but also incredibly easy to whip up, well, that’s pure gold. Today, I’m beyond excited to share my go-to recipe for Cherry Icebox Cookies. These little slices of heaven are such a lifesaver, especially when you need a beautiful, tasty cookie with minimal fuss. I remember the first time I made them, I was rushing to get a dessert ready for a potluck, and these beauties saved the day! Their delightful combination of sweet cherries and a hint of nutty crunch from the almonds makes them a real crowd-pleaser. They truly capture that magical feeling of home baking, and I just know you’re going to love them as much as I do.
Why You’ll Love These Cherry Icebox Cookies
Seriously, these cookies are a game-changer! Here’s why:
- Super Easy Slice-and-Bake: Just mix, chill the dough logs, and slice! No fancy shaping needed, saving you tons of time.
- Unique Flavor Burst: That pop of maraschino cherry plus a hint of almond extract? It’s a dreamy combo that’s a little unexpected and totally delicious.
- Perfect Texture Every Time: They bake up with lovely slightly crisp edges and a tender, chewy center. Trust me, the texture is just right!
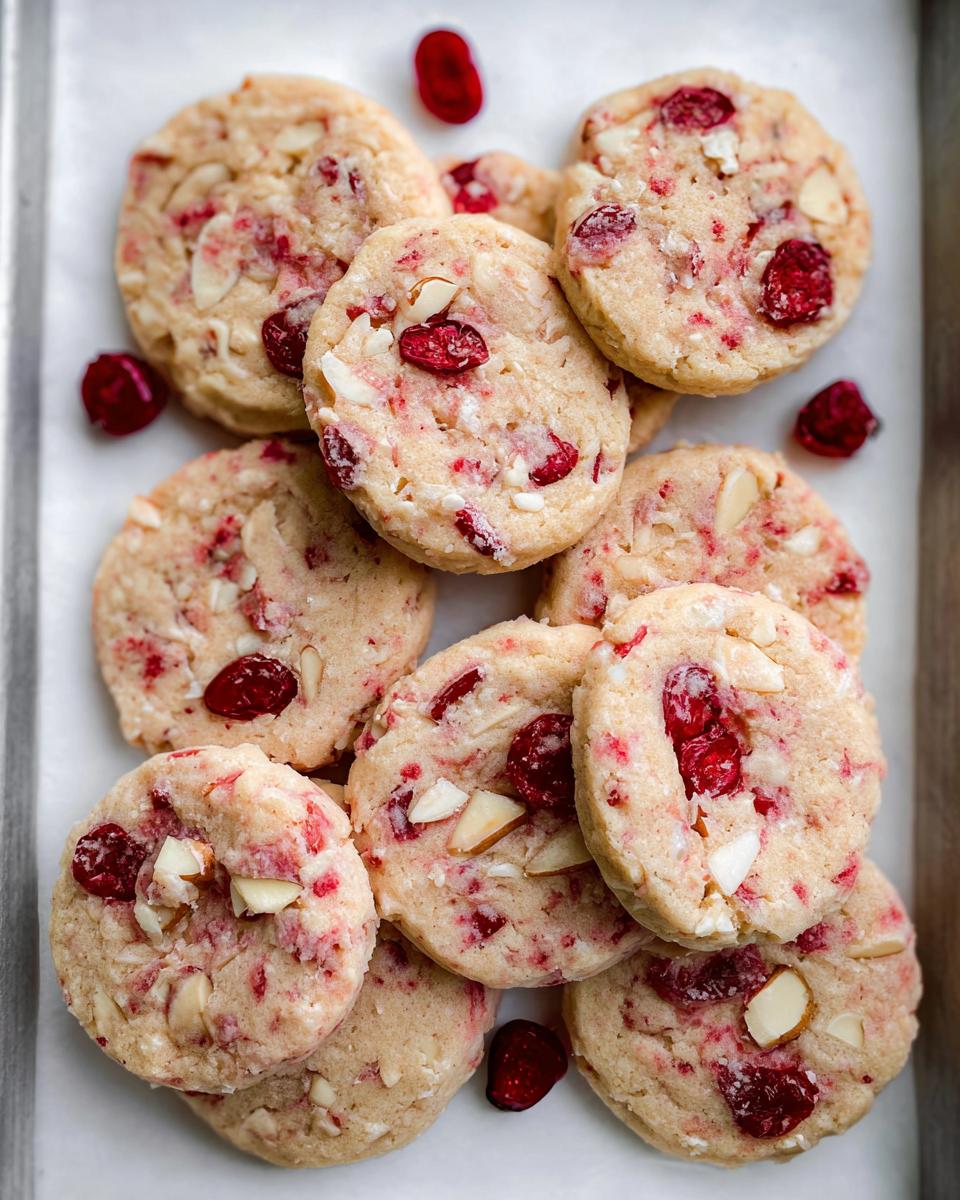
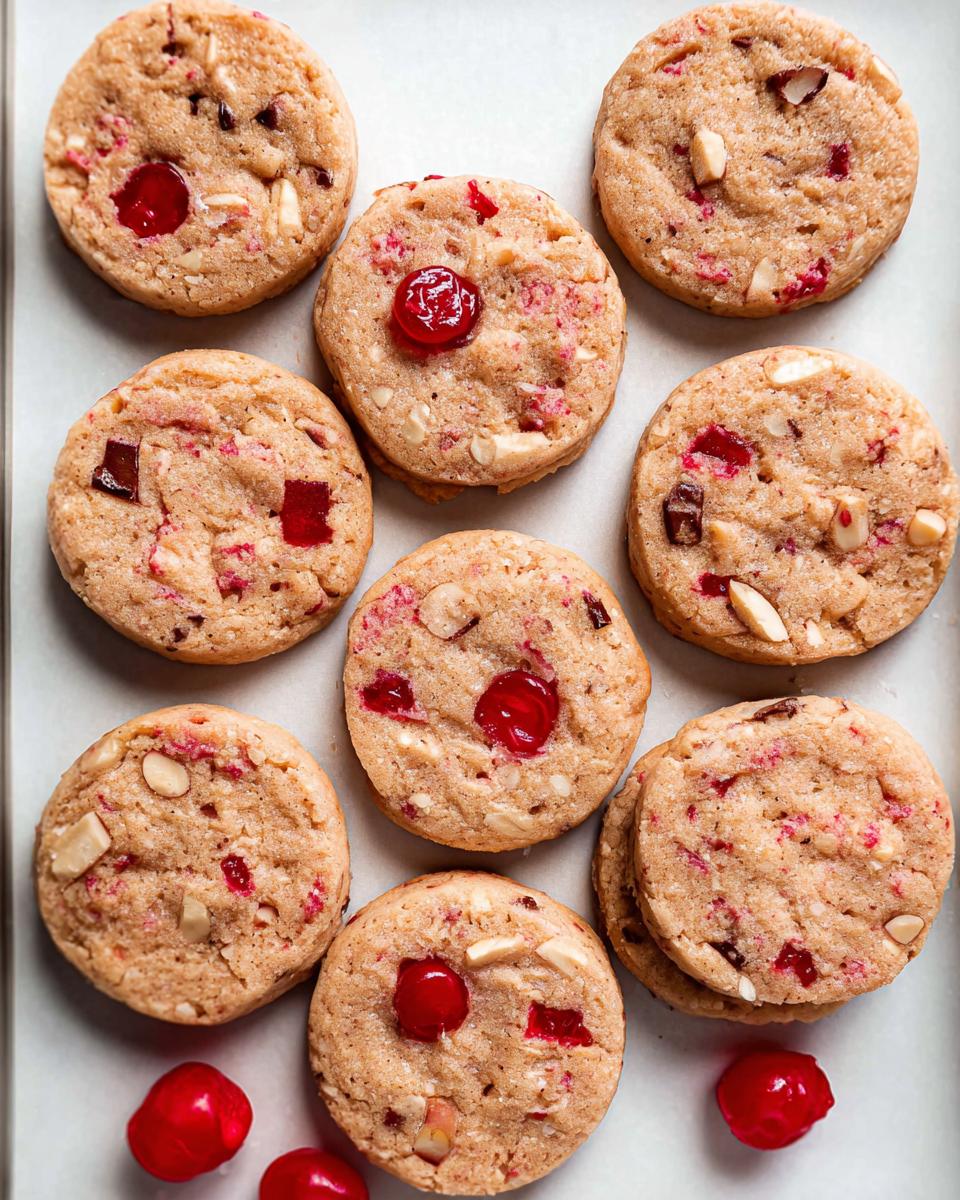
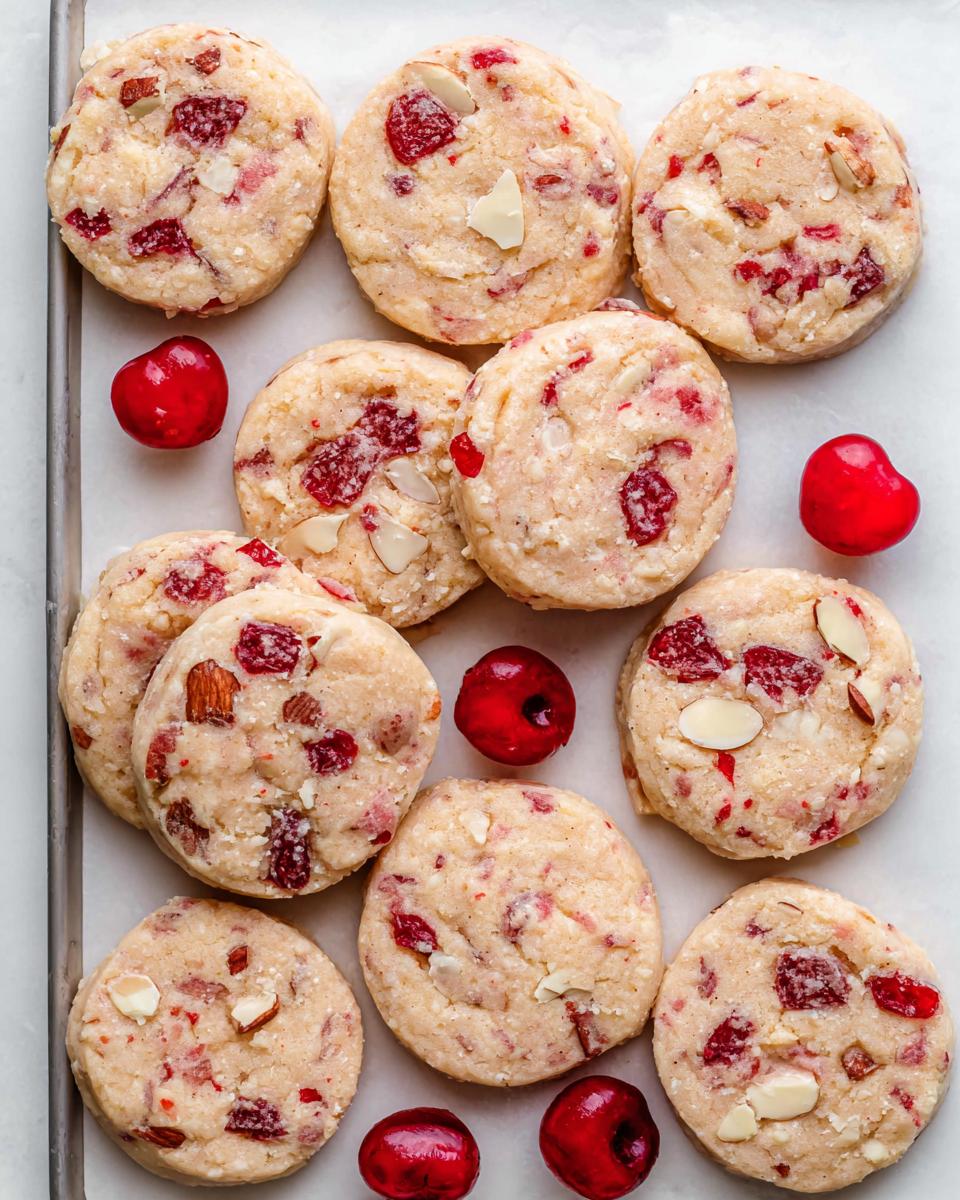
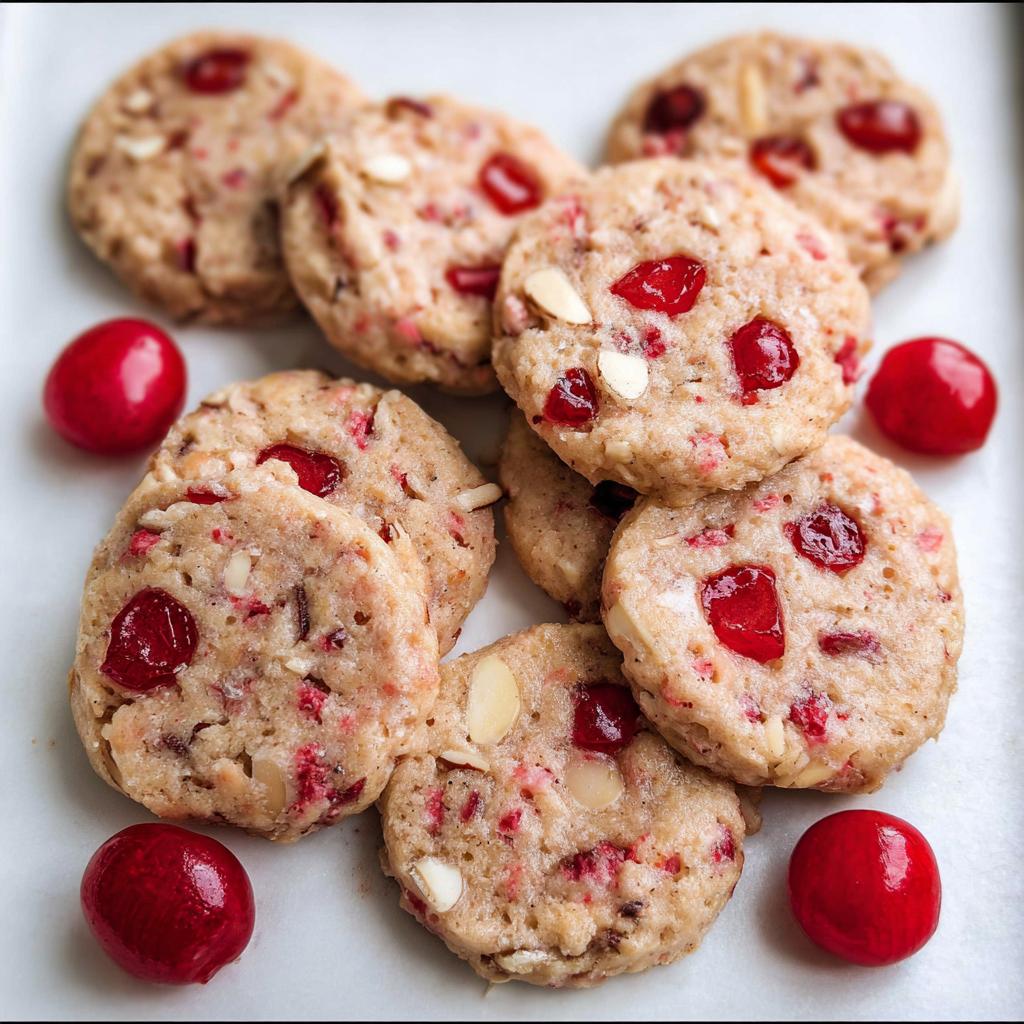
- Visually Stunning: The little flecks of red cherry throughout the cookie make them look so festive and pretty on any cookie platter.
- Great for Any Occasion: Whether it’s a holiday gathering, a bake sale, or just a Tuesday craving, these cookies fit the bill perfectly.
- Make Ahead Magic: You can chill the dough for days or even freeze it, meaning you can have fresh cookies ready whenever the mood strikes!
Gather Your Ingredients for Cherry Icebox Cookies
Alright, let’s get our kitchen ready for some cookie magic! To make these delightful Cherry Icebox Cookies, you’ll need a few things. Don’t worry, most of these are probably already in your pantry! We’ve got our cookie base, of course, which includes softened unsalted butter and granulated sugar – that’s where the sweetness starts. Then we’ll add a large egg that’s at room temperature (this helps it mix in smoothly!), and the star of the show: a little bit of maraschino cherry juice for that gorgeous color and flavor, plus a splash of almond extract to really make everything sing. For our dry ingredients, we’re using good old all-purpose flour, baking soda for a little lift, and cream of tartar, which helps give these cookies their perfect texture. And finally, the stars of the show: quartered maraschino cherries and finely chopped almonds. These give the cookies their signature look and a lovely nutty crunch. So, gather everything up, and let’s get baking!
- For the Cookies
- 1 cup unsalted butter, softened
- 1 1/4 cups granulated sugar
- 1 large egg, room temperature
- 1/4 cup maraschino cherry juice, from the jar
- 1/2 teaspoon almond extract
- 3 1/4 cups all-purpose flour
- 1/2 teaspoon baking soda
- 1/4 teaspoon cream of tartar
- 1/2 cup maraschino cherries, quartered
- 1/2 cup almonds, finely chopped
Step-by-Step Guide to Making Cherry Icebox Cookies
Alright, let’s get down to business! Making these delicious Cherry Icebox Cookies is totally doable, and honestly, it’s part of the fun. Just follow these steps, and you’ll have a batch of perfect cookies in no time. Remember, a little patience goes a long way, especially with chilling the dough – it’s key for those neat slices! If you love baking up festive treats, you might also find inspiration in these cake ideas or get ready for the holidays with these New Year’s cookies.
Mixing the Cookie Dough
First things first, grab your stand mixer with the paddle attachment, or just a good ol’ handheld mixer. We’re going to cream together the softened butter and granulated sugar until it’s super light and looks creamy – this usually takes about 2-3 minutes. This step is important for getting that lovely texture, so don’t rush it!
Incorporating Dry and Wet Ingredients
Now, let’s add in the wet ingredients: that room-temperature egg, the bright maraschino cherry juice (hello, color!), and the almond extract. Mix ’em all in until everything is nicely combined. Meanwhile, in a separate bowl, whisk together your flour, baking soda, and cream of tartar. It’s crucial to add the dry stuff to the wet ingredients gradually – about a cup at a time – while the mixer is on low. This prevents a flour explosion and ensures everything is mixed just right. Finally, gently fold in those gorgeous quartered maraschino cherries and finely chopped almonds. Oh, that dough looks amazing!
Chilling the Cherry Icebox Cookie Dough
This is where the magic really happens! Dump the dough onto a piece of parchment paper. You want to shape it into two nice, even logs, about 8 inches long. Think of them like little dough sausages! Then, wrap them up super tight in plastic wrap, sealing the ends well. Pop them into the fridge for about 2 hours. Trust me, you really need to let them chill until they’re firm. This makes slicing so much easier and prevents your cookies from spreading out into one big blob in the oven – nobody wants that!
Baking Your Cherry Icebox Cookies
Once the dough is nice and firm, preheat your oven to 375°F (190°C). While it’s heating up, get two large baking sheets ready and line them with parchment paper. Take your chilled dough logs out, place them on a cutting board, and slice them about ¼-inch thick. Be careful not to make them too thin, or they might burn! Arrange the cookie slices on your prepared baking sheets, leaving about 2 inches between them so they have room to spread just a bit. Bake them for 7 to 9 minutes. You’re looking for the edges to be just slightly golden brown. They’ll continue to firm up as they cool, so don’t overbake them!
Tips for Perfect Cherry Icebox Cookies
You know, baking is a bit of an art *and* a science, and sometimes it’s the little things that make all the difference between a good cookie and a truly *great* one. For these amazing Cherry Icebox Cookies, here are a few tips I swear by to make sure they turn out perfectly every single time:
First off, don’t skimp on the chilling time! I know it’s tempting to slice into that dough when you first make it, but that 2-hour minimum chill in the fridge is crucial. It firms up the butter and makes the dough easier to slice cleanly, preventing your cookies from spreading into sad, flat circles. You can even chill them for up to 3 days or freeze the logs for later, which is a lifesaver for last-minute cookie emergencies!
Also, pay close attention to your oven. Ovens can be so quirky! I’ve found that 7-9 minutes is usually spot on for mine, but yours might run a little hotter or cooler. Keep an eye on them; you want the edges to be just barely golden. They’ll look a little soft right when they come out, but they’ll set up perfectly on the baking sheet as they cool. If you happen to have extra cherries that need a home, you might want to check out some banana bread recipes that sometimes use cherries!
Finally, make sure your ingredients are prepared properly. For the cherries, quartering them helps distribute their flavor and texture evenly without having huge chunks. And the almonds? Chopping them finely ensures you get that subtle nutty crunch in every bite, rather than biting into a whole almond. Happy baking!
Ingredient Notes and Substitutions
Let’s chat about some of these ingredients! So, for the maraschino cherry juice, that bright splash of red really gives these Cherry Icebox Cookies their signature color and a subtle sweet cherry flavor. If you happen to be out of juice but still have the cherries, you can just finely chop a few extra cherries and add them to the dough without the juice – it might make the dough a *tiny* bit drier, so you might need a smidge more butter if that’s the case. As for the almonds, if you’re not a huge fan or have an allergy, you can totally skip them or swap them out for finely chopped pecans or walnuts. Honestly, even leaving them out results in a delicious cookie, though you’ll miss that little nutty bite!
Serving and Storing Your Cherry Icebox Cookies
These delightful Cherry Icebox Cookies are just begging to be shared! They’re fantastic on their own with a cold glass of milk, but they also pair beautifully with a cup of coffee or tea. I love taking them to holiday gatherings when I need a festive touch, like with these amazing New Year’s cookies, because they look so pretty with those little pops of red.
Storing is super simple! Once they’re completely cooled, just pop them into an airtight container. They’ll stay fresh at room temperature for about 3-4 days. If you want to keep them longer, you can totally freeze the baked cookies for up to 2 months. Just make sure they’re in a freezer-safe container or bag. And here’s a little secret: the unbaked dough logs freeze *really* well too! Just wrap them tightly and stash them in the freezer. When you’re craving a fresh Cherry Icebox Cookie, just slice and bake as usual, adding a couple of extra minutes to the bake time.
Frequently Asked Questions about Cherry Icebox Cookies
Got questions about these tasty treats? I’ve got answers!
Can I use fresh cherries instead of maraschino cherries?
While fresh cherries are lovely, they’re a bit different here. They’re more watery and don’t have that concentrated sweet flavor maraschinos do. If you use fresh ones, make sure they’re pitted and chopped small, and you might need to adjust the dough consistency a bit.
How long do Cherry Icebox Cookies last?
These little guys are pretty sturdy! When stored in an airtight container at room temperature, they’ll stay wonderfully fresh for about 3 to 4 days. They’re also great for freezing for up to two months!
Why are my cookies spreading too much?
Oh, the dreaded spread! Usually, this happens if your butter was too soft, or if the dough wasn’t chilled long enough. Definitely make sure that dough is nice and firm before slicing – that really helps keep their lovely shape!
Estimated Nutritional Information
Please remember that the nutritional information for these Cherry Icebox Cookies is just an estimate, as it can vary based on the exact ingredients and brands you use. Typically, you’re looking at around 114 calories per cookie, which is pretty great for a homemade treat! This also includes things like fat, carbohydrates, and protein. For a more detailed breakdown and disclaimer, you can always check out our full nutritional disclaimer.
Share Your Cherry Icebox Cookie Creations!
I really hope you’ve loved making and snacking on these Cherry Icebox Cookies! I’d be absolutely thrilled to hear all about your baking adventures. Did they turn out perfectly? Did you try any fun variations? Please, drop your thoughts, tips, or even just a little hello in the comments below – I read every single one! If you want to share photos of your beautiful cookies, you can always reach out through our contact page. Happy baking, everyone!
About the Author
Hi there! I’m Emilia, the heart and soul behind MeltItClean.com. This little corner of the internet is all about guiding you toward natural weight loss, building real wellness habits, and finding clean-living inspiration that *actually* fits into your busy life. For the longest time, I felt like I was stuck on a rollercoaster of diets, trying everything from juice cleanses to crazy low-carb fads, only to end up feeling exhausted and frustrated. But I learned that true transformation isn’t about restriction; it’s about supporting your amazing body with what it truly needs. That’s why I created Melt It Clean – a space dedicated to empowering you with simple, nourishing habits that lead to real, lasting change. Just like these Cherry Icebox Cookies bring that wholesome, homemade joy, my goal is to share simple, clean recipes and lifestyle tips that make you feel energized and confident, without all the fuss.
Cherry Icebox Cookies
Ingredients
Equipment
Method
- In the bowl of a stand mixer with a paddle attachment, add butter and sugar. Mix until light and creamy. A handheld mixer can also be used.
- Add the egg, cherry juice, and almond extract. Mix until incorporated.
- In a separate bowl, combine flour, baking soda, and cream of tartar.
- With the mixer on low, add the flour mixture to the wet ingredients, 1 cup at a time, until combined.
- Gently fold in the cherries and the almonds.
- Add dough to a sheet of parchment paper and roll into 2, 8-inch logs. Wrap in plastic wrap and seal the ends. Place the dough in the refrigerator to chill for about 2 hours, or until firm.
- When ready, preheat the oven to 375°F and line 2 large baking sheets with parchment paper.
- Remove the dough from the refrigerator and place each log on a cutting board.
- Slice each dough log into ¼-inch cookies and place cookies onto the prepared baking sheets about 2 inches apart.
- Bake 7-9 minutes, or until edges are slightly browned.


