
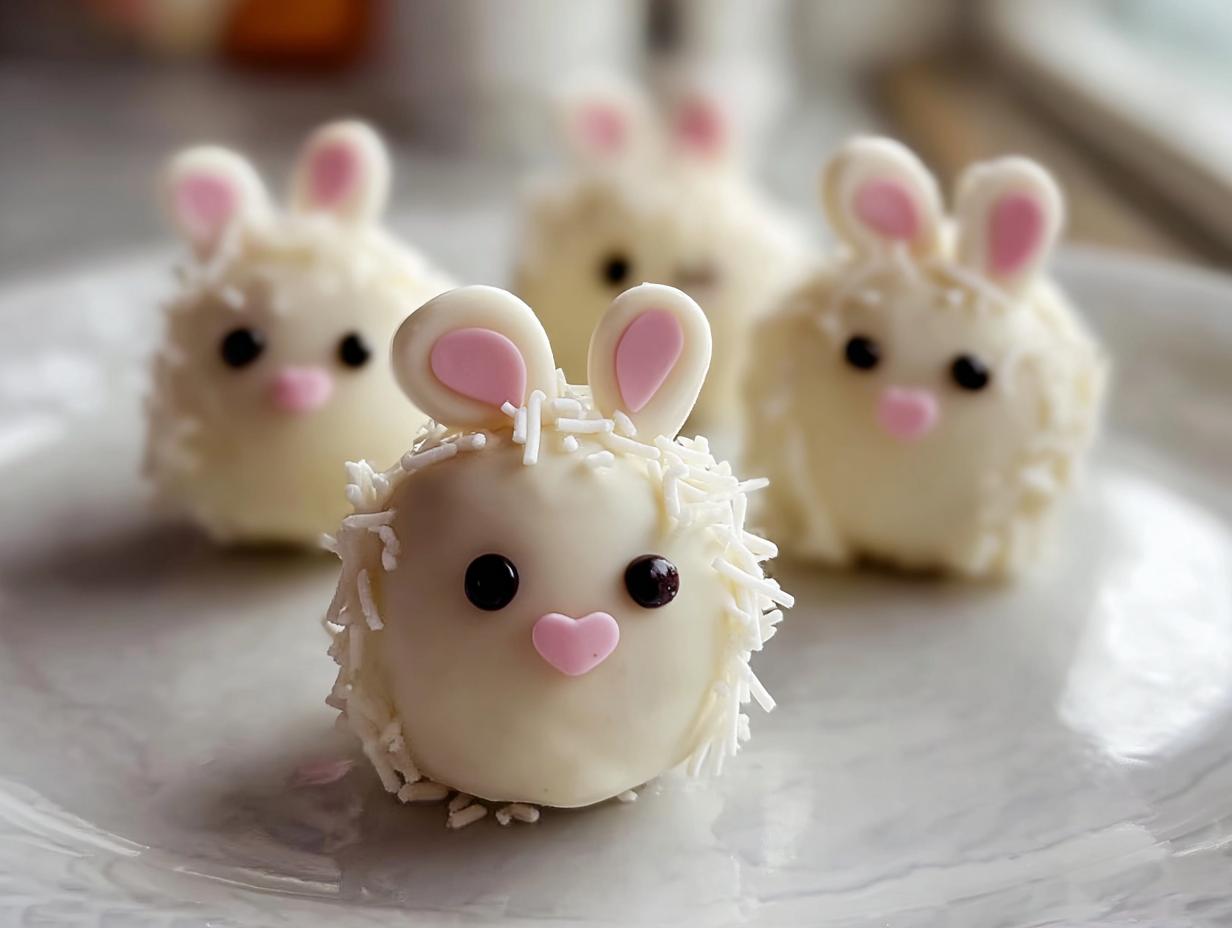
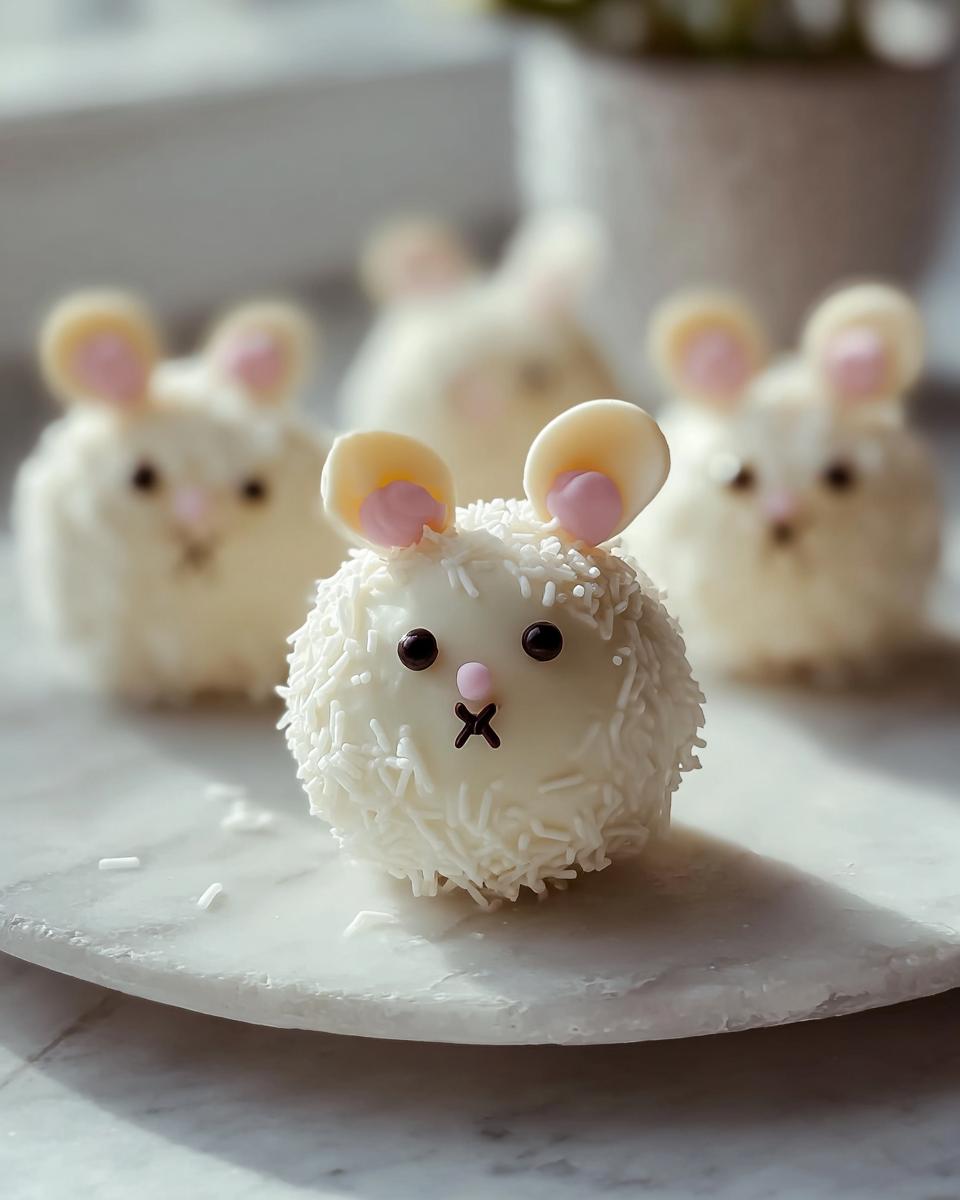
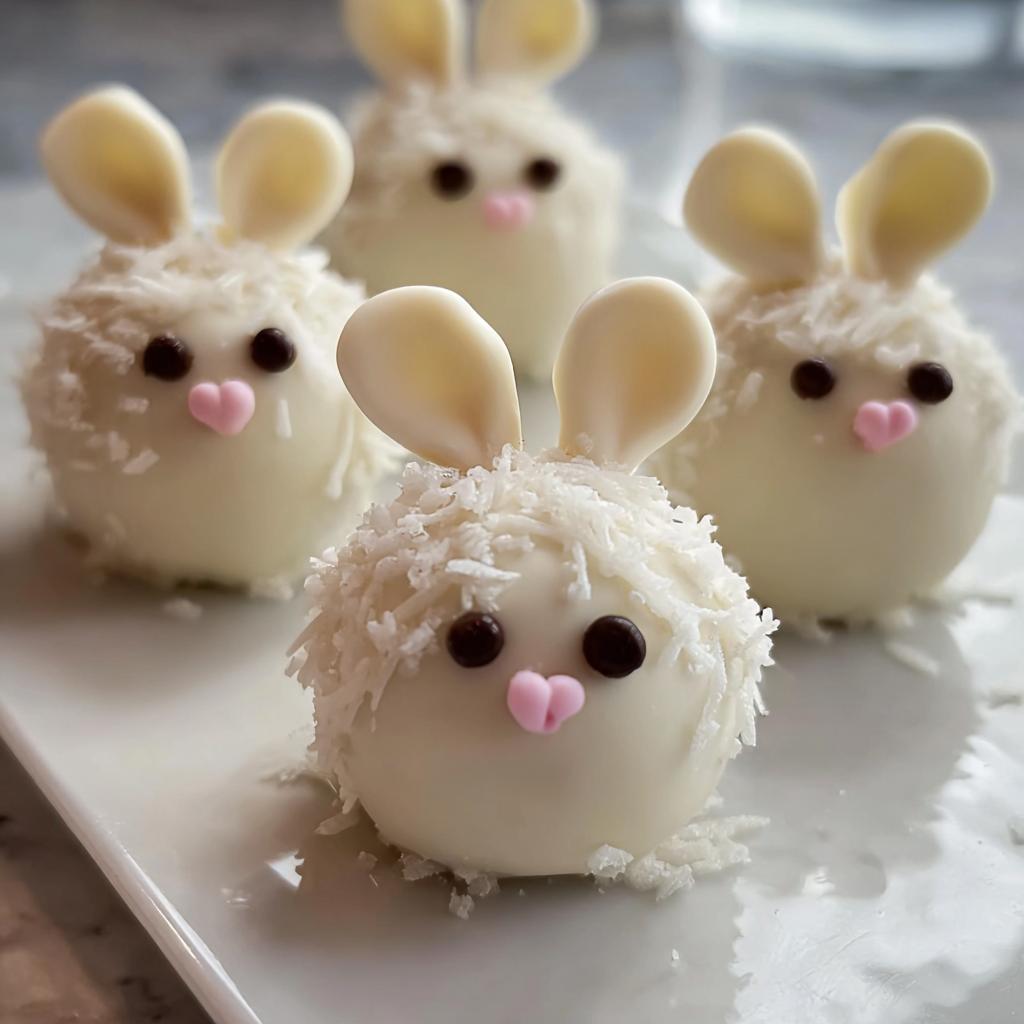
Oh, my goodness, get ready for the cutest little treats to grace your Easter table! These Bunny Oreo Balls are just *darling*, aren’t they? I remember the first time I made them for a family gathering – my nieces and nephews about lost their minds with excitement. They’re like little bites of pure joy, perfect for hopping into any spring celebration. What I love most is how surprisingly easy they are, turning simple Oreos and cream cheese into something truly magical that always gets rave reviews.
Why You’ll Love These Bunny Oreo Balls
Trust me, these little guys are a total win! Here’s why:
- Super Easy to Make: Seriously, no complicated steps here!
- No-Bake Magic: Perfect for when you don’t want to turn on the oven.
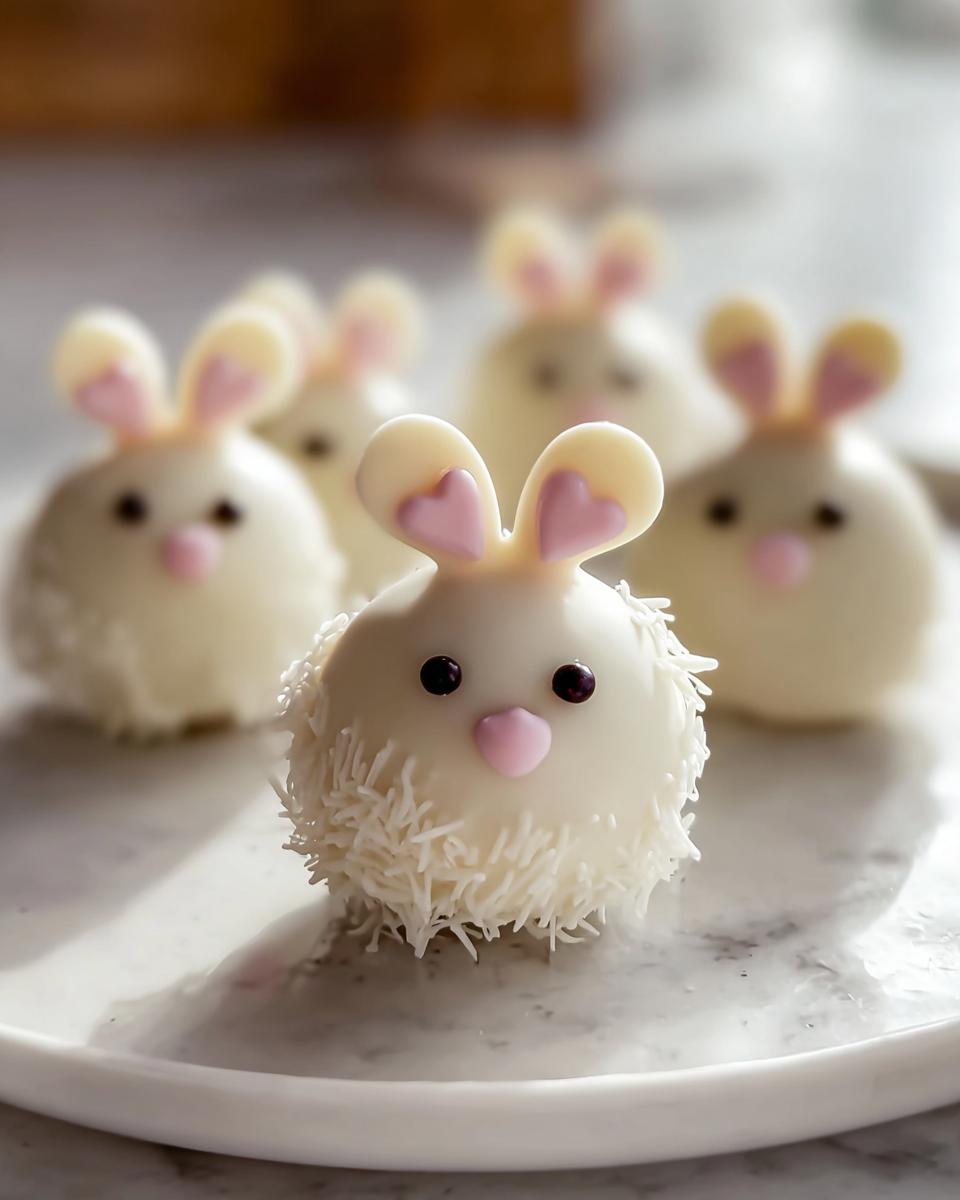
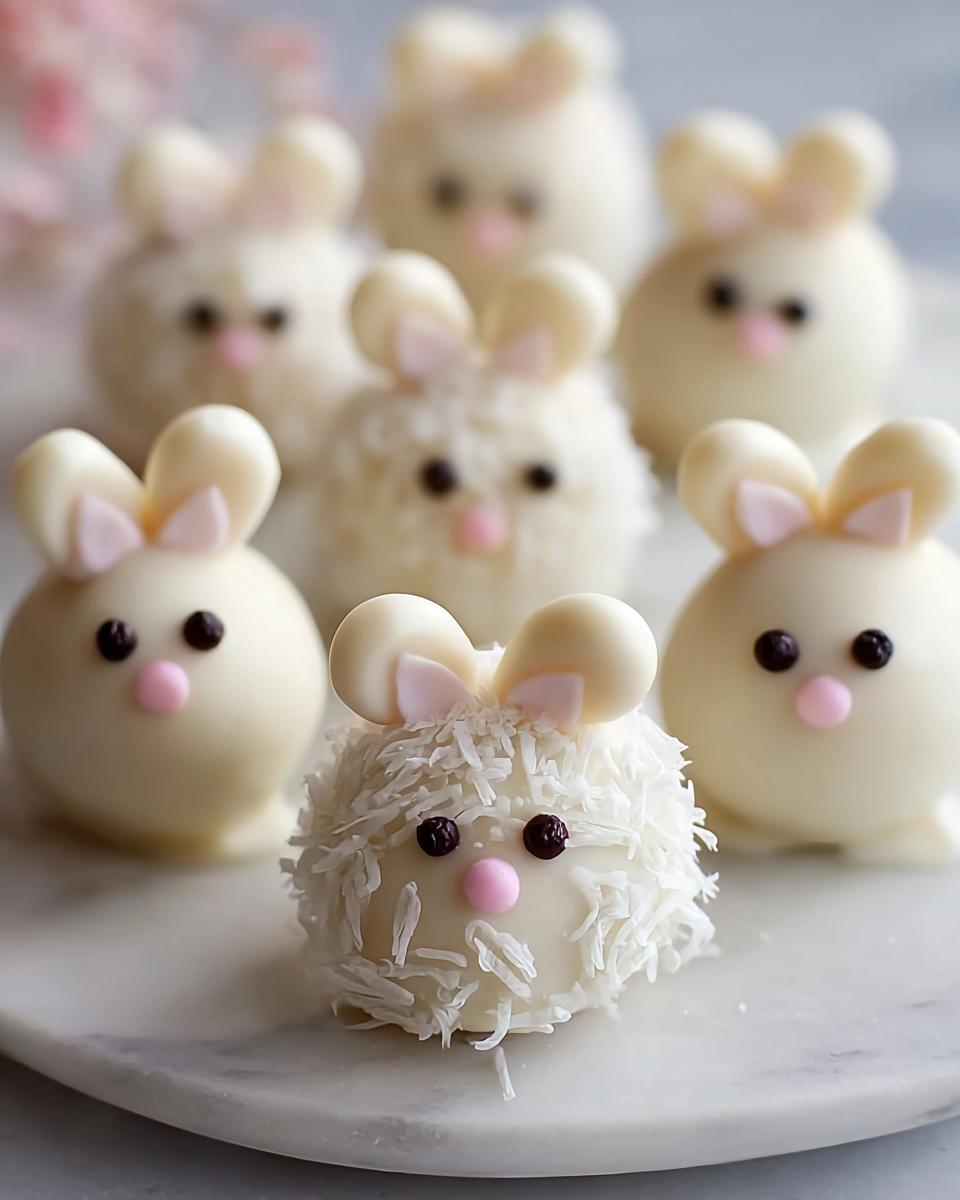
- Absolutely Adorable: They look just like little bunnies, so festive!
- Deliciously Rich: That classic Oreo and cream cheese combo is unbeatable.
Ingredients for Your Bunny Oreo Balls
You’ll need just a few things to bring these cute bunnies to life!
For the Oreo Balls:
- 1 package (14.3 oz) Oreo cookies
- 8 oz cream cheese, softened
For Coating & Decoration:
- 12 oz white chocolate or white candy melts
- 1/2 cup pink candy melts
- 1/2 cup black candy melts
- Mini marshmallows (for bunny ears)
- Pink sugar sprinkles (optional, for ears)
- Edible black food marker (for details)
Crafting Adorable Bunny Oreo Balls: Step-by-Step
Alright, let’s get our hands a little messy and make these adorable bunnies! It’s easier than you think, and so much fun. Perfect for any of your favorite dessert recipes, these are a real crowd-pleaser.
Preparing the Oreo Base
First things first, we need crumbs! You can totally use a food processor for this, but if you don’t have one, just pop those Oreos into a sturdy zip-top bag and go to town with a rolling pin until you have fine crumbs. Then, dump those crumbs into your mixing bowl with the softened cream cheese. Mix it all up really, really well until it feels like a uniform, smooth dough. No more lumps!
Rolling and Chilling the Balls
Now for the fun part – rolling! Grab about a tablespoon of the Oreo mixture and roll it between your palms to make little balls, about an inch wide. Think bite-sized! Pop these little guys onto a baking sheet lined with parchment paper. We need to chill them for about 30 minutes so they firm up and hold their shape perfectly for dipping.
Melting and Coating with White Chocolate
While those are chilling, let’s melt our white chocolate or candy melts. Pop them in a microwave-safe bowl and heat in 20-second intervals, stirring after each one. Keep going until it’s totally smooth. Now, take your chilled Oreo balls and dip each one into the melted chocolate using a fork or a dipping tool. Make sure they’re fully coated! Place them back on the parchment paper to set up.
Decorating Your Bunny Oreo Balls
Time to make them look like bunnies! Cut your mini marshmallows diagonally – these are your ears. Dip the sticky cut side into pink sugar sprinkles if you’re using them, or just leave them white. While the chocolate coating on the balls is still a little soft, gently press the marshmallow ears onto the top. For the face, melt your pink and black candy melts separately. Use a piping bag with a small tip, or even a toothpick, to add tiny pink noses and thin whiskers. You can use the edible black food marker to draw on little eyes or pipe them on with the black candy melt. Get creative!
Tips for Perfect Bunny Oreo Balls
Okay, so you want your Bunny Oreo Balls to be absolutely perfect, right? I’ve made a zillion of these, so let me spill some secrets! First off, make sure that cream cheese is truly softened. If it’s still cold, you’ll end up with a lumpy mess, and nobody wants that. Smoosh it around with a fork to really break it up before you add it to those Oreo crumbs. And for coating? Don’t rush the melting process for your white chocolate or candy melts. Low and slow in the microwave, with plenty of stirring, is the way to go. If it gets too thick, a tiny bit of coconut oil can work wonders to thin it out for that silky smooth finish.
When you’re dipping, try to get a good, even coating, but don’t stress if it’s not flawless – a little rustic charm is cute! If you’re having trouble getting them to stick, a quick dip of the marshmallow in water or a dab of melted chocolate can help. Remember, practice makes perfect, and even if a whisker is a little wobbly, they’ll still taste amazing. For more fun dessert ideas, check out my other posts!
Ingredient Notes and Substitutions
A few little notes on the ingredients to make sure your Bunny Oreo Balls turn out perfectly! For the base, make sure that cream cheese is truly softened; it makes all the difference in getting a smooth, lump-free mixture. If you don’t have Oreos, any chocolate sandwich cookie will totally work. For the coating, I really love using white candy melts because they set up so nicely and are easy to work with. If you prefer real white chocolate, just be sure it’s good quality and melt it gently. And for those cute bunny details? If you can’t find pink candy melts, you can always just use a little bit of red food coloring mixed into some extra white chocolate to get that pink hue!
Frequently Asked Questions About Bunny Oreo Balls
Can I use regular Oreo cookies for these Bunny Oreo Balls?
Absolutely! The recipe is written specifically for standard Oreo cookies, but you can totally experiment with other flavors like Golden Oreos or even Double Stuf if you’re feeling extra indulgent. Just make sure you crush them really well!
My white chocolate coating is too thick, what should I do?
Don’t worry, it happens! If your white chocolate or candy melts are too thick to get a nice smooth coating, just stir in about a teaspoon of coconut oil or vegetable shortening at a time until it reaches a smoother, more dippable consistency. Microwaving it for a few more seconds can also help.
How long do Bunny Oreo Balls last?
These cute little treats should be stored in an airtight container in the refrigerator. They’ll stay fresh and delicious for up to 5 days. Just let them sit out for a few minutes before serving so they aren’t rock hard.
Can I make these Bunny Oreo Balls ahead of time for an Easter party?
Yes, definitely! You can make the Oreo balls and even coat them a day or two in advance. Just store them in the fridge. Add the final decorations like the marshmallow ears and candy melt faces closer to when you plan to serve them for the freshest look, though they’ll still be fine if decorated completely ahead of time.
Storage and Serving Suggestions
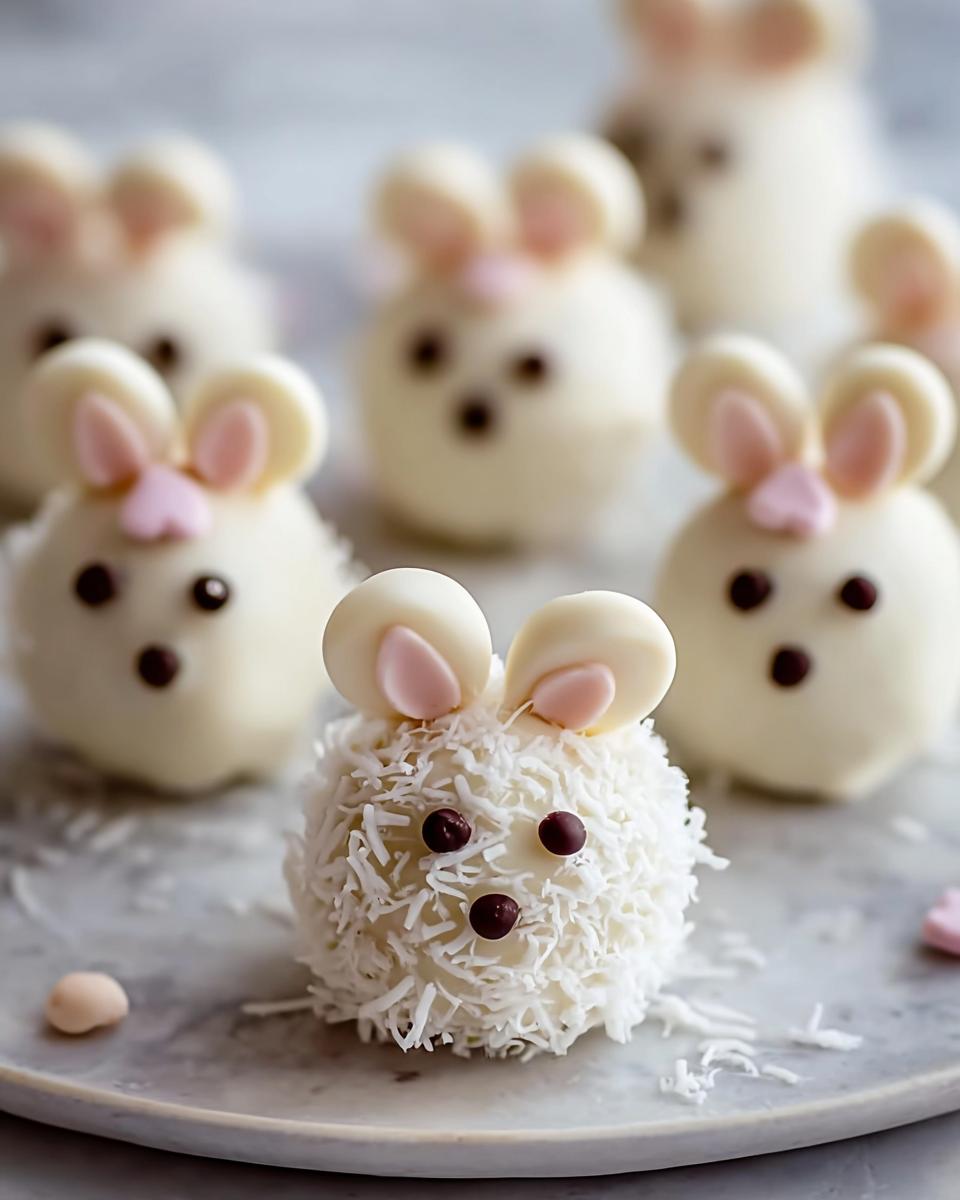
These adorable Bunny Oreo Balls are best stored in an airtight container in the refrigerator. They’ll stay super fresh and yummy for up to 5 days. Just let them sit on the counter for a few minutes before serving so they aren’t too hard. They’re perfect for Easter baskets, little party favors, or just a sweet treat to brighten anyone’s day!
Nutritional Information
Keep in mind that these are just estimates for each adorable Bunny Oreo Ball, as exact amounts can vary based on your specific ingredients and how much chocolate you use! Generally, you’re looking at around 150-200 calories per ball, with about 10-15g of fat, about 20-25g of carbs, and maybe 1-2g of protein.
Share Your Bunny Oreo Balls Creations!
I absolutely want to see your adorable Bunny Oreo Balls! Did you try them? How did they turn out? Please leave a comment below and let me know what you thought, or share your pics on social media and tag me – I’d love to see your cute bunny creations!
Bunny Oreo Balls
Ingredients
Equipment
Method
- Crush the Oreo cookies into fine crumbs using a food processor or place them in a sealed plastic bag and crush with a rolling pin. In a mixing bowl, combine the crushed Oreos and softened cream cheese. Mix thoroughly until a smooth, dough-like consistency forms.
- Roll the Oreo and cream cheese mixture into small balls about 1 inch in diameter. Place the balls on a parchment-lined baking sheet and refrigerate for 30 minutes to firm up and hold their shape.
- Melt the white chocolate or candy melts in a microwave-safe bowl, stirring every 20 seconds until smooth. Using a fork or dipping tool, dip each Oreo ball into the melted chocolate ensuring a full, even coating. Place the coated balls back on the parchment paper to set.
- Cut mini marshmallows diagonally and dip the sticky side into pink sugar sprinkles to create the bunny ears. Attach the ears to the Oreo balls while the chocolate coating is still slightly wet. Separately melt the pink and black candy melts and use a piping bag or toothpick to create bunny noses and whiskers. Use the edible black food marker to draw the eyes or pipe them with melted black candy melt.
- Allow all decorations to fully set before serving. Store the finished Bunny Oreo Balls in an airtight container in the refrigerator for up to 5 days.


