
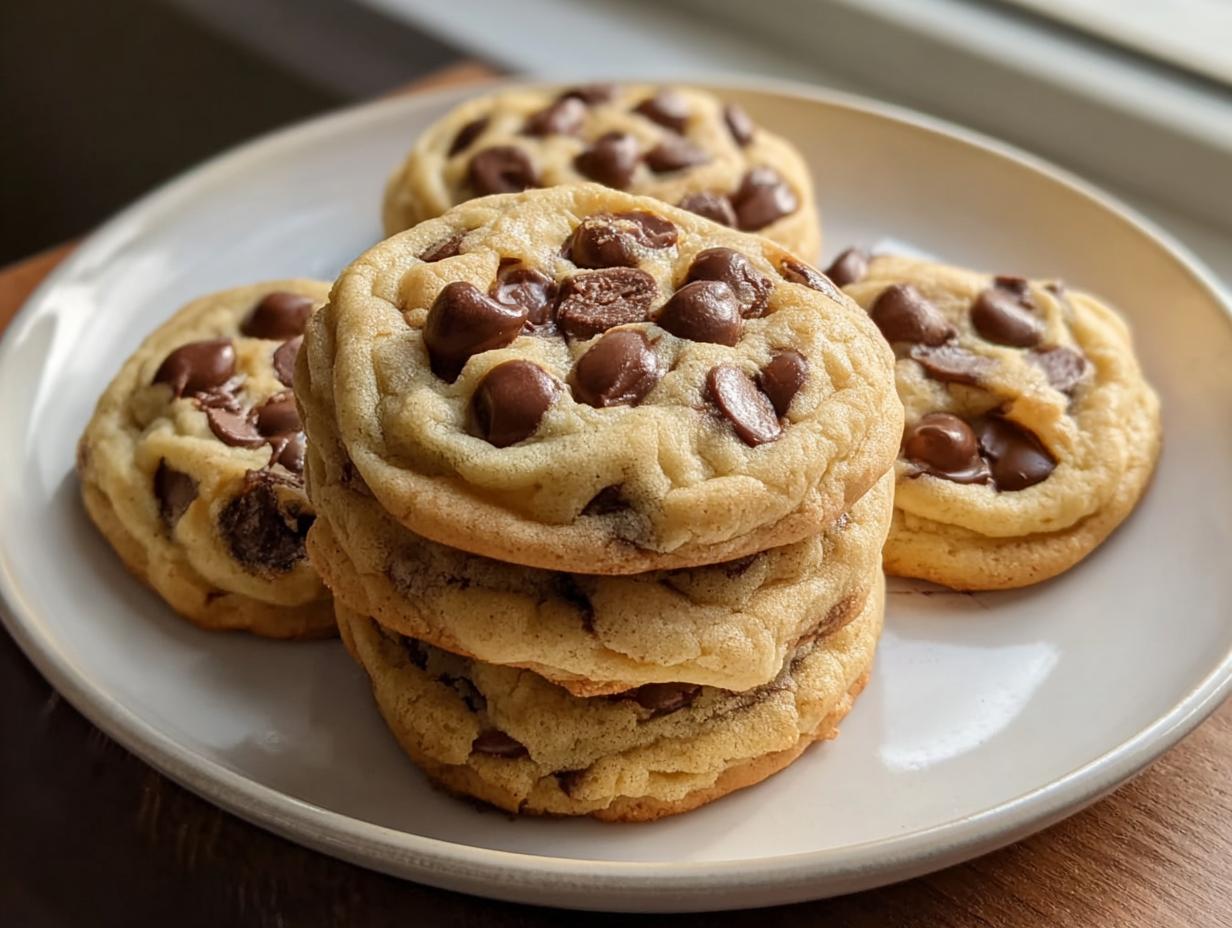
Oh my goodness, is there anything better than that glorious moment—the smell filling your kitchen, the slightly warm cookie resting on your hand? I swear, finding the *perfect* chocolate chip cookie recipe is like finding buried treasure. For years, I’d wrestle with recipes that promised chewy centers but delivered rock-hard edges. It drove me absolutely crazy! I spent so much time trying to nail that perfect balance, especially since here at Melt It Clean, I’m always looking for habits that support real joy without leading to restriction or frustration later on. Well, I finally cracked the code, and I’m so excited to share my foolproof method for getting **Soft and Chewy Chocolate Chip Cookies Every Time**. This isn’t just another recipe; it’s the one that finally ended my cookie quest!
Who Will Love Making Soft and Chewy Chocolate Chip Cookies Every Time
If I could wave a wand and banish dry, sad cookies from the earth, I absolutely would! This recipe is purpose-built for you if you’re done with guesswork. Are you a regular home baker who just wants a guaranteed win when you decide to bake after dinner? You’re in the right place!
This is also perfect for those of us who value efficiency. Let’s be real, our wellness routines are busy enough; you don’t need a fussy, complicated dessert that takes three days. We need simple, intentional steps that yield incredible results, and that’s what we get when we make **Soft and Chewy Chocolate Chip Cookies Every Time**.
Honestly, if you’ve ever taken a bite of a cookie expecting that wonderful soft give and instead got a crunchy snap, you need this recipe in your life. We’re aiming for that happy middle ground: perfectly chewy edges holding onto a beautifully soft, almost molten center. No more frustration, just pure, intentional comfort food.

The Approach to Achieving Soft and Chewy Chocolate Chip Cookies Every Time
When I talk about building real wellness habits, that includes enjoying the simple pleasures, right? Baking good cookies falls squarely into that category for me. It’s not about restriction; it’s about doing something intentionally and doing it *well*. That’s why this recipe focuses so much on technique.
The secret sauce for getting **Soft and Chewy Chocolate Chip Cookies Every Time** isn’t one magical ingredient—it’s almost entirely about how we treat the butter and sugar, and, just as important, knowing when to stop mixing! If you overwork the flour, you wake up the gluten, and suddenly, you’ve got a tough cookie instead of a delightfully chewy one. We want structure, yes, but we want it tender!
Also, pay attention to the blend of sugars. I use both granulated and light brown sugar, but the brown sugar is the MVP here. That little bit of molasses in it is what holds onto moisture way better than white sugar alone. It’s the deliberate ratio that makes the texture so reliable.
We’re keeping things streamlined so you feel ready before you even turn on the mixer. I actually found the link to my favorite banana bread recipe the other day, and it reminded me how much a great foundation matters in baking. Just like for great bread, having the right tools ready makes the whole process feel smooth. Check out my favorite banana bread notes while you’re gathering your gear!
Essential Equipment for Perfect Cookies
You don’t need a commercial kitchen, but specific tools really help us achieve that professional, reliable texture we’re aiming for. Don’t panic if you don’t have everything—a sturdy wooden spoon can often substitute for an electric mixer in a pinch, but these items make life easier!
- Oven: Needs to preheat properly! Temperature accuracy matters a ton here.
- Baking sheets: Make sure they’re clean and flat.
- Parchment paper: Mandatory! This prevents sticking and helps those soft edges set evenly without burning.
- Medium bowl: For the dry stuff.
- Large mixing bowl: Where the magic cream happens.
- Hand mixer: Makes creaming the fats and sugars so much fluffier, much faster than by hand.
- Rubber spatula: Essential for scraping down the sides and folding in those chocolate chips gently.
- Wire rack: So the cookies can cool without steaming the bottoms.
Gathering Ingredients for Soft and Chewy Chocolate Chip Cookies Every Time
Okay, let’s talk about the lineup. If you want **Soft and Chewy Chocolate Chip Cookies Every Time**, you have to respect the ingredients. I always separate mine into two main groups before I even think about turning on the oven. It keeps everything organized, which is just one of those tiny, clean habits that makes a huge difference in reducing stress in the kitchen!
First up, the dry foundations:
- 2.25 cups of all-purpose flour
- 1 teaspoon baking soda
- 1 teaspoon fine sea salt
Next, we have the wet stuff and the stars of the show—the chocolate chips!
- 1 cup unsalted butter, softened (That’s two full sticks, friends! Make sure it’s soft, not melted.)
- 0.75 cup granulated sugar
- 0.75 cup packed light brown sugar (Don’t skimp on this—it’s crucial for chew!)
- 2 large eggs, room temperature
- 2 teaspoons pure vanilla extract
- 2 cups semi-sweet chocolate chips (About 12 ounces, I usually use a mix!)
Ingredient Notes and Smart Substitutions
This is where we separate the good cookies from the *amazing* cookies. Because I’m focused on real habits that work, I’ve learned that ingredient condition matters almost as much as the measurement itself. These notes are my hard-and-fast rules for success.
First, the eggs. Please, please use room temperature eggs! Cold eggs hit that lovely creamed butter mixture, and they can cause the fats to seize up instantly. That means the beautiful air bubbles we spent time creating will deflate before we even add the flour. Just put them in a bowl of warm tap water for five minutes if you forgot.
Second, that brown sugar ratio. I use equal parts brown to white sugar, but if you want them even slightly softer or more caramel-y, you could bump the brown sugar up slightly—maybe 1 cup brown to 0.5 cup white. But stick to the recipe’s ratio the first time!
For the chocolate chips, while I personally adore the classic semi-sweet, you absolutely have flexibility here. If you want something richer, swap half the chips out for good-quality dark chocolate chunks. If you need a little flavor boost to cut the richness, toss in a half-cup of chopped pecans along with your favorite chocolate mix. See? Totally flexible, still dependable!
Step-by-Step: Making Soft and Chewy Chocolate Chip Cookies Every Time
Now for the action! This is where we translate those beautiful ingredients into the **Soft and Chewy Chocolate Chip Cookies Every Time** we’ve been dreaming about. Remember what I always say about clean habits? It’s about setting up a good process so the result is exactly what you want. We’re keeping the steps streamlined, but pay attention to the timing—that’s the real secret sauce!
- First things first, get that oven ready! Preheat your oven to 375\u00b0F (190\u00b0C). While it heats up, line your baking sheets with parchment paper. Trust me on the parchment; it helps the bottoms bake evenly and keeps cleanup stress-free, which is totally aligned with my clean-living philosophy!
- In your medium bowl, take a minute to properly whisk together the dry ingredients: the flour, baking soda, and salt. This just ensures everything is distributed before it hits the wet stuff.
- Grab that large mixing bowl for the heavy lifting. Using a hand mixer on medium speed, cream together the softened butter, granulated sugar, and that gorgeous light brown sugar. You need to beat this mixture until it looks genuinely light and fluffy. Don’t rush it—plan for about 2 to 3 minutes of beating time here. This aeration is what keeps the cookie from being flat as a pancake.
- Next, we incorporate the eggs. Beat in those two room temperature eggs, one at a time, letting each one incorporate fully before adding the next. Then, drizzle in the vanilla extract. Mix until everything just looks combined—no streaks!
- Now, slow it way down! Reduce your mixer speed to low. Gradually add that flour mixture you whisked together earlier. Mix only until you stop seeing streaks of dry flour. Seriously, stop mixing! Overmixing here develops gluten, and tough cookies are not on our agenda today.
- Grab your rubber spatula! This is hands-on work for the final touch. Gently fold in those 2 cups of semi-sweet chocolate chips until they are scattered evenly throughout the dough. You don’t want to smash them up, so stop when they’re mixed in.
- Time to scoop! Drop rounded tablespoons of the dough onto the prepared baking sheets. Leaving about 2 inches between each mound is super important, or you’ll end up with one giant cookie sheet pancake when they spread out.
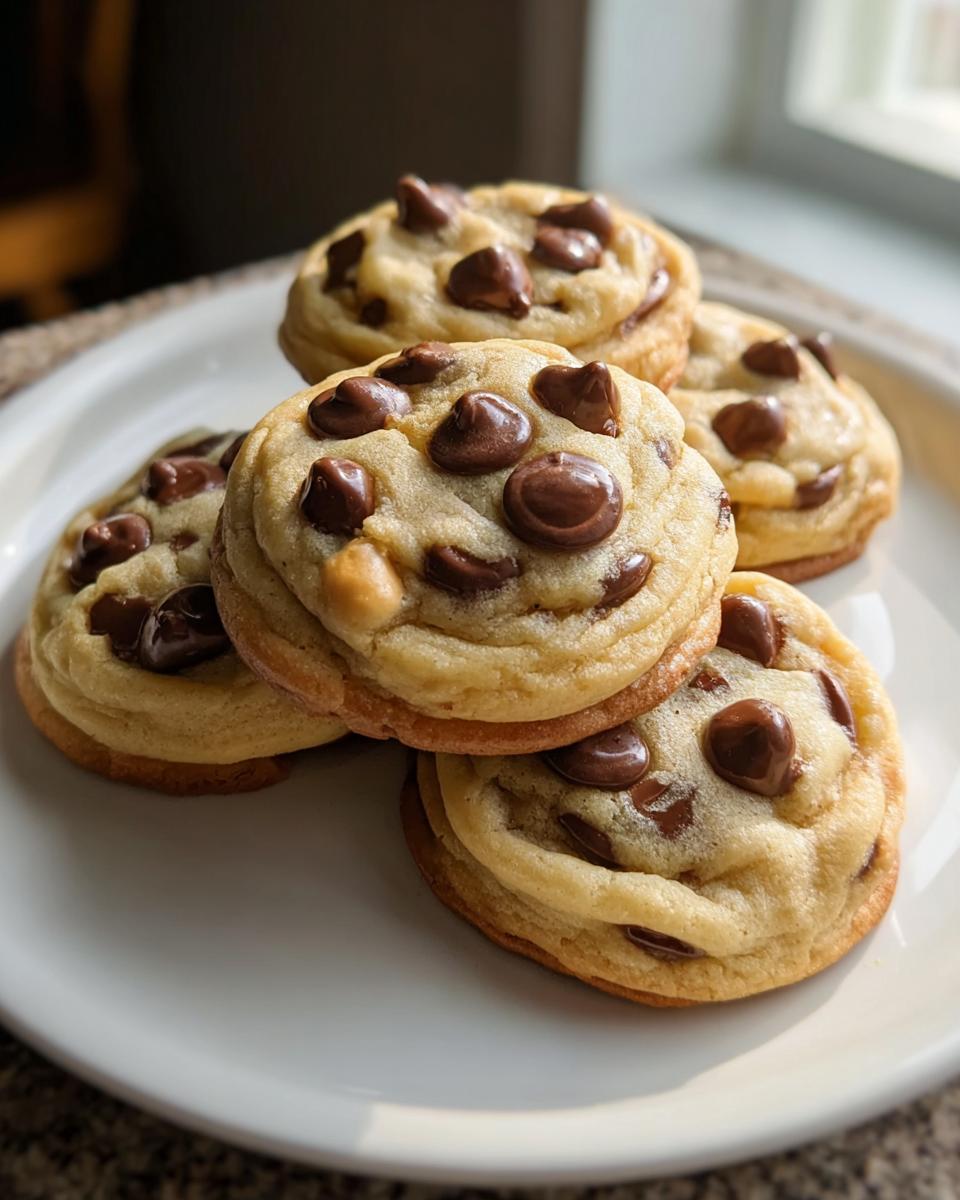
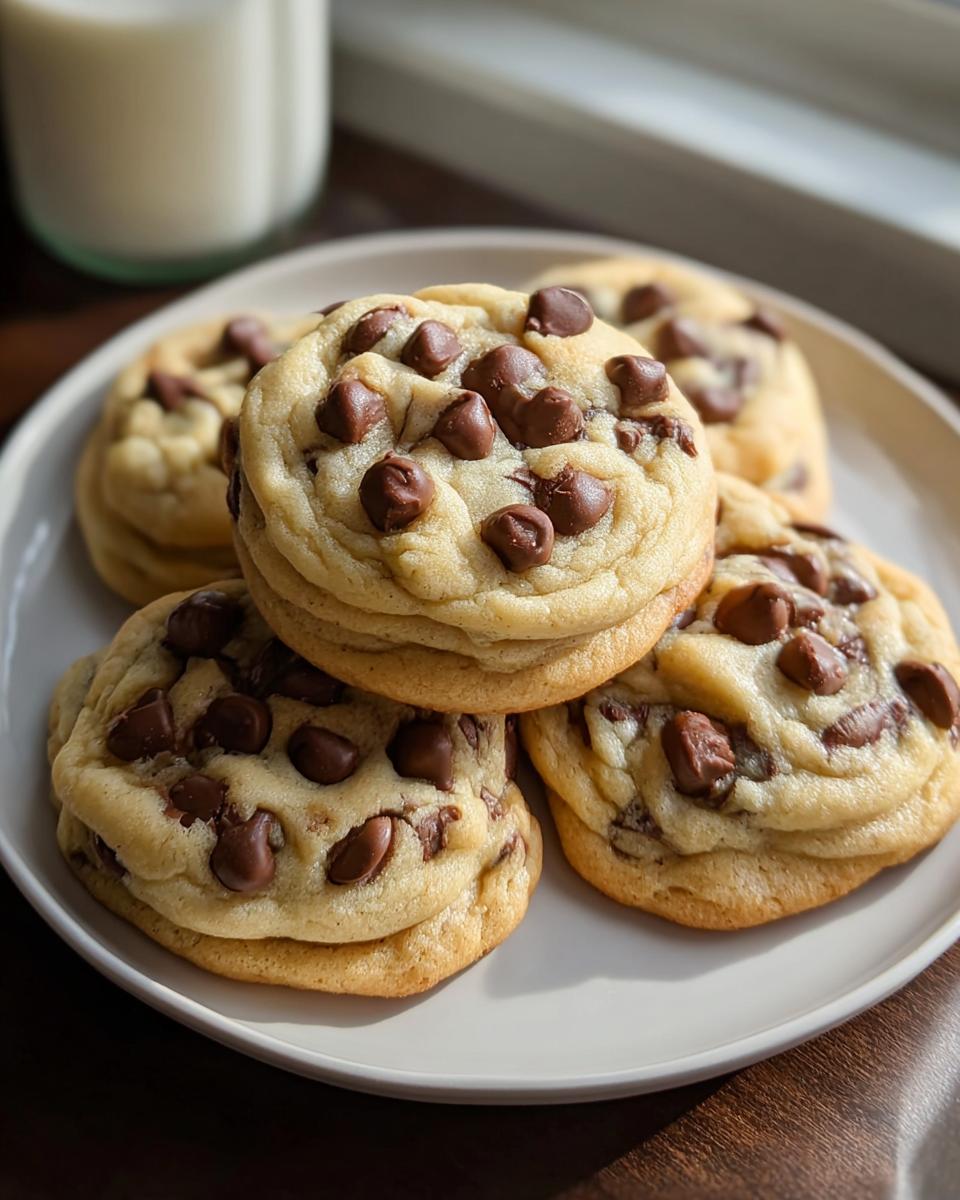
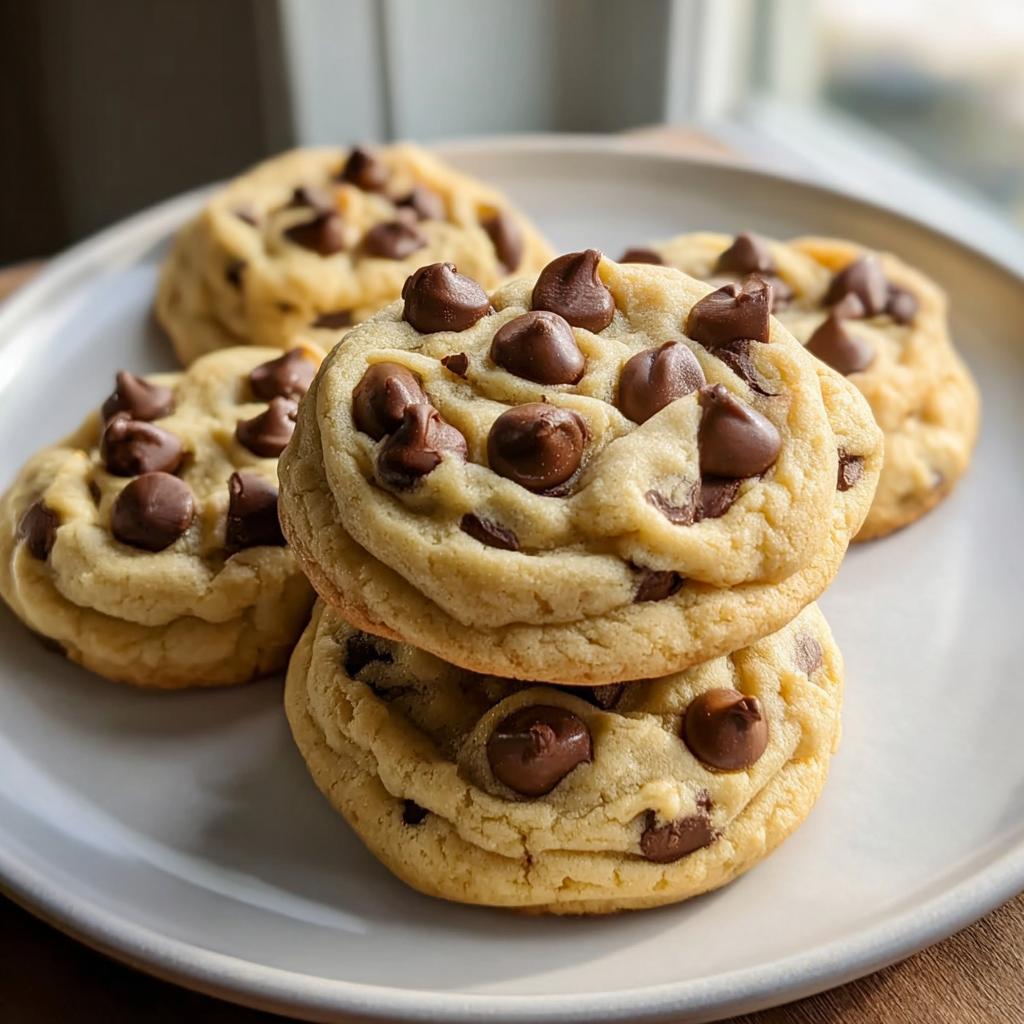
- Bake them for 9 to 11 minutes. This is the critical moment. If you leave them closer to 11 minutes, they’ll be chewier; under 10, they’ll be softer. I always aim for 10 minutes when making my **Soft and Chewy Chocolate Chip Cookies Every Time**.
- When you pull them out, don’t touch them yet! Let the cookies rest right there on the hot baking sheet for 5 minutes before carefully transferring them to a wire rack to cool completely. This rest is part of the magic that solidifies that soft center!
If you want to dive deeper into making easy, reliable recipes part of your daily rhythm, check out my collection of simple everyday recipes. Consistency in the kitchen builds confidence everywhere else in life!
The Secret to the Perfect Bake Time
We are aiming for a visual cue that screams, “I’m done, but I promise I’m still gooey inside!” The edges should look lightly golden brown—that’s your sign that they’re set enough to hold their shape. But the centers? They should still look slightly puffy and maybe even a little underdone. They shouldn’t be shiny and wet, but they shouldn’t look matte and dry either.
The absolute key to achieving that soft center with **Soft and Chewy Chocolate Chip Cookies Every Time** is the 5-minute cooldown on the baking sheet. The residual heat cooks those centers just enough without letting them dry out. If you move them immediately to the cooling rack, they often collapse or become too hard. Patience for those five minutes brings you soft perfection!
Tips for Consistently Soft and Chewy Chocolate Chip Cookies Every Time
I’ve made this dough so many times, and I’ve learned a few tricks that guarantee success instead of just hoping for it. These are the little nudges that make all the difference when you’re aiming for that reliable, chewy texture every single time you bake.
- Chill the Dough (Optional but Recommended): While this recipe works right away, if you have time (and this fits well into a structured week!), chilling the dough for at least 30 minutes or even overnight firms up the fats. This slows the spread in the oven, giving you thicker, chewier cookies, which I adore.
- Measure Flour Like a Pro: Don’t scoop your flour directly from the bag with your measuring cup! That packs it down, and you end up with way too much flour, leading to dry cookies. Instead, spoon the flour lightly into your measuring cup and then level it off with a knife. It’s simple, but it’s the best way to ensure you have the right dry-to-wet ratio for those **Soft and Chewy Chocolate Chip Cookies Every Time**.
- Use the Right Pan Position: I always bake cookies on the middle rack. This ensures the heat is coming evenly from both the top and bottom elements, preventing burnt bottoms while the centers struggle to set. I have a running list of my favorite favorite simple baking fundamentals if you ever want to check them out!
- The Room Temp Rule is Real: I mentioned this above, but I’ll say it again because it’s non-negotiable: softened butter and room temperature eggs are essential for that light, fluffy creaming stage that locks in the chewiness.
Storing Your Soft and Chewy Chocolate Chip Cookies
The battle after baking is always the same: trying to save some for later without them losing that just-baked texture. Thankfully, these **Soft and Chewy Chocolate Chip Cookies Every Time** store brilliantly, whether you plan to enjoy them tomorrow or next month. It all comes down to keeping the air out!
If you manage to save any, which is tough when they smell this good, keep them at room temperature. Use an airtight container, and don’t stack them higher than two layers without parchment or wax paper between them. This prevents any moisture migration that could make the tops stick together. They should stay perfectly chewy like this for a good three or four days. Honestly, I rarely have leftovers past day two because my family (and I!) tends to snack.

Now, for the freezer method, which is my go-to for future emergencies. You have two options here, and both work beautifully.
Storing Unbaked Dough Balls
If you scoop the dough but don’t bake it right away, you can freeze the dough balls! Just drop the rounded tablespoons onto a parchment-lined baking sheet and flash-freeze them until solid—usually about an hour. Then, transfer those frozen balls into a large zip-top freezer bag. They last for about three months.
When you get a sudden craving for warm cookies, just pull out as many as you need! You’ll need to add an extra couple of minutes to the bake time since you’re going straight from the freezer to the oven. They’ll still achieve that perfect, reliable chewiness!
Reheating to Restore That Freshly Baked Feel
If your cookies have been sitting for a day or two, they might firm up just a touch. Don’t worry; we can revive them easily! The microwave is your best friend for texture restoration, but you only need seconds.
Take one or two cookies (no more!) and pop them on a microwave-safe plate. Zap them for about 10 to 15 seconds. This little blast of heat softens the butter and sugar again, giving you that gooey center we worked so hard to create. It turns an okay cookie into an amazing one instantly. If you’re using the oven, 350°F for three minutes works too, but the microwave is faster when that craving hits!
Common Questions About Making Soft and Chewy Chocolate Chip Cookies
I always get so many questions after people try this recipe because they realize how differently it behaves from their old favorites! It makes total sense. When you’re aiming for **Soft and Chewy Chocolate Chip Cookies Every Time**, small variables can change everything. Here are the top things readers ask me after they’ve baked their first batch.
Why did my cookies spread too much?
This is the number one question I hear, and usually, it points to one of two things: temperature or flour. If your cookies spread super thin before they even start to turn golden, your butter was probably too warm, or your eggs were too warm when added—that causes the mixture to become too liquid before the flour has a chance to set the structure. Remember what I stressed about having soft, but not greasy, butter?
The other big culprit is flour. If you scooped that flour instead of spooning and leveling it, you added too much flour relative to the fats, which sinks the cookie as it bakes. If you want thicker, chewier cookies, you have two options: either use cold butter mixed very briefly with the sugars, or chill that dough for at least an hour before scooping. This keeps the spread tight!
Can I use salted butter instead of unsalted butter?
Yes, you absolutely *can*, but you need to adjust the salt in the dry ingredients. My recipe calls for 1 teaspoon of fine sea salt, which is balanced perfectly with unsalted butter. If you use salted butter (which usually has about 1/4 teaspoon of salt per stick), you’ll need to cut back the added salt drastically.
I recommend starting with just 1/4 teaspoon of added salt if you use salted butter. If you forget to adjust, your **chewy cookies** will taste a little off and possibly too salty on the edges. For me, unsalted is always safer because I control exactly how much salt goes in.
How long can I store this dough? Can I freeze it?
I already mentioned freezing dough balls above, but let’s talk specifically about storing the mixed dough in the fridge. Short answer? Yes, it loves a chill! I find that chilling the dough for 12 to 24 hours actually deepens the flavor a bit, making the vanilla and vanilla notes really shine through. It stays wonderfully fresh wrapped tightly in plastic wrap for up to three days.
If you happen to have leftovers sitting around, you can even use them as inspiration for a quick reheat! If you need an easy recipe idea for when you’re tired after dinner, sometimes just reheating one of these beautiful cookies is all you need. Check out my quick dinner ideas for the main meal, then enjoy these cookies!
Do I have to use the brown sugar? What if I only have white sugar?
Oh, please don’t switch all the brown sugar out for white sugar if you want these to be **Soft and Chewy Chocolate Chip Cookies Every Time**! The brown sugar is critical because it’s hygroscopic, meaning it loves to hold onto moisture. That’s what keeps the cookie soft days later.
If you absolutely only have white sugar, you can substitute it 1:1, but I highly recommend adding an extra tablespoon of liquid, like a teaspoon of water or milk, to compensate for the lost molasses content. You won’t get the exact same deep caramel flavor, but you’ll save the batch from becoming too cakey or dry!
Nutritional Estimates for This Cookie Recipe
I know some of you are tracking macros or just curious about what you’re including in your clean habits, and that’s totally fair! While Melt It Clean is centered on real food and intuitive eating rather than strict counting, I always want to give you the best information possible so you can make informed choices that fuel your energy.
Please remember that these are just general estimates for one cookie, based on the standard measurements of butter, sugars, and flour in this recipe for **Soft and Chewy Chocolate Chip Cookies Every Time**. If you use darker chocolate, milk solids in your flour, or different brands of butter, these numbers will shift slightly!
We are aiming for 24 cookies total from this batch. Here’s a breakdown of the estimated nutrition per single, glorious, perfectly chewy cookie:
- Calories: Approximately 200-220 kcal
- Total Fat: Around 11g
- Saturated Fat: About 6g
- Carbohydrates: Roughly 25g
- Sugars: Approximately 15g (Remember, this includes natural sugars from the butter and molasses!)
- Protein: About 2g
This is why I always preach balance! These are a wonderful treat, designed to be enjoyed fully and intentionally—not restricted. When you’re eating whole, nourishing food the rest of the time, a treat like this fits perfectly into a healthful, energetic lifestyle. Enjoy them guilt-free!
Share Your Baking Success
I truly hope you enjoyed the process of making these cookies! When I finally perfected the technique to get **Soft and Chewy Chocolate Chip Cookies Every Time**, it felt like such an accomplishment, and I really want you to feel that same pride!
Once you’ve let them cool and had that first perfect bite, don’t keep the goodness to yourself! I built Melt It Clean to be a place where we support each other in building real, sustainable habits, and that includes celebrating the small, delicious wins.
Did you find that the room temperature eggs made a huge difference? Or maybe you tried chilling the dough overnight? I’d absolutely love to hear about your results! Please head down to the comments section below and leave a star rating—it helps other bakers find this reliable recipe. If you snap a photo of your perfectly chewy centers, tag me on social media! Seeing your kitchen successes always brightens my day. I read every single comment, and I can’t wait to hear how this recipe fits into your life!
If you’re looking for more ways to integrate intentional, enjoyable habits into your daily routine that support energy and wellness, please poke around the main blog space. There’s always more to explore here at MeltItClean.com—we’re all about making healthy living fit *your* life, not the other way around!
By EMILIA, founder of MeltItClean.com – your digital space for natural weight loss, real wellness habits, and clean-living inspiration that actually fits your life.
For years, I struggled with the ups and downs of dieting. I tried everything — juice cleanses, low-carb crazes, fitness challenges — but I always ended up back where I started: tired, bloated, and frustrated. I didn’t just want to “lose weight” — I wanted energy, mental clarity, glowing skin, and confidence without sacrificing my joy or sanity.
After years of experimenting, learning, and unlearning, I discovered a simple truth: your body is already powerful — it just needs support, not restriction. That’s when I created Melt It Clean — a site dedicated to real transformation through clean, intentional, and nourishing daily habits that anyone can follow.
My goal was simple: build a place where people could feel informed, supported, and empowered without being overwhelmed by wellness fads.
Soft and Chewy Chocolate Chip Cookies Every Time
Ingredients
Equipment
Method
- Preheat your oven to 375°F (190°C). Line your baking sheets with parchment paper.
- In a medium bowl, whisk together the flour, baking soda, and salt.
- In your large mixing bowl, use a hand mixer on medium speed to beat the softened butter, granulated sugar, and brown sugar until the mixture is light and fluffy. This takes about 2-3 minutes.
- Beat in the eggs, one at a time, followed by the vanilla extract. Mix until everything is just combined.
- Reduce your mixer speed to low and gradually add the flour mixture. Mix until you no longer see streaks of flour. Do not overmix.
- Use your rubber spatula to fold in the chocolate chips until they are evenly distributed throughout the dough.
- Drop rounded tablespoons of dough onto the prepared baking sheets, leaving about 2 inches between each one for spreading.
- Bake for 9-11 minutes. The edges should be lightly golden, but the centers should still look slightly soft.
- Let the cookies cool on the baking sheet for 5 minutes before transferring them to a wire rack to cool completely.


