
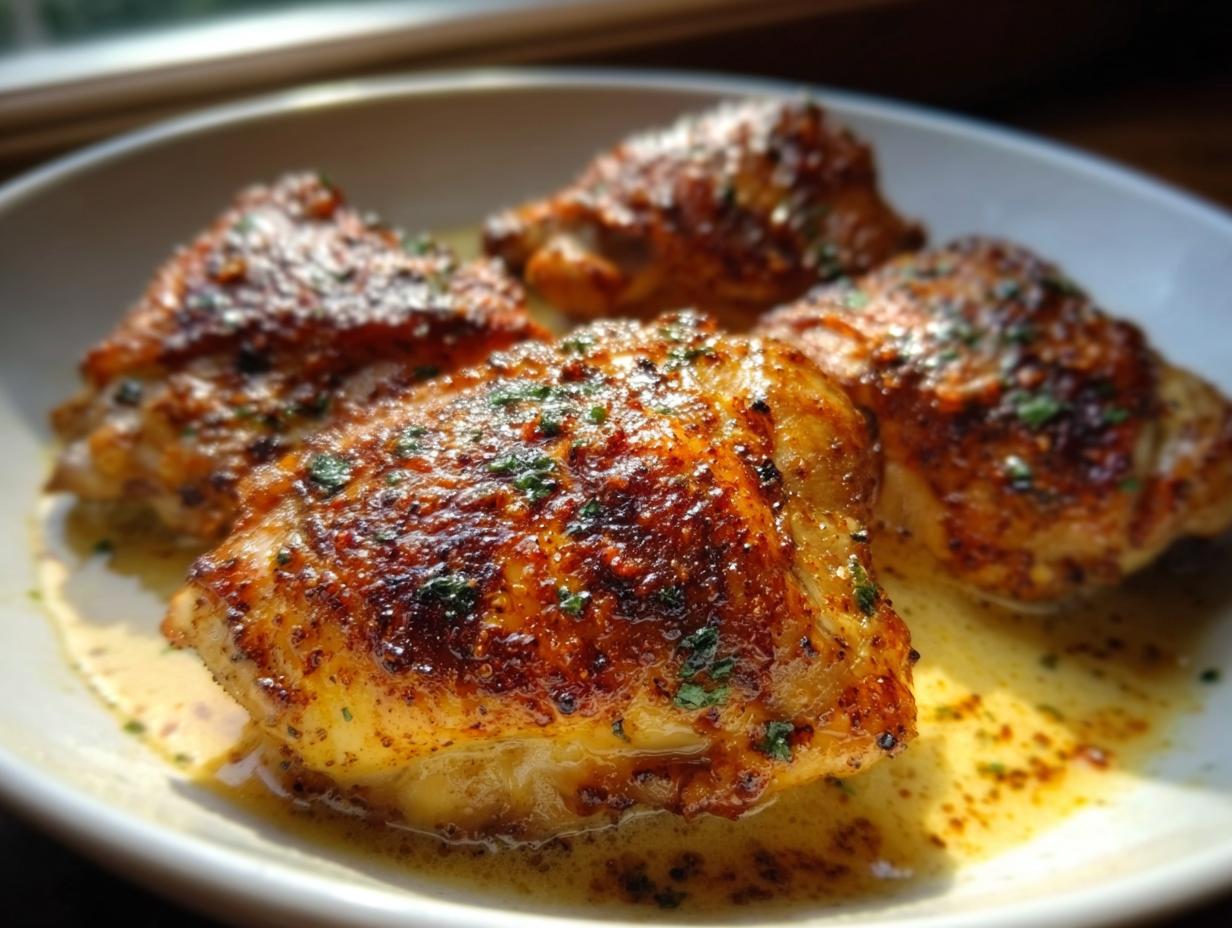
Listen, I know what it feels like when you just want a genuinely delicious dinner on the table without feeling like you need a culinary degree. That’s why I put together [The Ultimate Chicken Thigh Recipes Guide for Beginners]. Forget dry, sad chicken evenings! Chicken thighs are your secret weapon because they are practically foolproof—they stay juicy even when you mess up the timing a tiny bit. Trust me, coming from someone who spent years complicating healthy eating, simplicity wins. This guide cuts out all the noise and gives you one perfect, reliable method for amazing roasted chicken thighs every single time. For more simple dinner ideas that wow, check out some of my favorite healthy chicken dinner recipes.
Who This Guide Is For: Mastering [The Ultimate Chicken Thigh Recipes Guide for Beginners]
If you look at a recipe and immediately feel overwhelmed by fancy words or ten different gadgets, this guide is your new best friend. Seriously! This is built just for the true beginner who needs one foolproof method that consistently delivers great results. Are you just starting your kitchen journey? Are you hunting for weeknight dinners that are fast, require almost no brainpower, and don’t rely on complicated techniques? You need this recipe.
We are focusing on bone-in, skin-on thighs because they teach you the basics of seasoning and searing without the stress of drying out easily. If you want quick, clean inspiration for fast meals, you might also like exploring easy, healthy dinner recipes for busy nights.
Tone and Style for [The Ultimate Chicken Thigh Recipes Guide for Beginners]
When I write these guides, I want you to feel like you’re chatting with me over coffee. The tone is super friendly, encouraging, and I’ll cheer you on the whole time! We’re avoiding all that intimidating chef talk—no confusing jargon here, I promise. The style is direct, telling you exactly what to do next so you can focus on getting that perfect skin. You’ve got this!
Why Bone-In Thighs Make [The Ultimate Chicken Thigh Recipes Guide for Beginners]
If you’re new to cooking chicken, please start with bone-in, skin-on thighs. Seriously! They are the most forgiving cut out there. Unlike those notoriously finicky chicken breasts, thighs have more fat and that handy bone, which keeps them super moist even if you accidentally leave them in the oven a minute too long. Flavor bombs, I’m telling you!
This forgiving nature is why they anchor [The Ultimate Chicken Thigh Recipes Guide for Beginners]. My biggest confidence booster when I started cooking was knowing I could bake these and get amazing results. For more ways to bake thighs beautifully, take a peek at my guide on crave-worthy chicken thigh recipes baked chicken.
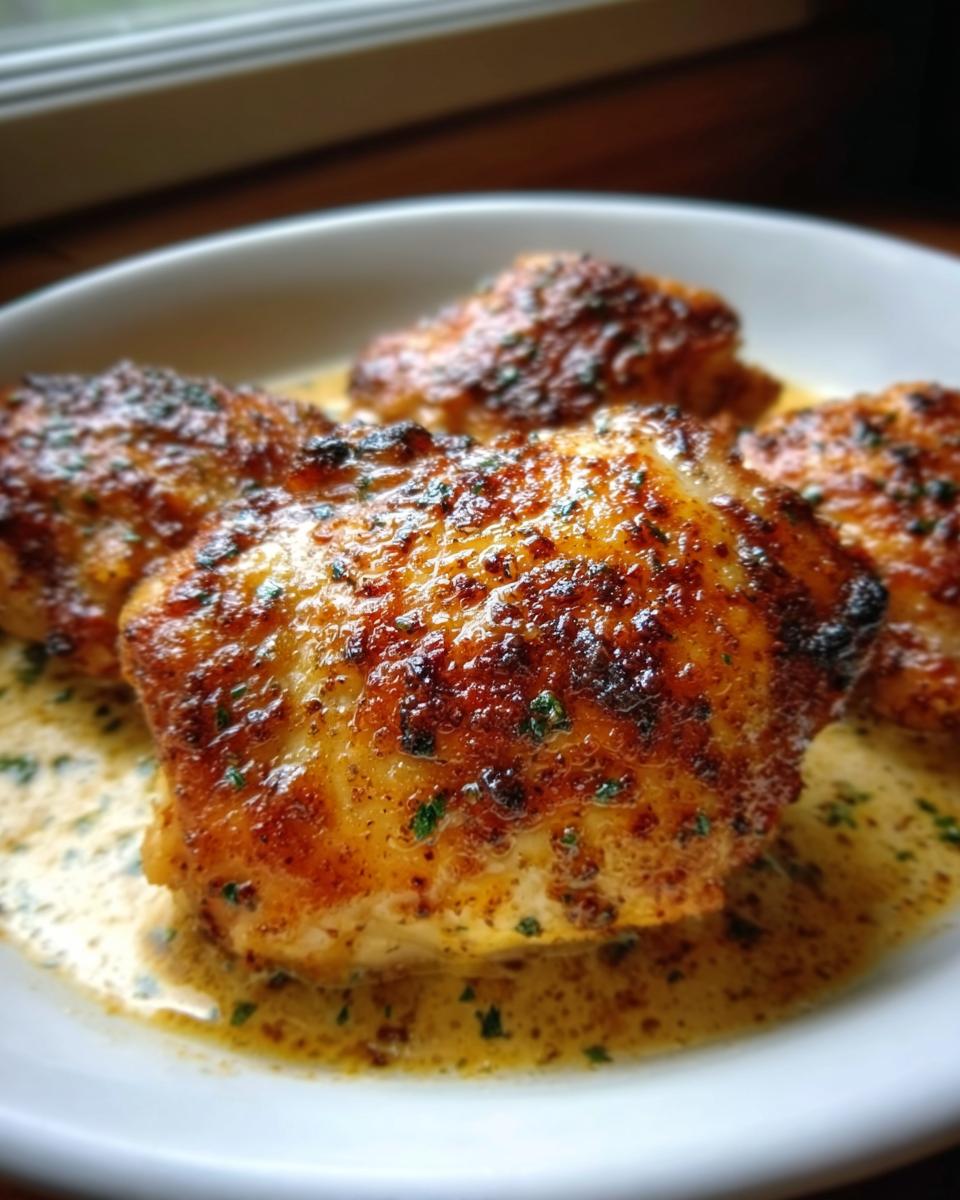
My number one trick, which is crucial for that restaurant-quality crunch, happens right before seasoning: you have to pat the skin bone-dry with paper towels. Moisture is the enemy of crispness, so blot those babies until they look dusty! If you want to explore getting them extra crispy, I talk all about that in my tips for extra crispy chicken thighs in the oven.
Essential Equipment for [The Ultimate Chicken Thigh Recipes Guide for Beginners]
Don’t overcomplicate your kitchen setup! For this recipe, you only need the basics, which means less clutter and easier cleanup. You’ll need an oven, of course, and a sturdy baking sheet. Parchment paper or foil is a must—it saves you scrubbing later! And please, invest in an inexpensive instant-read meat thermometer. It takes all the guesswork out of knowing when your chicken is perfectly done. That’s it!
Gathering Ingredients for [The Ultimate Chicken Thigh Recipes Guide for Beginners]
Okay, let’s talk ingredients! For this foolproof recipe, we’re keeping the list short and relying on pantry staples. You’ll need four bone-in, skin-on chicken thighs—please make sure they are bone-in, as that’s what guarantees the moisture!
For the seasoning, it’s just a simple spice blend that adds tons of flavor without any fuss. We need salt, pepper, garlic powder, and paprika. That’s your whole flavor profile right there! Measure these out into a tiny bowl—I usually use a ramekin—before you touch the chicken. Having everything ready keeps the process smooth, which is key when you’re learning the ropes. If you like keeping things simple yet delicious, check out my tips for simple healthy meals with everyday ingredients.
Step-by-Step Instructions for [The Ultimate Chicken Thigh Recipes Guide for Beginners]
This is where the magic happens, and trust me, it’s easier than setting up a new gadget! First things first: turn your oven up high, 400 degrees Fahrenheit (200 Celsius) is the sweet spot. Get your baking sheet ready and line it with foil or parchment—this is your secret weapon against scrubbing later. Then, get those chicken thighs aggressively dry with paper towels. I mean really dry! For a detailed look at the baking process, you can often find great supplementary steps in my guide on how to make oven baked chicken thighs.
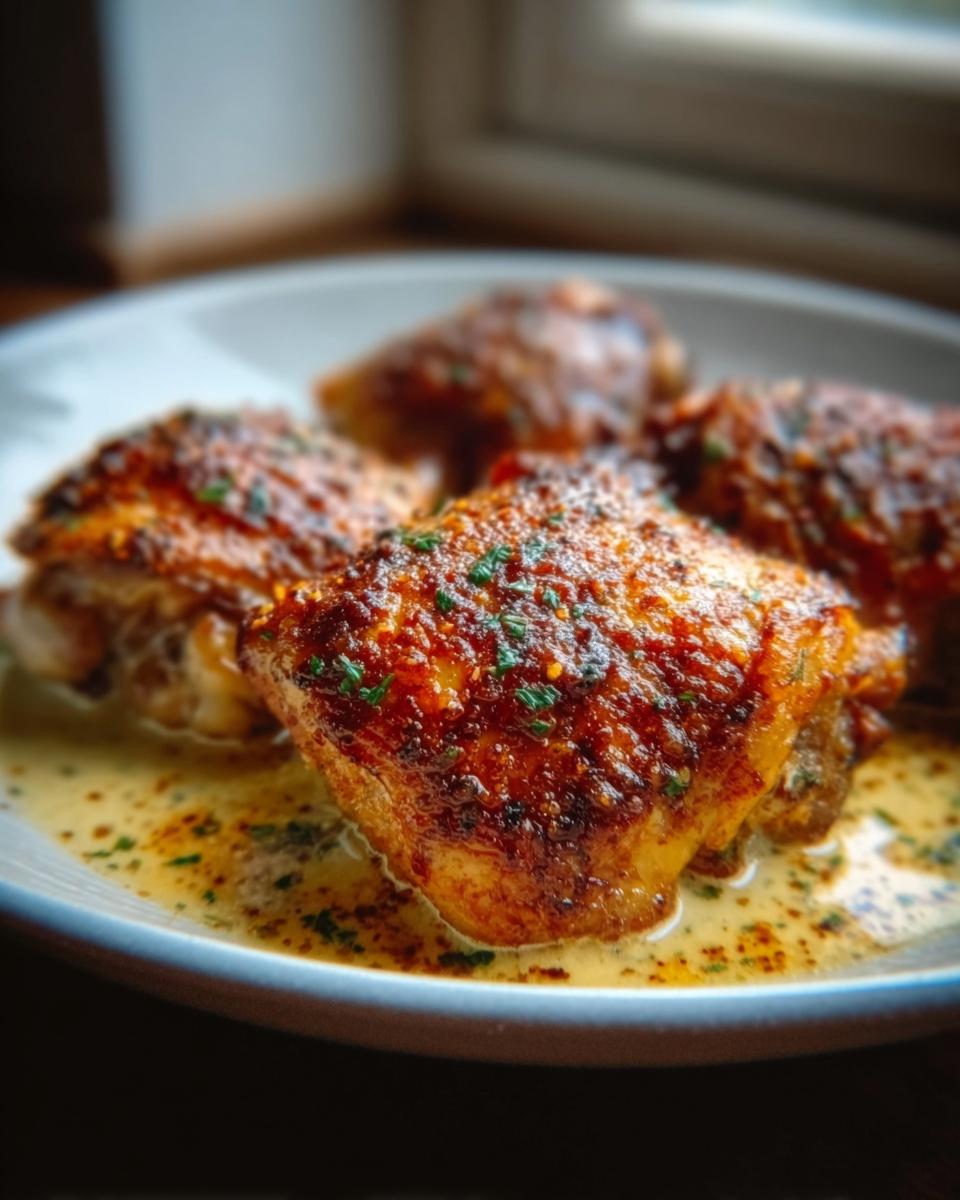
In a tiny bowl, dump in your salt, pepper, garlic powder, and paprika. Mix it up with a little fork. Now, rub that seasoning blend all over the chicken. Don’t be shy; make sure you get the sides and underneath the skin as best you can. Place your seasoned thighs skin-side up on your prepared sheet—make sure they aren’t touching. We need airflow for crisping!
Pop them straight into that hot oven for about 25 to 30 minutes. How do you know they’re done? This is crucial for success in [The Ultimate Chicken Thigh Recipes Guide for Beginners]: stick your meat thermometer right into the thickest part of the thigh that isn’t touching the bone. You are looking for 165 degrees Fahrenheit (74 Celsius).
When they hit that temp, yank them out! Resist the urge to carve them immediately. Let them rest right there on the baking sheet for five minutes. This five minutes is quiet time where the juices settle back in, making the meat tender. Once rested, you’ve made incredible, simple baked thighs! For more no-fuss cooking ideas, you might find these healthy one-pan recipes for simple cleaning useful.
Pro Tips for Perfect Crispy Skin
Want skin that crackles when you touch it? Here’s my insider tip: before you season, sprinkle just 1/2 teaspoon of baking powder (the regular kind, not baking soda!) over the *dry* skin and rub it in gently along with the salt. Baking powder works magic by changing the pH level, allowing the skin to dry out faster and crisp beautifully in the high heat. Also, make sure your oven rack is positioned toward the middle or upper half. Too low, and you risk burning the bottom before the top crisps up!
Serving Suggestions for [The Ultimate Chicken Thigh Recipes Guide for Beginners]
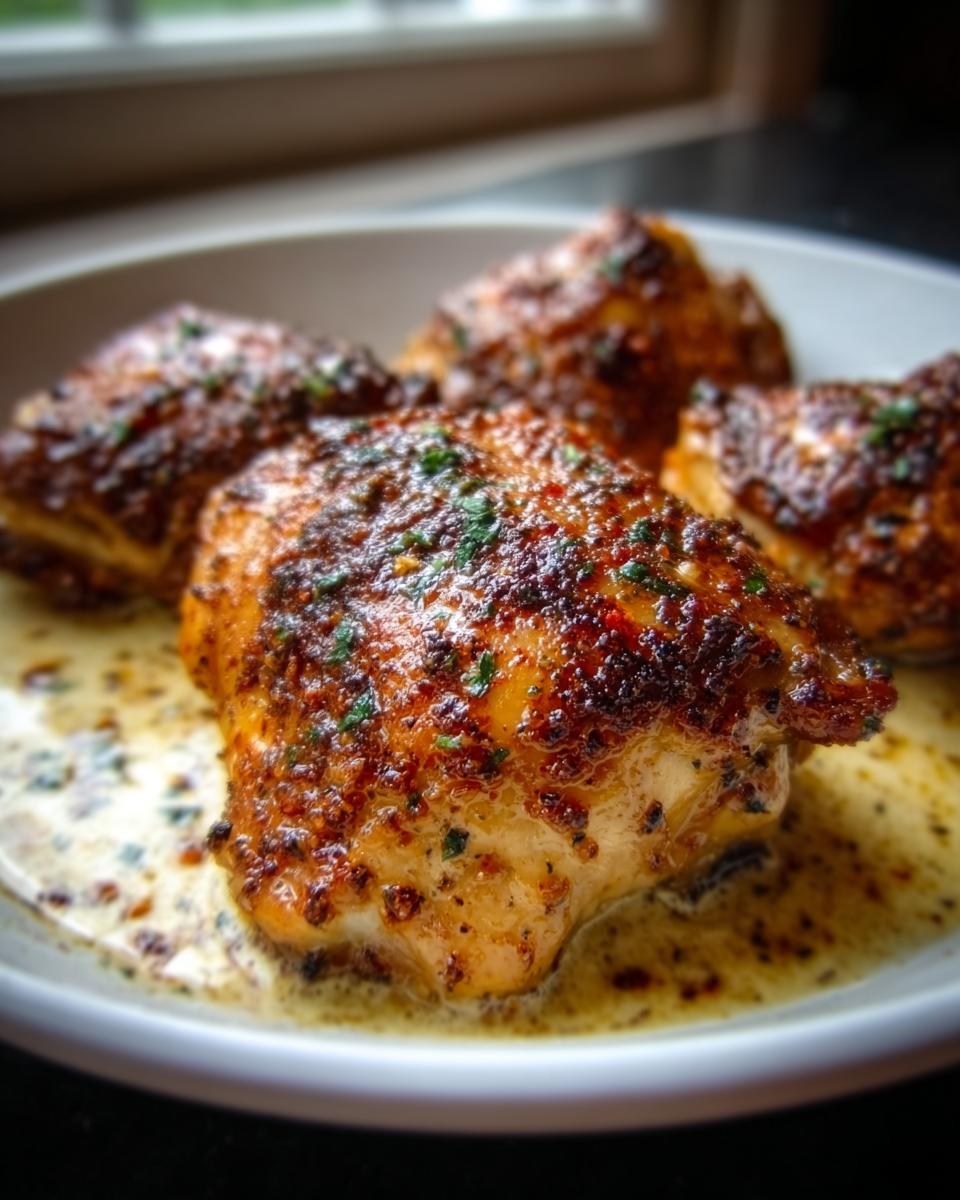
Honestly, these seasoned thighs are so flavorful, you barely need anything fancy! That beautiful, simple flavor profile from [The Ultimate Chicken Thigh Recipes Guide for Beginners] pairs perfectly with almost anything fast. Since the main dish is straightforward, sides should match—think easy veggies.
I love tossing some broccoli or asparagus right onto the baking sheet alongside the chicken for the last 15 minutes. If you want something heartier, a quick scoop of fluffy white rice or some creamy mashed potatoes soaks up all those delicious pan juices perfectly. For more ideas on building balanced plates without the fuss, take a look at my thoughts on balanced meals with veggies, protein, and flavor.

Storage and Reheating for Your Chicken Thighs
Don’t let those delicious leftovers go to waste! Once completely cooled, tuck your chicken thighs into a tightly sealed, airtight container. They will keep wonderfully in the fridge for about three to four days—perfect for meal prepping a few lunches. I always sneak them into my weekly rotation!
When it’s time to eat them again, skip the microwave if you care about that crispy skin. The microwave turns everything sad and rubbery! Instead, reheat them in a toaster oven or a regular oven set to maybe 350 degrees until they are warmed through. This gentle heat brings back some of that nice texture. If you’re looking for more ways to plan ahead, check out these make-ahead healthy lunch and dinner ideas.
Frequently Asked Questions About [The Ultimate Chicken Thigh Recipes Guide for Beginners]
I get asked the same questions all the time when people first start cooking chicken thighs, and that’s great! Asking questions is how we build those real, clean-living habits. Here are my direct answers to the things that might trip you up when starting out.
Can I use boneless, skinless chicken thighs instead of bone-in?
Technically, yes, but I really, *really* advise against it when you’re just starting out! The beauty of bone-in, skin-on thighs is that they are incredibly forgiving on temperature and time, ensuring you get juicy results. Boneless thighs cook much faster and can go from perfect to dry in a heartbeat. If you must switch, reduce your cooking time significantly—maybe start checking at 18 minutes.
What if I don’t have a meat thermometer? How do I know they are done?
Oh, please don’t skip the thermometer! This is the single most important tool for confidence in the kitchen. If you absolutely cannot find one, you can pierce the thickest part of the thigh near the bone with a sharp knife. If the juices run clear—and I mean crystal clear—it’s done. If you see *any* pink tint in the juice, put it back in the oven immediately. Proper temperature ensures safety, which is core to clean eating!
Do I really need to let the chicken rest after baking?
Yes! I know you’re excited to eat, but skipping the rest step is a waste of perfection. Resting lets those juices, which have been driven into the center by the heat, redistribute back into the meat fibers. If you cut it immediately, all that wonderful moisture leaks onto your pan instead of staying inside the meat. Five minutes is all it takes to transform the texture.
Is this the best method in [The Ultimate Chicken Thigh Recipes Guide for Beginners] for meal prep?
It really is! Baked bone-in thighs hold up incredibly well for meal prepping. They don’t get mushy like reheated white meat can. Bake them completely, let them cool, and store them in your meal prep containers. For reheating during the week, I suggest popping them in the oven or toaster oven for about 10 minutes to keep that skin tight. If you’re looking for more ways to plan ahead, check out my tips on easy meal prep recipes for a healthy week.
My Journey to Simple, Reliable Cooking
When I first started trying to live healthier and focus on clean eating, I thought cooking had to be complicated to be good. I spent years chasing complicated recipes that required 15 different powders and oils, just like I chased fad diets. I never stuck with any of it because it felt like a huge chore, and frankly, I ended up exhausted and frustrated.
That whole experience just spiraled me back to old habits. The real shift happened when I realized that ‘clean living’ isn’t about restriction or complexity; it’s about making simple, intentional choices that support your body every day. That’s why I find so much joy in teaching things like this ultimate baked chicken thigh recipe!
This recipe embodies everything Melt It Clean is about: great flavor using basic seasoning, zero fuss, and a result you can trust, every time. It’s nourishing, it’s straightforward, and it fits right into a life that’s already busy. To read more about how I finally found my stride in wellness, you can always visit my About Me page.
By EMILIA, the founder of MeltItClean.com
Hi, I’m EMILIA, the founder of MeltItClean.com – your digital space for natural weight loss, real wellness habits, and clean-living inspiration that actually fits your life.
For years, I struggled with the ups and downs of dieting. I tried everything — juice cleanses, low-carb crazes, fitness challenges — but I always ended up back where I started: tired, bloated, and frustrated. I didn’t just want to “lose weight” — I wanted energy, mental clarity, glowing skin, and confidence without sacrificing my joy or sanity.
After years of experimenting, learning, and unlearning, I discovered a simple truth: your body is already powerful — it just needs support, not restriction. That’s when I created Melt It Clean — a site dedicated to real transformation through clean, intentional, and nourishing daily habits that anyone can follow.
My goal was simple: build a place where people could feel informed, supported, and empowered without being overwhelmed by wellness fads.
The Ultimate Chicken Thigh Recipes Guide for Beginners
Ingredients
Equipment
Method
- Preheat your oven to 400 degrees Fahrenheit (200 degrees Celsius). Line a baking sheet with parchment paper or foil for easier cleanup.
- Pat the chicken thighs dry using paper towels. This helps the skin crisp up during cooking.
- In a small bowl, mix together the salt, pepper, garlic powder, and paprika.
- Rub the seasoning mixture evenly over all sides of the chicken thighs, including under the skin if possible.
- Place the seasoned chicken thighs skin-side up on the prepared baking sheet. Arrange them so they are not touching.
- Bake for 25 to 30 minutes, or until the internal temperature reaches 165 degrees Fahrenheit (74 degrees Celsius) when checked with a meat thermometer in the thickest part of the thigh.
- Remove the chicken from the oven and let it rest on the baking sheet for 5 minutes before serving. This allows the juices to redistribute.


