
Oh, weeknights. Does anyone else hit that 5 PM wall where the thought of cooking anything complicated makes you want to just order pizza? I totally get it. I spent years spinning my wheels, trying to fit complicated, restrictive diets into chaotic evenings, and frankly, it was exhausting. But guess what? You don’t have to choose between grabbing takeout and making something that actually nourishes you.
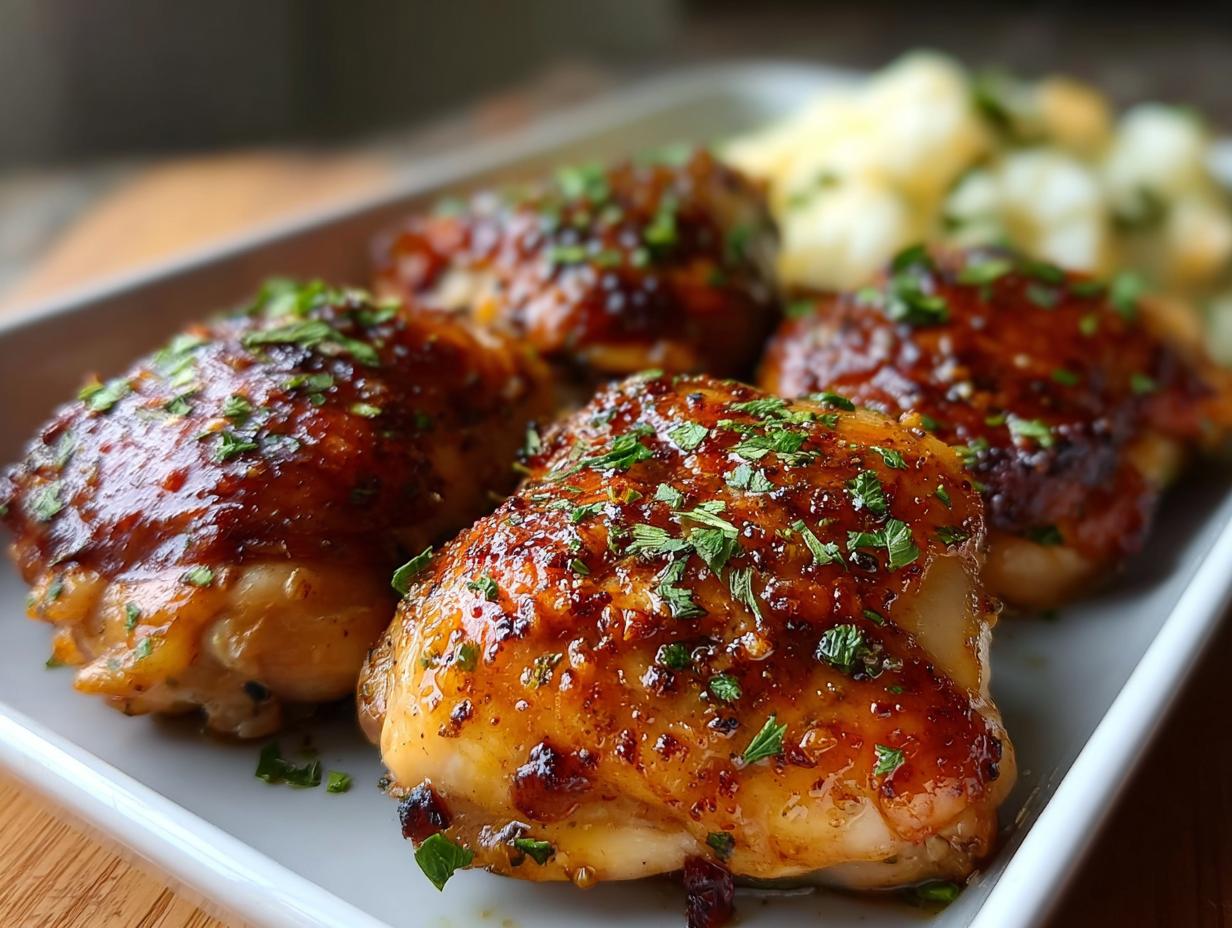
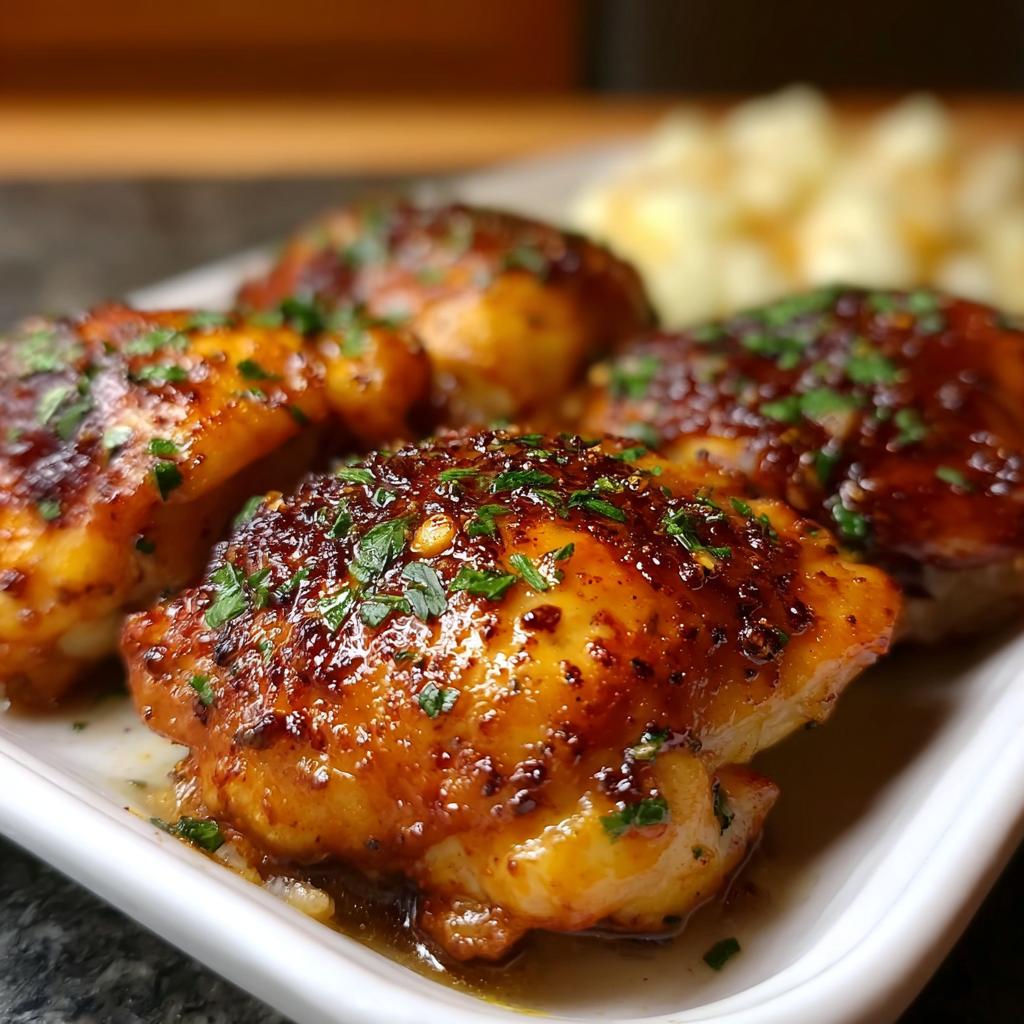
I’m here to tell you that true wellness means finding satisfying shortcuts that don’t cheat your habits. That’s why I developed this absolute must-try method for super flavorful chicken. We are talking about a complete, delicious meal on the table in just 20 minutes flat. Forget complicated marinades; this method is the ultimate Chicken Thigh Recipes in 20 Minutes: Weeknight Winner that keeps you energized and feeling amazing.

Who This Chicken Thigh Recipes in 20 Minutes: Weeknight Winner Is For
Okay, let’s chat about who needs this recipe in their rotation right now. If you’re juggling a job, family, or just dreaming of an evening that doesn’t revolve around the stove, this is for you! This dish proves that clean eating doesn’t need hours of your time. It’s perfect for parents who need healthy dinners fast and anyone who wants to stick to their wellness goals without feeling deprived.
If you’re looking for simple foundations that support real energy, you’ve found your new favorite go-to. No fad diets here, just good, fast food!
Tone and Style for Your Chicken Thigh Recipes in 20 Minutes: Weeknight Winner
When you’re reading this recipe, I want you to feel like your most encouraging friend is talking to you! The tone is definitely warm and super practical. We’re keeping things direct and actionable because when you only have 20 minutes, you don’t have time for fluff.
My goal is pure empowerment. You’ll see that my style reflects my whole approach at Melt It Clean: simple, clear instructions guiding you toward a win without any complicated wellness jargon. Easy, fast, and effective—that’s the vibe!
My Quick Dinner Philosophy: Making Chicken Thigh Recipes in 20 Minutes: Weeknight Winner Happen
I remember this one Tuesday last spring. I’d absolutely crushed my workday, but by the time I walked in the door, my energy tank was practically empty. I looked in the fridge and saw those beautiful, dark meat thighs, and I just didn’t have the bandwidth for anything fussy. That night cemented my philosophy: healthy food shouldn’t mean sacrificing your evening peace.
I needed something that *felt* like dinner—rich, savory, and satisfying for my real-life hunger—but that was ready before I started feeling resentful about cooking. That’s when this simple seasoning and searing technique really came together. It became my lifeline, truly earning its name as the Chicken Thigh Recipes in 20 Minutes: Weeknight Winner.
Finding these fast solutions, right on the fly, is how I stopped stressing about clean eating and started enjoying it. When the recipe is this quick, you’re way more likely to stick with those good habits!
Essential Equipment for Perfect Chicken Thigh Recipes in 20 Minutes: Weeknight Winner
Listen, you don’t need fancy gadgets for this one, and that’s what makes it so perfect for busy nights! Speed means using what you already have. We aren’t pulling out the immersion blender or the stand mixer here. We need tools that are fast to grab and even faster to clean up later.
To nail that crispy sear and hit that 20-minute mark, here is the gear you absolutely must have on hand. Trust me, having these ready makes the cooking process seamless.
- A Good, Large Skillet: This is non-negotiable. You need enough surface area so you aren’t steaming your chicken thighs; you want them to sear! If you crowd the pan, the temperature drops, and you end up with rubbery chicken instead of that gorgeous brown crust we are aiming for.
- Sturdy Tongs: Forget fiddling with a fork, which always risks piercing the meat and letting all those flavorful juices escape. Great tongs let you flip the chicken confidently without tearing it up when they’re good and hot.
- Paper Towels: I know, it’s not glamorous, but it’s vital! Patting those thighs bone-dry is the secret handshake before seasoning. Excess moisture is the enemy of a good sear, so have a good stack ready.
- Small Mixing Bowl: For quickly combining your simple salt, pepper, and garlic powder blend. We want to whisk those spices together so the seasoning is even across the whole surface—no sad, bland spots!
- Instant-Read Thermometer (Highly Recommended): While the instructions say to cook by time, if you’re nervous about getting that internal temperature just right (165°F, remember?), having a quick-read thermometer saves time and guarantees perfect doneness every single time.
Ingredients for Your Chicken Thigh Recipes in 20 Minutes: Weeknight Winner
This is where the magic of the 20-minute meal truly shines, because honestly, we’re using things most of us already have in the pantry and fridge! I’m not asking you to run out to some specialty store for obscure spices. We want speed and efficiency, and that means relying on great, simple foundations. If you’ve got these basics, you’ve got dinner!
Remember, using quality ingredients—even simple ones—makes all the difference in flavor when you’re cooking fast. I promise, these few items pack a huge punch!
The Chicken Base
This is the star, and chicken thighs are just superior for weeknights, period. They are forgiving, stay moist, and stay affordable. Don’t skip the trimming step, though—excess floppy fat renders weirdly and can smoke up your kitchen!
- Four boneless, skinless chicken thighs (Take a quick second to trim any visible excess fat off the edges.)
- One tablespoon of olive oil (Good quality helps the sear, but any standard cooking oil will work in a pinch.)
The Super Simple Seasoning Blend
My philosophy is that if you apply seasoning generously and let it stick (which happens in the next steps!), you don’t need complicated rubs. These three ingredients deliver that savory, restaurant-quality flavor profile that makes this an actual weeknight winner.
- One teaspoon of salt
- One-half teaspoon of black pepper (Freshly cracked is always better, but pre-ground is fine when you’re racing the clock!)
- One teaspoon of garlic powder
See? That’s it! Four ingredients plus the chicken, and that’s all it takes to transform dinner tonight. Next up, we’re getting that skillet screaming hot.
Step-by-Step Instructions for This Chicken Thigh Recipes in 20 Minutes: Weeknight Winner
Alright, friend, this is where the cooking happens, and trust me, it moves fast! Since our goal is 20 minutes total, efficiency is key. I want you to have everything prepped—thighs trimmed, spices mixed—before you even think about turning on the heat. That five minutes of prep time we budgeted is everything!
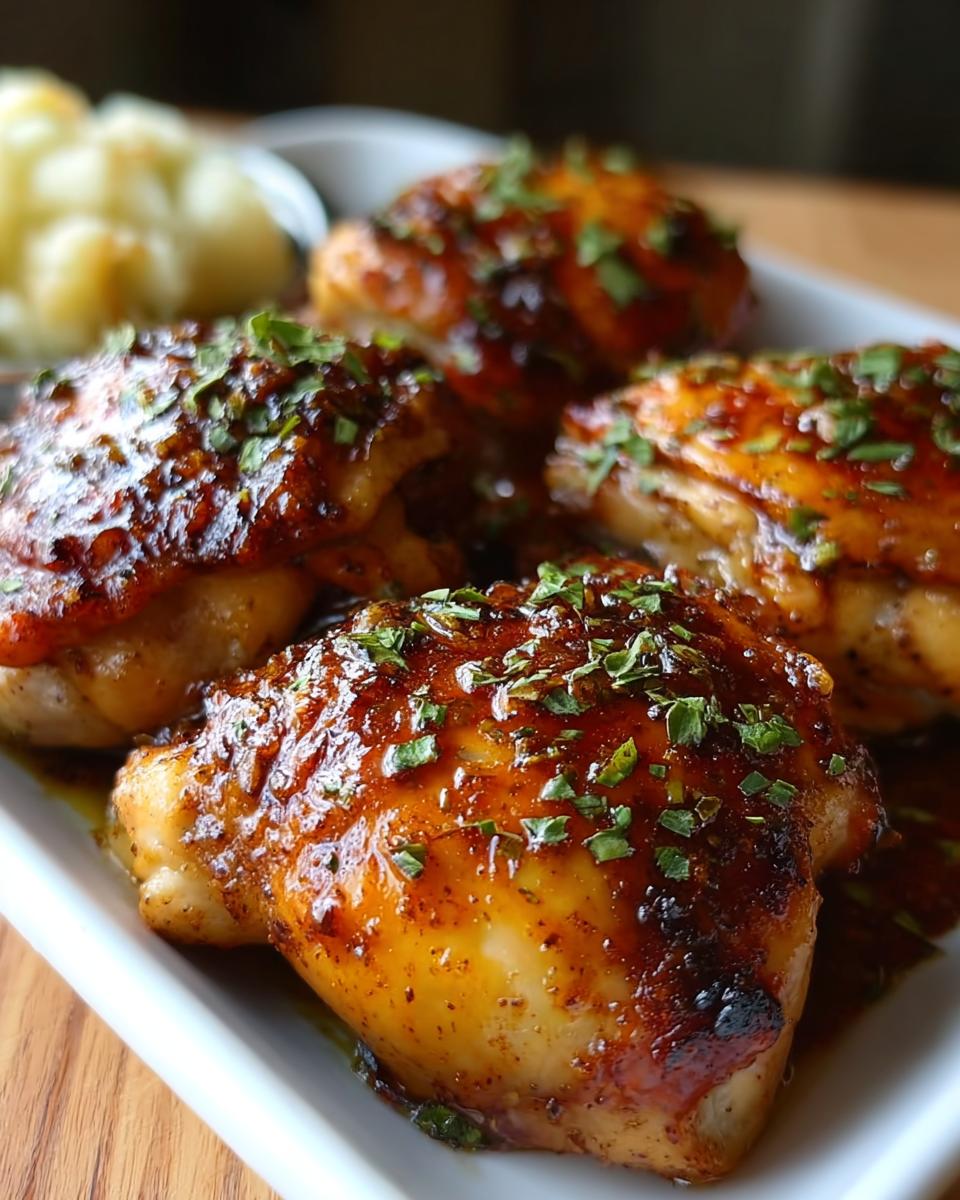
We are aiming for that beautiful, deep golden-brown crust that locks in all the juiciness. This isn’t complex stuff; it’s about technique applied quickly. Keep your eyes on the pan, and we’ll have dinner ready before the evening news even starts!
Prep and Season Generously (About 5 Minutes Right Off the Bat)
First things first, that moisture we talked about? We need to defeat it! Grab those paper towels and pat those chicken thighs until they absolutely feel dry to the touch. Seriously, don’t skip this. If they’re damp, they steam, and we want a sear!
While you’re doing that, mix up your spices—the salt, pepper, and garlic powder—in that little bowl. Sprinkle that mixture everywhere! I mean it—top, bottom, sides. Be generous. You want a nice, visible coating on both sides. You are building flavor right now, so don’t be shy with the seasoning!
The Heat Is On: Getting That Perfect Sear (6 to 8 Minutes)
Place your large skillet over medium-high heat. Drizzle in that tablespoon of olive oil. You need to let this heat up properly; don’t rush it! You’ll know it’s ready when the oil looks shimmery and almost ripples a little bit. If you put the chicken in too cold, it sticks and takes forever to brown.
Carefully lay the seasoned chicken thighs into that hot pan. I always listen for that immediate, satisfying *sizzle* sound. If you don’t hear it, your pan isn’t hot enough yet! Now, this is the hardest part: you must leave them alone. Resist the urge to poke or peek for at least six minutes. We need that deep color. Once they are deeply browned and look ready, use your tongs to flip them over.
Cook side two for another six to eight minutes. Because we’re aiming for speed, always double-check the internal temp if you can. Poultry safety is non-negotiable! They are done when they hit 165 degrees Fahrenheit right in the thickest part. If you don’t have a thermometer, they should feel firm when you press them lightly.
If you need to cook in batches—maybe you only have three thighs that fit nicely—that’s okay! If you use batches, just let your pan heat back up between rounds. If you happen to cook in batches, you might slightly extend that 20-minute window, but the texture is worth it!
The Crucial Rest: Don’t Skip This! (5 Minutes)
Once those beauties are cooked through, take them immediately out of the hot skillet and place them on a clean cutting board or plate. Cover them loosely with foil—don’t wrap them tightly, or you’ll steam that beautiful crust we worked so hard for!
This mandatory five-minute rest allows those juices that were racing toward the surface while cooking to redistribute back into the meat. If you slice them too soon, all that flavor drains right onto the board. This rest is your final, non-active step, and it’s essential for a juicy result, bringing us right around that 20-minute mark for sitting down to eat!
You’ve done it! You’ve conquered dinner in 20 minutes by following these simple steps. Check out my thoughts on pairing these amazing juicy thighs with the perfect sides next.
Expert Tips for Achieving the Best Chicken Thigh Recipes in 20 Minutes: Weeknight Winner
I’ve made this recipe more times than I can count—especially when I’m exhausted and need that quick, clean win for dinner. Over time, I’ve picked up a few tiny habits that guarantee success, even when I’m moving fast. These aren’t complicated steps; they are just little nudges to make your 20 minutes count!
The Mandatory Pat-Down for Guaranteed Crispness
This is the one step I see people skip when they are in a rush, and honestly, it’s the difference between a fantastic sear and a pale, rubbery failure. Remember how I said the chicken needs to be dry? I mean *bone-dry*. Moisture turns to steam when it hits hot oil, and steam prevents browning. No browning means no flavor locked in.
My top, absolute non-negotiable tip is to grab a stack of paper towels, lay the thighs out, and press down firmly. Don’t just wipe them; press them like you’re trying to squeeze every bit of humidity out. It takes an extra 30 seconds, but it sets up those gorgeous, deep-brown edges that make this dish feel special rather than just *fast*.
Ignoring the Chicken for the First Six Minutes
This is a mental game, honestly! Once those spiced thighs hit that properly heated oil, your natural instinct is probably to grab the tongs and start moving them around, checking on them, maybe nudging them. Stop! You have to let them sit completely undisturbed for those six minutes.
When the chicken is resting on the pan, a crust—that beautiful Maillard reaction goodness—is forming. If you move it too soon, you rip that crust right off! Think of it like dating: you have to give it time to build a connection before you try to pull it away. Trust the process; if your heat was right, they will release easily when they are perfectly seared. Then you flip, and you can move onto the next side!
Seasoning—Cover Every Inch!
Because we aren’t using a liquid marinade, we rely entirely on that spice rub to transform the outside flavor. When I grab my spice blend, I always aim for heavy coverage. When you slice into the thigh after resting, you want to see that orange-brown hue go almost all the way through the exterior layer.
I make sure to use my fingers (clean ones, of course!) to lightly rub the seasoning into the meat rather than just sprinkling it on top. This helps the salt and garlic powder adhere better during cooking. It’s a small step that ensures every bite of your quick chicken is perfectly seasoned from edge to center.
Serving Suggestions for Your Chicken Thigh Recipes in 20 Minutes: Weeknight Winner
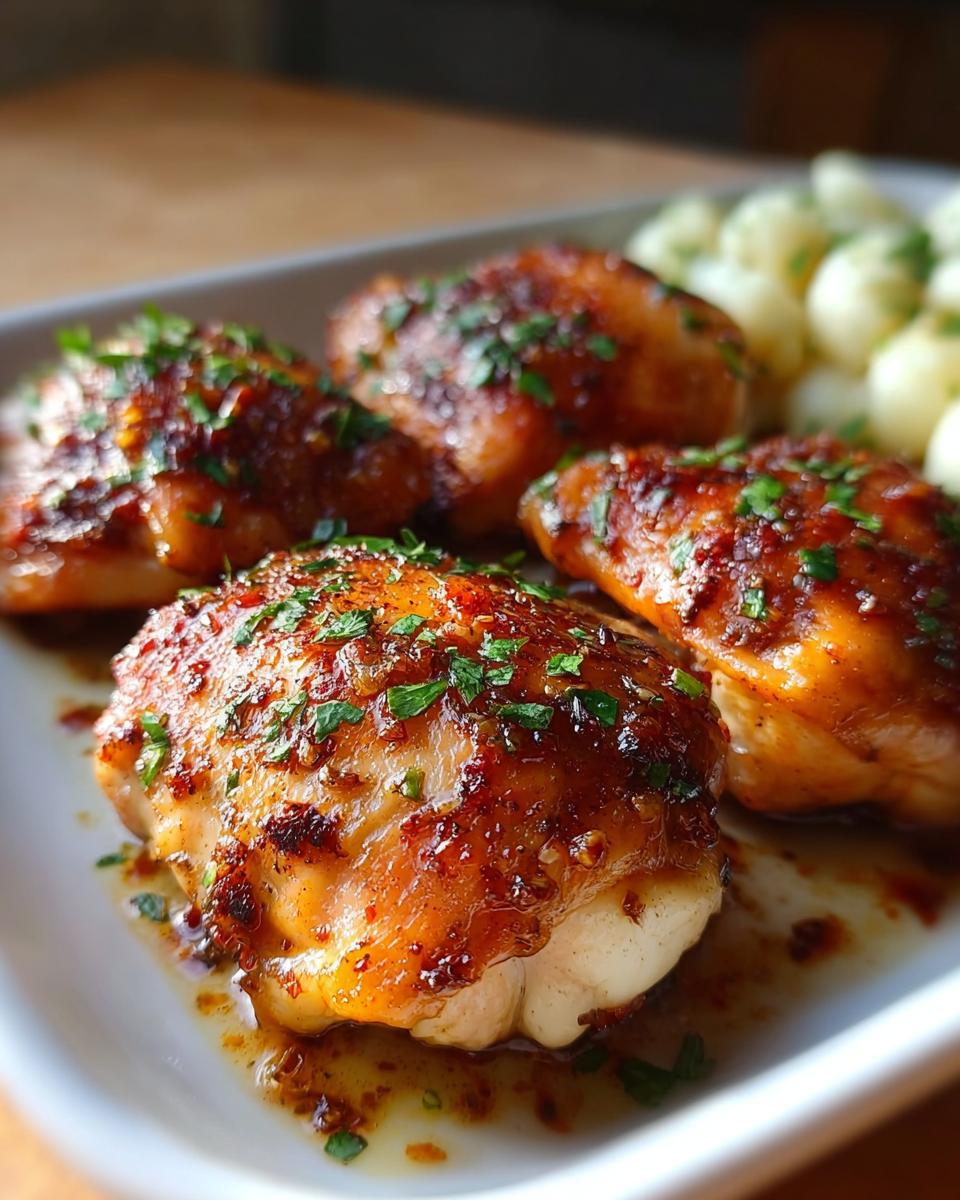
Okay, we have perfectly cooked, juicy chicken thighs resting on the cutting board, and we saved ourselves a ton of time getting them there! Now, we need sides, right? This is where we keep the momentum going. I don’t want to spend another 30 minutes steaming broccoli or chopping tons of vegetables when I’ve already won the dinner race.
Remember how I mentioned keeping things clean and simple? That philosophy absolutely extends to what goes on the plate next to our star protein. The goal is quick, colorful additions that add bulk and nutrients without any fuss. You need pairings that match that 20-minute energy!
The Speedy Vegetable Pairings
If I only have five extra minutes, I am heading straight to the frozen aisle or the quick-cooking veggies. Steamed green beans are fantastic because they cook in under seven minutes, and they pair beautifully with savory chicken. You can toss them with a tiny squeeze of lemon juice and salt right when they come out of the steamer or microwave.
Another favorite of mine is quickly sautéing spinach. Throw a tablespoon of olive oil in that same skillet you used for the chicken (no need to wash it yet!) while it’s still warm. Toss in a huge pile of fresh spinach, add a pinch of salt, and stir until it just wilts down—that’s maybe two minutes max. It adds iron and fiber without feeling like a chore.
If you want something crunchier, raw broccoli florets dipped in hummus or a very quick slaw made from pre-shredded cabbage always hits the spot. These additions check that box for a balanced meal without adding complexity.
The Simple Salad Trick
When I need something totally hands-off, I rely on bagged salad kits, but I always tweak them. Don’t use the sugary dressing that comes inside! Instead, use the chicken drippings from the pan (once cooled slightly!) mixed with apple cider vinegar and a touch of Dijon as a quick vinaigrette base, or just use a simple olive oil and red wine vinegar dressing.
A little bit of mixed greens, maybe some cherry tomatoes you just slice in half, and that homemade dressing turns a bagged salad into something intentional and clean. It contrasts so nicely with the richness of the chicken thigh, too!
Starch on the Side (If You Have Extra Time)
If you happen to have about 12 minutes to spare instead of 5 (maybe your kids actually unloaded the dishwasher for you!), quick starches are a game-changer for making the meal feel more robust. Instant brown rice cooks up in about 10 minutes now, which is fantastic. Or, if you have leftover cooked quinoa from meal prepping earlier in the week, just heat up a single serving. This helps turn a quick protein-and-veg dinner into a full-on satisfying weeknight feast!
Storage and Reheating for Leftover Chicken Thigh Recipes in 20 Minutes: Weeknight Winner
So, you cooked perfectly and—shockingly—you actually have leftovers! That never happens when my husband gets involved, but when it does, I love knowing I’ve already secured a lunch or an even faster dinner for tomorrow. Storing food correctly is just as much a part of clean-living as how you cook it; we want to keep that texture and safety on lock!
Since these chicken thighs are so moist to begin with, they hold up really well in the fridge, but you have to treat them right. My big goal is to avoid that dry, microwave-scorched texture that makes leftovers feel depressing. Nobody wants sad chicken for lunch, right?
How to Store Your Thighs Safely
The absolute key here is air exposure. If you leave them in that big, warm skillet, they are going to steam and get slimy fast. We need to cool them down quickly and seal them up properly.
Once the chicken has cooled down completely to room temperature—this is super important for food safety!—transfer the thighs into an airtight container. I prefer glass containers for leftovers because they reheat so evenly, but any quality airtight container will work perfectly. They should last happily in the fridge for three to four days. Honestly, they barely make it that long in my house, but knowing they are there for quick future meals is a lifesaver.
Reheating for Juicy Results (Ditch the Microwave Here!)
When you are in a rush tomorrow, that microwave looks so tempting. I know the feeling! But microwaving lean meat instantly dries it out, sucking up all that wonderful moisture we worked so hard to lock in during that initial sear. If you absolutely must use the microwave, use 50% power in short 30-second bursts, but I strongly advise against it.
For truly superior results—results that taste freshly cooked—use a skillet or the oven. If you’re using a skillet, just add a half-teaspoon of water or broth to the bottom before placing the sliced or whole thigh in over medium-low heat. Cover the pan lightly with a lid or foil. The bit of steam will gently reheat the meat without drying it out. This usually takes just about 4–5 minutes.
If you’re reheating several thighs at once, the oven is your best friend. Set it to 350°F (175°C). Lay the thighs on a baking sheet—maybe even drizzle a tiny bit of extra broth over them—and warm them for about 10 minutes. They come out perfectly tender every time, ready to be sliced over a salad or dunked into some quick yogurt sauce!
Frequently Asked Questions About Quick Chicken Thigh Recipes in 20 Minutes: Weeknight Winner
When you’re relying on a super fast recipe like this one, you often have quick questions pop up right when you’re about to start cooking. I’ve gathered the ones I get asked most often about making these delicious chicken thighs!
Can I use bone-in, skin-on chicken thighs instead?
That’s a great question for substitutions! Yes, you absolutely can use bone-in, skin-on thighs, but you must adjust your timing significantly. Since we are aiming for a 20-minute total meal, bone-in thighs won’t work because they take much longer to cook through the bone—usually closer to 35 or 40 minutes depending on thickness. Also, you’ll want to start skin-side down first to render that fat and get it crispy before flipping.
What if I don’t have garlic powder? Can I use fresh garlic?
If you only have fresh garlic, you can definitely swap it in, but you’ll need to be careful not to burn it! Fresh garlic burns much faster than powder when exposed to high heat. If using fresh, mince it very finely—about one clove for every thigh—and mix it with your salt and pepper. Then, skip adding it until the chicken is flipped and you are on the final 3 minutes of cooking. That way, it infuses the flavor without turning bitter before the chicken is done.
How strict do I need to be about resting the chicken?
I cannot stress this enough: do NOT skip the resting time! While the 5 minutes of resting time technically adds to your ‘total’ time, it’s crucial for juicy results. If you cut into those thighs right off the heat, all the juices—which packed up and moved toward the center while cooking—will spill out onto your plate. Resting lets them relax and soak back in, guaranteeing flavor in every single bite of this weeknight winner.
My oil started smoking! Was my skillet too hot?
Oops! If your oil starts smoking heavily right when you put it on the heat, yes, it was probably too hot. You want it to shimmer, not smoke violently. High smoke means the oil starts breaking down prematurely, which affects flavor and can lead to burning your seasoning before the chicken is cooked. Just take the pan off the heat for 60 seconds to cool down slightly, then proceed with adding the chicken. For future fast dinners, start with medium-high heat, not high heat, unless you know your specific oil’s smoke point!
By EMILIA, founder of MeltItClean.com – your digital space for natural weight loss, real wellness habits, and clean-living inspiration that actually fits your life.
For years, I struggled with the ups and downs of dieting. I tried everything — juice cleanses, low-carb crazes, fitness challenges — but I always ended up back where I started: tired, bloated, and frustrated. I didn’t just want to “lose weight” — I wanted energy, mental clarity, glowing skin, and confidence without sacrificing my joy or sanity.
After years of experimenting, learning, and unlearning, I discovered a simple truth: your body is already powerful — it just needs support, not restriction. That’s when I created Melt It Clean — a site dedicated to real transformation through clean, intentional, and nourishing daily habits that anyone can follow. My goal was simple: build a place where people could feel informed, supported, and empowered without being overwhelmed by wellness fads.
Chicken Thigh Recipes in 20 Minutes
Ingredients
Equipment
Method
- Pat the chicken thighs dry with paper towels. This helps achieve a better sear.
- In a small bowl, mix the salt, pepper, and garlic powder. Sprinkle this mixture evenly over both sides of the chicken thighs.
- Heat the olive oil in a large skillet over medium-high heat until it shimmers.
- Place the seasoned chicken thighs in the hot skillet. Do not overcrowd the pan; cook in batches if necessary.
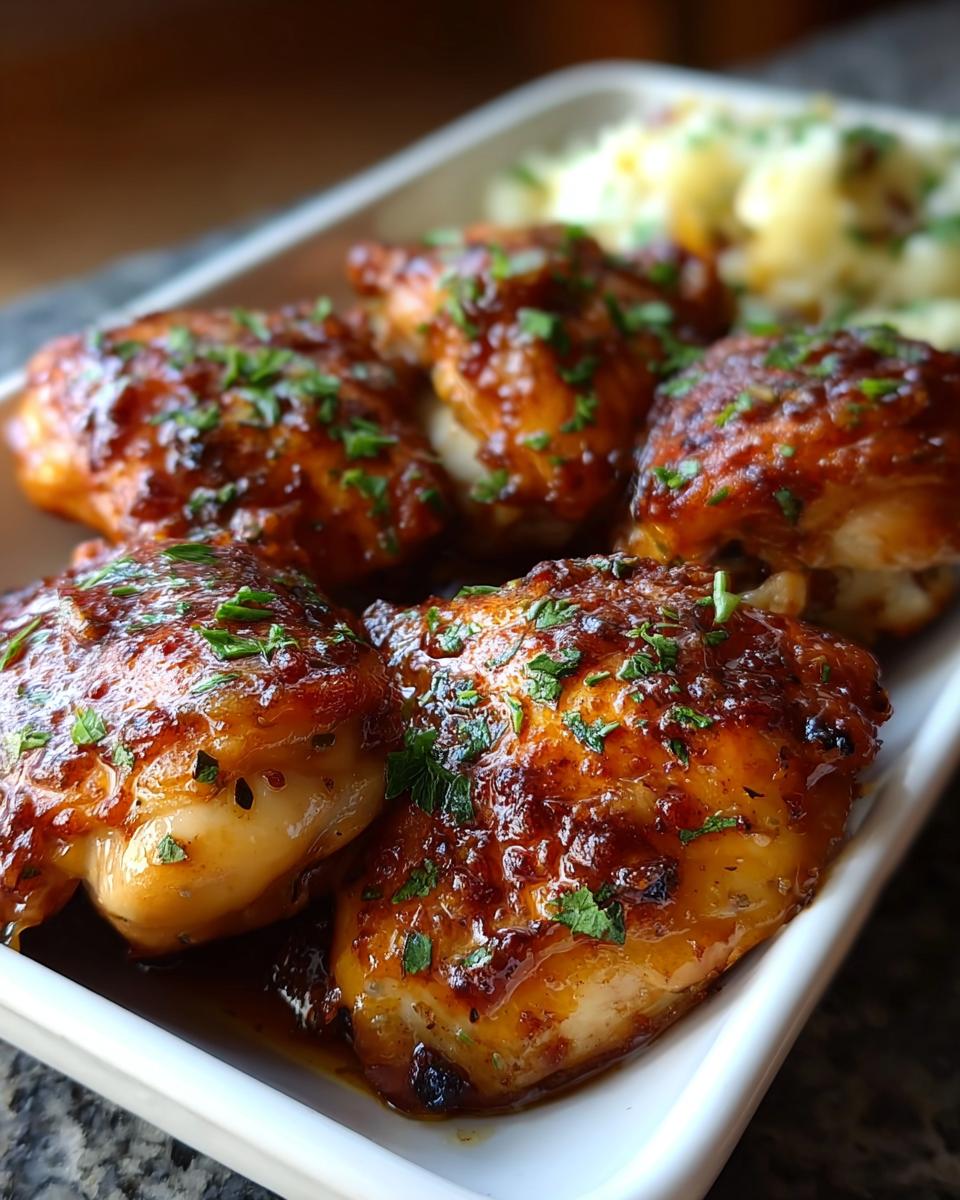
- Cook for 6 to 8 minutes on the first side until deeply browned. Flip the chicken using tongs.
- Cook for another 6 to 8 minutes on the second side, or until the internal temperature reaches 165 degrees Fahrenheit (74 degrees Celsius).
- Remove the chicken from the skillet and let it rest on a cutting board for 5 minutes before serving.


