
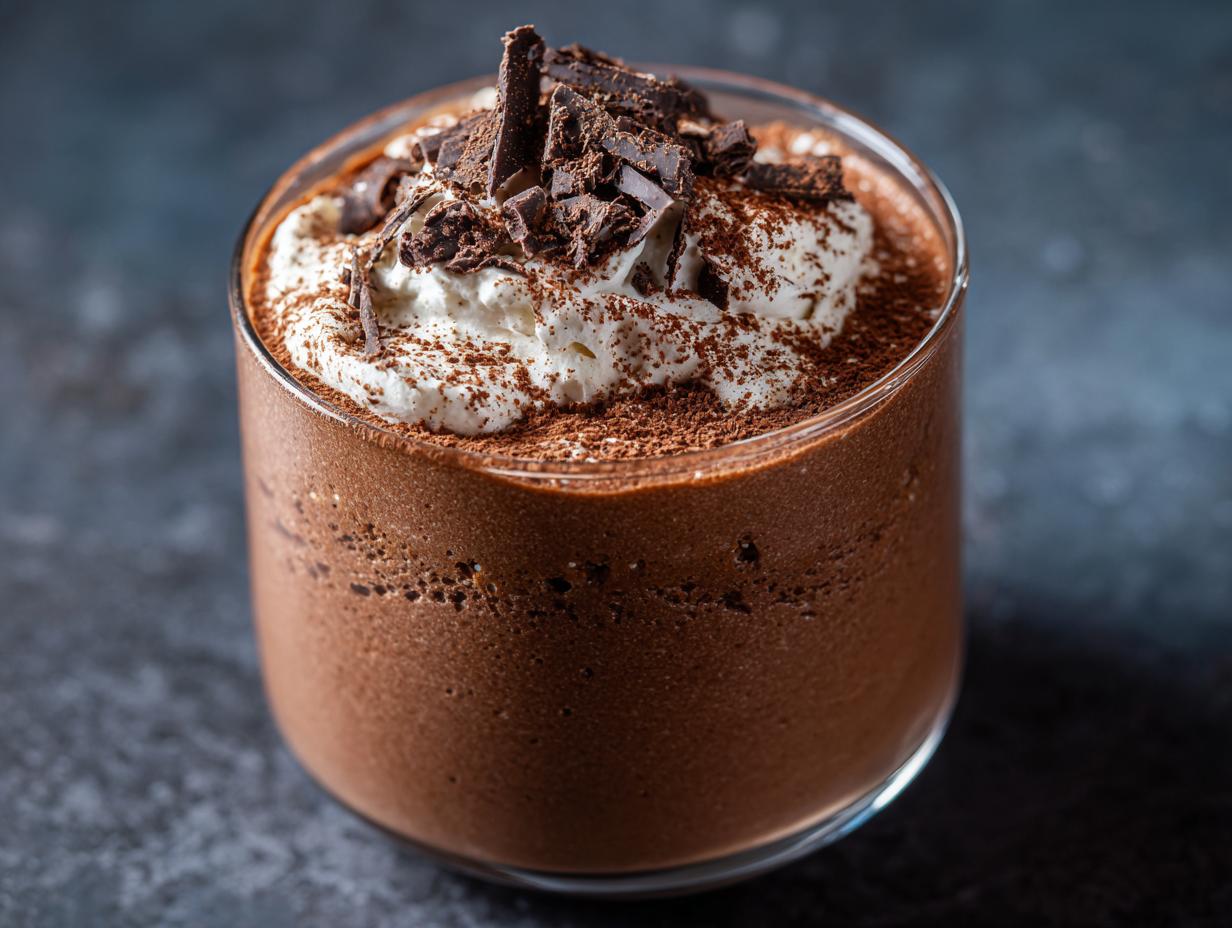
Oh, chocolate mousse! Is there anything more decadent and yet, surprisingly do-able? This rich, creamy dream is pure magic, and the best part? You can totally whip it up ahead of time. Seriously, this Chocolate Mousse (Make-Ahead Dessert) has saved my *life* more than once when unexpected guests popped over. One minute I’m stressing, the next I’m pulling these elegant little glasses from the fridge that look like I spent hours in the kitchen. This classic French dessert feels fancy, but trust me, it’s simpler than you think!
Why This Chocolate Mousse (Make-Ahead Dessert) is a Must-Try
Honestly, why wouldn’t you want to make this? It’s:
- Super Easy: Seriously, it comes together so fast.
- Pure Indulgence: That rich, creamy, melt-in-your-mouth texture? Chef’s kiss!
- Elegantly Simple: Looks like you slaved away for hours, but it’s our little secret.
- The Ultimate Make-Ahead Hero: Perfect for parties because you can do it all the day before. Save yourself the last-minute stress!
Gather Your Ingredients for Perfect Chocolate Mousse
Alright, let’s get our mise en place sorted! Having everything ready makes this a breeze. For the actual mousse part, you’ll need:
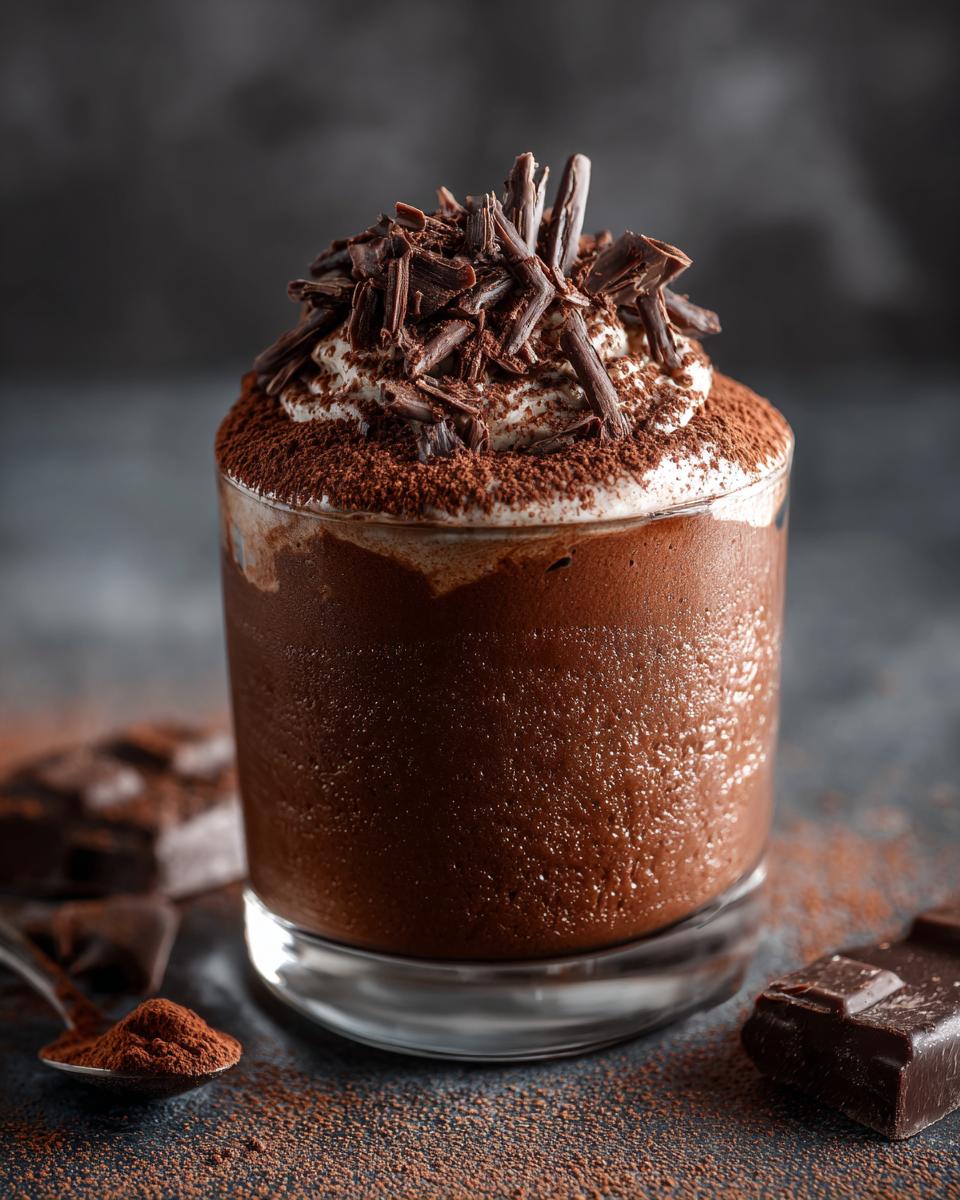
- 200g dark chocolate, finely chopped. I like to use one with at least 70% cocoa solids for that deep, rich flavor.
- 4 large eggs, and make sure they’re separated! We need those yolks and whites for different jobs.
- 50g granulated sugar, to balance out the chocolate and sweeten things up just right.
- 120ml heavy cream, whipped up to lovely soft peaks. This is what gives it that cloud-like texture.
And if you’re feeling a little extra fancy for garnish (which I totally recommend!), grab:
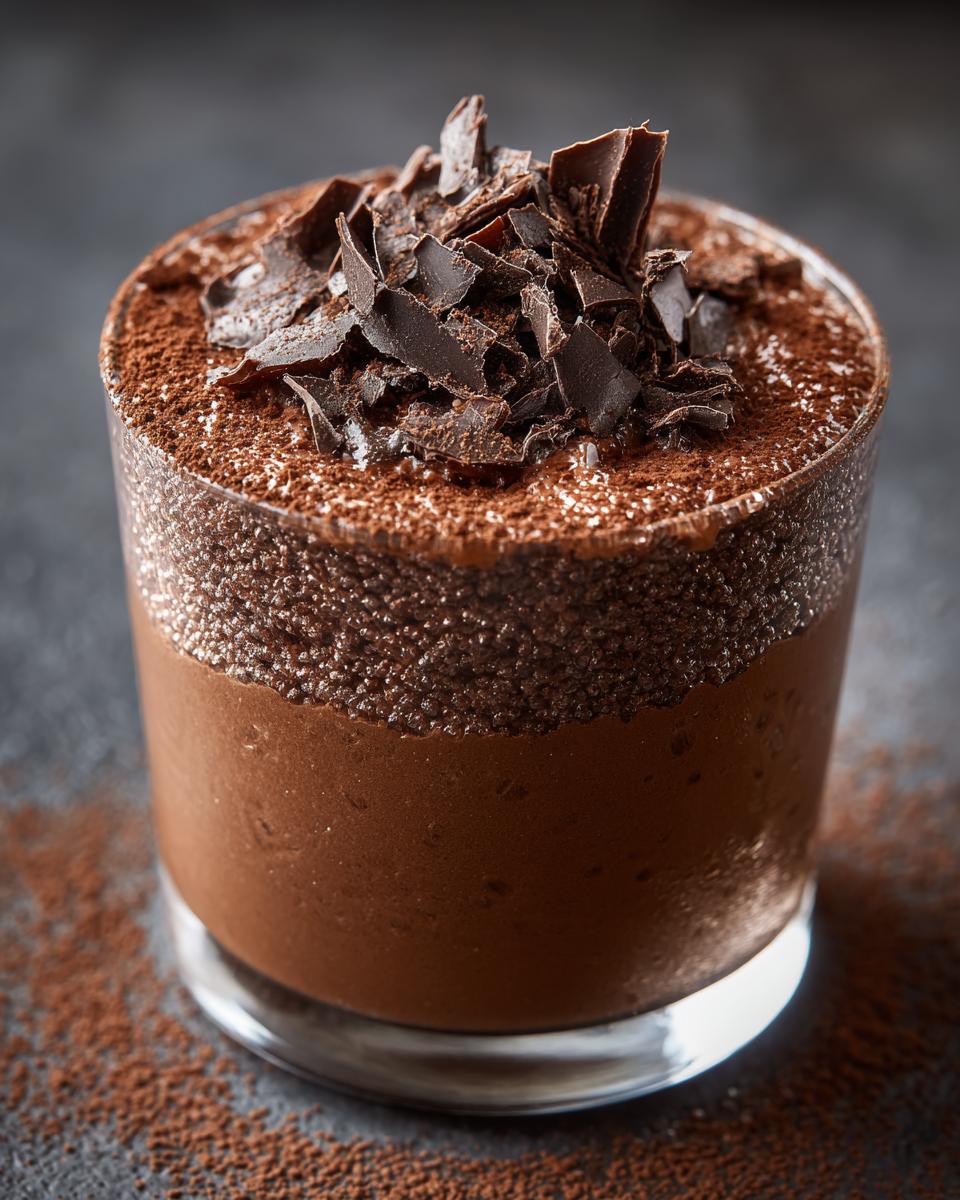
- 1 tbsp unsweetened cocoa powder, for a dusting.
- 1 tbsp chocolate shavings, because, well, more chocolate is always a good idea!
Essential Equipment for Your Chocolate Mousse (Make-Ahead Dessert)
Don’t worry, you don’t need a fancy professional kitchen for this! Just a few trusty basics will do the trick:
- Mixing bowls: You’ll want at least two, maybe three if you’re doing the eggs separately like I do.
- Whisk: A good old-fashioned whisk is essential for getting those egg whites perfectly fluffy.
- Spatula: For gently folding everything together without deflating all that lovely air.
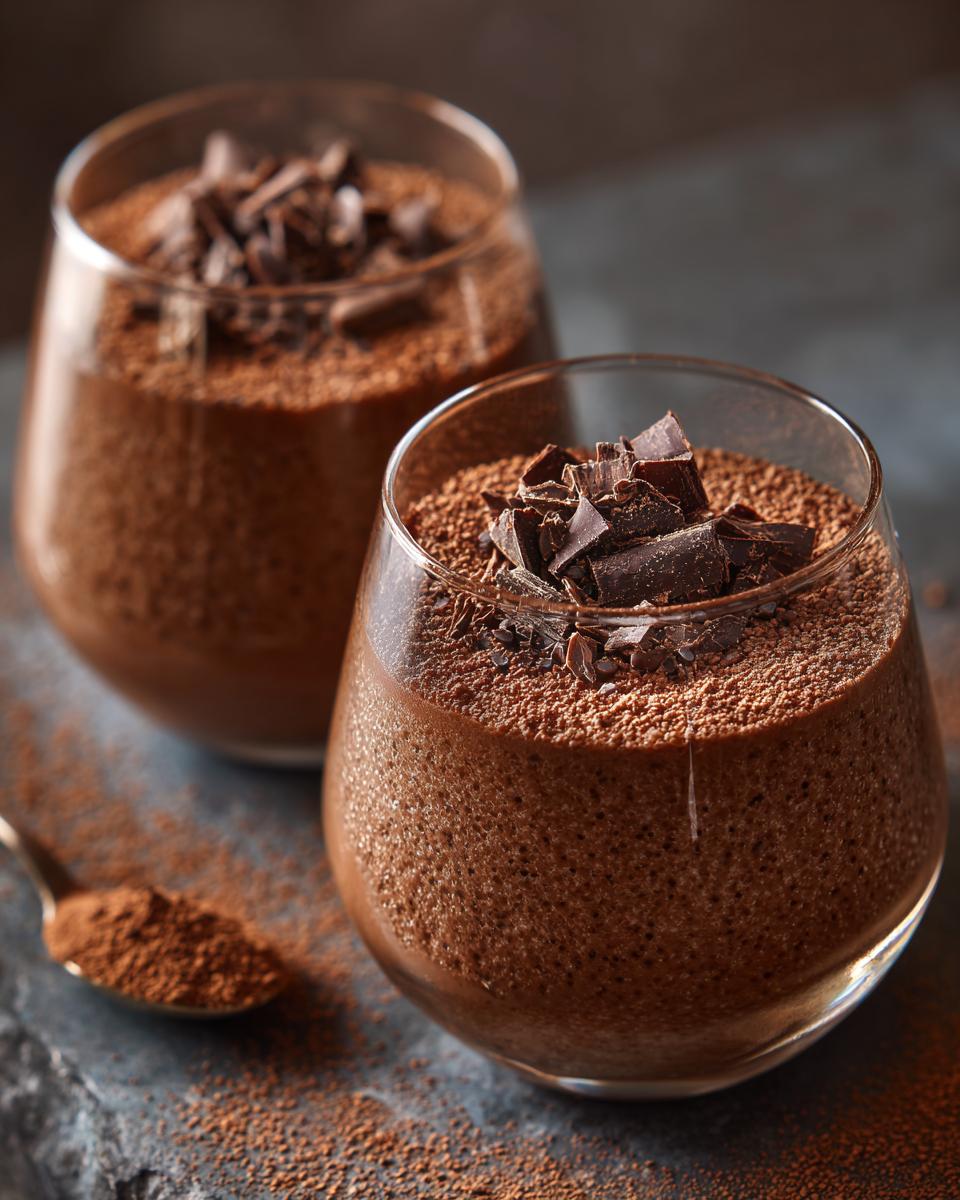
- Serving glasses: Little ramekins, wine glasses, or even cute jars work perfectly for that elegant presentation.
Crafting Your Chocolate Mousse (Make-Ahead Dessert): Step-by-Step
Okay, now for the fun part! Making this beautiful chocolate mousse is really about a few simple steps, handled with a little bit of care. Don’t rush it, and you’ll have a dessert that looks and tastes like a million bucks.
Melting the Chocolate Base
First things first, let’s melt that gorgeous dark chocolate. The best way is over a gentle double boiler – that’s just a bowl sitting snugly over a pot of barely simmering water. Stir it gently until it’s all smooth and glossy, then take it off the heat and let it cool *just* a bit so it doesn’t cook our eggs later.
Preparing the Egg Yolk Mixture
Grab another bowl and whisk those egg yolks with half of your sugar. Keep going until the mixture gets nice and pale yellow and looks a bit creamy. It should have more volume than when you started. That’s your signal it’s ready!
Combining Chocolate and Yolks
Now, gently fold that slightly cooled, melted chocolate into your egg yolk mixture. Use your spatula and just scoop from the bottom and fold it over. You want it all combined beautifully, but don’t go crazy stirring – we’re being delicate here.
Whipping Egg Whites to Perfection
Time for the magic lift! In a super clean, dry bowl (seriously, no grease!), whip your egg whites. Start slow and then ramp it up. Once they’re getting foamy, gradually sprinkle in the rest of the sugar. Keep whisking until you have stiff, glossy peaks that stand straight up when you lift the whisk. It’s like a beautiful fluffy cloud!
The Art of Folding: Bringing It All Together
This is where the feather-light texture happens! Add your whipped cream to the chocolate mixture and fold it in gently. Then, you’ll do the same with those glorious whipped egg whites. Use your spatula and think “figure eight” or “scoop and fold” motions. You want to incorporate everything without knocking out all that lovely air we just whipped in. A few sneaky streaks of white are okay; you can blend them in with just a couple more gentle folds. Don’t overmix – nobody wants a dense mousse!
Chilling Your Make-Ahead Chocolate Mousse
Once it’s all beautifully combined, spoon this velvety goodness into your pretty serving glasses. Pop on some plastic wrap (this stops it from picking up fridge smells – yuck!) and into the fridge they go. You’ll need at least 2 hours, but honestly, letting it chill for 4 hours or even overnight is even better. The flavors meld, and the texture gets even more divine.
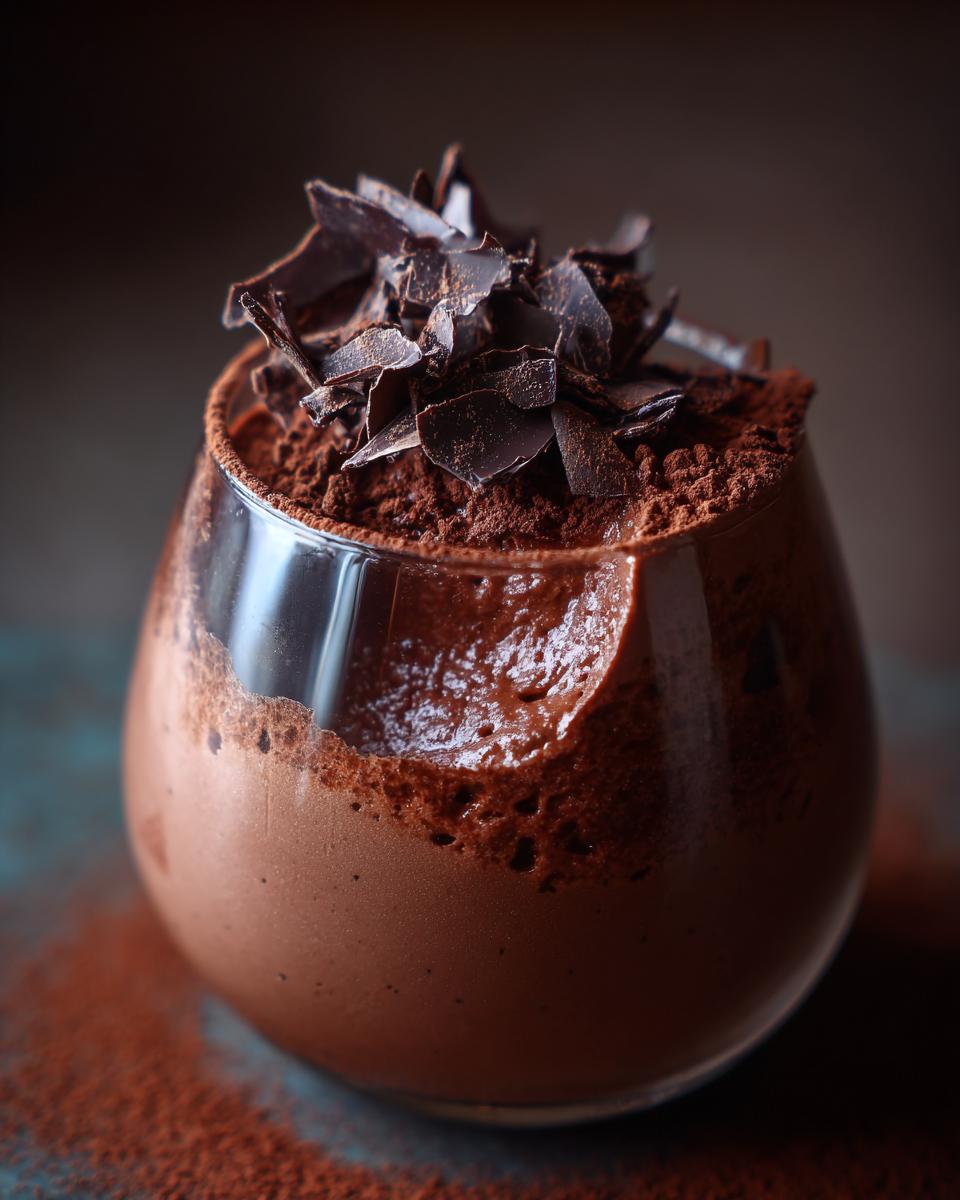
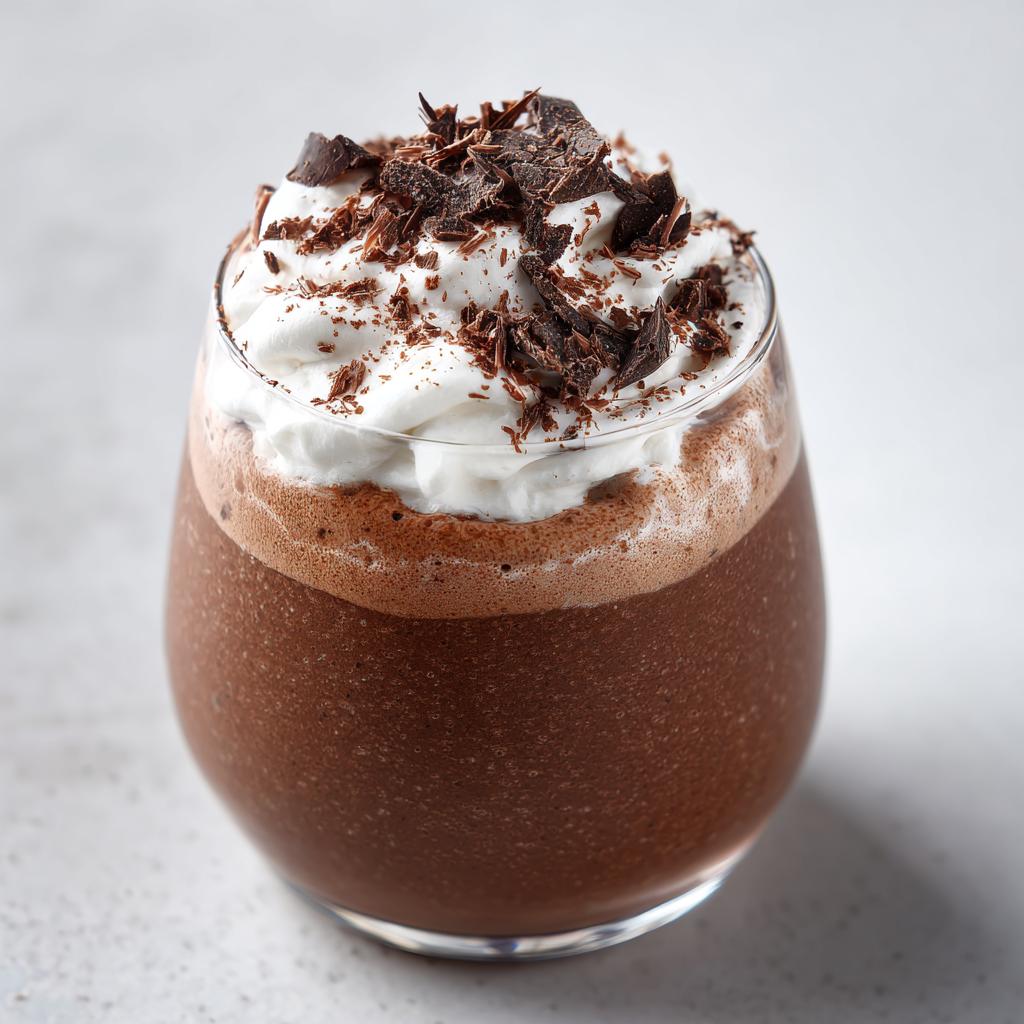
Garnishing Your Chocolate Mousse
Just before you’re ready to serve, give them a little flair! A light dusting of cocoa powder looks so chic, or maybe some delicate chocolate shavings. Whatever you do, it’ll look amazing!
Tips for the Ultimate Chocolate Mousse
Okay, so you’ve got the recipe, but let me tell you, a few little tricks can really elevate this Chocolate Mousse to legendary status! First off, the chocolate really matters. I swear by a good quality dark chocolate, around 70% cocoa solids. It makes all the difference in flavor – none of that waxy stuff! And remember when I said fold gently? Seriously, don’t overmix! It’s the enemy of fluffy mousse. If your egg whites look a little less stiff than you hoped, don’t panic, just give them another quick whisk. Also, make sure your bowls and whisks are totally clean and dry, especially for the egg whites – a tiny bit of grease and they just won’t whip up properly! Oh, and don’t forget that plastic wrap over the glasses when chilling; it’s a game-changer for keeping your mousse tasting fresh, not like last night’s onions. If you want to check out some other amazing make-ahead recipes, give this ground beef recipe guide a peek, though it’s a bit different, the make-ahead philosophy is the same!
Ingredient Notes and Substitutions for Chocolate Mousse
Let’s chat about these ingredients for a sec! The chocolate itself is key. I really, *really* think you should use a good quality dark chocolate, something with at least 70% cocoa solids. It’s got a richer flavor that stands up to everything else. Avoid those super sweet milk chocolates, they’ll make it taste a bit flat. Now, for the eggs – this recipe relies on them for that classic airy structure, so substitutions are tricky, but if you absolutely *had* to, you could look into aquafaba for the egg whites, though it’s a different ballgame. For the heavy cream, if you needed a dairy-free option, a good quality full-fat coconut cream (the thick part from a chilled can) could work, but it might give it a subtle coconut hint. Just experiment with what you have!
Frequently Asked Questions about Chocolate Mousse
Got questions about this dreamy Chocolate Mousse (Make-Ahead Dessert)? I’ve got answers!
Can I make this mousse without eggs?
This classic recipe uses eggs for both richness and structure, so it’s tough to get the same airy yet creamy texture without them. For an egg-free version, you’d typically look at recipes using whipped cream or avocado as the base, but it will be a different kind of dessert entirely!
How long will the chocolate mousse last in the fridge?
Great news for make-ahead plans! This mousse is good for about 2-3 days when kept covered tightly in the refrigerator. The chilling really helps it set up perfectly, and honestly, sometimes it tastes even better on day two!
Can I use milk chocolate instead of dark chocolate?
While you *could* technically use milk chocolate, I really don’t recommend it for this recipe. Dark chocolate has a richer, more intense flavor that balances the sweetness of the sugar and cream. Milk chocolate is much sweeter and has less cocoa solids, so your mousse might end up a bit too sweet and not as deeply chocolatey. Stick with dark for the best results!
What if my mousse isn’t firm enough?
If your mousse seems a bit too soft after chilling, it might be because of the folding technique or not enough chilling time. Make sure you’re folding gently but thoroughly, and honestly, giving it that extra hour or two in the fridge often makes a world of difference!
Nutritional Information Disclaimer
Please keep in mind that any nutritional information provided for this Chocolate Mousse (Make-Ahead Dessert) is just an estimate. It can vary based on the specific brands you use, ingredient substitutions, and the exact portion sizes you serve. For precise details, you might want to consult a professional calculator. You can read more about our disclaimer here.
Share Your Chocolate Mousse Creation!
I just *love* hearing from you all! Did you whip up this Chocolate Mousse (Make-Ahead Dessert)? How did it turn out? Leave me a comment below with your thoughts, feedback, or any little tweaks you made! And if you snapped a photo, I’d be thrilled to see it – tag me on social media! For more dessert inspiration or to get in touch, you can always use our contact form. Happy baking!
Chocolate Mousse
Ingredients
Equipment
Method
- Melt the dark chocolate in a heatproof bowl set over a saucepan of simmering water. Stir until smooth, then remove from heat and let cool slightly.
- In a separate bowl, whisk the egg yolks with half of the sugar until pale and creamy.
- Gently fold the melted chocolate into the egg yolk mixture until well combined.
- In another clean bowl, whisk the egg whites until stiff peaks form. Gradually add the remaining sugar and continue whisking until glossy.
- Fold the whipped cream into the chocolate mixture, followed by the whisked egg whites. Be careful not to overmix.
- Spoon the mousse into individual serving glasses.
- Cover and refrigerate for at least 2 hours, or until set.
- Before serving, garnish with cocoa powder or chocolate shavings, if desired.


