Oh, the dinner dash. I see you, friend, standing in the kitchen at 5:30 PM, watching the clock and trying to figure out how to get four servings of something remotely healthy on the table before someone melts down into a hangry puddle. Believe me, I’ve been there a thousand times! That’s why I developed this recipe for Melt In Your Mouth Chicken for Busy Moms. It’s my absolute go-to when I need tender, juicy chicken on the table in under 30 minutes flat. Seriously, this is Weeknight-Friendly chicken distilled down to its perfect essence. I’ve tested countless meals for my own sometimes-picky crew, and trust me when I say this recipe requires almost no fuss but delivers HUGE on flavor and texture.
If you’re tired of dry, boring chicken that tastes like cardboard after five minutes of cooking, you need this recipe. We’re going to pound it thin, give it a light, crispy coating, and sear it fast. It’s shockingly simple, and the results are just dreamy. Check out the whole process—it’s so fast you’ll wonder why you ever bought pre-cooked chicken!
For more speed on those crazy evenings, don’t forget to peek at my guide on quick 20-minute weeknight recipes; sometimes you just need to move faster!
Why This Melt In Your Mouth Chicken for Busy Moms (Weeknight-Friendly chicken) Works
Look, as a busy mom, you don’t have time for complicated steps or mountains of dishes. That’s exactly why this Melt In Your Mouth Chicken for Busy Moms recipe became part of our weekly rotation. It’s designed for speed and simplicity, period.
Here’s what makes this Weeknight-Friendly chicken a lifesaver when school runs are late and everyone’s hungry:
- Speedy Sizzle: We’re talking about 10 minutes of prep and only 20 minutes on the heat. You can seriously get this done before soccer practice starts.
- Tenderness Guaranteed: Pounding the chicken ensures it cooks super fast and evenly, so you never have to worry about chewy bites in the middle. It really does melt in your mouth!
- Minimal Cleanup: We only use one skillet! Seriously, one pan means cleanup takes less time than waiting for the water to boil. You can find more one-pan wonders over in my guide to weeknight meal prep friendly dinners.
It’s the perfect intersection of fast, easy, and totally delicious.
Essential Ingredients for Melt In Your Mouth Chicken for Busy Moms (Weeknight-Friendly chicken)
You asked for simple, and I’m giving you simple! The beauty of this Melt In Your Mouth Chicken for Busy Moms recipe is that it uses pantry staples you likely already have on hand. We aren’t hauling out ten different spice jars for this one; we are keeping things fast and reliable for our Weeknight-Friendly chicken.
When I put together this list of ingredients, I was thinking hard about what yields the best tenderness in just 20 minutes of cooking time. Because we only use a light flour dredge, we don’t need a whole egg wash or anything complicated!
Everything breaks down into three main groups:
The Chicken Star:
- 4 boneless, skinless chicken breasts (These need to be about 6 ounces each. This is important!)
Seasoning and Coating (This is where the flavor lives!):
- 1 teaspoon Salt
- 1/2 teaspoon Black pepper
- 1/2 teaspoon Garlic powder
- 1/4 cup All-purpose flour
Cooking in the Skillet:
- 2 tablespoons Olive oil (or whatever oil you keep handy)
If you want a deeper dive into making sure your chicken is always perfect, check out my guide on ultimate chicken tips—it really helps with temperature control!
Ingredient Notes and Substitutions for Weeknight-Friendly Chicken
Now, let’s talk about flexibility because life rarely follows the recipe card perfectly. The most critical step here, which makes this dish melt-in-your-mouth good, is pounding the chicken breasts to an even thickness—about 3/4 inch. If you leave them thick on one end, that end will be dry while you wait for the thick end to cook. Don’t skip the pounding!
If you are out of olive oil, just use your favorite neutral oil—canola, avocado, or even melted ghee works wonderfully. If you only have boneless, skinless thighs, you can absolutely use them, but make absolutely sure they are pounded down similarly, and add a couple of extra minutes to the cooking time just to be safe.
Don’t use seasoned salt if you can help it! Using plain white salt allows us to precisely control the garlic and pepper levels, which keeps the coating light and thin. That light coating is what gives us that wonderful sear without turning into heavy breading.
Step-by-Step Instructions for Perfect Melt In Your Mouth Chicken for Busy Moms
Okay, let’s get this show on the road because dinner waits for no one! These steps are all about efficiency so we can maximize that Melt In Your Mouth Chicken for Busy Moms quality in minimal time. Don’t panic when you see the pounding step; it prevents the dreaded uneven cook that ruins so many weeknight chicken dinners.
First things first: grab your chicken breasts and put them between two sheets of plastic wrap. Use your flat meat mallet or even the bottom of a heavy skillet—whatever heavy object you have handy—and pound them down gently until they are all uniformly about 3/4 inch thick. Seriously, this one step is everything for quick, even cooking! If you want a truly foolproof guide to getting chicken cooked perfectly every time, you should review my tips on how to make chicken foolproof.
Next, take your salt, pepper, and garlic powder and whisk them together in a tiny bowl. Think of this as your flavor shortcut. Now spread your flour on a shallow plate. Take each pounded piece of chicken and just lightly dredge it in the flour, shaking off every bit of excess. We only want a whisper of flour!
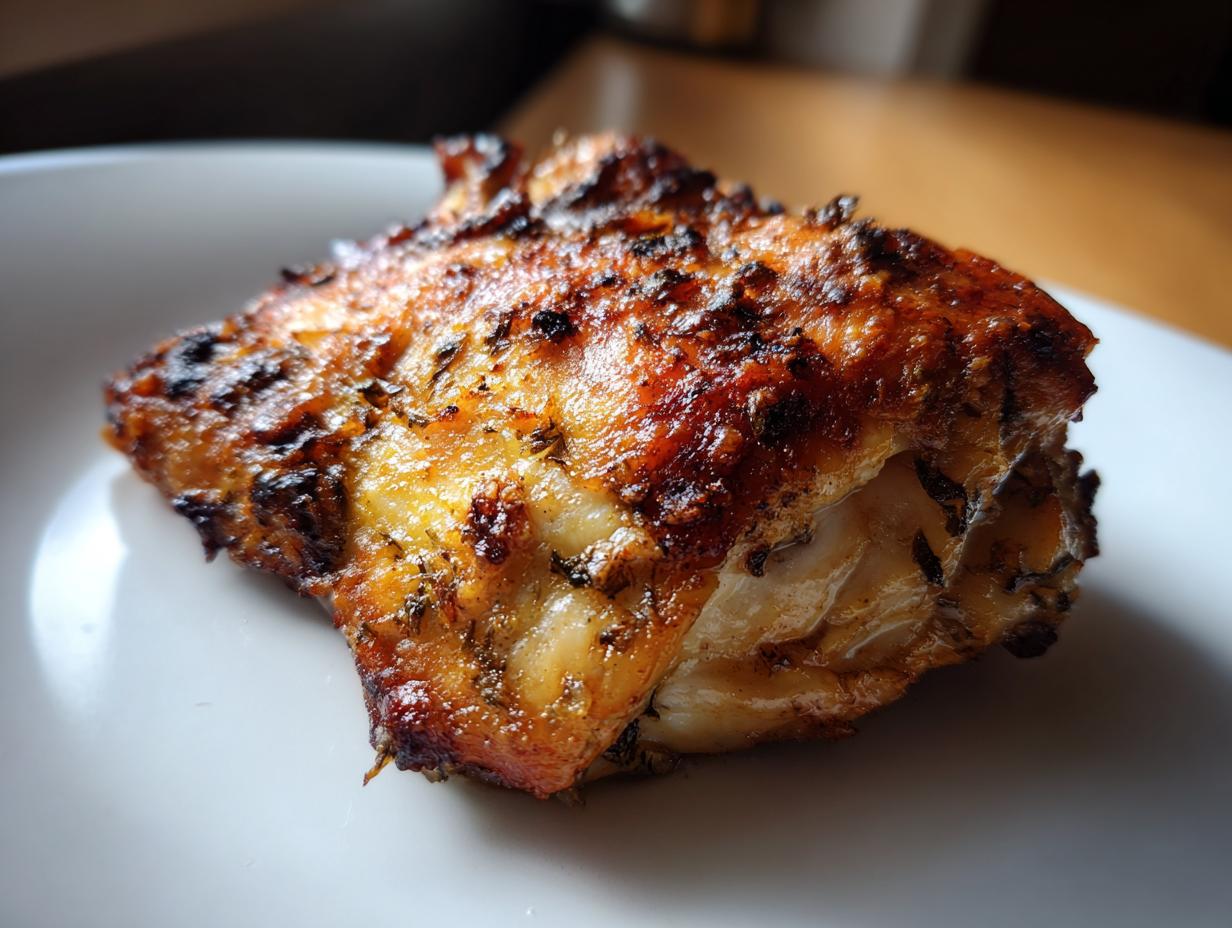
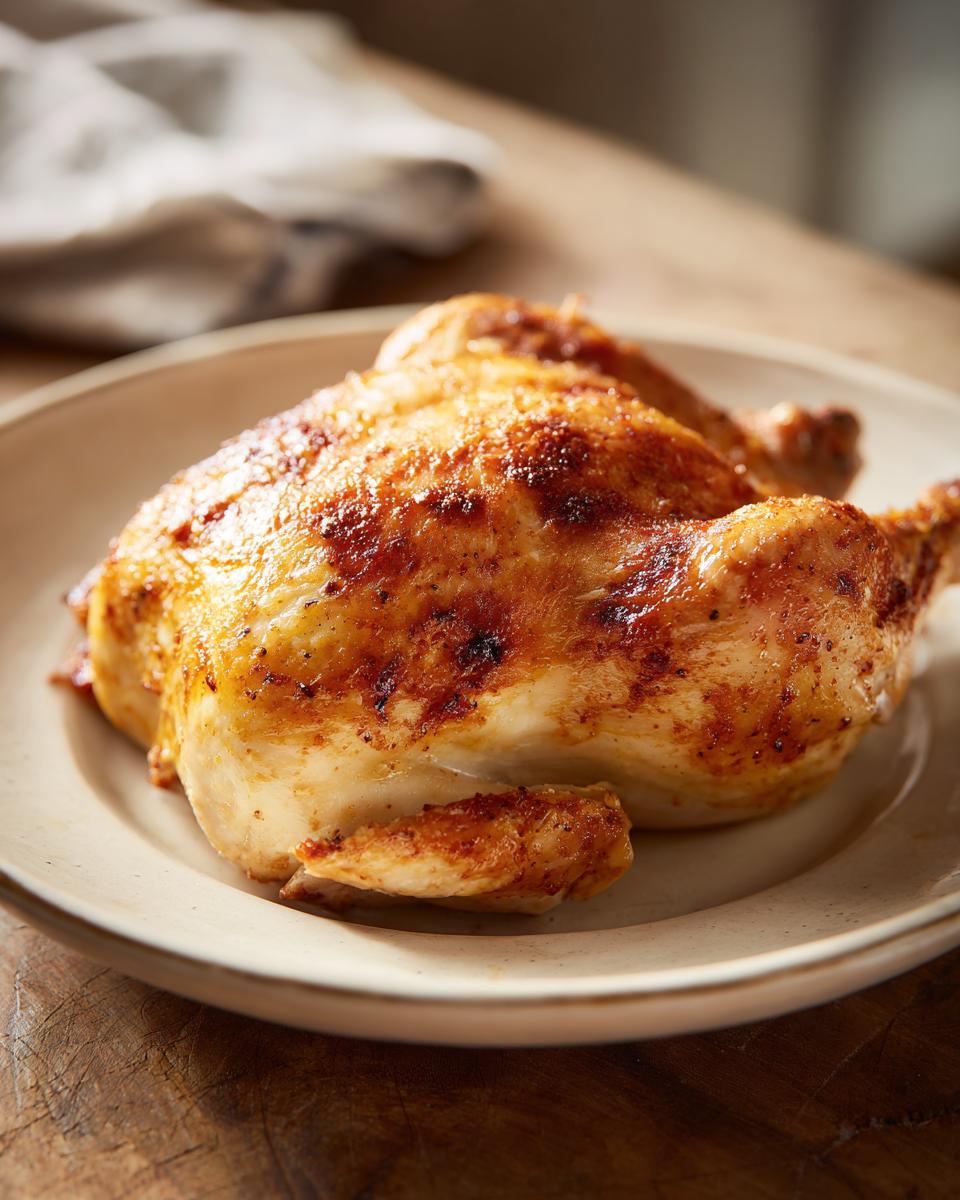
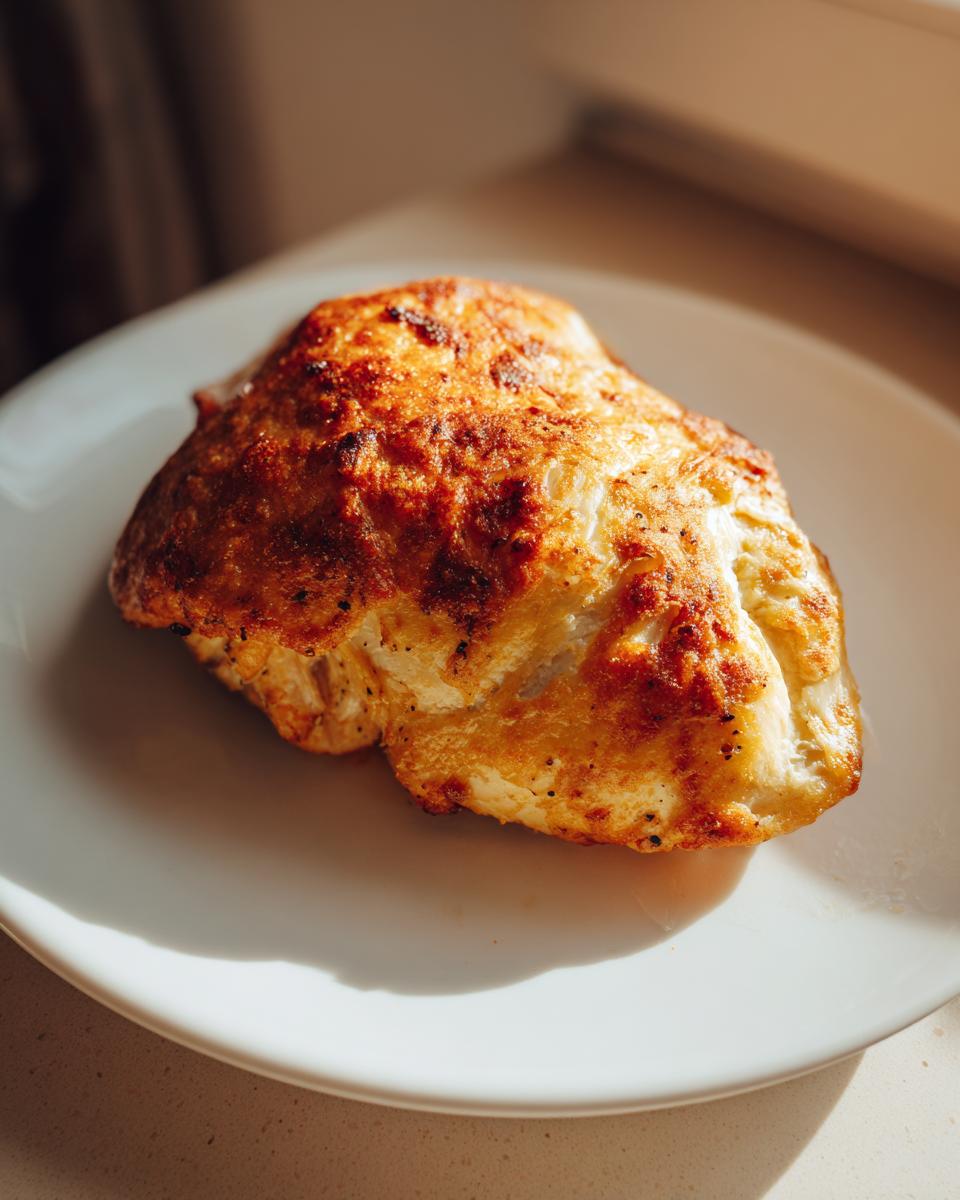
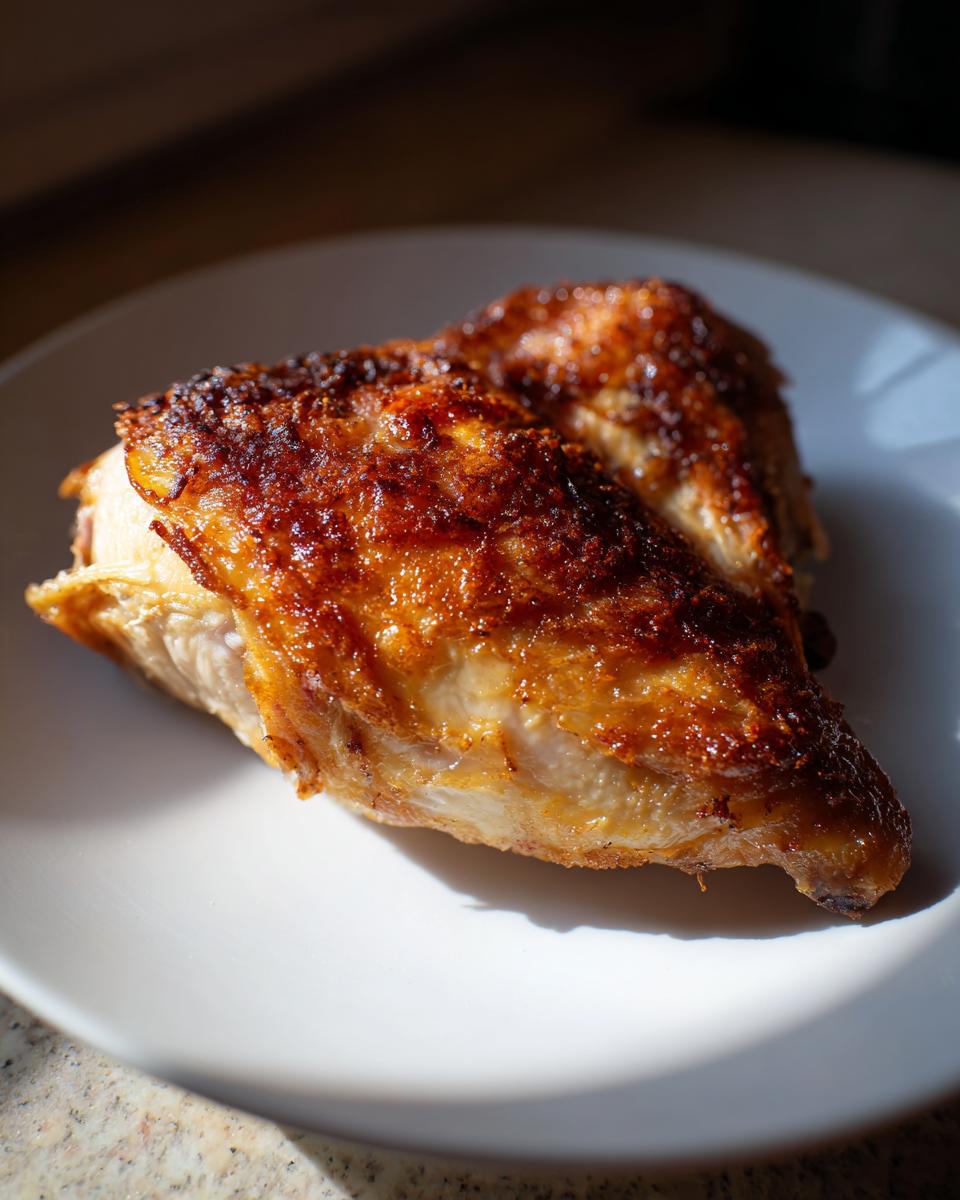
Get your skillet hot over medium-high heat and drizzle in that olive oil. Once it shimmers a little—you’ll see tiny waves on the surface—carefully lay those floured cutlets in the pan. Don’t try to cram them! Cook them for about 5 to 7 minutes on the first side until they get that gorgeous golden-brown crust. Flip them over and cook the second side. You absolutely must use a meat thermometer here; we are looking for a solid 165 degrees Fahrenheit internally. That temperature check is your guarantee for delicious, safe Weeknight-Friendly chicken.
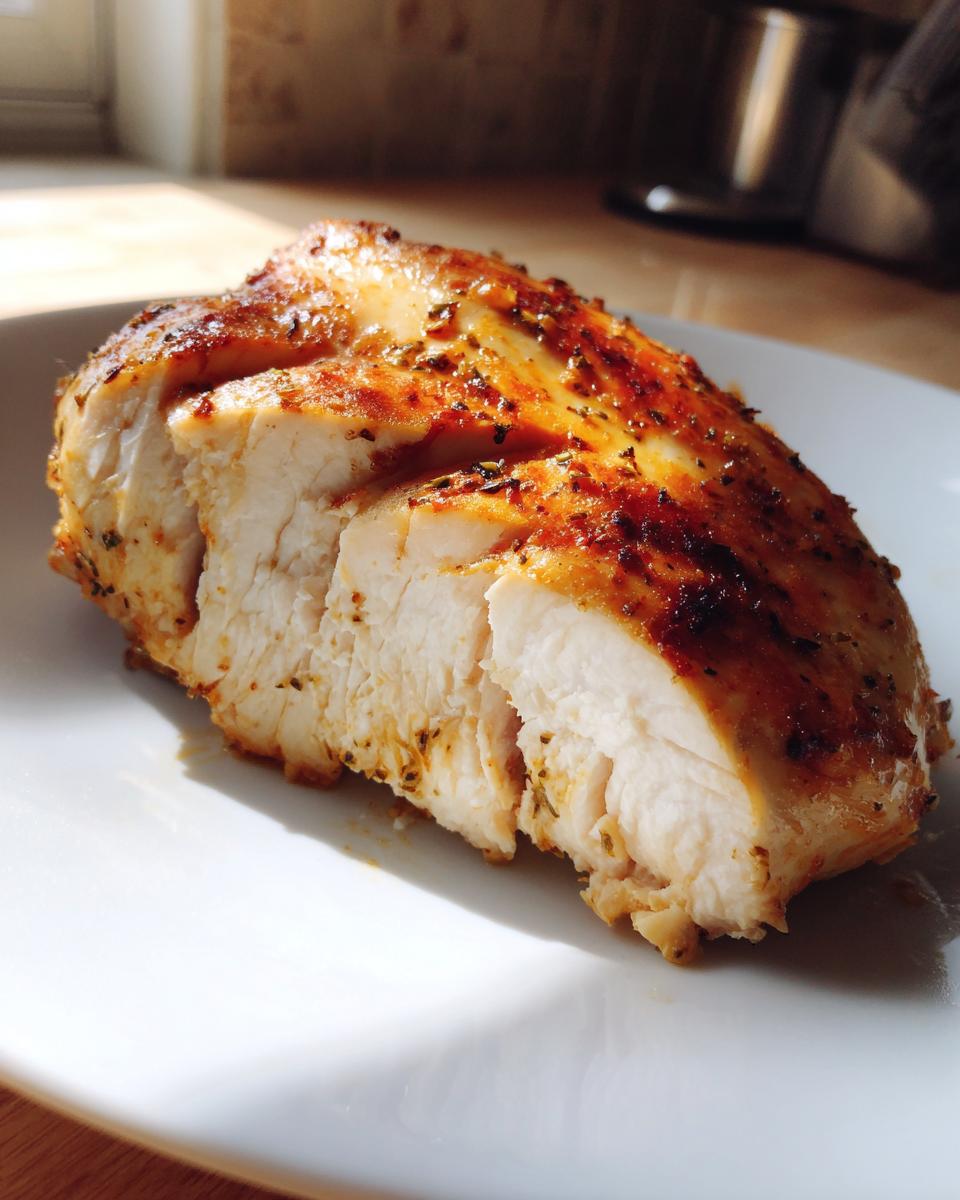
Once they hit 165°F, pull them out straight into a clean plate. Let them rest for five minutes. You have to let them rest, or all that glorious juice runs right out onto the plate!
Expert Tips for Achieving Melt In Your Mouth Chicken for Busy Moms
I’ve learned a few tricks over the years of being in rush hour culinary mode. The biggest mistake people make when pan-frying chicken quickly is overcrowding the skillet. If you layer them in there, they steam instead of sear, and you lose that light, crisp coating we worked so hard to achieve.
Another non-negotiable tip is the resting time I mentioned. Even two minutes of sitting time allows the muscle fibers to relax and redistribute the juices back into the meat. If you cut into it the second it leaves the heat, water comes out, and you’re left with sad, dry chicken instead of that melt-in-your-mouth heaven.
Also, make sure your oil is hot enough *before* the chicken goes in. If the oil isn’t hot, the flour soaks it all up, making the outside gummy instead of golden. That quick sear locks in everything good!
Serving Suggestions for Your Melt In Your Mouth Chicken for Busy Moms
Honestly, when I make this Melt In Your Mouth Chicken for Busy Moms, I want the sides to be just as fast. We’ve already spent 30 minutes total, right? We don’t want hours of side dish prep!
Here are my favorite pairings for this beautiful Weeknight-Friendly chicken:
- Quick Veggies: A bag of frozen broccoli or green beans tossed right into the microwave steamer bag while the chicken rests? Done. You can even drizzle them with a tiny bit of butter and salt.
- Super Salad: Pick up one of those nice tri-color bagged salad kits—zero chopping, maximum freshness. It feels fancy but takes literally two minutes to plate.
- Starch Shortcut: If you want something heartier, try making ahead some creamy mashed potatoes; my guide shows you how to get them mostly ready beforehand so they just need a quick warm-up.
Keep it light, keep it fast, and enjoy eating dinner!
Storage and Reheating Melt In Your Mouth Chicken for Busy Moms
So you miraculously have leftovers of this amazing Melt In Your Mouth Chicken for Busy Moms? That’s awesome because it tastes great the next day! Put any extras into a truly airtight container right after they’ve cooled slightly, and they’ll be happy in the fridge for about three to four days. That’s a great quick lunch for the week!
When it comes time to reheat this Weeknight-Friendly chicken, I always try to avoid the microwave if I can. Microwaving heats too aggressively and can steal that tenderness we worked so hard to keep! Instead, pop the chicken in a toaster oven or a regular oven set to a low temperature, maybe 300 degrees Fahrenheit, just until it’s warmed through. If you’re into planning ahead, check out my favorite meal prep ideas—it makes those lunchtime scrambles way easier!
Troubleshooting Common Issues with Weeknight-Friendly Chicken
Even with the best recipe, sometimes cooking throws us a curveball. Don’t panic if things don’t look exactly like the picture! Since we are cooking this chicken quickly over medium-high heat, timing is everything. I’ve run into these snags myself a bunch of times, so I’ve got quick fixes for you.
If your chicken seems like it’s drying out before it hits that magical 165 degrees, it almost always means your chicken breasts weren’t pounded evenly. Oops! Next time, be more aggressive with the mallet. For the batch you’re working on right now, reduce the heat slightly to medium and cover the pan for the last minute or two. That trapped steam will finish the cooking without scorching the outside.
What if the flour starts sticking to the bottom of the pan and burning a little? That’s usually because you didn’t let the oil get properly hot before adding the chicken. The flour starts to burn instead of searing quickly. My fix? If you see the tiny burnt bits forming on the bottom, carefully pour off the excess oil and wipe the pan bottom with a paper towel just before adding the chicken back in. You can learn more about avoiding quick-cook pan disasters in my guide to getting chicken cooked fast without stress!
Sometimes the light dusting of flour clumps up a bit on the sides of the chicken before it hits the hot pan. This is just a sign you need to shake off that excess flour more vigorously before lowering it into the oil. A quick, firm shake right over the flour plate is all it takes to keep that coating super thin and crispy.
Frequently Asked Questions About Melt In Your Mouth Chicken for Busy Moms
I get so many questions after people try this recipe because it’s just so foolproof! People always ask about making it different ways so it fits their schedule. Remember, the goal here is speed and tenderness, so any adjustment needs to respect that!
What if I need to cook a very large batch of this Melt In Your Mouth Chicken for Busy Moms (Weeknight-Friendly chicken)?
This is a common issue, especially if you’re feeding a crowd or want serious leftovers. Please, please, please do not try to shove more than four breasts in a standard skillet. You’ll end up steaming the chicken, and we absolutely lose that melt-in-your-mouth texture and sear quality. If you’re doubling the recipe, grab a second skillet and fire it up! Alternatively, you can easily use one-pan chicken methods that use the oven, which handles large batches much better, though it takes a little longer than the 20-minute stovetop version.
Is 165°F really safe if I want it extra juicy?
Yes, 165 degrees Fahrenheit is the USDA-approved internal temperature for poultry safety, and that’s what we are aiming for. If you check your thickest piece right at the five-minute mark on the second side and it’s already close, pull it off the heat immediately and let it rest. That carryover cooking when it rests is what gets it perfectly done without overcooking. Trust me on the thermometer; it’s the only way to guarantee safety and moisture!
Can I use chicken thighs instead of breasts for this Melt In Your Mouth Chicken for Busy Moms (Weeknight-Friendly chicken)?
You totally can use chicken thighs! I love thighs; they’re naturally juicier, which is great for us busy moms. Because thighs are often a bit uneven in shape anyway, the pounding step still helps them cook evenly. The main difference is that dark meat takes a little longer to fully cook through than white breast meat. I’d start checking them closer to the 7-minute mark on the second side, maybe even bumping it to 8 or 9 minutes, depending on how thin you managed to pound them. But yes, they’ll still be delicious!
What’s the best way to keep the spices from burning in the oil?
That little bit of garlic powder in the coating can toast super fast if your oil is too hot when you introduce the flour. If you see the garlic powder starting to darken quickly in the oil before the chicken is even in, your heat is too high. Turn it down right away before adding the dredged chicken. We want the oil hot enough to sear fast, but not so hot that the spices scorch instantly!
Estimated Nutritional Information
Listen, when I’m rushing to get dinner on the table for the kids before homework stress hits, I’m usually not stopping to whip out the calorie counter. But I know a lot of you are mindful of what you’re eating, so I did my best to run through a standard calculation for this basic chicken prep based on four servings.
Keep in mind this is just a very general guess! The final numbers totally depend on if you use a leaner chicken breast, how much oil you actually absorb versus what stays in the pan, and exactly how much salt you sprinkle on. I am a cook, not a nutritionist, after all!
Here’s what you can generally expect using the standard ingredient amounts listed:
- Calories: Around 250-280 per serving
- Protein: Usually about 35 grams (Yep, that’s a great source of lean protein!)
- Fat: Roughly 10-12 grams (Mostly from the cooking oil)
- Carbohydrates: About 5 grams (Almost all coming from that light flour coating)
- Fiber: Less than 1 gram
This is why this dish is such a fantastic, quick base for any dinner. It’s high in protein and low in everything else! For those of you tracking macros, you can easily adjust the fat content by using less oil in the pan or wiping out the oil between batches. Always double-check your own ingredients if precision is a must-have for your family!
Share Your Weeknight Success
Alright, you made it! You conquered the dinner rush, and you have incredible, tender Melt In Your Mouth Chicken for Busy Moms staring back at you. I truly hope this Weeknight-Friendly chicken saved your evening!
Now, I need to know how it went! Did your kids actually eat it without complaining? Tell me about it in the comments below—I always love hearing your stories. If you snapped a picture of that golden-brown perfection, tag me on social media so I can see your success. It helps others struggling with weeknights see how amazing this recipe is!
For more recipes that become legendary in your home, check out the recipes everyone asks for!
Melt In Your Mouth Chicken
Ingredients
Equipment
Method
- Place the chicken breasts between two sheets of plastic wrap. Pound them to an even thickness, about 3/4 inch thick.
- In a small bowl, mix together the salt, pepper, and garlic powder.
- Place the flour on a shallow plate. Dredge each pounded chicken breast lightly in the flour, shaking off any excess.
- Heat the olive oil in a large skillet over medium-high heat.
- Carefully place the floured chicken breasts in the hot skillet. Cook for 5 to 7 minutes per side until golden brown and cooked through. The internal temperature should reach 165 degrees Fahrenheit.
- Remove the chicken from the skillet and let it rest for 5 minutes before serving.