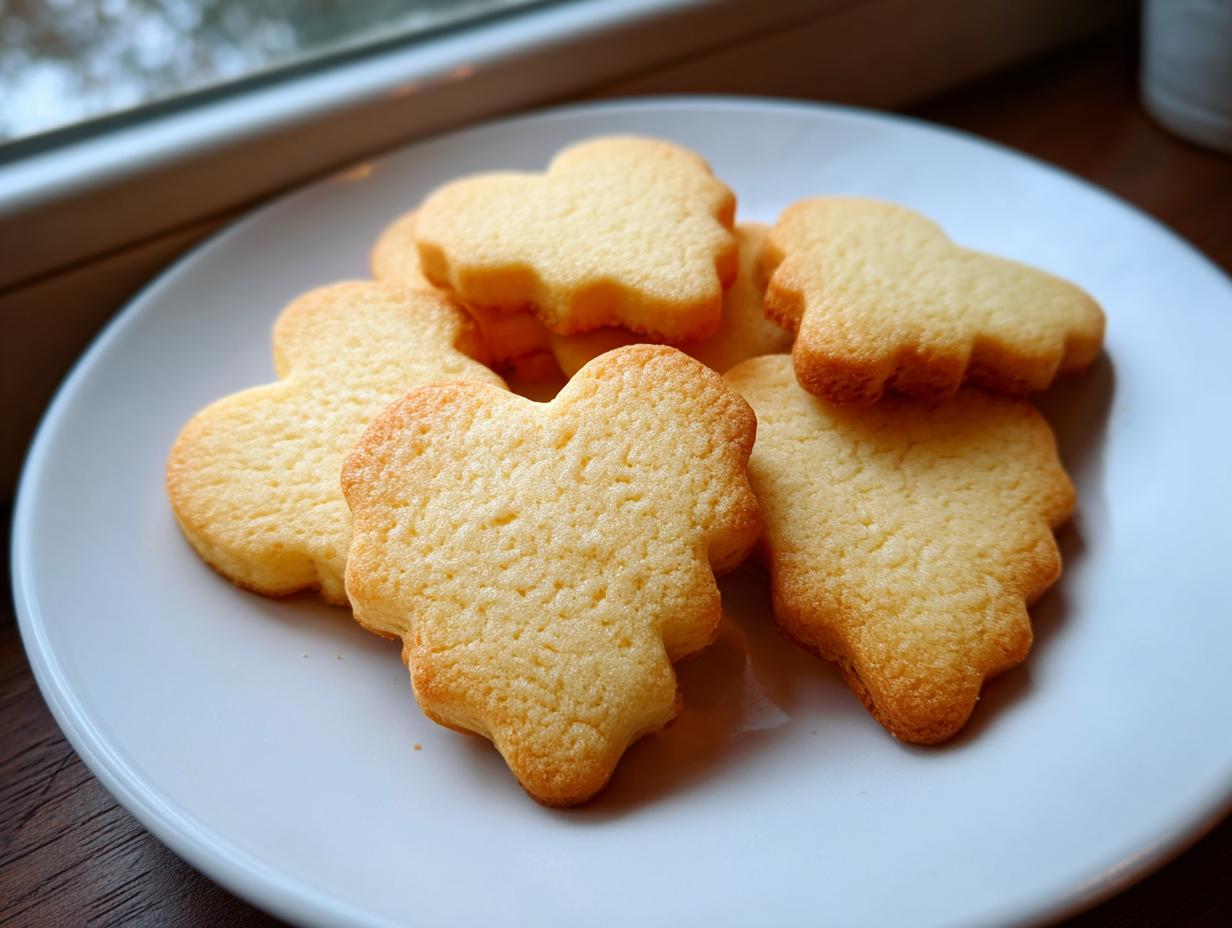
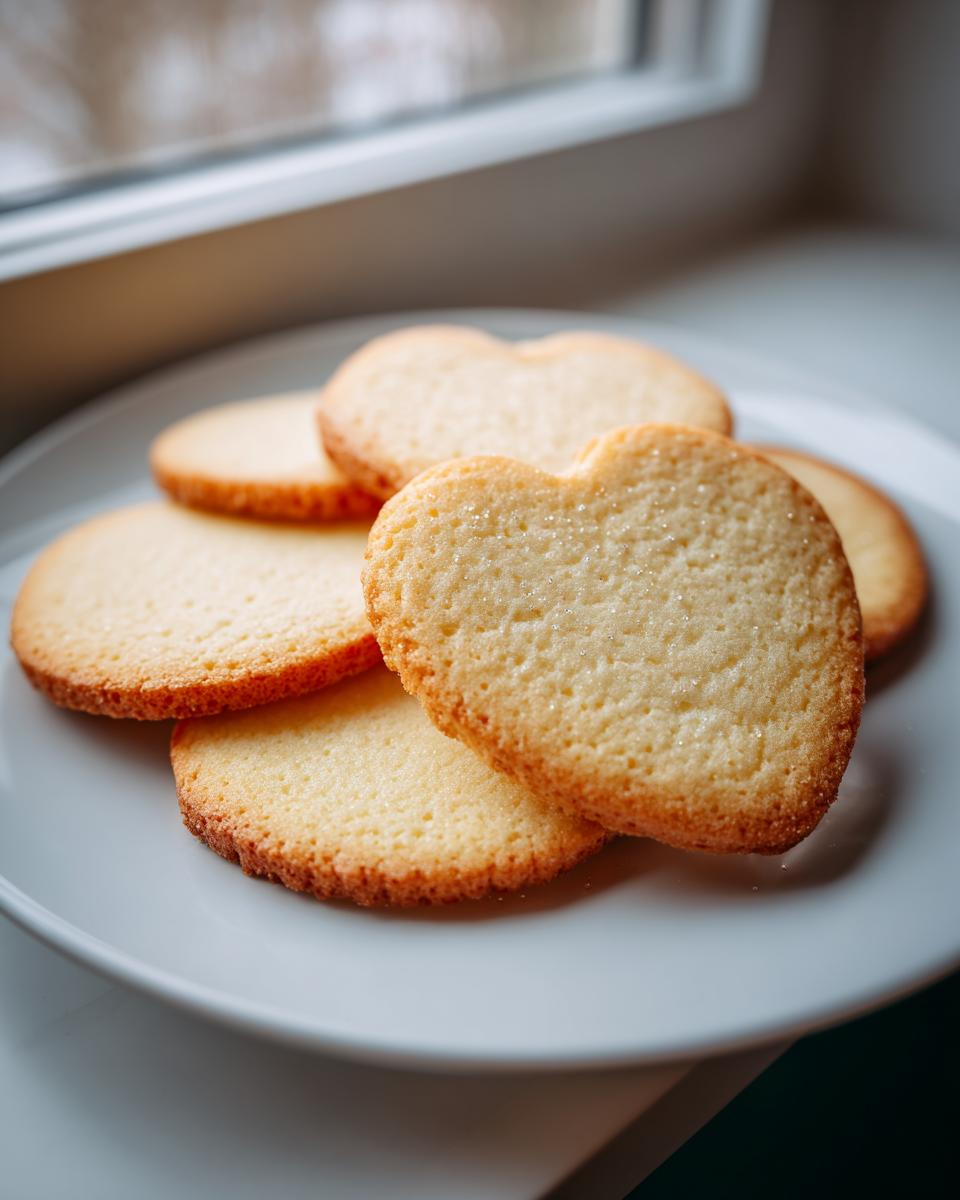
Oh, have you ever spent what feels like hours perfectly cutting out little gingerbread men or intricate snowflakes, only to pull them out of the oven and find they’ve spread into blobby puddles? Ugh, the worst, right?! I’ve been there, and let me tell you, chasing that elusive, perfectly shaped cookie with *sharp* edges can feel like a quest for the holy grail. That’s exactly why I’m SO excited to share my go-to recipe for Cutout Sugar Cookies (Sharp Edges). Trust me, these babies hold their shape like a dream, giving you that crisp, clean line you *need* for amazing decorating. Baking is my happy place, and creating cookies that look as good as they taste? Pure magic!
Why These Cutout Sugar Cookies (Sharp Edges) Are a Must-Try
So, what makes these cutout sugar cookies so darn special? Well, let me tell you, it’s all about that perfect balance! You want a cookie that’s sturdy enough to handle all your fancy decorating, right? These are IT.
- They Hold Their Shape Like a Champ: This is probably the biggest win! Thanks to a few little secrets (which I’ll spill shortly!), these cookies bake up with beautifully sharp edges. No more sad, melted shapes!
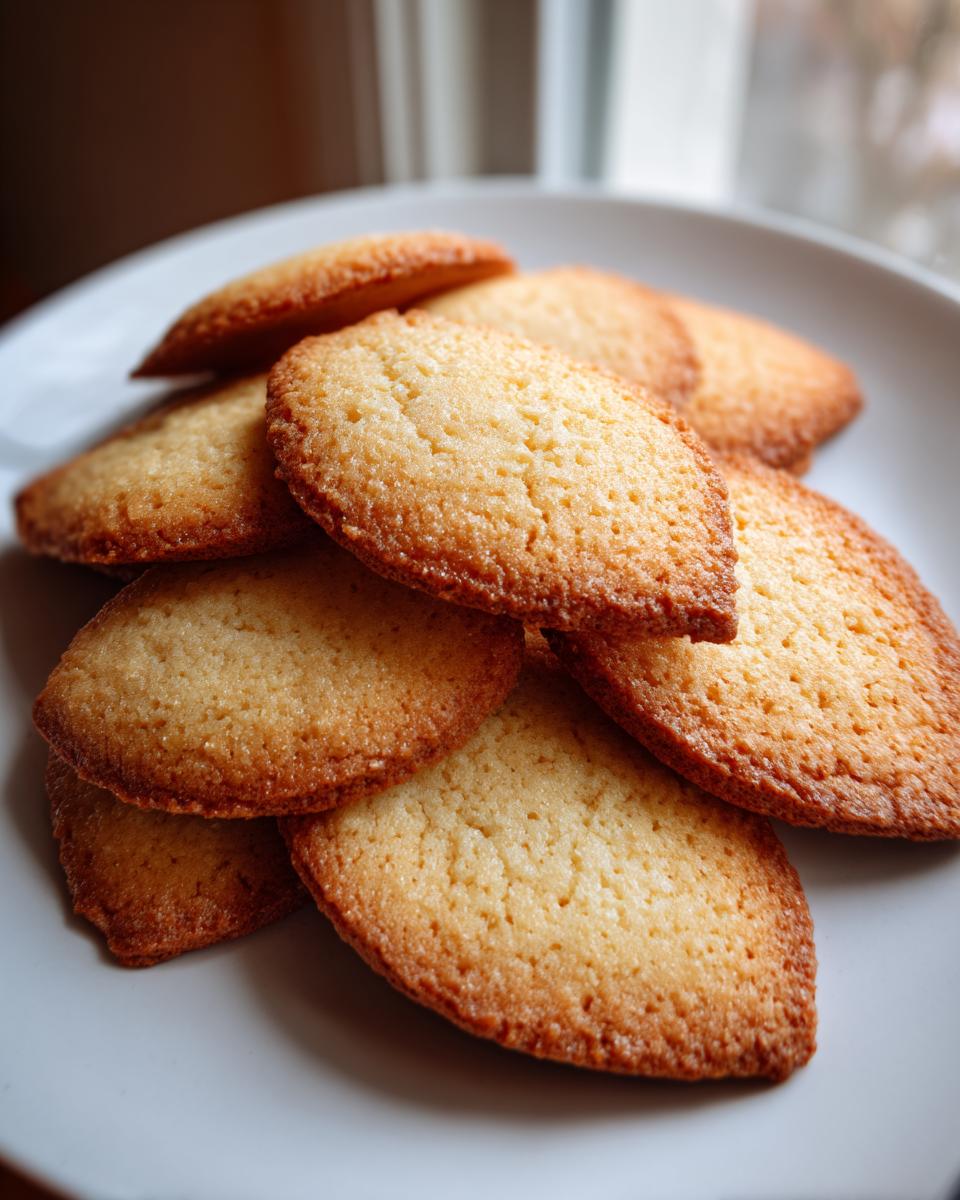
- Deliciously Subtle Flavor: They have that classic, buttery sugar cookie taste that’s just begging for frosting. It’s not overly sweet, so your decorations take center stage.
- Perfect for ANY Occasion: Seriously, whether it’s a holiday party, a birthday bash, or just a Tuesday you want to brighten up, these cookies are your canvas. Christmas, Easter, Halloween – you name it, they’re perfect!
- Decorating Dream: Those sharp edges mean your icing stays put, and intricate details look super clean. They’re practically made for cookie art!
If you’ve ever been frustrated by cookies that spread into shapeless puddles, you are going to LOVE these. Get ready to impress yourself and everyone around you!
Gather Your Ingredients for Perfect Cutout Sugar Cookies (Sharp Edges)
Alright, grab your apron and let’s get down to business! Having the right ingredients is super important for getting those gorgeous, sharp edges on your cutout sugar cookies. Don’t worry, it’s not complicated at all! Here’s what you’ll need:
- 1 cup unsalted butter, softened: Make sure it’s nice and soft, not melted! This is KEY for creaming it properly.
- 1.5 cups granulated sugar: This gives our cookies that classic sweet flavor and helps keep them from spreading too much.
- 2 large eggs: Just standard large eggs from the store will do.
- 1 teaspoon vanilla extract: Because everything good needs a hint of vanilla!
- 3 cups all-purpose flour: This is our main structure builder. We’ll get to the “best kind” later!
- 1 teaspoon baking powder: Just a little lift. Too much and they’ll puff up and lose those sharp edges.
- 0.5 teaspoon salt: Balances out all that sweetness and enhances the flavors.
Having everything measured out and ready to go makes the whole process so much smoother. You’ve got this!
Essential Equipment for Making Cutout Sugar Cookies (Sharp Edges)
Okay, so you’ve got your ingredients, now let’s talk tools! Having the right gear makes all the difference, especially when you’re aiming for those super clean, sharp edges on your cookies. Don’t stress if you don’t have fancy gadgets; most of these are probably already in your kitchen!
- Mixing Bowls: Of course, you’ll need a couple of these for mixing up our dough. A big one for the wet stuff and a medium one for the dry ingredients.
- Electric Mixer: This is a lifesaver for getting that butter and sugar perfectly creamed. If you’re super strong, you *could* use a whisk and some serious elbow grease, but a mixer makes it way easier and guarantees that fluffy texture that helps with sharp edges.
- Rolling Pin: Essential for getting that dough to the perfect, even thickness. A nice, even roll is key to cookies that bake uniformly and keep their shape.
- Baking Sheets: You’ll need a couple of these! Make sure they’re good quality and don’t warp too much in the oven – that can cause uneven baking.
- Parchment Paper: My absolute best friend for cookies! It prevents sticking, makes cleanup a breeze, and helps the cookies slide off the sheet easily once they’re done. This is crucial for not messing up those delicate edges right after baking.
- Cookie Cutters: Duh! This is where the fun begins. Have your favorite shapes ready to go. Metal ones tend to give cleaner cuts than plastic, but either works!
With these basics, you’re totally set to make some amazing cookies!
Step-by-Step Guide to Flawless Cutout Sugar Cookies (Sharp Edges)
Let’s get baking! Following these steps is how we’ll get those beautiful, sharp-edged cookies that are just begging to be decorated. Don’t rush it, and remember, a little patience goes a long way for perfect cutouts! Here’s how I do it.
Mixing the Dough for Sharp Edges
First things first, grab your biggest mixing bowl. We’re going to cream together that nice, soft butter and the granulated sugar. Use your electric mixer on medium speed until it’s super light and fluffy – think pale yellow and airy. This is crucial! Then, we’ll add those two large eggs, one at a time, beating well after each. For the final touch in goes the vanilla extract. In a separate bowl, whisk together the flour, a teaspoon of baking powder (just a little, we don’t want them puffing up too much!), and the salt. Now, here’s the trick: gradually add the dry ingredients to the wet. I like to add about a third of the dry, mix it in, then half of the wet, then another third of the dry, then the rest of the wet, and finish with the last of the dry. Mix on low speed. Stop *just* when it comes together. Seriously, don’t overmix! Overmixing makes for tough cookies and can actually make them spread more. For more on ingredient temps and mixing, check out this guide.
Chilling the Dough: The Secret to Cutout Sugar Cookies (Sharp Edges)
This is non-negotiable, folks! After mixing, divide your beautiful cookie dough into two equal discs. Flatten each one a bit, wrap them up tight in plastic wrap, and pop them in the fridge. They need to chill for **at least 60 minutes**. Trust me, this is where the magic happens for those sharp edges. A cold dough is a firm dough, and a firm dough holds its shape like nobody’s business when it hits the hot oven.
Rolling and Cutting Out Your Shapes
Once your dough is nice and thoroughly chilled, preheat your oven to 350°F (175°C) and get those baking sheets all lined with parchment paper. Parchment is your friend here for easy cleanup and preventing sticking! On a lightly floured surface – and I mean lightly, we don’t want to add too much extra flour – roll out one disc of dough. Aim for about 1/4-inch thickness. If it gets a little soft while you’re rolling, just pop it back in the fridge for 10 minutes. Now for the fun part: use your cookie cutters to make your shapes. Try to press straight down and wiggle a little less than usual to keep those edges crisp. Carefully transfer your cutouts to the prepared baking sheets, leaving a little space between them so they don’t touch while baking.
Baking for Perfect Sharp Edges
Into the preheated oven they go! Bake for about 8 to 10 minutes. You’re looking for the edges to be just *lightly* golden. The centers should still look a little soft and pale. This is important – if you bake them until they’re fully golden brown all over, they’ll likely be overbaked and might firm up too much, losing those delicate sharp edges we worked so hard for.

Cooling and Decorating Your Cutout Sugar Cookies
Once they’re done, let those cookies hang out on the baking sheets for a few minutes. They’re still super fragile right out of the oven. Then, carefully use a spatula to move them to a wire rack to cool completely. And I mean *completely*! Trying to decorate warm cookies is a recipe for a melty, sticky disaster. Once they’re totally cool, they’re ready for all your decorating dreams!
Tips for Achieving the Sharpest Cutout Sugar Cookies
Okay, so we’ve gone through the basics, but let’s talk about really nailing those super sharp edges. This is where a few little tricks really make a huge difference in turning out perfect cutout sugar cookies every single time. I’ve experimented a LOT, and these pointers are gold!
Cold Dough is King
I cannot stress this enough: keep that dough COLD! If it starts to feel warm or sticky while you’re rolling, don’t be a hero. Pop it back in the fridge for at least 15-20 minutes. A warm dough just wants to spread out and lose all those beautiful crisp lines. It’s like trying to cut paper with dull scissors – it just doesn’t work cleanly!
Flour Power (But Not Too Much!)
When you’re rolling your dough, you need a *lightly* floured surface. All-purpose flour is great, but honestly, I find using a mix of all-purpose and a bit of cornstarch (maybe like 1/4 cup cornstarch to 2 and 3/4 cups flour) can make the dough even more stable and less prone to spreading. Just dust your surface and rolling pin *lightly*. Too much flour can make the cookies dry, and we don’t want that. Also, try not to overwork the dough when you’re mixing it, just until it *barely* comes together. That’s another secret weapon for tenderness and shape!
Press Straight Down
When you’re using your cookie cutters, apply even pressure and try to press straight down without too much rocking or twisting. This helps create a clean, sharp edge from the get-go. When you lift the cutter, give it a gentle wiggle to help release it cleanly. For more on general baking techniques, check out this guide.
Don’t Overbake!
This goes back to the baking step, but it’s SO important for sharp edges. You want those corners to just start turning golden. If you pull them out when they look golden all over, they’ve probably already spread a little too much and will continue to firm up and spread as they cool. A barely golden edge means they’ll be perfectly baked and hold their shape.
Ingredient Notes and Substitutions for Cutout Sugar Cookies
Let’s chat about these ingredients for a sec! While this recipe is pretty straightforward and works like a charm, I know sometimes you need to make little tweaks. For the butter, definitely stick with unsalted if you can. It lets you control the saltiness better, and that’s important for balancing flavors. If you absolutely *must* use salted, just cut back on the added salt in the recipe a tiny bit. As for flour, all-purpose is usually my go-to for these guys. Some people swear by using cake flour for softer cookies, but for those sharp edges we’re aiming for, a good all-purpose flour gives you that structure you need. Honestly, stick to the recipe as written, and you’ll be golden!
Frequently Asked Questions About Cutout Sugar Cookies (Sharp Edges)
Got questions about these delightful cutout sugar cookies? I’ve got answers!
Why do my sugar cookies always spread and lose their shape?
Oh, the dreaded sugar cookie spread! This usually happens for a few reasons. First, if your butter and sugar aren’t creamed properly, you won’t get enough air in the dough, and it will spread. Also, using butter that’s too soft or, worse, melted, is a common culprit. And, of course, NOT chilling the dough is a huge reason cookies lose their shape! My recipe emphasizes cold dough and proper creaming to combat this, giving you those coveted sharp edges.
Can I use a different type of butter or shortening instead of unsalted butter?
You *can*, but I really recommend sticking with unsalted butter for the best flavor and texture. Butter has a specific fat and water balance that helps with structure and creaming. Shortening can sometimes lead to a drier cookie, and using salted butter means you’ll need to adjust the salt in the recipe. For the absolute best sharp edges and flavor, go for good old unsalted butter.
How long can I store these cutout sugar cookies?
Once they’re completely cooled, these cookies are pretty sturdy travelers! Store them in an airtight container at room temperature. If they’re undecorated, they’ll stay delightfully crisp for about a week, maybe even a little longer. If they’re frosted, they can usually last about 3-5 days, depending on the type of frosting. Just make sure they’ve cooled 100% before you stack them!
My dough is too crumbly to roll out. What did I do wrong?
A crumbly dough usually means there’s a little too much flour or not enough moisture. Did you accidentally add too much flour? Or perhaps the butter wasn’t soft enough when you started creaming? If it’s just a *little* crumbly, I often find that just a few more minutes of gentle kneading (or even just warming it slightly with my hands as I bring it together between the plastic wrap) helps it become pliable. If it’s super dry, adding a teaspoon or two of milk or water might help, but do it very sparingly!
Nutritional Information
Now, let’s talk numbers! Please remember that these are just estimates, as the exact nutritional values for your cookies can change based on the specific brands you use and how thick you roll your dough. But, for a typical cutout sugar cookie made with this recipe, you can expect something along these lines:
- Calories: Around 150-180 per cookie
- Total Fat: Roughly 7-9g
- Saturated Fat: About 4-5g
- Cholesterol: Around 25-30mg
- Sodium: Typically 50-70mg
- Total Carbohydrates: Approximately 20-25g
- Dietary Fiber: Less than 1g
- Total Sugars: Around 12-15g
- Protein: About 2g
For a more detailed breakdown or if you’re tracking specific dietary needs, you might want to use an online recipe calculator with your exact ingredients. For more information on general nutritional guidelines, you can always check out this disclaimer.
Share Your Masterpiece!
Alright, now that you’ve hopefully baked up a storm of these amazing, sharp-edged cutout sugar cookies, I’d absolutely LOVE to see what you created! Seriously, head down to the comments section below and tell me how they turned out. Did you have any decorating triumphs? Any fun shapes you used? Your feedback means the world to me and honestly helps other bakers too!
And if you’re feeling extra crafty, snap a pic of your decorated cookie masterpieces and tag me on social media – I can’t wait to ooh and aah over your incredible cookie art! You can also reach out through my contact page if you have any other baking questions or just want to say hi!
Cutout Sugar Cookies (Sharp Edges)
Ingredients
Equipment
Method
- In a large bowl, cream together the softened butter and granulated sugar until light and fluffy.
- Beat in the eggs one at a time, then stir in the vanilla extract.
- In a separate bowl, whisk together the flour, baking powder, and salt.
- Gradually add the dry ingredients to the wet ingredients, mixing until just combined. Do not overmix.
- Divide the dough in half, flatten each half into a disc, wrap in plastic wrap, and refrigerate for at least 60 minutes.
- Preheat your oven to 350°F (175°C). Line baking sheets with parchment paper.
- On a lightly floured surface, roll out one disc of dough to about 1/4-inch thickness.
- Cut out shapes using your desired cookie cutters. Carefully transfer the cookies to the prepared baking sheets.
- Bake for 8-10 minutes, or until the edges are lightly golden. The centers should still look soft.
- Let the cookies cool on the baking sheets for a few minutes before transferring them to a wire rack to cool completely.