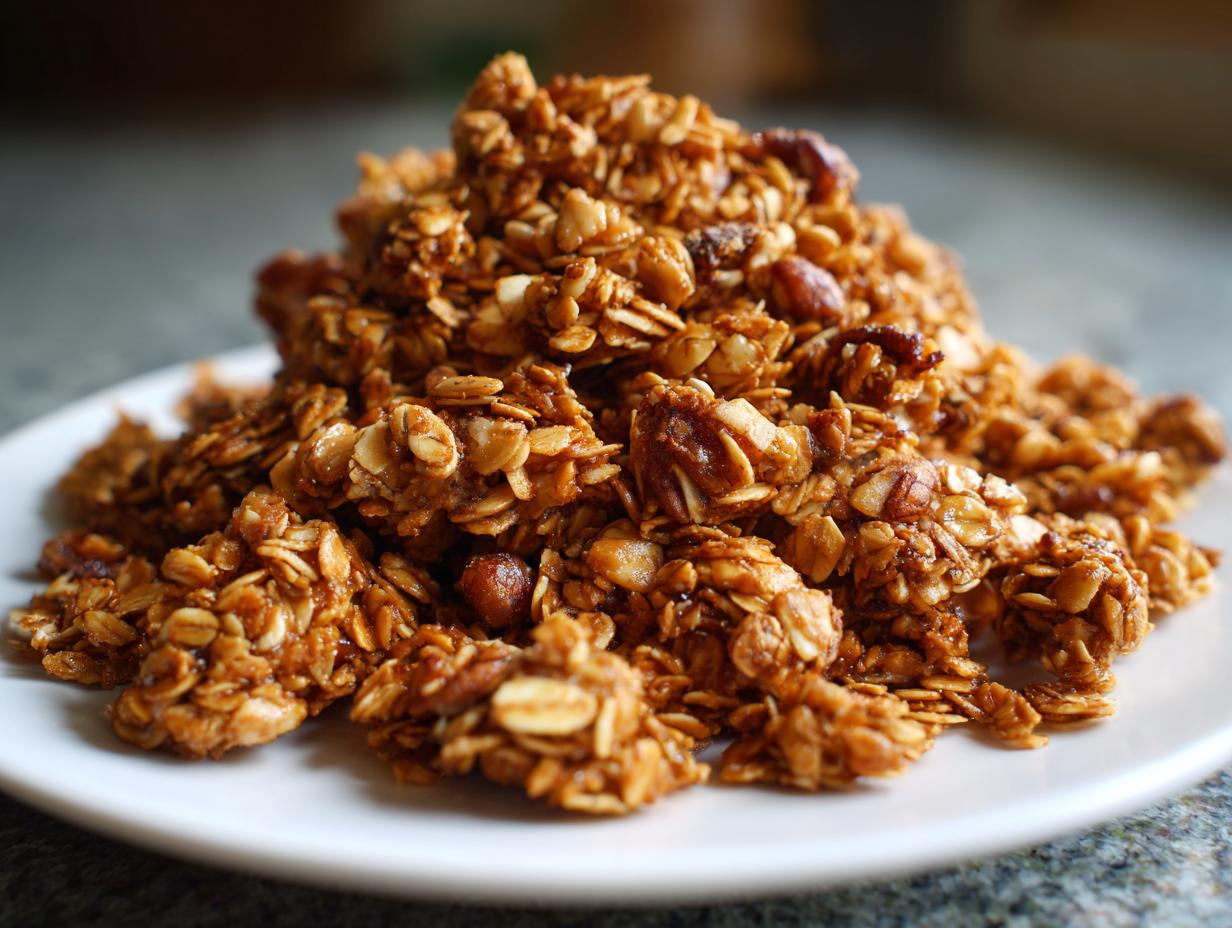
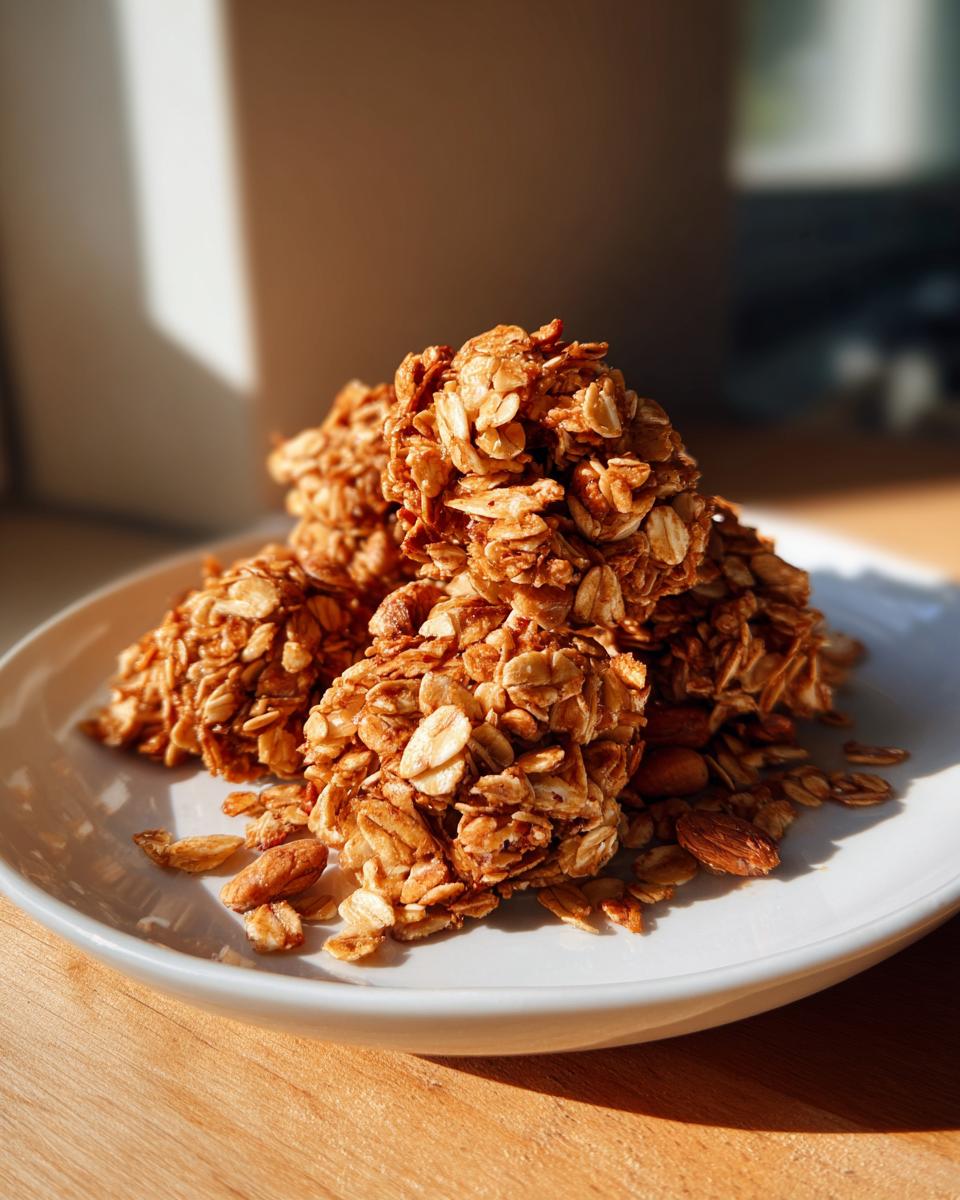
Honestly, the best part of making my own breakfast is taking control of what goes into my body, and that’s especially true for cereal! Store-bought stuff is usually loaded with refined sugars that totally derail my morning, and they always seem to go soggy five seconds after milk hits them. Not here! We are going straight for that satisfying, loud crunch with this Crunchy Homemade Granola recipe. It’s ready in under an hour total, and trust me, the smell alone walking into the kitchen is worth the effort.
This recipe nails the texture because we use the right blend of wholesome oats, nuts, and seeds, and—this is key—we let it cool down completely before we touch it! Cooking breakfast shouldn’t stress you out, and once you see how simple this is, you’ll never buy the sugary boxes again. Check out all my best breakfast inspiration right here on the blog!
Why This Crunchy Homemade Granola Recipe Works (Expert Tips)
There are so many granola recipes out there, but mine hits that perfect structural integrity every single time. It’s not just about throwing things in a bowl and hoping for the best, oh no! The magic for achieving truly Crunchy Homemade Granola happens when we respect the oven temperature and, more importantly, exercise extreme patience at the very end.
Homemade granola often fails because we try to rush the process, or we bake it too hot, which burns the maple syrup before the oats even toast through. We are aiming for slow and steady here. This method ensures every single particle—from the oats to the seeds—dries out just enough to lock in that beautiful crisp texture.
Key Factors for Achieving Maximum Crunch in Your Crunchy Homemade Granola
If you want that satisfying *snap* when you eat your breakfast, you need to pay attention to these two rules. They are non-negotiable if you want the best texture!
- The temperature is critical: We are keeping the oven at a low 300°F. Baking too high causes the edges to burn quickly while the center remains slightly soft. Keep it low so everything dries evenly.
- The cooling stage is where the crunch happens! Once you pull that sheet pan out, walk away. Don’t touch it. Don’t peek too closely! The granola hardens and locks in the crispness as it reaches room temperature on the hot pan. If you stir it while it’s warm, you break the fragile bonds and end up with chewy oats.
Gathering Ingredients for Perfect Crunchy Homemade Granola
Okay, let’s get down to business! Buying the right supplies makes this so much easier than trying to substitute later. When it comes to making Crunchy Homemade Granola, you need quality ingredients because they really shine through once baked. I’ve listed everything below, and pay close attention to the little note next to the oats—trust me on that one; instant oats will just turn to dust!
We’ve broken this down into the dry components that give us texture and the wet components that act as our perfectly sweetened glue. Be sure to have your large mixing bowl ready because we’ll be tossing this all together soon!
Dry Ingredients for Crunchy Homemade Granola
These form the base of our texture. Make sure your nuts are chopped unevenly so you get a nice mix of sizes in the final product.
- 4 cups Rolled oats (These must be old-fashioned, please don’t use the instant kind!)
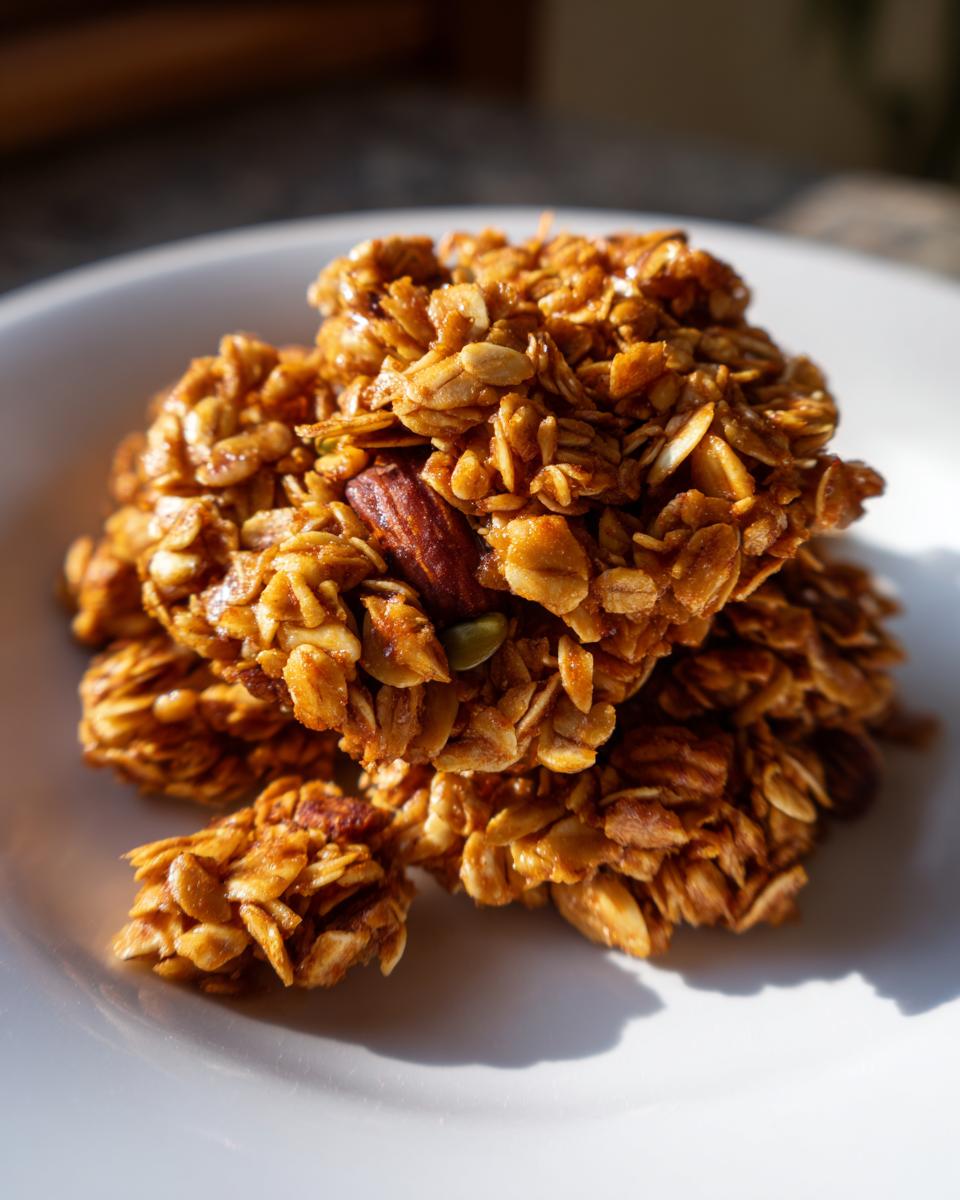
- 1 cup Mixed nuts (Roughly chopped, I love mixing almonds and pecans for this part)
- 1/2 cup Pumpkin seeds
- 1/2 cup Sunflower seeds
- 1 tsp Ground cinnamon
- 1/2 tsp Salt
Wet Ingredients for the Binding Mixture
This is where the sweetness and richness come from. We need the coconut oil melted so it can coat everything evenly before it hits the oven—no clumps allowed!
- 1/2 cup Maple syrup (The real stuff makes a difference here!)
- 1/3 cup Coconut oil (Needs to be melted down until liquid)
- 1 tsp Vanilla extract
Step-by-Step Instructions for Crunchy Homemade Granola
Now that we have all our gorgeous ingredients sorted out, it’s time for assembly! Since this whole process takes about 40 minutes total, including cooling time, you can whip this up before anyone else is even thinking about breakfast. Follow these steps carefully, especially when it comes to stirring, and you’ll have big, beautiful clusters ready to go.
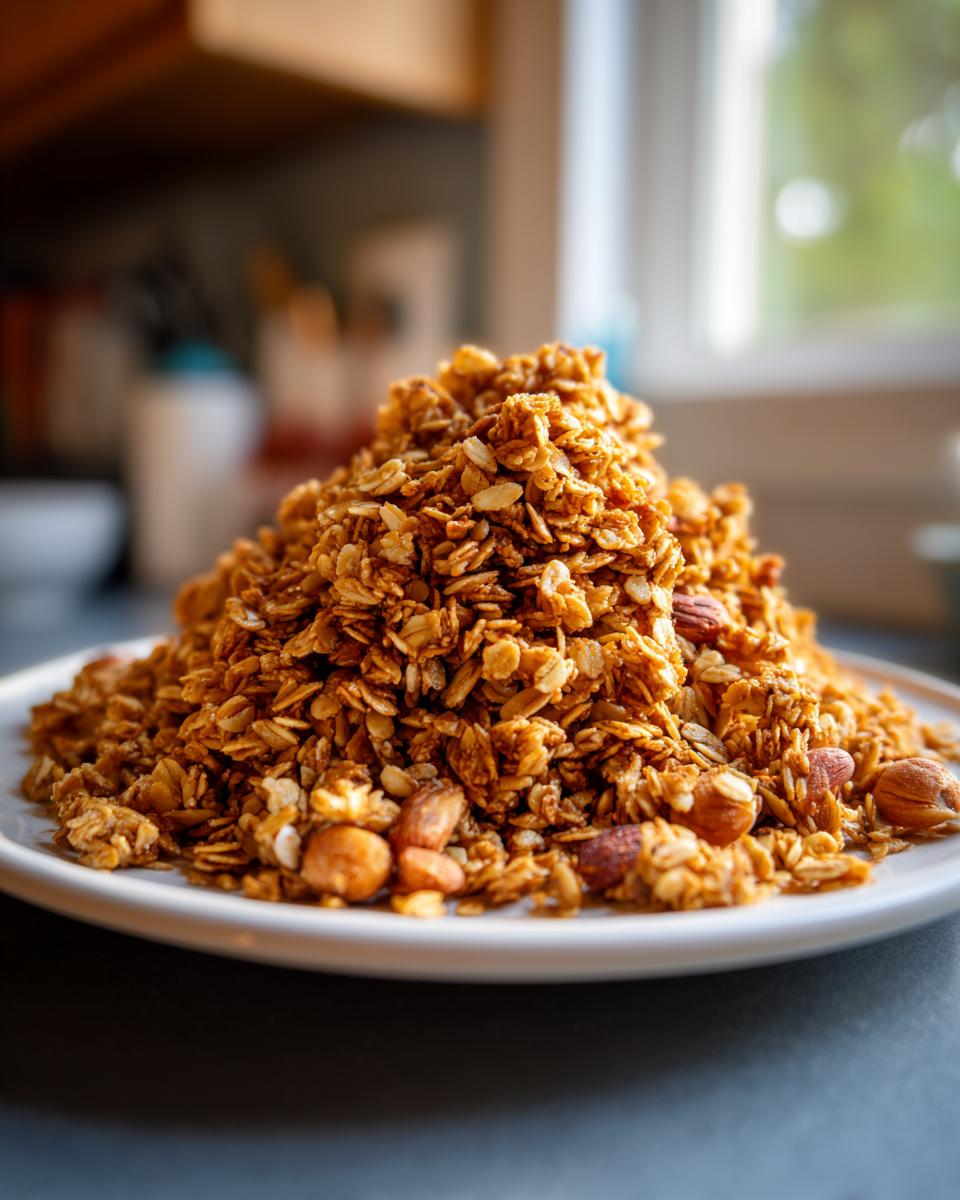
If you’re hoping for those big, wonderful, hunkering clusters that look amazing piled high in a jar, remember the little secret I mentioned earlier: press the mixture down evenly onto the pan before baking, and for goodness sake, don’t stir it until it’s completely cool!
Preparing the Oven and Dry Mix
First things first, we need heat! Get your oven warmed up to 300 degrees F or 150 degrees C. While it’s getting hot, tear off a big piece of parchment paper and line your trusty baking sheet. Trust me, this saves you a ton of scrubbing later.
Grab that large mixing bowl—the biggest one you have!—and dump in all your dry goods: the oats, the chopped nuts, the pumpkin seeds, sunflower seeds, cinnamon, and salt. Give this a really good toss with your hands or a big spoon just to make sure the spices are evenly distributed among the oats and seeds.
Combining Wet and Dry Mixtures for Crunchy Homemade Granola
Time for the glue! In a smaller bowl, take your time whisking the wet ingredients together. You want to make sure that melted coconut oil is totally incorporated with the maple syrup and that splash of vanilla extract. Whisk until it looks like one uniform, slightly shiny liquid.
Now, pour that wet gold right over your dry mix in the big bowl. This is where you need perseverance. Stir, stir, stir! You need to keep going until every single oat and nut corner looks slightly glossy and coated. This coating is what hardens into that lovely crunch we are aiming for.
Baking and Cooling to Ensure Crunch
Pour the coated mixture onto your prepared baking sheet. Spread it out really nicely so it’s in one even layer—no big mounds poking up. Pop it into the oven for 30 minutes total.
Here’s the timed stir: after about 15 minutes, gently pull the sheet out and stir everything around just quickly because you don’t want the bottom layer to burn. Then, back it goes for the remaining time. The *absolute* most important part comes next: when it comes out, let it sit there, untouched, until it is stone cold. It will go from slightly soft to perfectly rigid as it cools down. Don’t rush this, and you’ll have the best breakfast treat!
Ingredient Notes and Substitutions for Crunchy Homemade Granola
I know life happens, and maybe you’re out of coconut oil or you have a friend who’s allergic to nuts! That’s totally fine! The beauty of making your own Crunchy Homemade Granola is that you get to tweak it to fit your own pantry and diet. But be warned: changing the binder (the wet stuff) affects the final crunch, so just proceed with love and maybe test a small batch first!
If you’re swapping out the sweetener, remember that maple syrup brings a certain sticky quality that helps the clusters form. If you use honey instead, you might find the granola slightly less crunchy because honey holds onto moisture differently. Keep it about the same amount, though!
For the oil—coconut oil is fabulous because it’s firm at room temperature, which helps stabilize those clusters. If you use regular melted butter or even olive oil, the granola will still be delicious, but it might be a bit more crumbly once stored. You miss that firming up that coconut oil gives you.
What if you need this to be nut-free? That’s common! If you cut out the 1 cup of mixed nuts, you need to replace that volume to keep the proportions right for the wet coating. Just use an extra cup of rolled oats, or, even better, add a cup of puffed rice cereal for extra fluffiness. That’s one of my favorite tricks for a lighter mix! I actually made a huge batch last month using mostly pumpkin seeds and puffed rice, and it was so good alongside my blueberry oat smoothie.
Just remember, no matter what you swap, the goal remains the same: coat everything evenly and let it cool undisturbed to achieve that perfect, loud crunch!
Serving Suggestions for Your Crunchy Homemade Granola
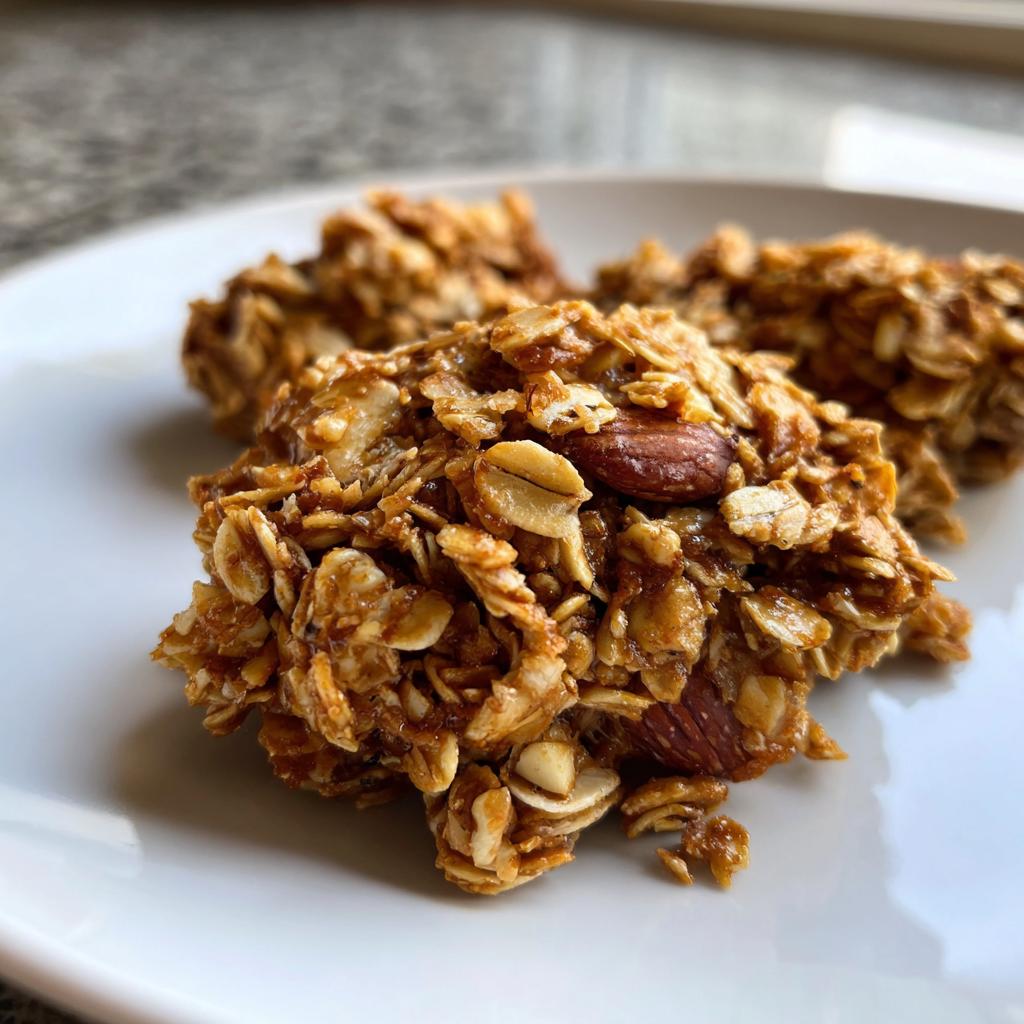
Now that you’ve got a huge batch of perfectly crisp, golden-brown breakfast cereal, the real fun begins: eating it! Honestly, I wish I could just stand over the baking sheet and eat it by the handful straight off the pan, but I try to exercise restraint.
It’s so versatile, though! You don’t have to just pour milk over it, though that is a classic for a reason. If you’re looking for ways to use this batch up quickly—and trust me, it goes fast—here are my absolute favorite ways to serve it up when I want a little something extra special in the morning.
The key is using it as a textural element. You want that crunch contrast against something creamy, right?
- The Yogurt Parfait Powerhouse: This is my go-to mid-week option. Layer Greek yogurt, some fresh berries—strawberries or blueberries are always winners—and then generously sprinkle this crunchy mix on top. It adds incredible texture to the creamy yogurt. If you need inspiration, check out my notes on my favorite yogurt parfaits!
- Warm Apple Topping: Hear me out! If you quickly sauté some sliced apples with a tiny bit of cinnamon and brown sugar until they are soft, spoon that warm, slightly spiced fruit into a bowl, and top it generously with the cold, crunchy mix. It’s like a rustic pie filling without all the effort.
- The Ice Cream Finisher: Move over, sprinkles! When I make homemade vanilla bean ice cream, I always keep a jar of this stuff nearby. A big scoop of ice cream topped with a spoonful of this oat and nut mix provides the best textural contrast against the cold, smooth creaminess.
- The Office Snack Jar: Sometimes, I just eat it dry! I portion out small servings into mason jars and keep them at my desk. It’s the perfect thing to chomp on when I hit that 3 PM slump and need something that actually requires chewing instead of just sipping coffee.
Storage and Keeping Your Crunchy Homemade Granola Fresh
It’s so rewarding to have this massive batch of homemade goodness on hand, but the next big question is always, “How do I keep it crunchy?” Because we baked this slow and low, removing the moisture, your Crunchy Homemade Granola will stay crisp for ages—provided you respect where you store it!
The primary enemy of granola is humidity, that sneaky moisture that creeps in and turns those beautiful clusters soft and chewy overnight. We definitely don’t want that after all our hard work!
You absolutely must store this in an airtight container. I prefer glass jars with clamp-down lids because they seal up tighter than anything else I’ve found. Skip the plastic bags unless they are the heavy-duty freezer variety and you plan to eat it within the first couple of days.
If you live somewhere super humid—like near the ocean in the summer—you might want to keep a silica gel packet (the little paper packets that come in new shoes or vitamins!) in there. Just make sure it’s food-safe! I sometimes pop my container in the pantry for a few minutes before serving just to make sure everything is perfectly dry before eating, but usually, a good airtight seal does the trick.
When stored correctly in a cool, dark cabinet, this crunchy homemade granola should stay phenomenal for about three to four weeks. Test it after a month, but honestly, mine usually disappears long before then because I’m sneaking handfuls all day long!
Frequently Asked Questions About Crunchy Homemade Granola
I always get questions when people try this recipe for the first time, especially about getting that perfect texture versus just ending up with a pile of toasted oats. That’s totally normal! Making Crunchy Homemade Granola is easy, but mastering the crunch takes a little insider knowledge. Here are the things I hear most often from fellow bakers!
If you have other questions, feel free to drop them in the comments below—I love helping everyone get their perfect morning fuel sorted out. You can find even more breakfast inspiration and trending ideas over on my Pinterest board updates!
How do I get large clusters when making Crunchy Homemade Granola?
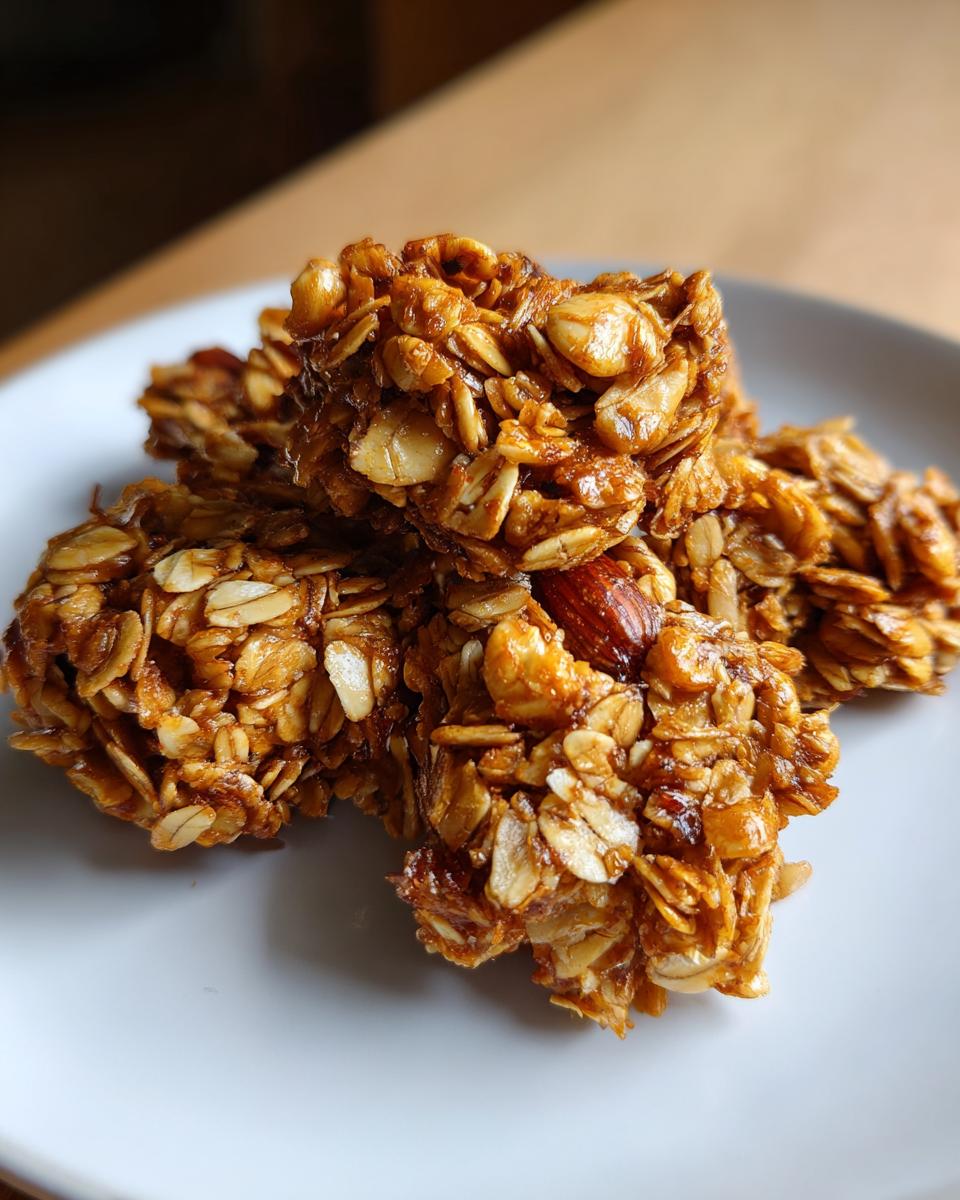
This is my favorite question because clusters are the *best* part! If you want those big, satisfying chunks of finished granola, you need to remember two key steps explained earlier in the instructions. First, when you spread the coated mixture onto the baking sheet before it goes into the oven, press it down firmly with the back of a spatula. Make it as flat and compact as you comfortably can.
Second, and this requires serious willpower: when it comes out of the oven, DO NOT STIR IT until it is completely, totally cold. Let that sheet pan sit on the counter for at least an hour unmoved. As the sugar and oil cool, they solidify and glue your clusters together. If you break them up while they are warm, you just get loose oats!
Can I make this Crunchy Homemade Granola recipe lower in sugar?
Yes, you certainly can trim back on the sugar if you want a healthier profile, but you have to be careful because the maple syrup acts as a binder! If you decide to reduce it, I’d say reduce the maple syrup by about one or two tablespoons max. If you cut too much, you won’t have enough moisture to coat the oats properly, and your granola won’t form those nice clusters; it will just be drier, individual pieces.
You could also try a sugar substitute that retains moisture well, although I haven’t personally tested those outcomes for texture compatibility. If you go lower on the sweetener, you might find that your Crunchy Homemade Granola ends up being a bit more traditional in texture—less clustering, more loose pieces—but it will still taste fantastic because of the spices and nuts!
Estimated Nutritional Overview
Since we are using real ingredients like whole oats, nuts, and maple syrup, this recipe is definitely robust on energy, but because we are stretching it across eight servings, it keeps things pretty reasonable for a breakfast item! Please take these numbers with a grain of salt—or maybe a few oats! This is just an estimation based on standard measuring charts and ingredient databases, not a lab test, of course.
We load up on healthy fats from the nuts and seeds, and the fiber from all those oats is fantastic for keeping you full right up until lunch. It’s a solid way to start the day, much better than those sugary boxed cereals! If you’re trying to keep an eye on your intake, you can always scan through my collection of other calorie-smart recipes for more ideas.
Here’s the breakdown for one serving (1/8th of the batch):
- Calories: Roughly 350-380 kcal
- Fat: Approximately 18g (mostly heart-healthy fats!)
- Protein: About 8g
- Carbohydrates: Around 45g
The Carb count comes mostly from the maple syrup and oats, but the fiber content helps balance that out. Enjoy this knowing you made it yourself, you know exactly what went into it, and you got that perfect crunch!
Share Your Homemade Granola Experience
Whew! We made it! You’ve tackled the low-and-slow bake, you resisted the urge to stir the granola while it cooled, and now you have jars full of the crispiest, most flavorful Crunchy Homemade Granola you’ve ever made. I truly hope it smells as amazing in your kitchen as it does in mine when I make a fresh batch!
But the journey doesn’t end when you put the lid on the jar. I absolutely *live* to hear how your batch turned out! Did you press down hard enough for massive clusters? Did you swap any nuts out? Did you sprinkle it on ice cream like I do?
Please, please take a moment after you’ve tried it with your yogurt or milk to come back here and leave a rating. Just a quick star rating tells me if I got the recipe spot-on for you. If you want to chat more about recipes, baking fails, or just want to see more of my kitchen adventures, feel free to check out the About Me page!
If you shared photos of your beautiful golden granola on social media—tag me! I love seeing your kitchen successes. Happy crunching, everyone!
Crunchy Homemade Granola
Ingredients
Equipment
Method
- Preheat your oven to 300 degrees F (150 degrees C). Line a large baking sheet with parchment paper.
- In a large bowl, combine the rolled oats, mixed nuts, pumpkin seeds, sunflower seeds, cinnamon, and salt.
- In a separate small bowl, whisk together the maple syrup, melted coconut oil, and vanilla extract.
- Pour the wet mixture over the dry ingredients. Stir well until everything is evenly coated.
- Spread the granola mixture in a single, even layer onto the prepared baking sheet.
- Bake for 30 minutes, stirring halfway through to prevent burning and promote even browning.
- Remove from the oven. Let the granola cool completely on the baking sheet without stirring. It will become crunchy as it cools.
- Once cool, break the granola into clusters if desired. Store in an airtight container.