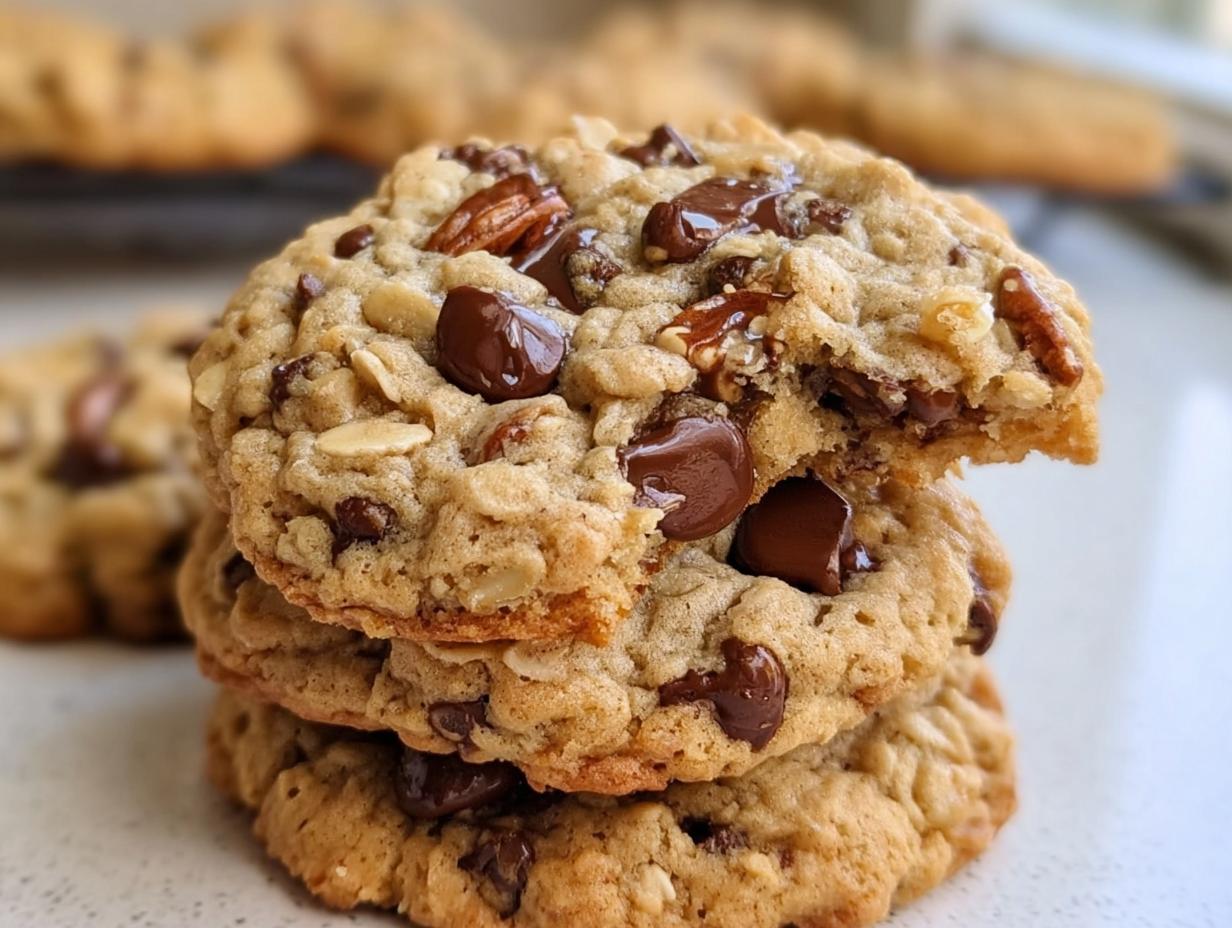
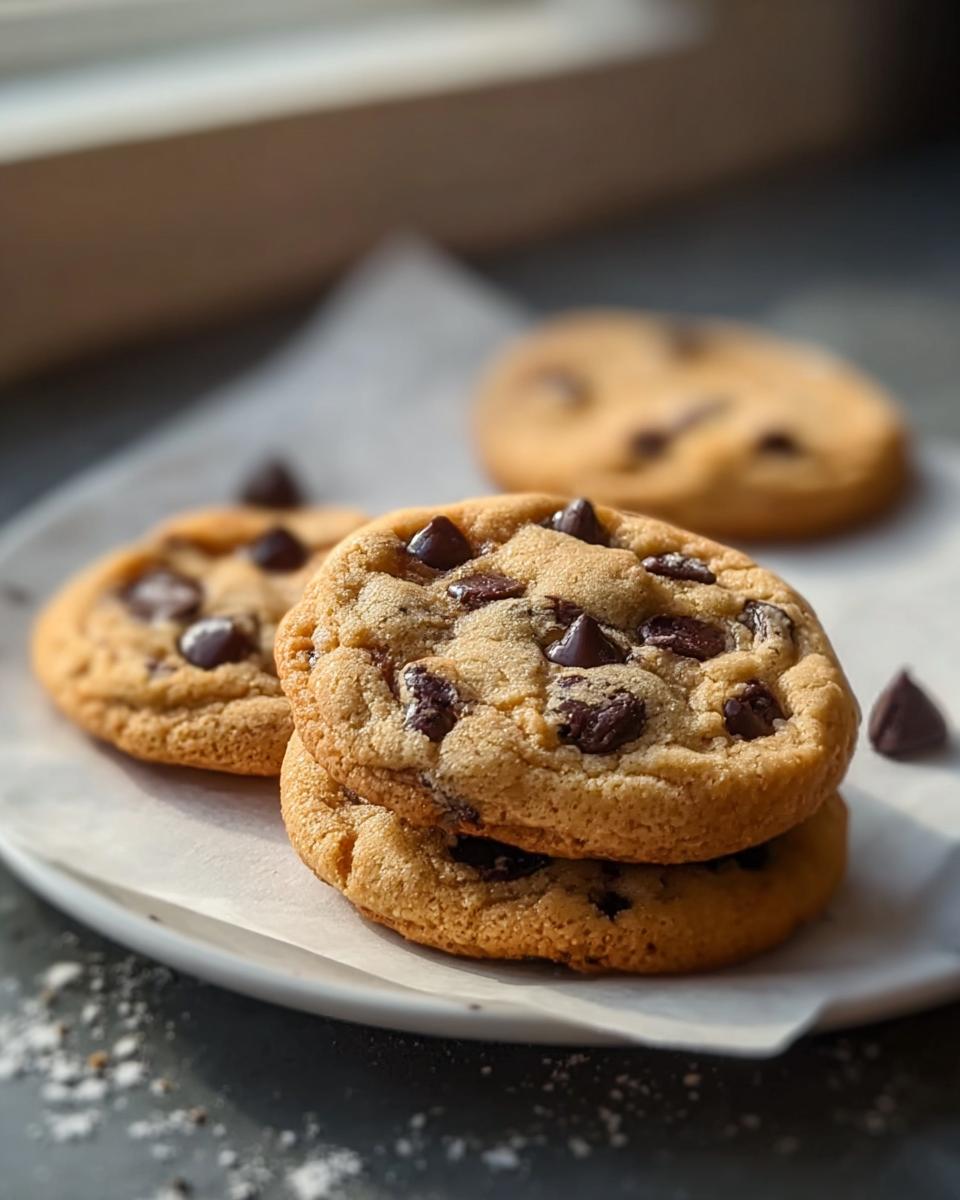
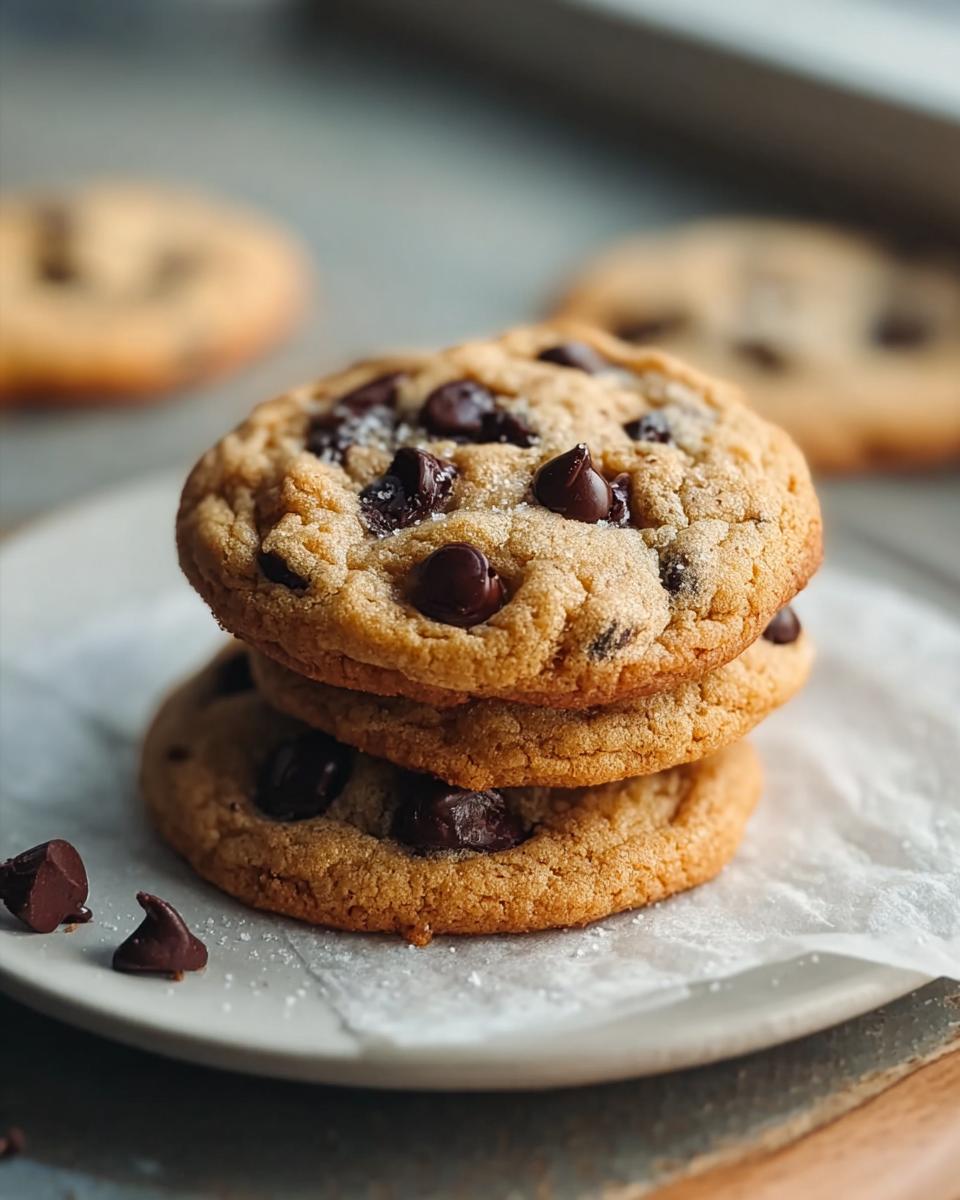
There is just nothing better than biting into a truly perfect chocolate chip cookie. I’m not talking about those puffy, cakey things that look sad the second they cool down. I’m talking about the real deal: that heavenly contrast of snappy, crisp edges giving way to a warm, gooey center. For years, I bounced between recipes trying to nail that texture. It drove me a little crazy! But trust me, achieving those gorgeous Classic Chocolate Chip Cookies with Crisp Edges isn’t luck—it’s technique. After countless batches testing sugar ratios and chilling times, I finally cracked the code. This recipe is the one that actually gives you that satisfying golden crunch around the perimeter every single time.
Defining Our Audience for Classic Chocolate Chip Cookies with Crisp Edges
So, who needs this recipe? This one is definitely for the home baker who respects tradition but demands textural excellence. If you love that classic, nostalgic chocolate chip flavor but you’re tired of cookies that spread into flat puddles or stay too soft in the center, you’re in the right spot. We’re talking to you if you appreciate that specific, satisfying snap around the outside. You value using good, simple ingredients—like real butter and good quality chocolate—and you want a recipe that is straightforward yet delivers professional, magazine-worthy results in your own kitchen.
The Right Tone for Baking Classic Chocolate Chip Cookies with Crisp Edges
When we talk about baking these fantastic cookies, the tone needs to be just right—like chatting with a friend who happens to be an absolute expert. I want you to feel completely comfortable trying this recipe. So, expect me to be super friendly and encouraging, especially if your first batch spreads a little more than you hoped. Baking is science, but it’s also joy, right?
However, since we are aiming for structural perfection—those sharp, crisp edges—I have to be precise about the steps. It’s educational without being stuffy. I’ll explain *why* we chill the dough or *why* we use both sugars. It’s important to share the knowledge so you can troubleshoot if things go slightly sideways. Think of me as your patient kitchen buddy who’s already made all the mistakes so you don’t have to obsess over your own batches of Classic Chocolate Chip Cookies with Crisp Edges!
We’re keeping it light, practical, and focused on getting that amazing texture you crave. No confusing jargon here, just real talk about flour weights and oven racks.
My Journey to Perfect Classic Chocolate Chip Cookies with Crisp Edges
You know, everyone talks about clean living and supporting your body, and I totally preach that philosophy here at Melt It Clean. But let’s be real: wellness isn’t supposed to mean never enjoying the simple pleasures. For me, that pleasure sits squarely in a cookie that has been perfectly executed. I spent *years* chasing the mythical cookie that wasn’t too cakey and wasn’t too flat.
I remember one disastrous batch where I skipped the chilling step because I was impatient—instant cookie puddle! They spread so thin they were basically chocolate chip lace. I felt like if I couldn’t even nail a basic cookie, how could I teach anyone about consistent, real habits? That failure really motivated me.
The breakthrough for those beautiful crisp edges came when I finally respected the resting process. Chilling the dough, even for just 30 minutes, changes everything. It allows those sugars to hydrate properly, which controls the spread in the oven. When they finally set with that perfect firm edge and that soft, melt-in-your-mouth middle? That feeling of conquering a small, delicious battle—that’s what clean living is about: finding harmony, even in dessert.
Essential Ingredients for Classic Chocolate Chip Cookies with Crisp Edges
Okay, let’s talk strategy. If you want those amazing crisp edges without turning the middle into a hard disc, the quality and preparation of your ingredients matter more than you think! This recipe shines because we stick to a few classics, but we treat them right. I always lay everything out before I start; it saves so much stress later when the bowl is getting full!
Grouping Ingredients for the Classic Chocolate Chip Cookies with Crisp Edges
We’ve got the core components that build that perfect texture, and then a few extras if you’re feeling festive. Seriously, don’t skimp on the butter quality here!
For the Cookies:
- 2 cups All-Purpose Flour (Note: If you substitute, use whole wheat or almond flour, but the exact structure might change a tiny bit.)
- 1 cup Butter (This *must* be unsalted and softened completely to room temperature—this is non-negotiable for proper creaming.)
- 3/4 cup Granulated Sugar
- 3/4 cup Brown Sugar (Make sure this is packed down firmly in your measuring cup; it adds crucial moisture!)
- 2 cups Chocolate Chips (I usually mix dark and milk chocolate, but use whatever makes your heart sing.)
- 1 teaspoon Vanilla Extract (This really makes everything taste richer.)
Optional Add-ins:
- 1 cup Nuts (If you love crunch, walnuts or pecans work beautifully here.)
Step-by-Step Method for Classic Chocolate Chip Cookies with Crisp Edges
Alright, this is where the magic happens, and honestly, this is where people rush! Resist the urge to speed through these steps, especially the mixing and the rest period. That’s the difference between a good cookie and one of those legendary Classic Chocolate Chip Cookies with Crisp Edges that everyone raves about.
Preparing the Dough Base for Texture
First things first: heat up that oven to 350°F (175°C). Now, grab your room-temperature butter and both sugars. You’re going to cream them together until they look pale and fluffy—I mean *really* pale. This takes patience, but those creamed fats are busy trapping air inside, and air equals structure! After that, mix in your vanilla extract. Then, slowly add your dry stuff, just until it comes together. Don’t overmix once the flour goes in; we want tenderness inside!
Once everything is loosely combined, gently fold in those two cups of chocolate chips. Seriously, fold them, don’t beat them in! We don’t want to deflate all the air we just worked so hard to incorporate. If you’re using nuts, they go in right here too.
The Crucial Chilling Stage for Crisp Edges
This is the big secret for texture! You absolutely must chill this dough. Cover your bowl and pop it into the fridge for a minimum of 30 minutes. Honestly, an hour is better if you can stand it. Why? When the dough is cold, those fats firm up a bit. When cold dough hits a hot oven, it takes longer to melt and spread out. That slight delay is what lets the edges bake and set firm—giving you that sought-after crispness—while the center melts slower.
When you’re ready to bake, drop spoonfuls of the chilled dough onto sheets lined with parchment paper. Try to keep the mounds relatively uniform so they bake evenly. Remember, chilling prevents a thin, greasy cookie.
Baking and Cooling for the Perfect Finish
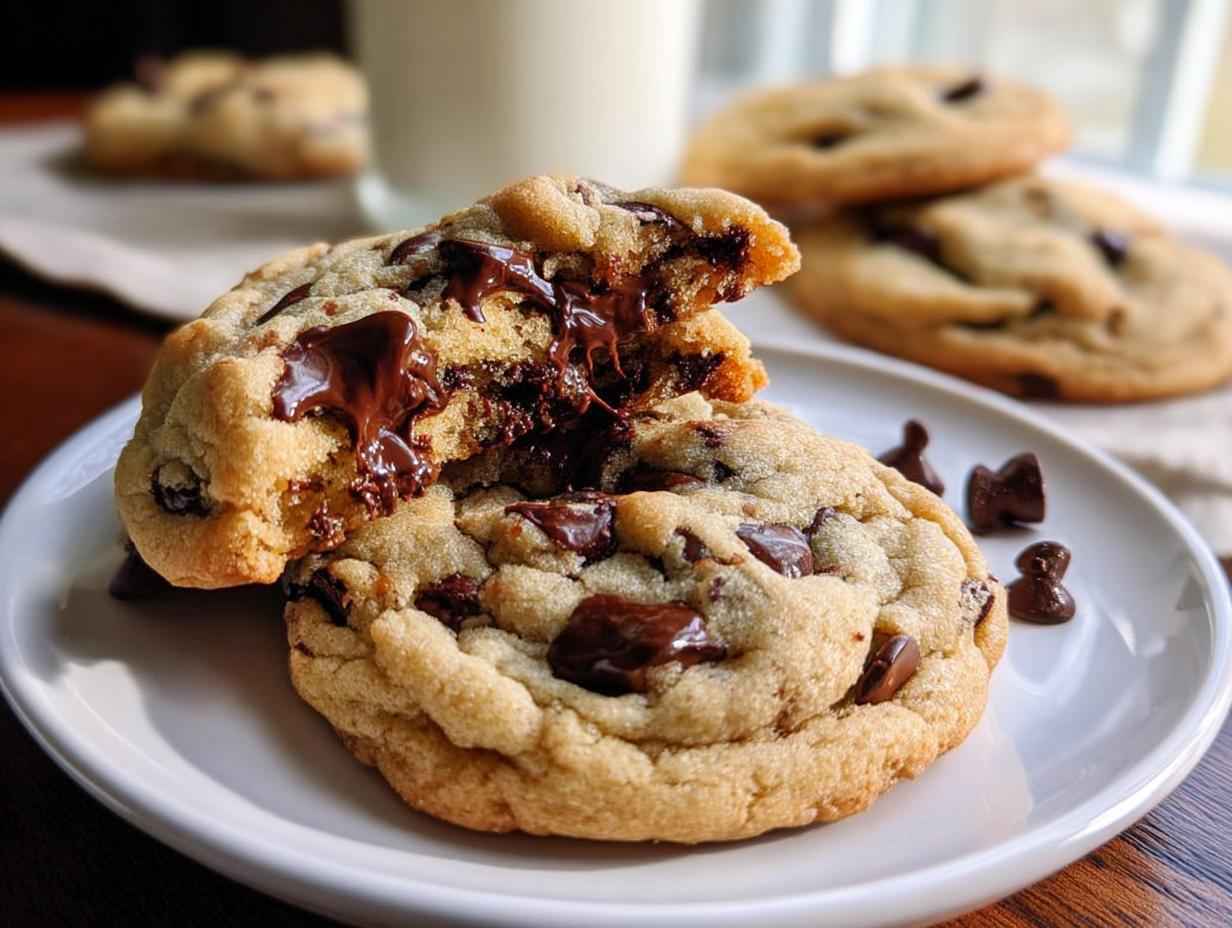
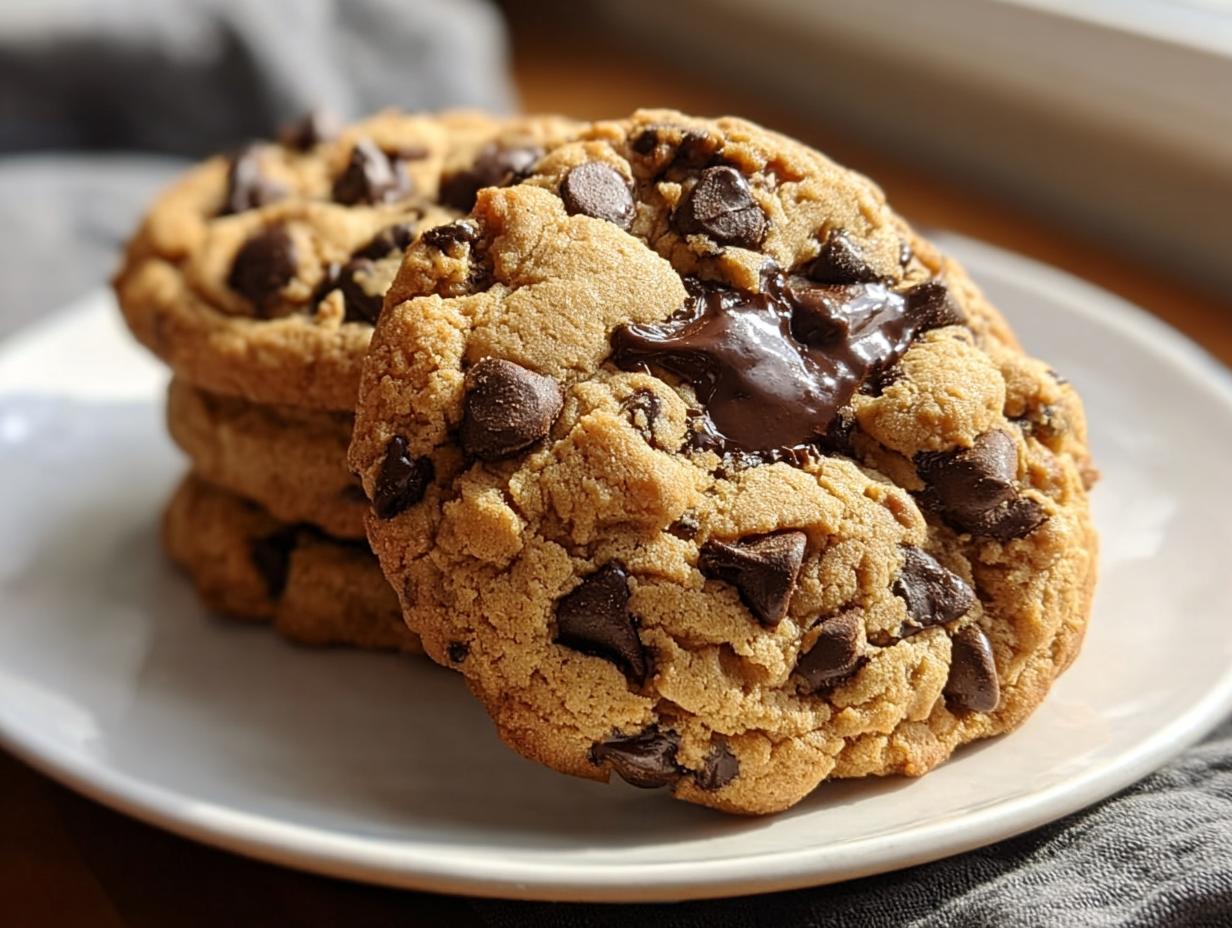
Bake these babies for 10 to 12 minutes at 350°F. You’re looking for the edges to be a lovely light golden brown—not dark brown! If the centers still look a little soft, that is perfect! They are going to look slightly underdone when you pull them out, and that’s exactly what we want for softness inside.
Here’s the second cooling trick: leave them right there on that hot baking sheet for a good five minutes. The residual heat sets those crisp edges firmly in place. After that, carefully move them to a wire rack to finish cooling completely. If you try to move them immediately, they might collapse! Trust me on this one; that initial few minutes on the hot metal is essential for the final texture of your Classic Chocolate Chip Cookies with Crisp Edges.

Expert Tips for Mastering Classic Chocolate Chip Cookies with Crisp Edges
You’ve got the recipe and the method, but just like building consistent health habits, sometimes the smallest details make the biggest difference. After years of baking these, I’ve collected a few insider secrets that guarantee those gorgeous, flaky edges without sacrificing that soft center in your Classic Chocolate Chip Cookies with Crisp Edges.
Here are the three things that moved my cookies from *good* to absolutely unforgettable:
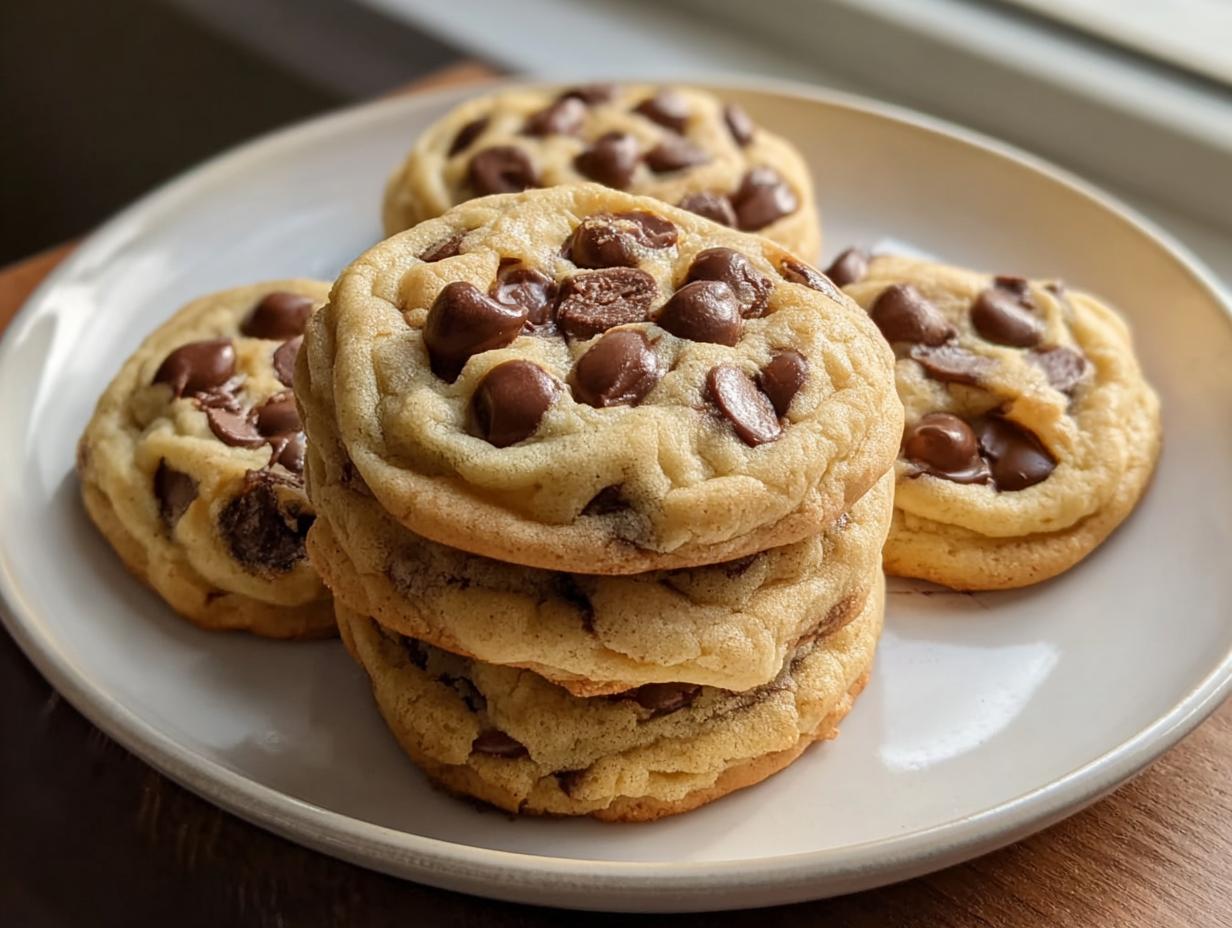
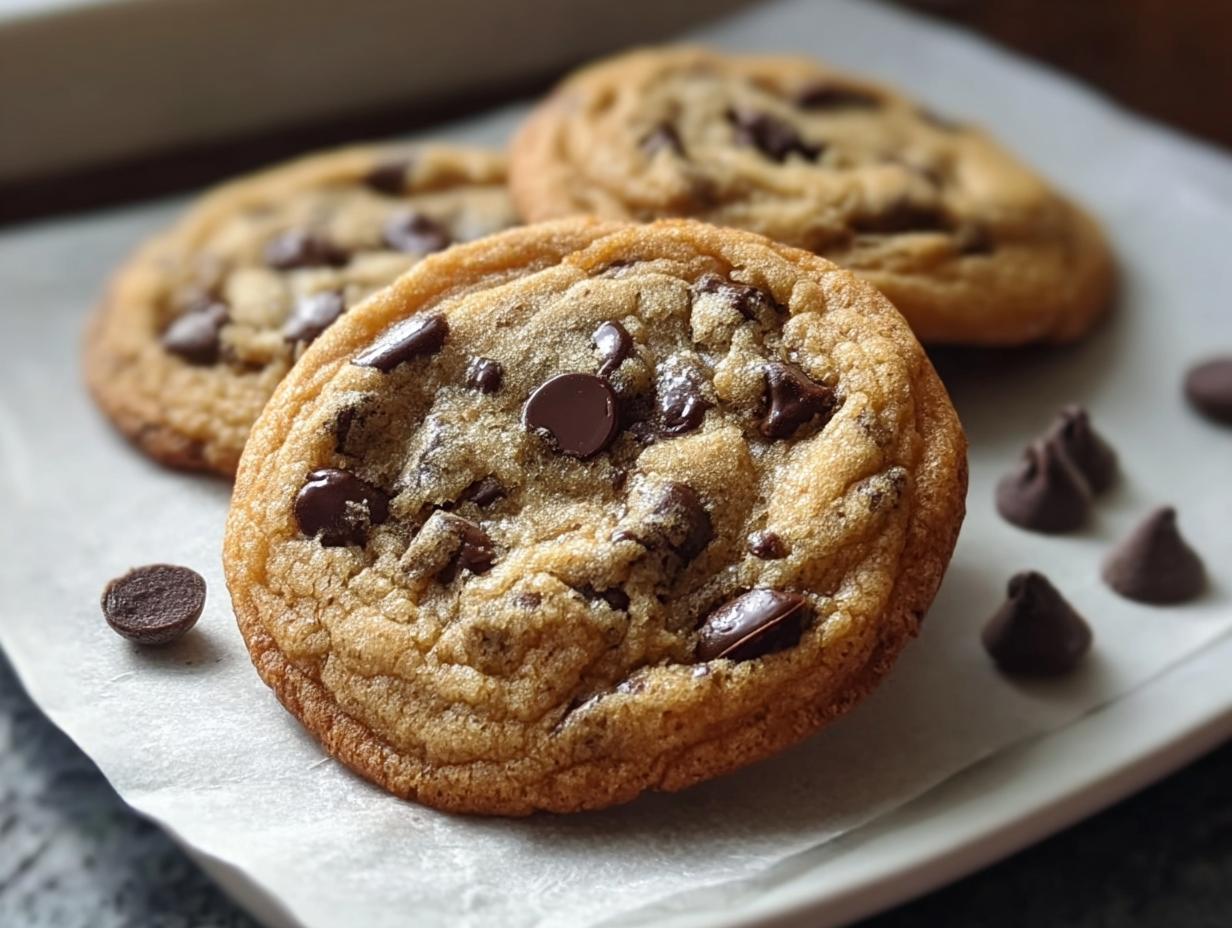
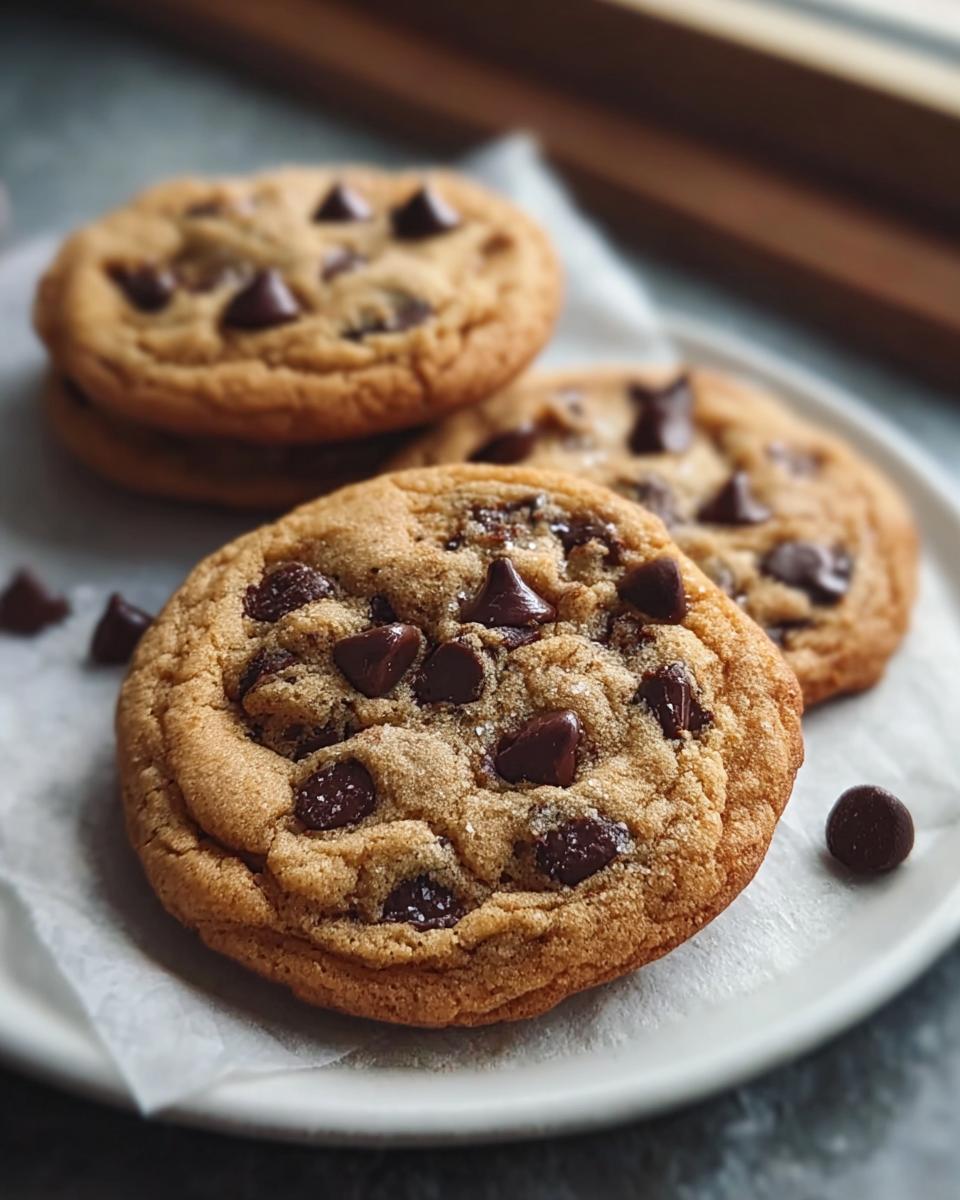
- The Pan Matters: Seriously, skip the dark, nonstick sheets! Dark pans absorb heat too fast and encourage the edges to burn before the center cooks, leading to hard, bitter edges, not crisp ones. I only use light-colored, heavy-duty aluminum baking sheets. They promote more even heat distribution, giving you that controlled, golden-brown set you’re looking for.
- The Sugar Ratio is Key: This might sound obsessive, but play with the sugar slightly. For extra-crisp edges, nudge the granulated sugar up just a hair and keep that brown sugar packed firmly. Granulated sugar promotes spread and crispness because it melts easily, while the brown sugar (with its molasses) keeps the interior chewy. Finding that balance is essential!
- Don’t Over-Scoop: When dropping dough, use a standard tablespoon or a small cookie scoop. If you make mountains of dough, the centers won’t cook through before the edges get too dark. For perfectly uniform cookies with crisp edges, aim for dough balls that are about 1.5 inches wide. If you want extras crisp, flatten the dough balls gently with the palm of your hand just before chilling.
If you manage those three things, you’ll be amazed at the texture. It’s all about intentional choices, whether you are baking or building lifelong wellness habits. For more simple, intentional habit ideas like this, check out my general baking tips over at my favorite healthy recipe section!
Storing and Reheating Your Baked Treats
So you have these absolutely perfect Classic Chocolate Chip Cookies with Crisp Edges, and now you have to decide whether to eat them all immediately (I’ve been there!) or save some for later. Luckily, these cookies hold up really well, but you need to store them correctly to keep that contrast alive.
For storage, the enemy is air! Keep them in a single layer in an airtight container at room temperature. If you stack them, the moisture from the centers will steam the edges, and suddenly, they aren’t crisp anymore. Don’t chill them long-term; that just makes them hard!
If you absolutely must stack them, place a small piece of wax paper or parchment between each layer. They should stay good like this for about four days. If they look a little soft on day three, don’t panic! Reheating is your fix.
To bring back that snap in the edges, just pop one or two cookies on a plate and microwave them for about 8 to 10 seconds. It’s just enough heat to release the steam and soften the center slightly, but it crisps up that edge right when you bite into it. A quick blast makes them taste totally fresh-baked again. Enjoy!
Reader Questions About These Cookies
When I started sharing this recipe online, the questions flooded in! It makes perfect sense; everyone wants their own batch of Classic Chocolate Chip Cookies with Crisp Edges to be absolutely perfect. I’ve collected the most common worries here based on what I learned during my own experimentation.
Why did my cookies spread way too much and lose their crisp edge?
Oh, the dreaded cookie puddle! This is almost always due to one of two things, or both: your butter was too warm, or you skipped the chill time. If the butter is melted instead of just room temperature when you cream it, the dough has no structure to begin with. Also, if you bake immediately, the fats melt instantly in the oven, causing major spread, and that destroys the setting of the edges.
If you’re finding you *still* spread too much even after chilling, try scraping the dough balls off your parchment paper and giving them a gentle quick press back into a mound shape right before they go into the oven. That small physical correction goes a long way toward protecting your desired texture!
Can I use only white sugar or only brown sugar instead of both?
This is a big one! You technically *can* skip one, but you completely change the cookie’s personality, and you definitely won’t get those signature Classic Chocolate Chip Cookies with Crisp Edges. White sugar melts faster and spreads more easily; that’s what gives us the crispness. Brown sugar has moisture (from the molasses) that keeps the interior soft and chewy.
If you use only white, they will be super crisp but potentially dry. If you use only brown, they’ll be softer overall and won’t develop that perfect golden rim we’re looking for. Stick to the 3/4 cup split—it’s the golden ratio for that perfect contrast!
Do I really need to use room-temperature butter? My recipe says that, but I usually just melt it a bit.
Please, please take the extra five minutes to soften your butter! If you’ve read my philosophy anywhere else on MeltItClean, you know I advocate for habits that support your body; in baking terms, that means supporting the structure of your cookie! Melting the butter means you are skipping the creaming step entirely. When you cream soft, room-temperature butter with sugar, you whip air into the fat—that air creates tiny bubbles that expand in the oven, giving your cookie lift and structure.
If you melt the butter, those air pockets vanish, and the resulting cookie is flatter, denser, and often greasy or crumbly rather than perfectly crisp on the outside. For the best results in achieving true texture, softened butter is essential.
Can I freeze the dough for these cookies?
Yes! I often make a huge batch of dough, roll it into balls, and freeze them on a sheet pan first. Once they are rock solid, I toss them into a heavy-duty freezer bag. This is such a great habit for busy weeks—you can always have a fresh cookie ready!
When you bake from frozen, just add about 3 to 5 minutes to your standard baking time. They might brown a little slower on the edges initially. You still want to watch closely for that light golden color. Keep checking them; you want that crisp exterior without burning those lovely chocolate pools!
For more thoughts on streamlining baking and making your kitchen work for you, you might like checking out some of my other go-to simple recipes!
Final Thoughts on Enjoying Your Baking
See? It wasn’t that bad at all! We took the time to respect the chilling process and the creaming technique, and now you have a batch of cookies that truly stands out. Those perfect Classic Chocolate Chip Cookies with Crisp Edges are proof that taking those extra few minutes for intentional steps really pays off, whether you’re perfecting a recipe or building a healthy habit in your life.
I really, really hope you love the texture you get from this method. The contrast between that snappy edge and the soft, melty center is just pure joy! Don’t keep this delicious discovery all to yourself, though. When you pull the next batch out of the oven, I would absolutely love to hear what you think. Did you use milk chocolate or dark? Did you add the nuts?
Let me know in the comments below how these turned out for you. Happy baking, and enjoy every single crisp bite!
By EMILIA, Founder of MeltItClean.com
Hi, I’m EMILIA, the founder of MeltItClean.com – your digital space for natural weight loss, real wellness habits, and clean-living inspiration that actually fits your life.
For years, I struggled with the ups and downs of dieting. I tried everything — juice cleanses, low-carb crazes, fitness challenges — but I always ended up back where I started: tired, bloated, and frustrated. I didn’t just want to “lose weight” — I wanted energy, mental clarity, glowing skin, and confidence without sacrificing my joy or sanity.
After years of experimenting, learning, and unlearning, I discovered a simple truth: your body is already powerful — it just needs support, not restriction. That’s when I created Melt It Clean — a site dedicated to real transformation through clean, intentional, and nourishing daily habits that anyone can follow. My goal was simple: build a place where people could feel informed, supported, and empowered without being overwhelmed by wellness fads. If you want more clean-living inspiration that actually works for your real life, come visit my About Me page!
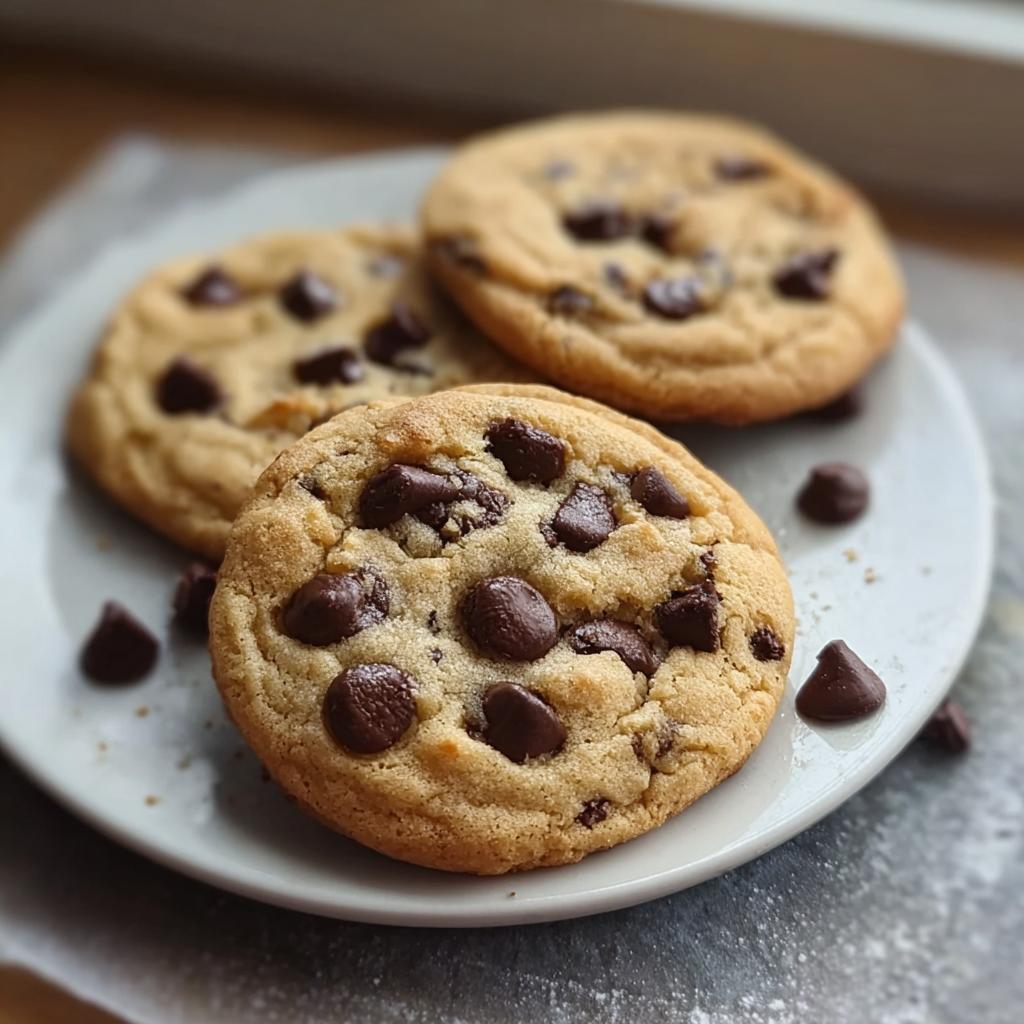
Classic Chocolate Chip Cookies with Crisp Edges
Ingredients
Equipment
Method
- Preheat your oven to 350°F (175°C).
- Cream the butter and both sugars together until pale and fluffy.
- Add the eggs (if using) and vanilla extract; mix until smooth.
- Gradually incorporate the dry ingredients to avoid lumps.
- Fold in the chocolate chips gently.
- Chill the dough in the refrigerator for at least 30 minutes.
- Drop spoonfuls of dough onto lined baking sheets.
- Bake for 10-12 minutes until edges are light golden brown.
- Cool on the baking sheet for a few minutes before transferring to a wire rack.