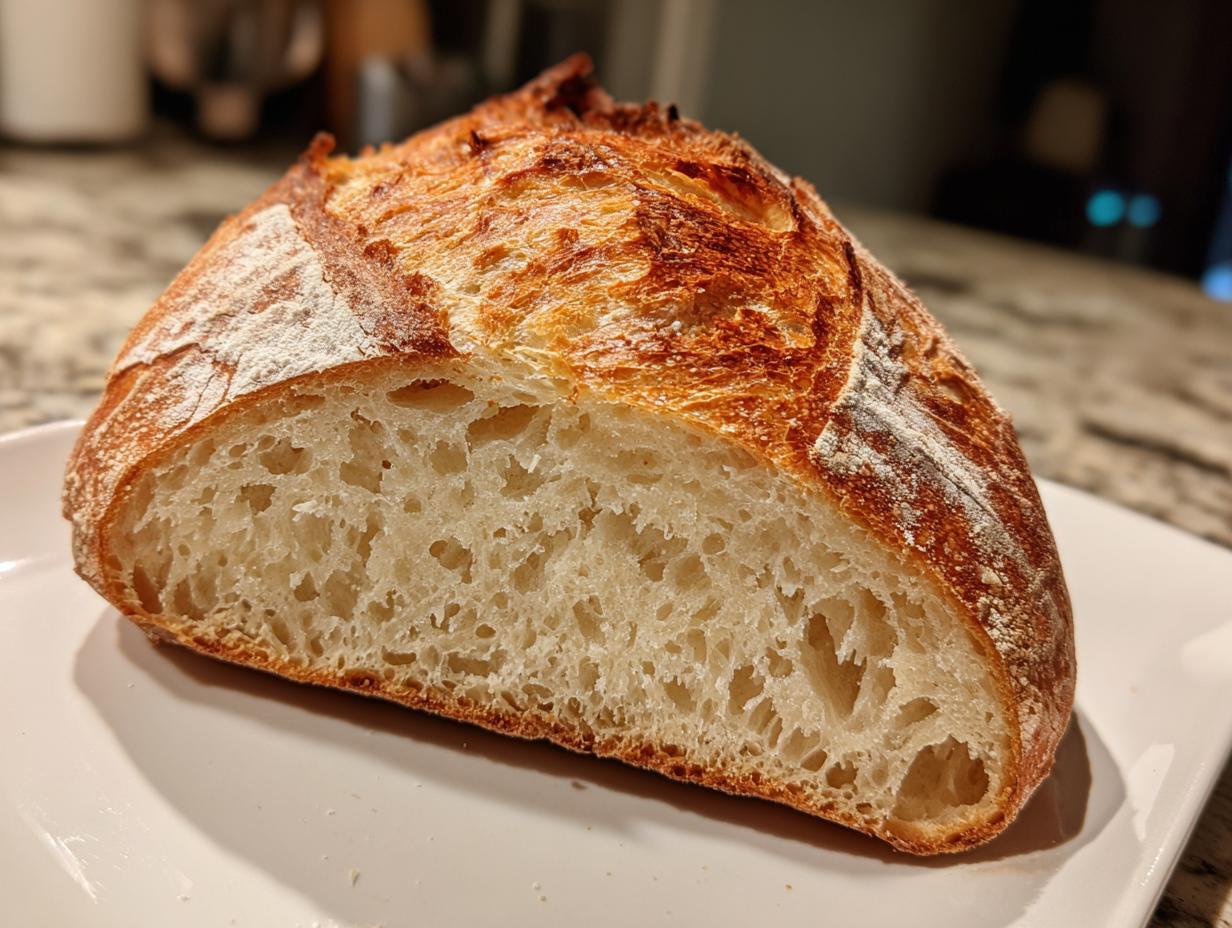
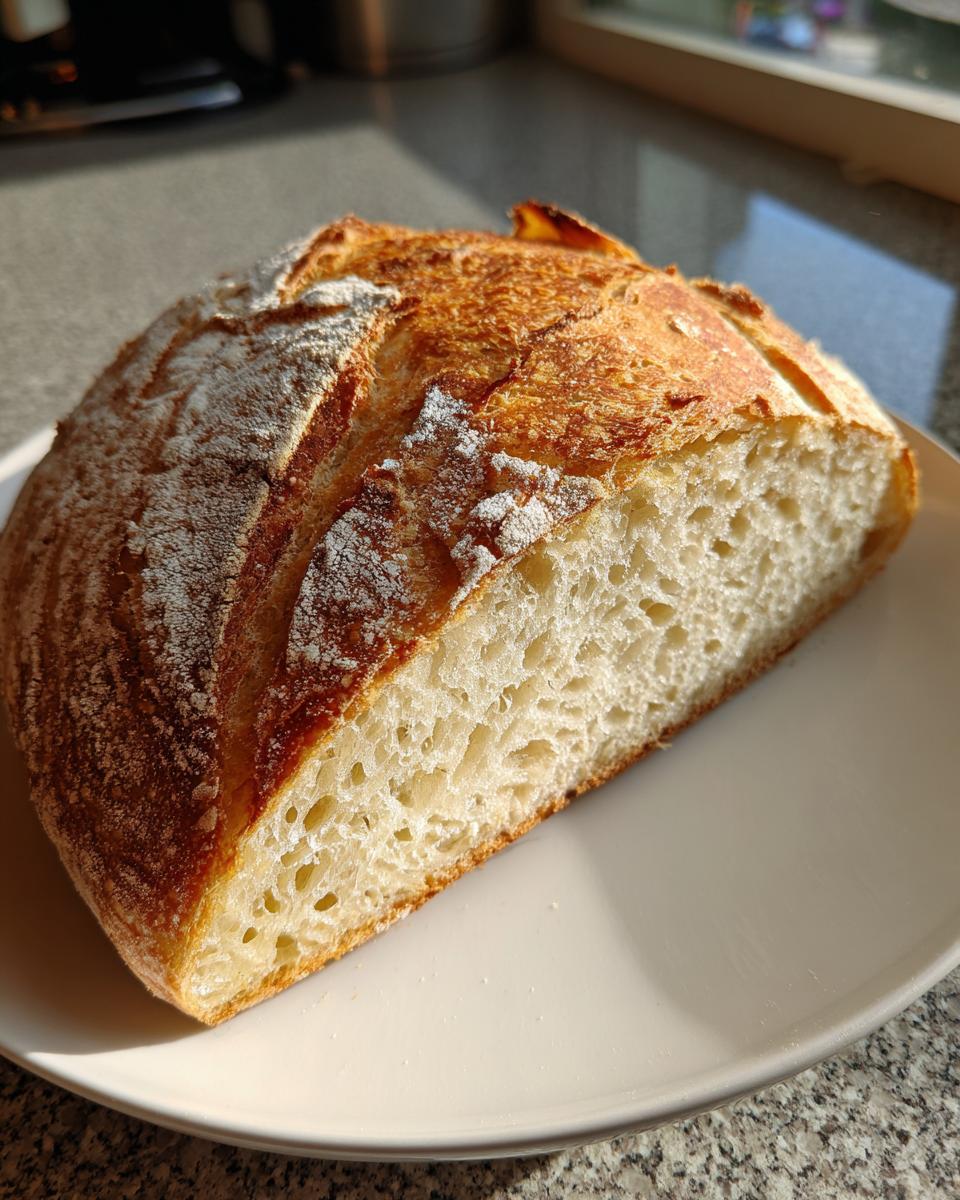
Oh, there’s just something magical about the smell of fresh bread baking, isn’t there? It fills the whole house with this cozy, comforting aroma that instantly makes everything feel a little bit better. I’ve been baking for years, trying all sorts of fancy loaves, but honestly, nothing beats a simple, hearty A Fresh Italian Bread made right in your own kitchen. This recipe is a total game-changer – it’s surprisingly easy, ridiculously delicious, and pretty much guarantees your kitchen will smell like a little slice of heaven for hours. Trust me, once you try this, you’ll never go back to store-bought!

Why You’ll Love This Fresh Italian Bread
Seriously, this bread is the best! You’ll totally love it because:
- It’s super simple to make, even if you’re a total beginner!
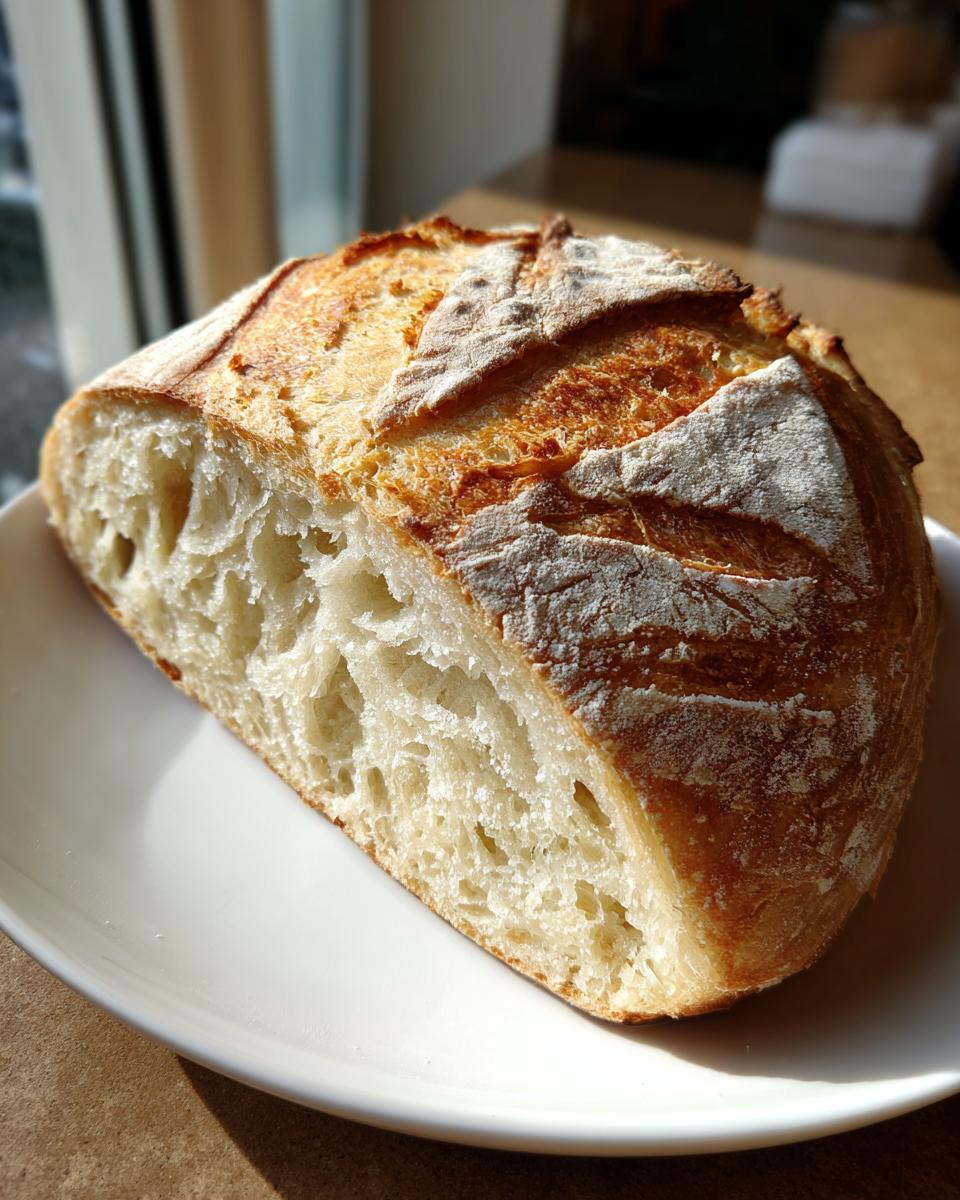
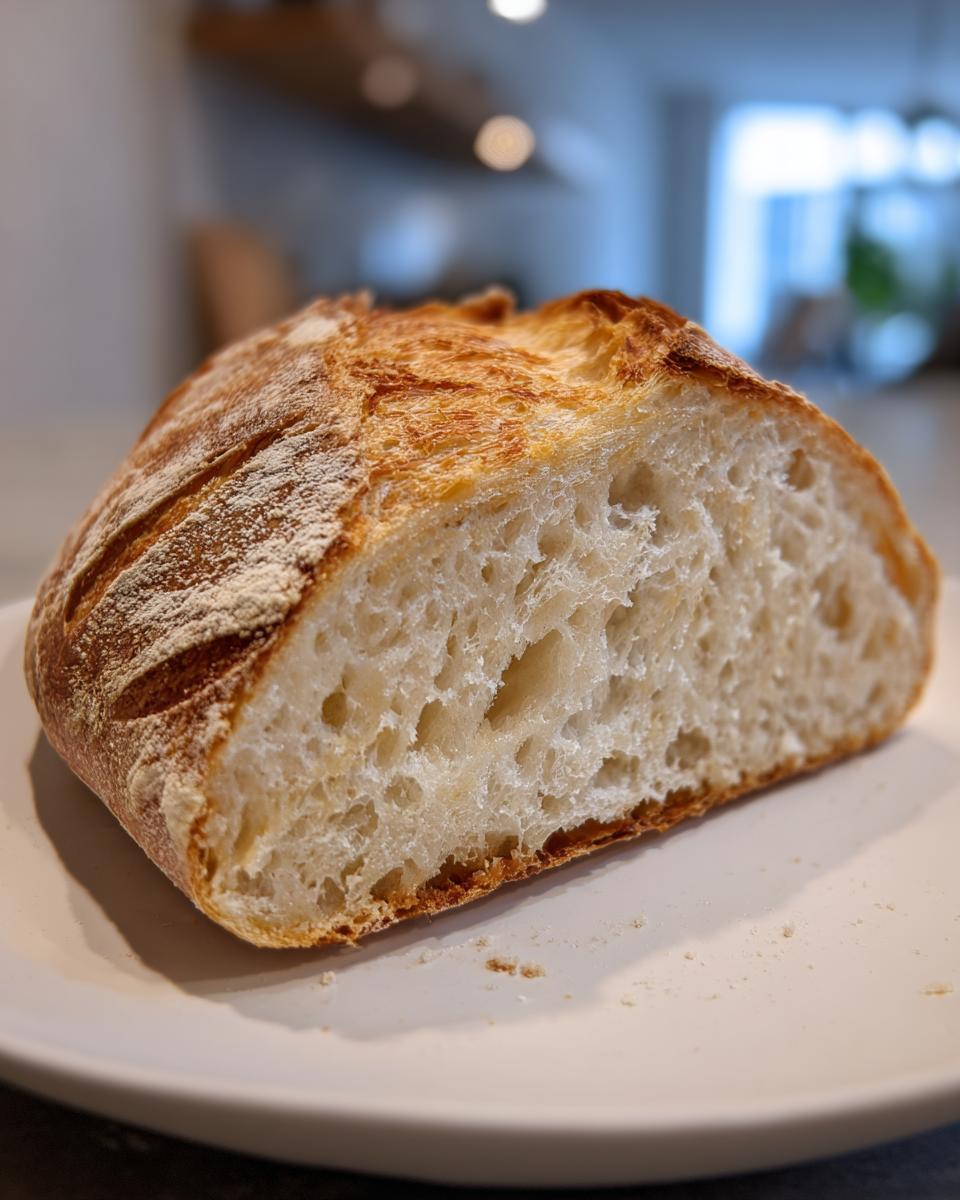
- The taste is just incredible – crusty on the outside, soft and chewy on the inside.
- It’s so versatile; perfect for dipping, sandwiches, or just slathering with butter.
- There’s nothing quite like that feeling of accomplishment when you pull your own homemade loaf out of the oven!
Ingredients for A Fresh Italian Bread
Alright, let’s get our hands on the goods for this amazing loaf! You don’t need a ton of fancy stuff, just a few basics that probably live in your pantry already. Here’s what you’ll need:
- 3 cups of all-purpose flour, and then maybe a little extra for dusting our workspace later.
- 1 measly teaspoon of salt – just enough to bring out all the good flavors.
- 1 teaspoon of active dry yeast, the magic worker that makes our bread fluffy!
- 1 cup of warm water. Not hot, not cold, just nice and warm to wake up that yeast.
- 1 tablespoon of olive oil, plus a little extra for greasing the bowl.
Essential Equipment for Baking A Fresh Italian Bread
To make this glorious loaf, you don’t need a whole bakery setup! Just a few trusty kitchen staples:
- A big, sturdy mixing bowl for bringing it all together.
- A clean surface for kneading – your countertop is perfect!
- A baking sheet, preferably lined with parchment paper so nothing sticks.
- A wire cooling rack to let your masterpiece breathe after it comes out of the oven.
Step-by-Step Guide to Making A Fresh Italian Bread
Okay, let’s get this bread in the oven! It’s really not as intimidating as it sounds, I promise. Just follow these simple steps, and you’ll have a warm, crusty loaf that tastes like you bought it from a fancy bakery.
Mixing the Dough for Your Fresh Italian Bread
First things first, grab your biggest bowl. Dump in your flour and that teaspoon of salt. You want to make sure you’re using good salt, maybe like kosher salt, if you have it! In a separate little bowl, mix your warm water and yeast. Give it a minute to get foamy – that’s how you know the yeast is happy and ready to go! Then, pour that fizzy mixture and the olive oil right into the flour. Stir it all up until it starts to look like a shaggy, rough dough. Don’t overmix here!
Kneading and First Rise for A Fresh Italian Bread
Now, turn that shaggy dough out onto a lightly floured surface. Get ready to knead! Push, fold, and turn the dough for about 8 to 10 minutes. You’re looking for it to become smooth and elastic, kind of like really soft play-doh. It’s a little bit of a workout, but totally worth it! Once it’s smooth, lightly grease a clean bowl with some olive oil, pop the dough in, and turn it to coat. Cover it with plastic wrap – I like to find a warm spot, maybe near a sunny window or the oven that’s just been preheated, to let it do its thing. Let it rise for about an hour to an hour and a half, or until it’s gotten nice and puffy, like a happy balloon!
Shaping and Second Rise
Once your dough has doubled, gently punch it down. It’s kind of satisfying, actually! Now, shape it into whatever you like – a round ball, a nice oval loaf, whatever feels right. Place it on your baking sheet that you’ve lined with parchment paper. Cover it loosely again with plastic wrap and let it have another little rest and rise for about 30 to 45 minutes. It’ll puff up a bit more.
Baking Your Fresh Italian Bread to Perfection
While that second rise is happening, go ahead and preheat your oven to a nice, hot 400°F (200°C). Once your loaf has had its second rise, it’s time for the action! Grab a sharp knife or a razor blade and score the top of the loaf. You can do simple lines or a cool pattern. Then, pop it into the preheated oven. Bake it for about 25 to 30 minutes. You’ll know it’s ready when it’s a gorgeous golden brown color, and if you tap the bottom, it sounds nice and hollow. It really is that simple!
Tips for Baking the Best Fresh Italian Bread
Alright, friends, let’s talk about getting that perfect loaf every single time. Baking bread is a bit of an art, but with a few little tricks, you can nail it! So, first off, using good quality ingredients really does make a difference. Make sure your yeast is fresh – nobody wants a flat, sad loaf! Also, getting the water temperature *just* right is key for waking up that yeast. On the flip side, if your dough isn’t rising, don’t panic! Sometimes it’s just a bit chilly where you’re trying to proof it; try moving it to a warmer spot. Oh, and for an extra flavor pop, a tiny splash of something acidic like apple cider vinegar can do wonders for the dough’s texture and taste, honestly!
Ingredient Notes and Substitutions for Fresh Italian Bread
So, you’ve got your basic ingredients, but what if you’re missing something or want to try a little twist? No worries! For the flour, all-purpose is totally your friend here, but if you happen to have bread flour, that’ll give you an even chewier texture. Just an FYI, if you use whole wheat, your loaf might be a bit denser. As for the yeast, if you can’t find active dry, instant yeast works too – you can just mix it right in with the flour, no need to bloom it! And that olive oil? Any neutral oil will do in a pinch, though a good drizzle of olive oil really adds that authentic Italian touch.
Serving Suggestions for A Fresh Italian Bread
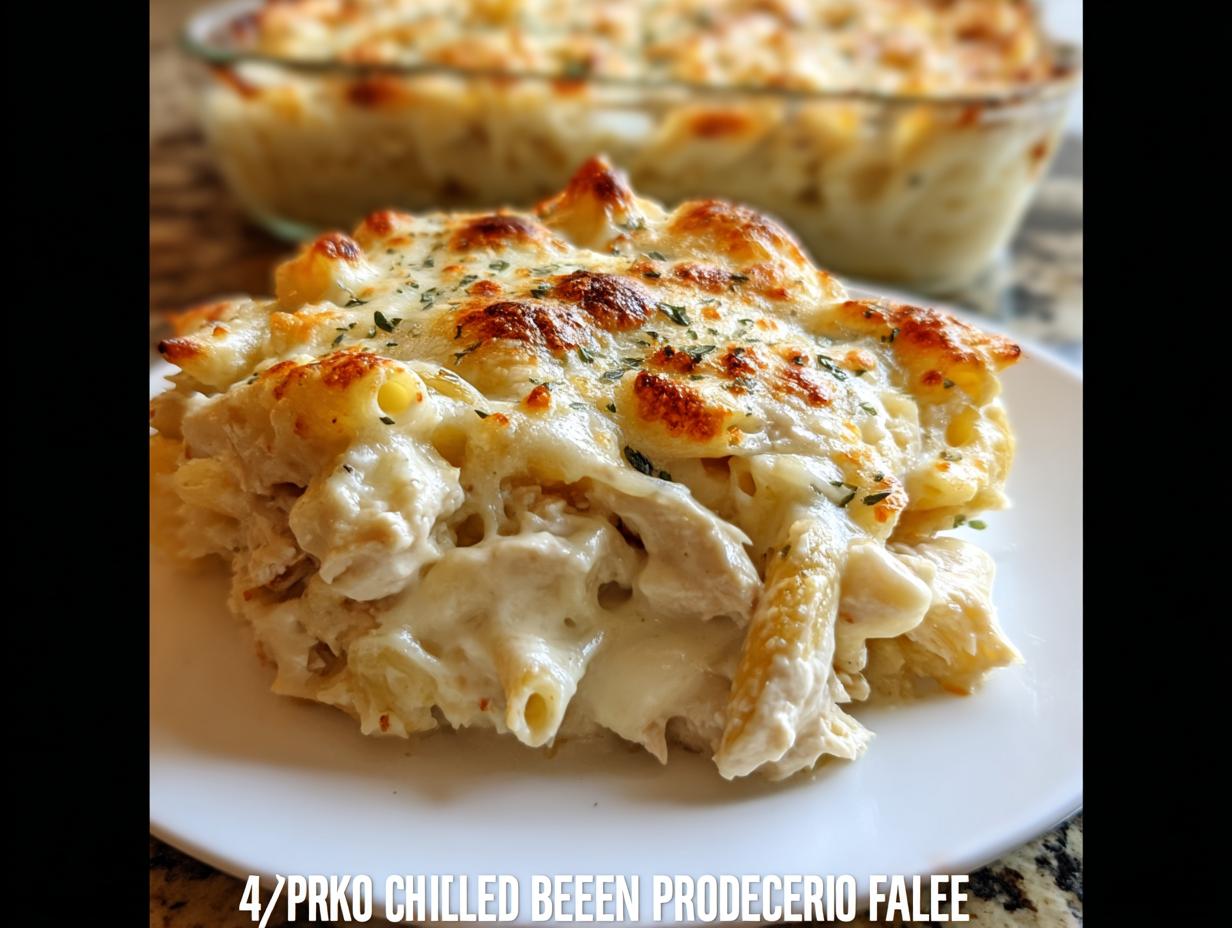
Okay, so once you’ve got this gorgeous loaf of Fresh Italian Bread cooling on the rack, what do you do with it? Oh, the possibilities! It’s absolutely divine dipped into a hearty white bean soup, or spooned up with some creamy parmesan pasta. Seriously, it’s the perfect side for pretty much anything!
Storage and Reheating Instructions
So, you’ve got some leftover glorious Fresh Italian Bread – lucky you again! To keep it tasting its best, wrap it up snugly in plastic wrap or put it in an airtight container once it’s completely cool. It’ll stay nice for about 2-3 days on the counter. If you need to reheat it, just pop a slice straight onto a baking sheet in a 350°F (175°C) oven for maybe 5-10 minutes, until it’s warm and the crust is crispy again. It’s like magic, bringing that fresh-out-the-oven goodness back!
Frequently Asked Questions about Fresh Italian Bread
Can I make this Fresh Italian Bread without a stand mixer?
Oh, absolutely! You can totally make this delicious Fresh Italian Bread by hand. It just takes a little bit of elbow grease for the kneading part, but it’s totally doable and really satisfying!
How do I get a really crispy crust on my Fresh Italian Bread?
For that bakery-style crispy crust, try placing a pan of hot water on the bottom rack of your oven while it preheats. The steam really helps it get that lovely crispiness!
Why did my Fresh Italian Bread not rise?
If your dough didn’t rise, it might be the yeast! Make sure your yeast is active by checking if it foams in warm water. Also, the water shouldn’t be too hot or too cold, as that can kill or not activate the yeast properly.
Nutritional Information
Just so you know, these numbers are estimates, since every kitchen is a little different! This is based on one slice of our glorious Fresh Italian Bread: you’re looking at around 150 calories, 2g of fat, 5g of protein, and 28g of carbs. Everything else is pretty minimal, leaving you with a delicious, guilt-free slice of homemade goodness!
Share Your Fresh Italian Bread Creations!
I truly hope you loved making and eating this simple Fresh Italian Bread! I’d be SO thrilled if you’d come back and share your experience. Leave a comment below, give the recipe a star rating if you’re feeling generous, or tag me on social media when you post your beautiful loaves – I love seeing your creations! You can also check out my baking journey for more ideas!
For more recipes follow me on PINTEREST