
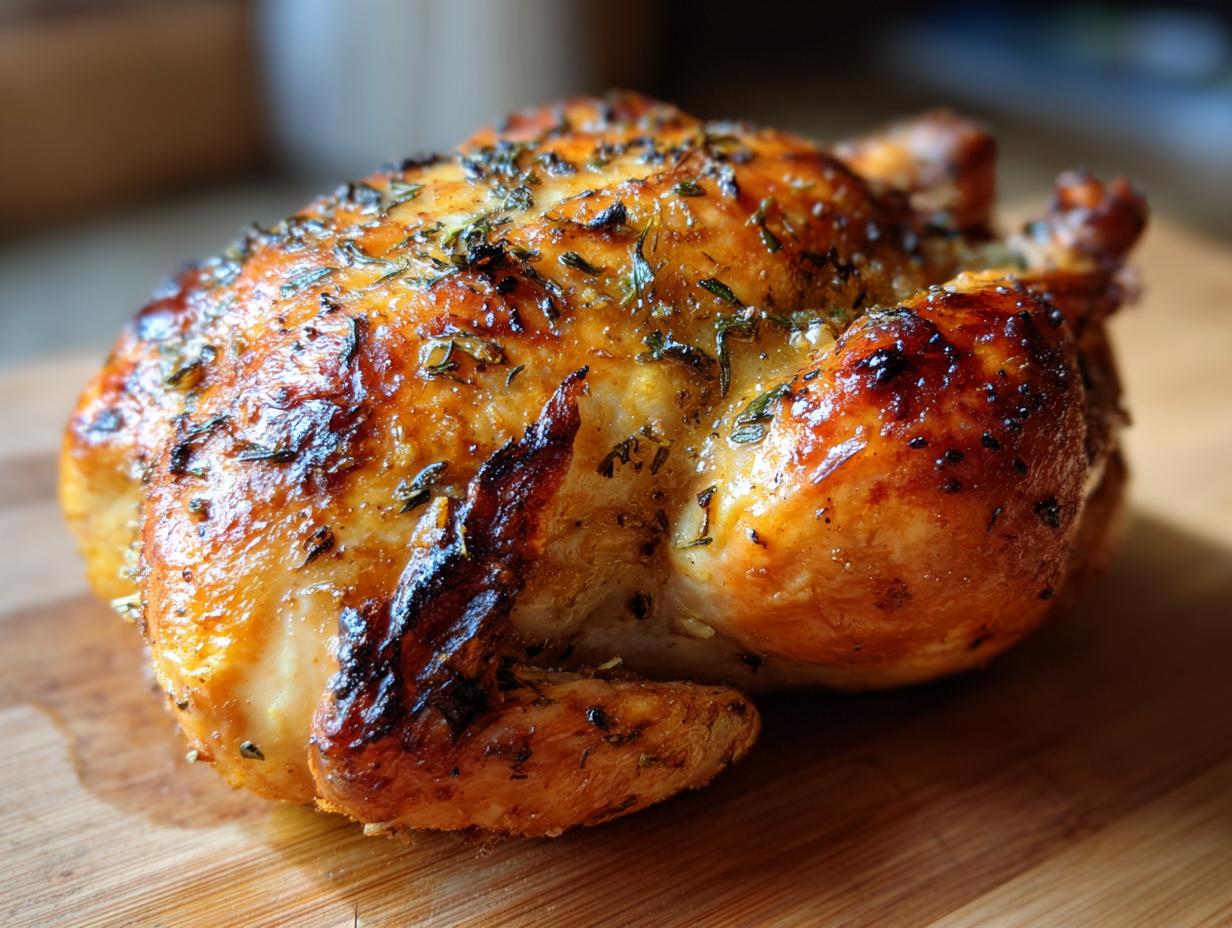
Okay, let’s talk chicken! Seriously, is there anything more versatile or downright delicious than a perfectly cooked chicken? Whether it’s a crispy roasted bird for Sunday dinner, tender chunks in a stir-fry, or juicy grilled breasts for a quick weeknight meal, chicken is the undisputed king of weeknight dinners and special occasions alike. But sometimes, getting that *perfect* result can feel like a gamble, right? I remember one Thanksgiving where my turkey was… well, let’s just say it was a little *too* well-done in some spots and tragically undercooked in others. Yikes! That’s exactly why I poured all my kitchen wisdom into creating this Ultimate Chicken Guide: Ingredients, Temps, Tips. Trust me when I say, understanding the simple fundamentals – the right ingredients, the precise temperatures, and a few secret tips – is the *real* path to chicken perfection every single time. So, grab your apron, and let’s get cooking!
Understanding Your Chicken: The Foundation of the Ultimate Chicken Guide
Alright, so before we even *think* about turning on the oven, we gotta talk chicken. It sounds simple, right? But honestly, the secret to that unbelievably juicy, perfectly cooked bird really starts *before* it even hits the heat. You want the best possible outcome for your roast? It all begins with picking the right chicken and treating it right from the get-go. For me, fresh, quality ingredients totally make the difference – it’s all about that E-E-A-T, you know? When you start with a good bird, like something from farm-fresh recipes, everything else just falls into place. We’re building the foundation for the most amazing chicken here, so let’s dig in!
Choosing the Best Chicken for Roasting
For a gorgeous roasted chicken, I always go for a whole bird, usually around 3 to 4 pounds. Bigger isn’t always better, especially if it means you end up with dry breasts and undercooked thighs. Look for a chicken that looks plump and has nice, clear skin – no weird bruising or off-smells, obviously! It’s worth it to get one from a reputable butcher or a good grocery store section; you can just tell the difference when it’s fresh. Making sure it’s a good quality bird is so important for our healthy recipes.
Essential Chicken Preparation Steps
Now, this is a step you absolutely, positively cannot skip if you want that crispy skin everyone raves about: pat that chicken bone dry! Seriously, grab a few paper towels and give it a good rub-down all over, inside and out. Any extra moisture on the skin is just going to steam instead of crisping up in the oven. It might seem like a small thing, but trust me, this is where the magic starts for that perfect crunch.
Flavorful Chicken: Essential Ingredients for Your Ultimate Chicken Guide
Okay, let’s talk flavor because a bland chicken is just, well, sad! This part of my Ultimate Chicken Guide is all about making that bird sing. We’re going to use some simple ingredients that pack a serious punch of deliciousness. It’s amazing how these basic pantry staples can transform a humble chicken into something truly special. I always think about how these flavors work together, almost like a little flavor symphony – that’s the E-E-A-T coming through, right? It makes me think of my garlic chili shrimp or those lemon herb shrimp skewers; simple things, big flavor!
The Flavor Trio: Olive Oil, Salt, and Pepper
First up, the holy trinity of seasoning: good quality olive oil, along with salt and pepper. The olive oil helps everything stick and gets the skin lovely and golden. And please, please use decent salt and pepper! You’d be surprised what a difference freshly cracked pepper and a good sea salt can make. It’s the bedrock of flavor here.
Aromatic Herbs for Roasted Chicken
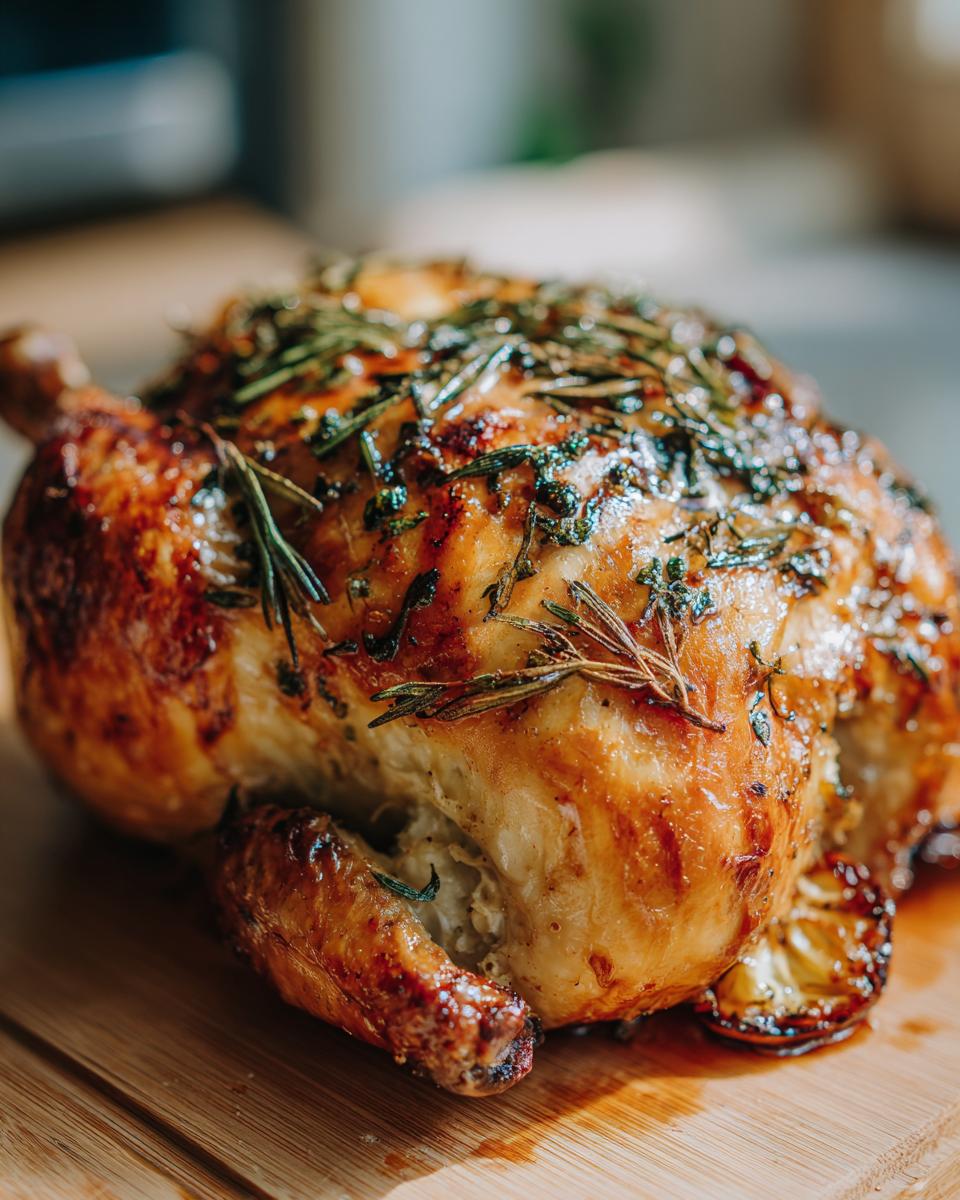
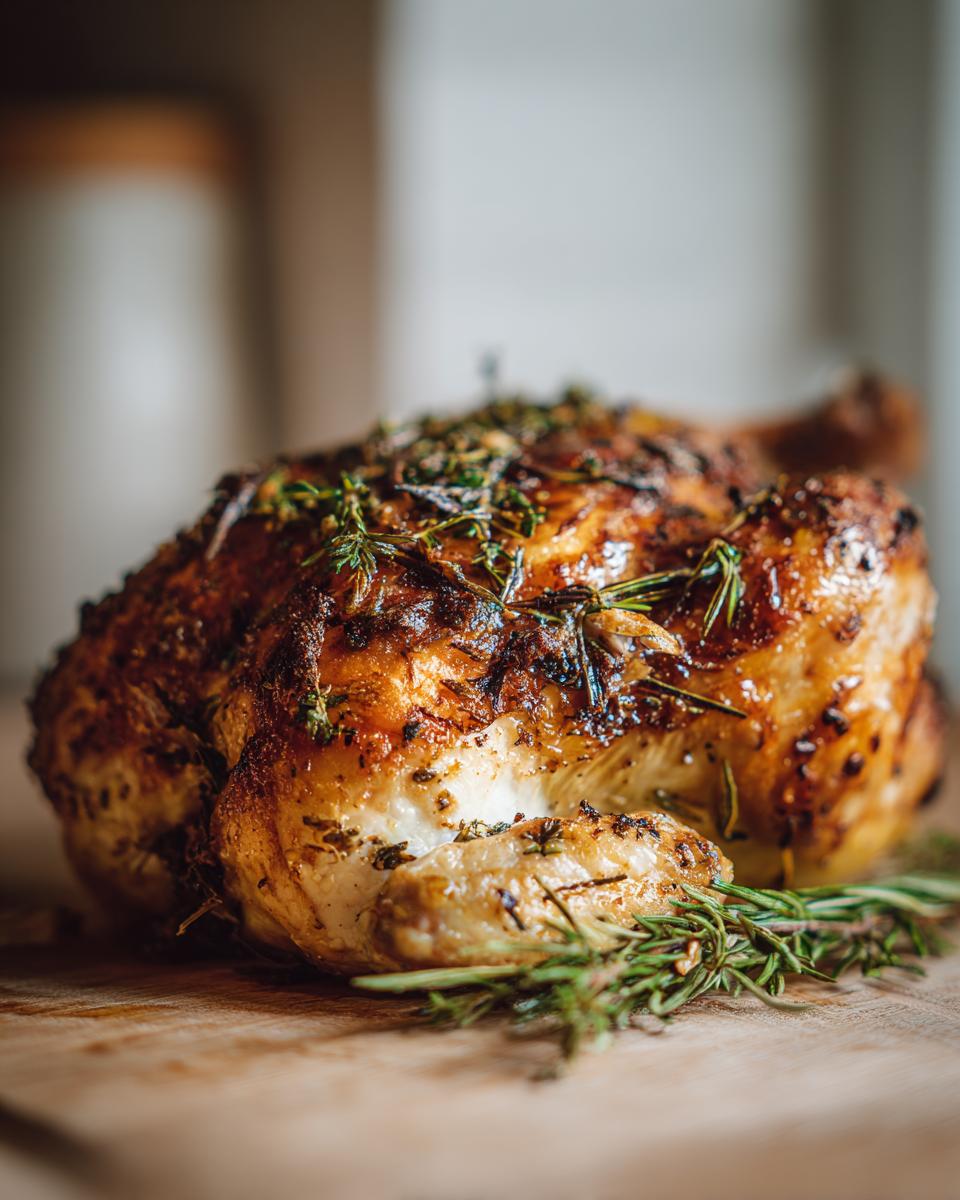
Next, we’re adding some gorgeous herbs! I’m all about dried rosemary and thyme for roasted chicken. They have this warm, earthy aroma that just screams comfort food and pairs perfectly with chicken. If you don’t have those, no worries – a good pinch of dried Italian seasoning works like a charm too. Don’t be shy with them!
Citrus and Garlic: Infusing Flavor from Within
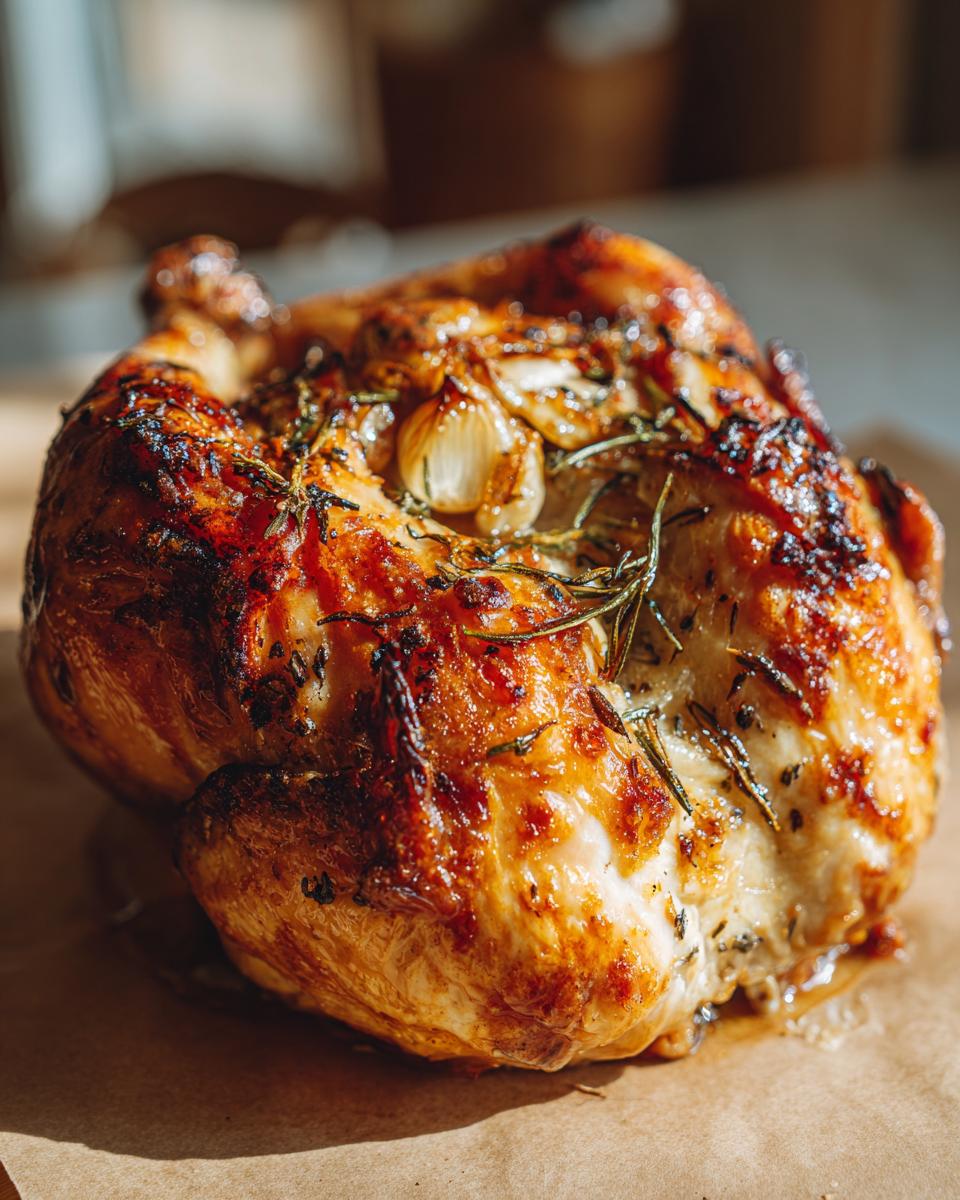
And for the grand finale inside the chicken cavity – lemon and garlic! Stuffing a halved lemon and head of garlic inside does wonders. As the chicken roasts, they steam and soften, releasing this incredible aroma and subtle flavor into the meat from the inside out. It’s like nature’s little flavor bomb, keeping the chicken moist and adding a zesty brightness.
Mastering Chicken Temperatures: A Key to the Ultimate Chicken Guide
Okay, this is probably the *most* important part of our Ultimate Chicken Guide, so listen up! When it comes to chicken, there’s no messing around with temperatures. Food safety is super serious, and using a meat thermometer is non-negotiable for me. Undercooked chicken can be really dangerous, and overcooked chicken? Well, that’s just dry and disappointing. We want perfectly cooked, juicy chicken every time, and hitting the right temps is the absolute key to getting there. It’s all about that confidence that comes from knowing your bird is safe to eat, thanks to good, reliable E-E-A-T practices!
The Golden Rule: Safe Internal Temperature for Chicken
So, what’s the magic number? For chicken, it’s a solid 165°F (74°C). That’s your golden rule, your safety net, your ticket to perfectly cooked poultry. Anything less, and you risk foodborne illness. And if you go way over that? You’re looking at dry, rubbery meat that’s no fun for anyone. It’s a tiny little window, but hitting it means total success. This is a fundamental of the Ultimate Chicken Guide, folks!
Using a Meat Thermometer Effectively
Now, how do you actually *check* that temperature without guessing? A good instant-read meat thermometer is your best friend here. You want to insert it into the thickest part of the thigh, making sure you’re not touching the bone. The bone can give you a false reading, so try to avoid it. Another good spot is the thickest part of the breast. Take your reading, and if it hits 165°F (74°C), you’re golden! If not, pop it back in the oven for a few more minutes and check again. Easy peasy!
Step-by-Step Roasting: Your Ultimate Chicken Guide
Alright, you’ve got your beautifully prepped chicken, you know your temps, and now it’s time to bring it all together! This is where the magic happens in my Ultimate Chicken Guide. Follow these steps, and you’ll have a golden-brown, incredibly juicy roasted chicken that will make everyone think you’re a culinary wizard. It’s not complicated, but each little move really helps create that perfect bird. You can check out some of my other chicken adventures for inspiration, like this amazing garlic butter chicken, the crispy baked parmesan chicken, or even a chicken caprese skillet!
Preheating and Initial Setup
First things first, let’s get that oven nice and hot. Preheat it to 425°F (220°C). While it’s heating up, get your chicken into its roasting pan. I just use a standard roasting pan; nothing fancy needed. This gets everything ready to go without a mad dash later.
Seasoning and Flavor Infusion
Now, go ahead and give that dry chicken a generous rub with olive oil. Then, season it like you mean it! Sprinkle that salt, pepper, rosemary, and thyme all over, making sure to get into all the nooks and crannies. Don’t forget to place those lemon halves and garlic halves right inside the chicken’s cavity. It’s this simple stuffing that really infuses flavor from the inside out.
Roasting to Perfection
Pop that pan into your preheated oven and let it roast for about 1 hour and 15 minutes. But here’s the catch: don’t *just* set a timer and walk away! About halfway through, check on it. The most important thing is to use your meat thermometer to make sure the thickest part of the thigh hits that magic 165°F (74°C). If the skin looks like it’s browning a little too fast, you can always loosely tent it with foil. For *extra* crispy skin, you can even crank the heat up to 450°F (230°C) for the last 15 minutes – just watch it closely!
The Crucial Resting Period
Okay, this is HUGE. Once your chicken hits that perfect temperature, resist the temptation to carve it immediately! Take it out of the oven and let it rest on a cutting board for at least 10 to 15 minutes. This allows the juices to redistribute throughout the meat. If you cut too soon, all that lovely moisture just runs out onto the board, leaving you with drier chicken. Patience, my friends!
Carving Your Masterpiece
After it’s had its well-deserved rest, it’s carving time! You can find tons of videos online, but generally, you start by removing the legs and thighs, then slicing the breast meat. Just slice it up however you like for serving. You did it!
Expert Tips for the Ultimate Chicken Guide
Okay, we’re almost there! You’ve got the chicken picked out, seasoned just right, and you’re ready to roast. But since this is my special Ultimate Chicken Guide, I want to share a few more little tricks that really elevate your chicken game. These are the things I’ve learned over the years, the kinds of tips that make a good chicken dinner great– the kind of knowledge that builds that E-E-A-T! You can find more of my random kitchen thoughts over at notes on cooking techniques and tips for kitchen success. Let’s make this chicken unforgettable!
Achieving Crispy Skin
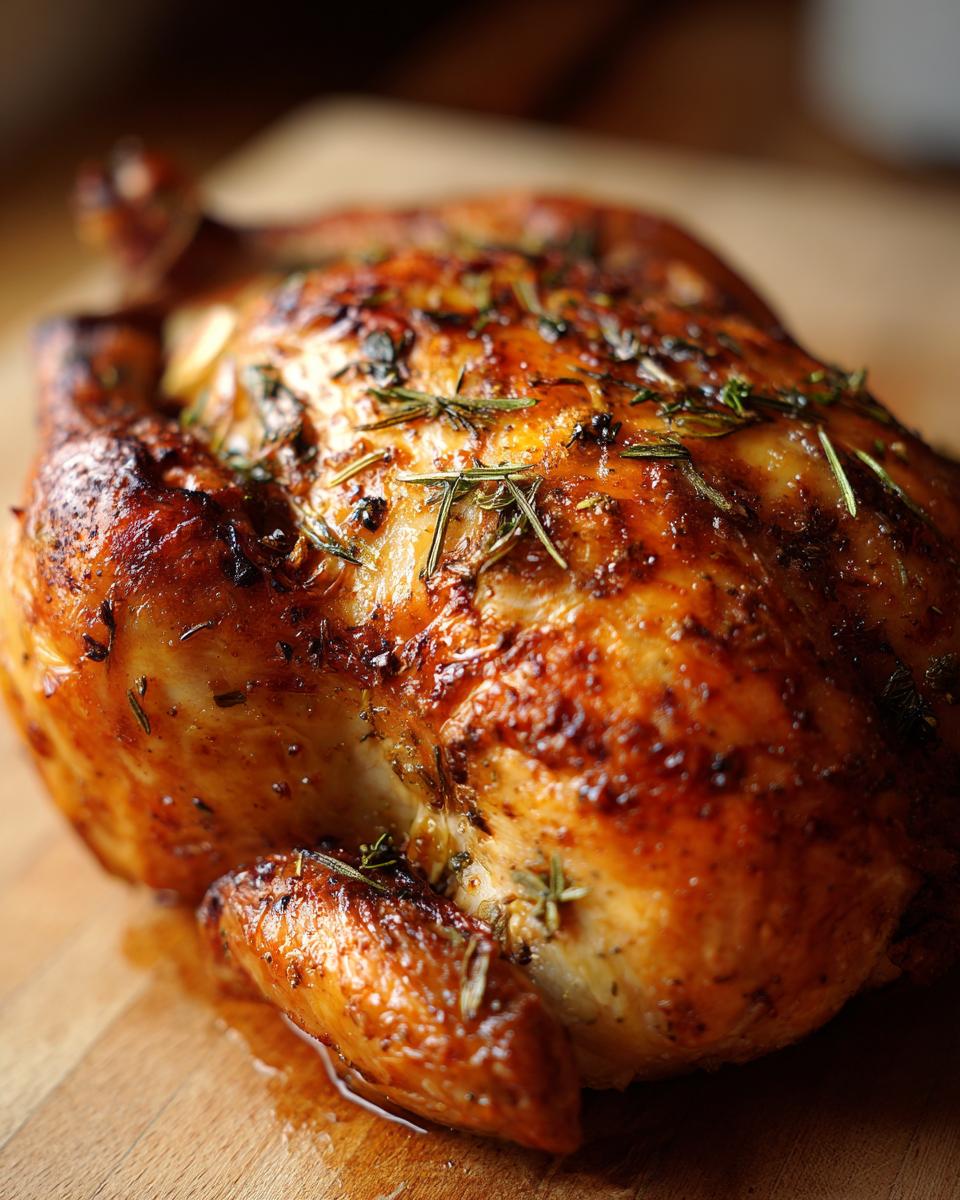
Want that shatteringly crispy skin? After you’ve patted your chicken *super* dry (seriously, don’t skip that step!), try cranking your oven up to 450°F (230°C) for the last 10-15 minutes of cooking. Just keep a close eye on it so it doesn’t burn! That blast of high heat works wonders.
Keeping Your Chicken Moist
If you’ve got the time and want an extra juicy bird, give basting a try! Every 20-30 minutes during roasting, carefully spoon some of those lovely pan juices over the chicken. It adds moisture and helps brown the skin beautifully. Trust me, it makes a noticeable difference in how moist your chicken turns out.
Troubleshooting Common Roasting Issues
Dry chicken? It usually happens if it’s overcooked. Use that thermometer religiously! Uneven cooking? Sometimes the breast cooks faster than the thigh. If that happens, you can loosely tent the breast with foil to slow it down while the thigh finishes up. And remember, that resting period is *key* to preventing dry meat!
Nutritional Information
Just a heads-up, these nutritional values are approximate and can vary depending on the exact chicken and ingredients you use. This estimate is for about 1/4 of the roasted chicken. It’s a pretty lean and protein-packed meal, which is why I love it!
You can find our full disclaimer here.
Frequently Asked Questions About Roasting Chicken
Got questions? I’ve got answers! Roasting a chicken can seem straightforward, but there are always a few little things that pop up. Don’t worry, I’ve tackled them all! Hopefully, these answers help clear things up so you can get back to enjoying that delicious bird. You might even find some inspiration for your next chicken adventure, like trying out my Normandy chicken or whipping up some air fryer teriyaki chicken!
Can I cook a frozen chicken?
Honestly, it’s NOT ideal. For the best results and food safety, always thaw your chicken completely in the fridge first. Cooking directly from frozen means parts can overcook while others stay undercooked, and you won’t get that beautiful crispy skin. So, plan ahead and thaw it out!
What if my chicken is browning too quickly?
Oh, that can happen! If the skin is getting too dark before the chicken is cooked through, just loosely tent the top with a piece of aluminum foil. This creates a little shield and slows down the browning while still allowing the inside to cook evenly. Don’t press the foil down tight, though!
How do I know when my chicken is done if I don’t have a thermometer?
While I REALLY recommend a thermometer for safety, if you’re in a pinch, look for clear juices. When you poke into the thickest part of the thigh, the juices should run completely clear, with no pinkness at all. The legs should also feel loose when you wiggle them. But seriously, get a thermometer – it’s a game-changer!
Share Your Chicken Success!
So there you have it – your complete guide to roasting chicken! I really hope you give this a try and absolutely nail it. Now, I’d LOVE to hear how your chicken turned out! Did you love the crispy skin? Let me know in the comments below! And if you want to share your triumphs, head over to my contact page to send them my way!


