
Oh, that afternoon coffee craving hits hard, right? You know the one—you want that perfect, fancy iced latte or a rich, smooth cold brew, but the line is out the door, or sometimes, honestly, the cost just isn’t worth it for a single drink. I know that feeling way too well, especially when I’m trying to stick to wellness habits that support my energy, not drain my wallet! I even found myself looking up recipes for holiday favorites, like the Gingerbread Latte, just to see how much sugar I was avoiding!
That’s exactly why I put this together. Forget complicated syrup ratios and secret menu hacks for now. We’re starting back at the absolute basics here. If you’ve never made anything more complicated than instant coffee, this guide is for you. Think of this as The Ultimate Starbucks Drinks Recipes Guide for Beginners: simple building blocks so you can stop settling for ‘good enough’ and start making genuinely delicious, budget-friendly drinks right in your kitchen.
For me, learning to make my favorite coffee drinks simply was huge. When I was streamlining my life and focusing on clean habits, having to rush out for a specific coffee order felt like an extra hurdle. Discovering I could nail a perfect, balanced iced coffee in about five minutes changed my routine entirely and gave me back so much time and peace of mind. Trust me, mastering these fundamentals is the key to unlocking years of enjoyable, customized coffee routines.
Who Needs The Ultimate Starbucks Drinks Recipes Guide for Beginners? (Target Audience Definition)
Okay, if you’ve ever looked at a fancy coffee menu and felt instantly overwhelmed, this guide is built just for you! Seriously, zero shame if you haven’t touched an espresso machine. We’re talking absolute beginners here. This is perfect if you want to start saving money right now, or if you’re like me and you just need to see exactly what goes into your beverage so you can keep your wellness goals on track. If you’re looking for a low-fuss entry point into home coffee making, welcome home! You can even check out some super budget-friendly dorm options if you’re student!
Setting the Stage: Tone and Style for The Ultimate Starbucks Drinks Recipes Guide for Beginners
When you’re reading these steps, I want you to pretend we are chatting over coffee—no fancy barista jargon here, promise! The tone is super friendly, encouraging, and totally practical. We aren’t getting complicated; we are building clean, reliable habits. Since I focus on making wellness fit into a real, busy life, these recipes are designed to be fast—think under five minutes total assembly time. If you’re a busy mom looking for those quick, easy weekday fixes, this straightforward style is exactly what you need to feel confident in the kitchen.
My Journey to Simple Coffee: Why I Created The Ultimate Starbucks Drinks Recipes Guide for Beginners
I used to walk into those big coffee shops feeling like I needed a secret code just to order a decent drink. I’d pick something exciting-sounding, only to get home and realize it had way too much sugar or those weird artificial flavors I try hard to avoid now that I focus on clean habits. It was frustrating because I wanted that comforting caffeine boost, but without the guilt or the three-day energy crash afterward!
Honestly, that struggle led me to develop my own foundational recipes. I realized that if I could control the quality of the coffee and keep the sweetener simple—maybe some pure maple syrup or honey—I could get the taste I loved without the unnecessary additives. I needed drinks that were foolproof; if I could make them successfully on a chaotic morning, anyone could!
That small win—nailing a simple, delicious iced coffee at home in less time than it takes to find my keys—was huge for my daily routine. It felt like reclaiming a small piece of my sanity! That’s the whole reason I compiled The Ultimate Starbucks Drinks Recipes Guide for Beginners. I want you to have that same easy success, starting right now with just two basic recipes. Check out my tips for getting the flavor just right every time at this link.
Essential Equipment for The Ultimate Starbucks Drinks Recipes Guide for Beginners
Okay, here is the good news about keeping things beginner-friendly: you don’t need to run out and buy a $300 espresso machine today! We are going totally basic here because I want you to start making these drinks immediately, not after a big shopping trip. If you’ve done any light baking or simple cocktail mixing, you probably have what we need.
Really, the most important pieces are just tools for accurate measuring and mixing. Since we are focusing on simple iced coffee and a basic latte—no fancy caramel drizzles required yet—we can keep the list short and sweet. You can find some great tips over at this post if you ever get fancy later on, but for now, focus on these essentials:
- Blender or shaker—A simple cocktail shaker works perfectly, but honestly, any jar with a tight-fitting lid (like an old jam jar!) is my go-to for shaking up milk for a latte. It splatters a little sometimes, but it gets the job done!
- Measuring cups and spoons—Precision matters, especially when you are dialing in sweetness or coffee strength. Don’t try to eyeball the espresso measurement; trust me on this one!
That’s it for now. No special milk thermometers or steamer wands needed for this round. We’ll keep all the effort focused on getting that perfect coffee base ready.
Ingredient Clarity for The Ultimate Starbucks Drinks Recipes Guide for Beginners
When you’re starting out, the ingredients list needs to be super clear—I hate opening a recipe only to realize I need to brew coffee the day before! Trust me, having the right base ready to go makes all the difference when you’re trying to make a quick drink that tastes exactly like what you crave. We’re keeping this straightforward, but the quality of your coffee base really shines through here. For tons of flavor inspiration that you can adapt into these basics, check out this guide on iced coffee orders.
Ingredients for the Basic Iced Coffee
This is the simplest and fastest way to get a great cold coffee. Remember, we aren’t pouring hot coffee over ice—that’s how you get watery sadness! Everything needs to start cool or cold.
- 1 cup Strong brewed coffee, chilled: You want this brewed strong because the dilution from the ice will soften it. Letting it cool completely in the fridge is crucial.
- 1/2 cup Cold water: Just simple, filtered water to bring it to that standard volume.
- 4 Ice cubes: Use the biggest ones you have; they melt slower!
- To taste Sweetener (syrup or sugar): This is where your clean-living habits kick in! Use monk fruit syrup, a tiny bit of stevia, or simple homemade simple syrup.
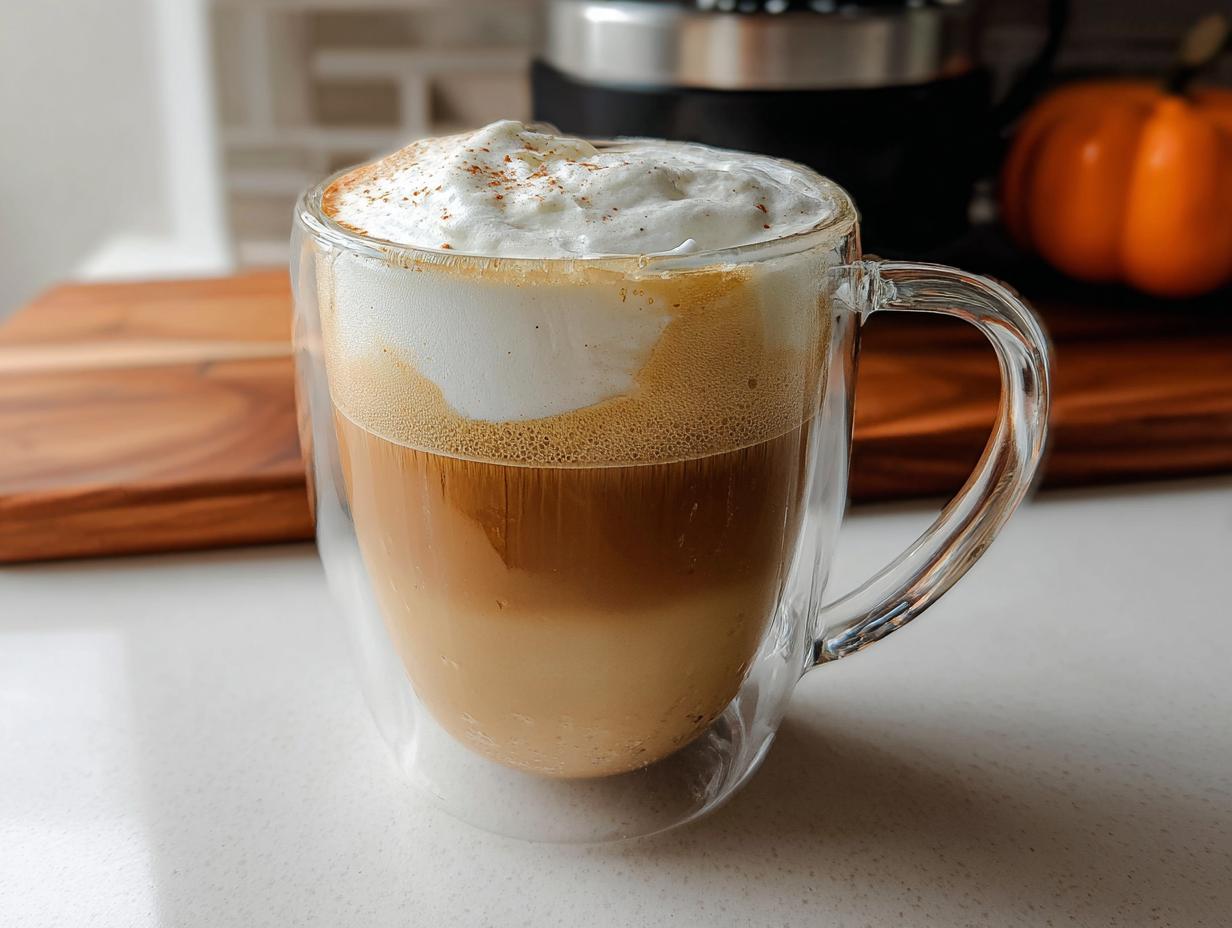
Ingredients for the Simple Latte
For the latte, we are focusing on that perfect balance of rich espresso and creamy milk. If you don’t have an espresso maker, don’t panic—we have a solid backup that works every time.
- 1 shot Espresso: If you have a machine, pull one straight shot. If not, use about 1/4 cup of coffee that you brewed *extremely* strong (like Moka Pot strength).
- 3/4 cup Milk (dairy or non-dairy): Here’s my advice: Whole milk will always give you the best, thickest froth when you shake it, but oat milk is a close second for creaminess in a latte. Experiment with what fits your clean eating plan best!
Step-by-Step Instructions for The Ultimate Starbucks Drinks Recipes Guide for Beginners
This part is where everything comes together, and I promise it’s easier than you think! The trick to making these drinks taste like you bought them is getting the temperature right before you mix things. We’re moving logically from base preparation straight into assembly. If you want to see some fun twists on these simple ideas later on, I’ve compiled some great secret menu hacks once you feel comfortable with the basics!
Preparing the Coffee Base
This is the crucial ‘prep work’ step, and it happens before you even grab your glass. You can’t rush cooling things down for cold drinks, so plan ahead a little if you can! Don’t worry, you don’t need specialty equipment here.
First, prepare your foundation. If you’re making that glorious iced coffee, you need to brew your coffee extra strong and let it cool completely. Hot coffee sitting on ice is a recipe for weak, sad water, so we chill it first. Patience here pays off! If you are making the latte, this is when you pull your espresso shot or quickly brew that super-concentrated coffee substitute in your Moka pot.
Assembling The Ultimate Starbucks Drinks Recipes Guide for Beginners: Iced Coffee
Once your coffee base from the previous step is nice and cold, assembly for the iced coffee takes about thirty seconds. Seriously, it’s faster than driving to the café!
- Grab your serving glass. Pop in your ice cubes first—this gives you a nice, cold surface to mix over.
- Pour the chilled, strong coffee right over the ice.
- Top that with the cold water. Give it a quick stir.
- Now for the flavor! Add your chosen sweetener (syrup, sugar, whatever you prefer). You have to stir this really well until you can’t feel any sugar grit at the bottom of the glass. If your sweetener is chunky, you might need to stir for a solid minute.
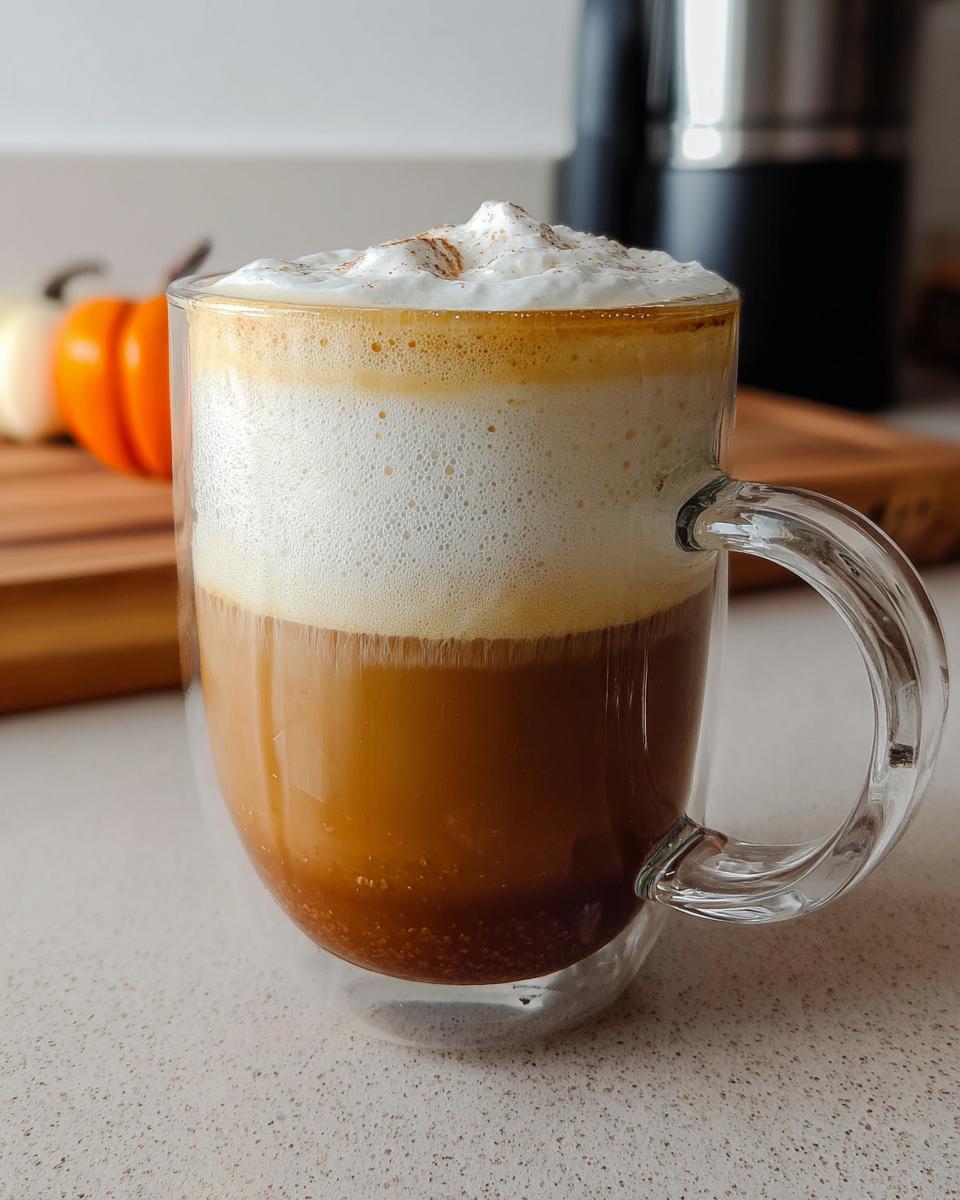
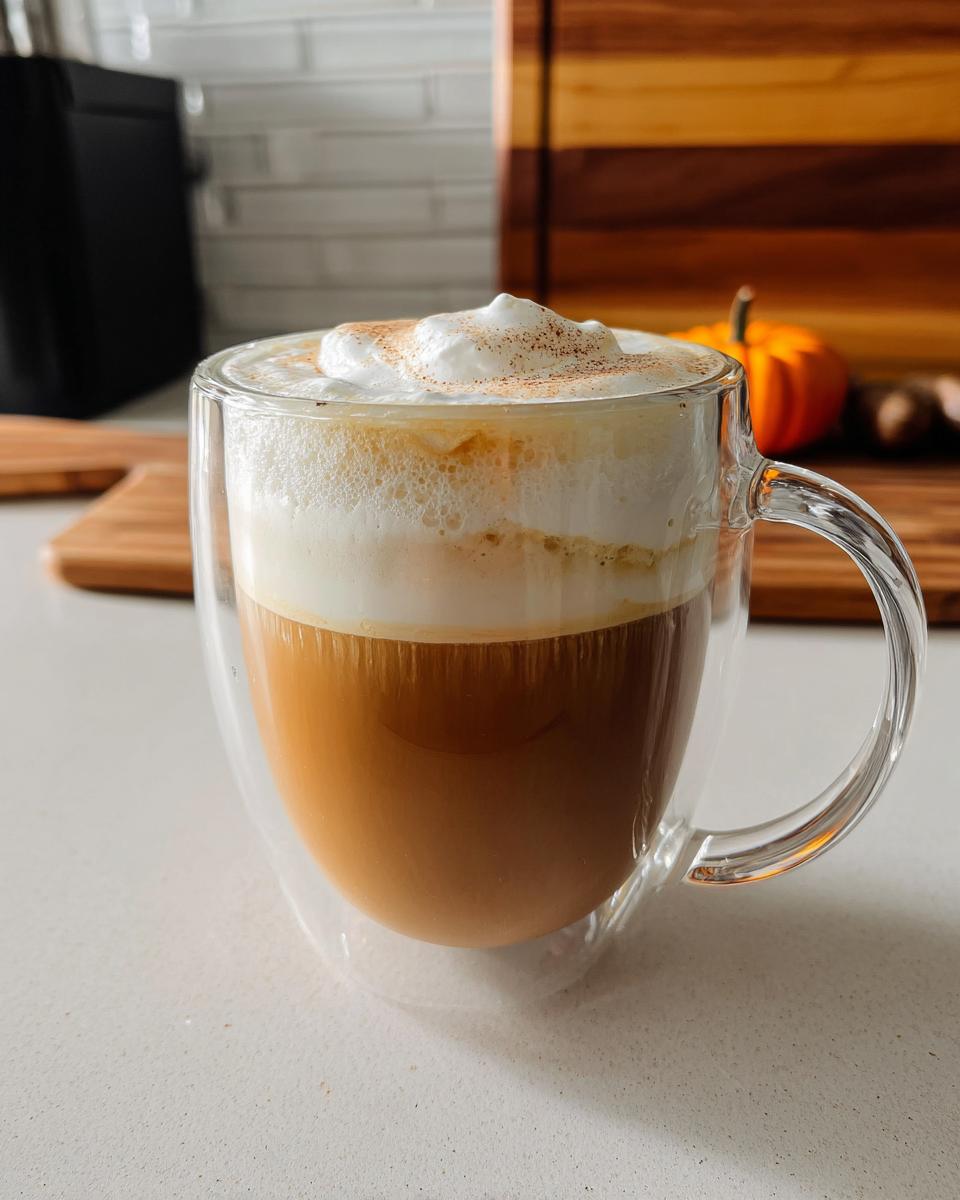
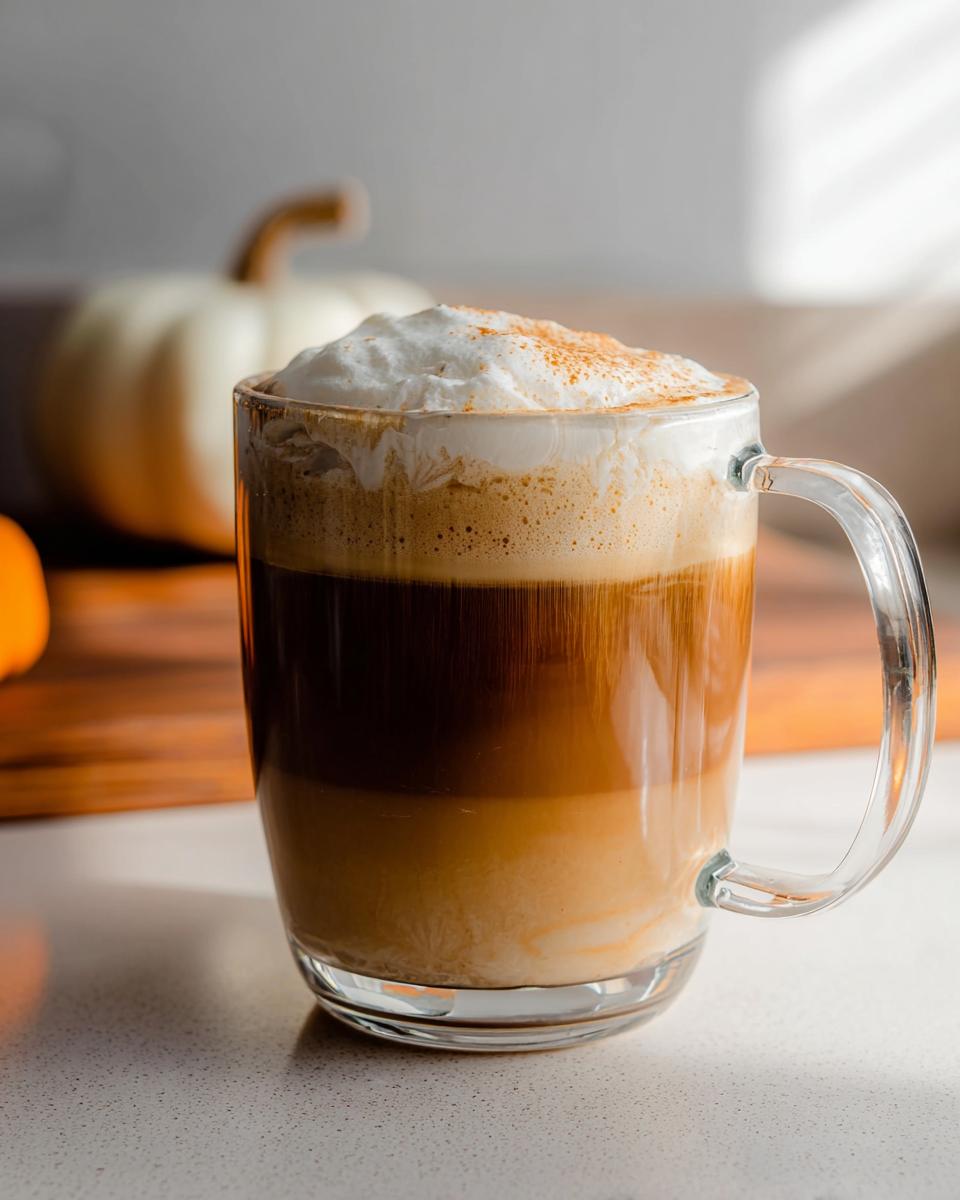
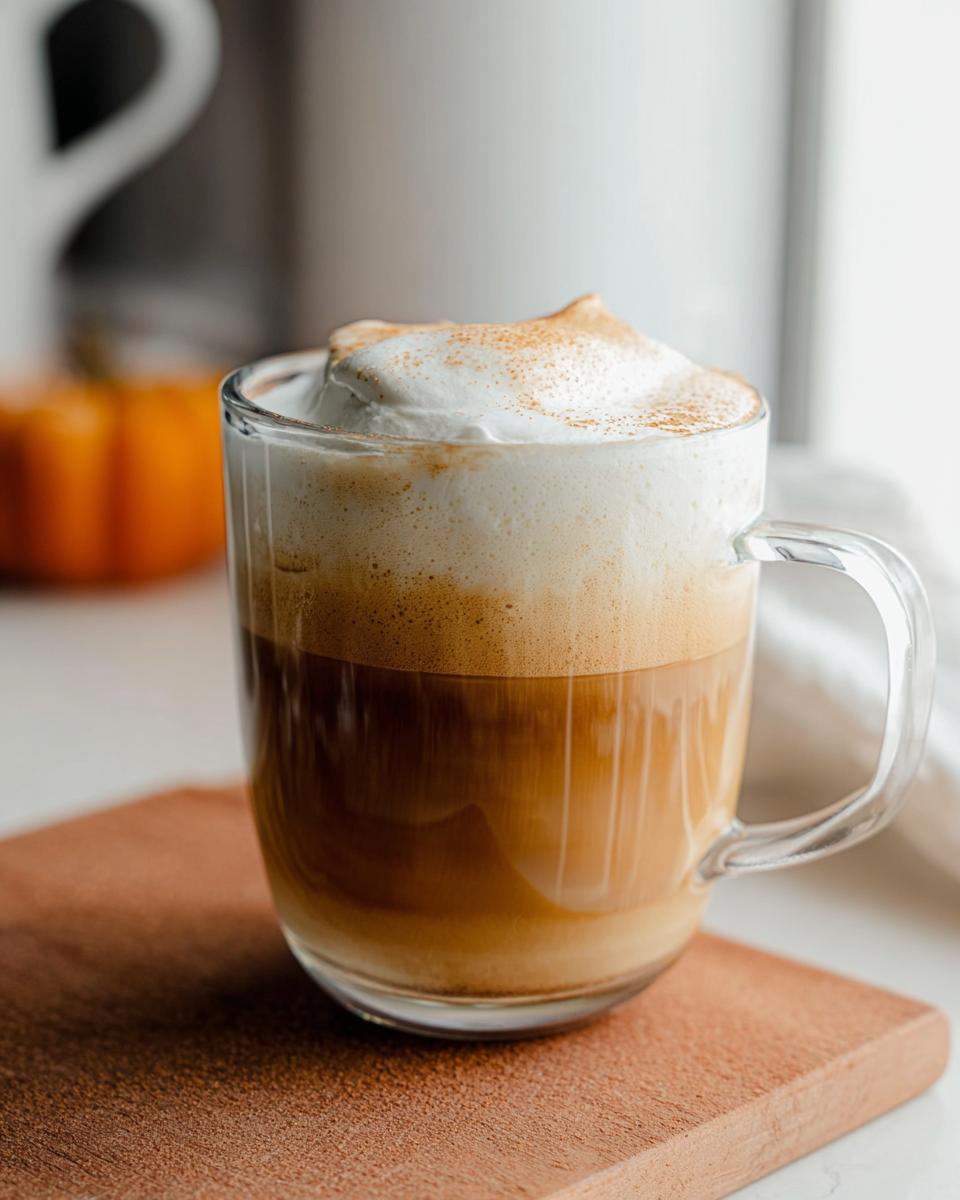
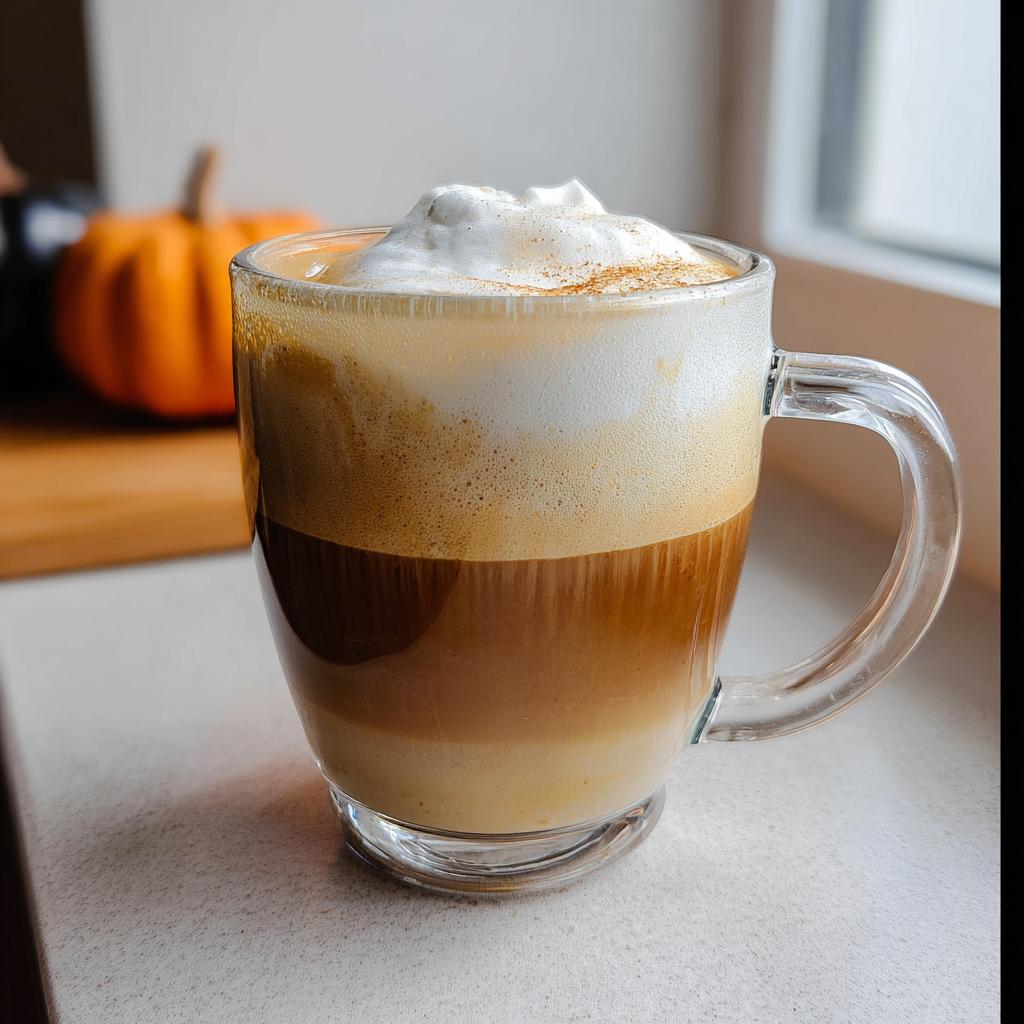
Assembling The Ultimate Starbucks Drinks Recipes Guide for Beginners: Simple Latte
For the latte, the magic is all about the texture of the milk. Forget expensive steamers for now—we’re using muscle power!
- Gently heat your milk. You just want it warm to the touch, not boiling hot.
- Time to froth! If you have a handheld frother, steam it until nice and foamy. BUT, if you don’t have one, grab a jar with a tight lid, pour the warm milk in, seal it shut, and shake it like you mean it until it doubles in volume and gets nice and bubbly.
- Pour your espresso (or strongly brewed coffee) into your mug first. This warm base helps welcome the milk.
- Slowly pour that warm, creamy milk over the espresso. While pouring the liquid milk, use a spoon to hold back the thickest foam on top for just a second.
- Once the liquid milk is in, scoop that lovely foam layer right on top of your drink. That’s it—a perfect, simple latte!</li
Expert Tips for Mastering The Ultimate Starbucks Drinks Recipes Guide for Beginners
Now that you know the basic assembly, let’s talk about those little kitchen secrets that take your homemade drinks from “good” to “I can’t believe I made this!” Remember, even simple drinks benefit from a couple of intentional steps. I learned these tricks while trying to make sure my homemade sips didn’t leave me feeling bloated or sluggish later in the day.
For instance, when you’re experimenting with dairy alternatives—which I highly encourage if you’re focusing on cleaner ingredients—you need to adjust your frothing technique slightly. Almond milk tends to foam up thin, but if you chill your jar really well before shaking, you get a slightly better texture. If you want that signature cafe cloud topping, oat milk is usually your best friend for creaminess!
My absolute favorite little hack that feels fancy but takes zero extra time is creating simple cold foam. You don’t need those big commercial machines for this! Take a splash more of your chosen cold milk—maybe a quarter cup—add just a tiny drizzle of your favorite clean sweetener (like a little vanilla extract), and use a handheld electric whisk or frother right in the cup. Whisk it vigorously until it gets thick and airy. Pour that over your chilled iced coffee, and suddenly, you’ve got a customized creation! It’s such a simple texture boost.
Also, don’t forget temperature timing for the iced coffee. If your brewed coffee is even lukewarm when you add it to the ice, you are basically pre-melting your ice before you even stir. That’s the secret enemy of strong iced coffee! Make sure that base is seriously chilled or made ahead of time. You can check out some delicious ways to incorporate different flavors into your drinks later on, like how to easily whip up a simple white mocha variation once you’re feeling confident with the milk steaming basics!
Storage and Enjoyment of Your Homemade Starbucks Drinks Recipes
Can you store a perfectly frothed latte? Sadly, no! These drinks, especially the ones we just made, are absolutely best enjoyed right away. That beautiful foam texture on a latte deflates so quickly, and the iced coffee starts to taste watery the second the ice melts significantly. When I make a batch of coffee for the week, it’s purely that base I’m saving, never the assembled drink!
If you brewed that extra-strong coffee for your iced coffee base, that’s what you can stash away. Keep your reserved, chilled coffee in an airtight container in the back of the fridge. It stays great for maybe three or four days, but honestly, I find it’s at its peak flavor on day two. If you’re planning ahead for your morning fuel, just remember to brew it strongly the night before!
The milk situation is a little different. If you happen to have extra frothed milk that you didn’t immediately pour over your espresso, don’t try to reheat it later—it won’t froth well again. I usually just drink down the extra warm milk or save unused cold milk for the next morning. When I’m planning super busy weeknights and need a quick meal solution after making coffee, I always look for things that require zero fuss, just like these simple drinks. Finding easy prep, whether it’s coffee or dinner recipes, keeps me on track with my wellness goals.
My biggest piece of advice for enjoyment? Make the process quick! The whole point of mastering these basics is cutting down on decision fatigue and time spent in line. Have your sweetener ready, your ice cube trays full, and you can transition from craving to enjoying your perfect drink quicker than you can send two texts. Don’t let the cleanup loom over you; just rinse out that shaker jar right away and it’s no big deal!
Frequently Asked Questions About The Ultimate Starbucks Drinks Recipes Guide for Beginners
I totally get it—when you’re learning something new, questions pop up fast! It’s great that you’re thinking ahead. These answers should help clear up any last bits of confusion before you start playing barista at home. These are the questions I usually get asked when I share these simple routines with friends looking to clean up their coffee game!
Can I substitute the strong brewed coffee for regular coffee in the iced recipe?
You really don’t want to! If you use regular strength coffee and then add water and ice, you end up with weak, diluted coffee. The technique for a great iced coffee, whether you follow this guide on fruit juices or stick to coffee, relies on intensity first. You need the coffee base to be robust so that when it melts the ice just a little, it’s still strong enough to taste fantastic on its own. Think double the grounds for the same amount of water when brewing that base.
What is the best way to make the latte foam if I absolutely don’t have a jar to shake?
Oh, the jar-shaking method is great, but if you don’t have a good seal or just don’t want the noise, don’t sweat it! You can gently heat your milk on the stove (don’t let it boil!) until it’s steaming. Then, use a wire whisk to whip it vigorously over the heat for about a minute, or until you see a nice layer of bubbles forming on top. It won’t be as dense as steamed milk, but it gives you a lovely warm, creamy texture that works perfectly with that strong espresso shot.
Do I have to use espresso for the latte? Can I just use regular drip coffee?
For this beginner guide, no, you don’t *have* to pull a true espresso shot! Espresso is just highly concentrated coffee, right? So, if you use your standard drip machine, just use half the normal amount of water for the same amount of grounds. That super-concentrated, dark brew acts as a fantastic, flavorful substitute for that single shot. The key in this beginner recipe is flavor intensity—we need that kick to cut through the milk and provide that recognizable coffee flavor.
How do I make sure my sweetener dissolves completely in the cold coffee?
This is the #1 rookie mistake with iced coffee! Sugar granules won’t dissolve nicely in cold liquid—they just hang out at the bottom, waiting to ruin your last sip. My trick is simple: before I add everything to my final glass with ice, I take just a spoonful of that strong *cool* coffee and mix *all* my sweetener into that tiny amount first. Stir it until it’s a thick syrup. Then, pour that sweet mixture into your main glass, add the rest of the coffee and water, and stir. That way, you guarantee full dissolution without waiting around for sugar to melt into cold water.
Next Steps After Mastering The Ultimate Starbucks Drinks Recipes Guide for Beginners
So, you’ve got your simple iced coffee down, and the jar-shaking latte method is now second nature! That’s fantastic! The biggest hurdle is always getting started, and you totally cleared it. Now comes the fun part: making these drinks a real, joyful part of your daily routine without stressing about perfection.
I really want you to start experimenting now that you know the foundations. Don’t be afraid to tweak that sweetener amount or try a different milk just to see how it changes the texture. That control over ingredients is what makes sticking to wellness habits so much easier in the long run—you aren’t restricted; you are empowered! If you’ve already made your first perfect batch, please come back and tell me how it went in the comments below. Knowing that these simple steps are working for you is what keeps me motivated!
Did you try the jar-shaking method for the latte? Tell me if it worked for you or if you found an even sillier way to get that foam going! We’re building a community here where everyone feels supported, whether you’re mastering your first coffee or looking for new clean-living inspiration on the Melt It Clean blog. Let’s keep this momentum going!
Nutrition Disclaimer for Homemade Coffee Drinks
Since this guide is all about empowering *you* to customize your drinks exactly how you like them—whether that means ditching all sweeteners or going heavy on the maple syrup—I simply can’t offer precise nutritional facts here. Everything changes so much based on your ingredient choices!
If you swap out a standard milk for a specialty oat milk, or if you use pure stevia instead of traditional sugar, those numbers shift completely. The beauty of making these at home, following The Ultimate Starbucks Drinks Recipes Guide for Beginners, is that YOU are in control of every single component. That means you know exactly what you’re putting in your body, which lines up perfectly with the clean-living philosophy I preach over at Melt It Clean.
For example, if you choose not to add any sweetener in the iced coffee recipe, you’re cutting out a huge source of unnecessary sugar compared to some cafe versions. Focus on tracking the quality of your ingredients—strong, good coffee and your favorite clean milk—and you’ll find that sticking to these simple recipes naturally supports your wellness journey!
Created by Emilia, Founder of MeltItClean.com
I truly hope seeing just how simple coffee can be gives you that little boost of confidence you need to start making healthier, intentional choices throughout your day!
Mastering these basics is really just the start of building sustainable habits. Whether it’s controlling the sugar in your daily caffeine fix or finding simple, nourishing food routines that actually fit your busy life, it all comes down to small, achievable steps.
If you want to dive deeper into how I built my own wellness routine—one that prioritizes energy and mental clarity without the crazy restrictions or fad dieting—come hang out with me over at my site. You can learn all about my philosophy and find more recipes and habits that support real, lasting change whenever you’re ready for my full story.
By Hi, I’m EMILIA, the founder of MeltItClean.com — your digital space for natural weight loss, real wellness habits, and clean-living inspiration that actually fits your life.
For years, I struggled with the ups and downs of dieting. I tried everything — juice cleanses, low-carb crazes, fitness challenges — but I always ended up back where I started: tired, bloated, and frustrated. I didn’t just want to “lose weight” — I wanted energy, mental clarity, glowing skin, and confidence without sacrificing my joy or sanity.
After years of experimenting, learning, and unlearning, I discovered a simple truth: your body is already powerful — it just needs support, not restriction. That’s when I created Melt It Clean — a site dedicated to real transformation through clean, intentional, and nourishing daily habits that anyone can follow.
My goal was simple: build a place where people could feel informed, supported, and empowered without being overwhelmed by wellness fads.
The Ultimate Starbucks Drinks Recipes Guide for Beginners
Ingredients
Equipment
Method
- Prepare your coffee base. If making iced coffee, brew strong coffee and let it cool completely. If making a latte, pull your espresso shot.
- For the Iced Coffee: Combine the chilled coffee and cold water in a glass. Add ice cubes. Stir in your desired amount of sweetener until dissolved.
- For the Latte: Heat the milk gently. If you have a frother, steam the milk until foamy. If not, shake the milk vigorously in a sealed jar until it doubles in volume.
- Pour the espresso into your serving mug. Slowly pour the heated milk over the espresso. Hold back the foam with a spoon, then top the drink with the foam.


