
Oh, you know that feeling, right? You’re trying to stick to intentional, clean habits—like focusing on real wellness and energy—but sometimes, you just *crave* that perfectly layered, sweet, iced coffee treat. For years, I felt like I had to choose between my energy goals and enjoying a decadent drink. Then I realized I didn’t have to sacrifice flavor to keep things clean!
If you’re looking for ways to keep your coffee indulgence fitting into your busy life, you should definitely check out my post on the best Starbucks drink orders for busy moms! But today, we ditch the car window entirely. I’ve figured out the secrets to truly mastering **How to Make Starbucks Drinks Recipes Like a Pro (2025)** right in my own kitchen. We’re talking about getting that signature coffee shop texture and layering, but tailored exactly to *your* needs. Trust me, once you nail the basics, you won’t look back!
Who Should Learn How to Make Starbucks Drinks Recipes Like a Pro (2025)
So, who needs to know the magic behind these drinks? Honestly, everyone who loves quality coffee but hates the daily price tag! This is huge for the dedicated coffee enthusiasts who want control over their caffeine and sugar levels. It’s a lifesaver for anyone trying to manage a budget—making these at home saves so much money!
But here’s the real win for my community: customization. If you’re working on clean habits, like I am, you *need* to learn **How to Make Starbucks Drinks Recipes Like a Pro (2025)** so you can swap out sugars or milks easily. You can’t fully trust what’s in those big chain cups, but you can control every drop in your own glass. For more ways to enjoy great coffee affordably, check out my tips on budget-friendly Starbucks drinks!
Setting the Stage for How to Make Starbucks Drinks Recipes Like a Pro (2025)
Okay, putting on your barista apron is easier than you think! We aren’t getting super technical here; we’re focusing on making things taste amazing without needing a second mortgage for equipment. Think friendly and encouraging—you can absolutely nail this. Getting the right tools makes all the difference in texture, so let’s set up our little home coffee station for success when learning **How to Make Starbucks Drinks Recipes Like a Pro (2025)**.
It’s all about treating this process with intention, not restriction. When you have the right gear, the layering and flavor come together naturally. For more tips on getting that perfect coffee setup, take a look at my guide on making a Starbucks drink that turns out perfect every time.
Essential Equipment for Mastering How to Make Starbucks Drinks Recipes Like a Pro (2025)
You don’t need a giant espresso bar, but a few simple items make preparing **How to Make Starbucks Drinks Recipes Like a Pro (2025)** so much cleaner. First, you need a tall, clear glass—that height helps show off the beautiful layers we’re building. Measuring spoons are non-negotiable for getting that perfect syrup ratio, trust me on this one!
Beyond the recipe basics, I highly recommend having an electric milk frother—it adds that luxurious top layer you love. A small cocktail shaker is also fantastic for chilling ingredients quickly. Keep these items handy, and you’re ready to go pro!
Gathering Your Ingredients for How to Make Starbucks Drinks Recipes Like a Pro (2025)
Before we even think about pulling shots or stirring sugar, we need our components ready. When you learn **How to Make Starbucks Drinks Recipes Like a Pro (2025)**, the key is preparation. We’re actually dealing with two main ingredient groups: the homemade vanilla syrup, and then the elements for the actual drink assembly. Don’t skip the syrup step; that’s where the flavor difference hides!
For the syrup, it’s simple—equal parts sugar and water, just enough to dissolve, then we jazz it up with real vanilla extract. For the drink itself, you’ll need one cup of milk—I prefer 2% or whole because it froths better—one packed cup of ice, a single shot of espresso (or very strong coffee for you regular brewers out there), two tablespoons of that beautiful vanilla syrup we just made, and the grand finale: caramel sauce that we’ll use just for drizzling across the top.
Ingredient Notes and Substitutions
This is my favorite part, because this is where we make the recipe work for *our* wellness goals! If dairy isn’t your friend, absolutely use oat milk or almond milk—oat milk gives a really nice creaminess. And please, if you don’t own an espresso maker, don’t stress! Brew your coffee as strong as you possibly can; think of it as a concentrate. If you’re cutting back on sugar, you can totally swap the granulated sugar in the syrup for your preferred zero-calorie substitute. Just remember, the sugar helps with the texture, so you might need a tiny bit more milk to keep it flowing nicely.
And hey, if you want to add a little holiday cheer later, you can check out how I adapt things for my Starbucks gingerbread latte recipe, but for this macchiato, keep the ingredients clean and specific!
Step-by-Step Instructions: How to Make Starbucks Drinks Recipes Like a Pro (2025)
Alright, let’s get down to business! This is where we prove we aren’t just dreaming about coffee shop drinks; we’re actually going to create them. We need to tackle the syrup first because rushing the cooling process is a rookie mistake. You take that sugar and water, heat it gently until it looks crystal clear—that means the sugar is dissolved. Turn off the heat, stir in your vanilla extract, and then you have to walk away! It needs to cool down completely before going into the final drink, otherwise, it melts your ice instantly.
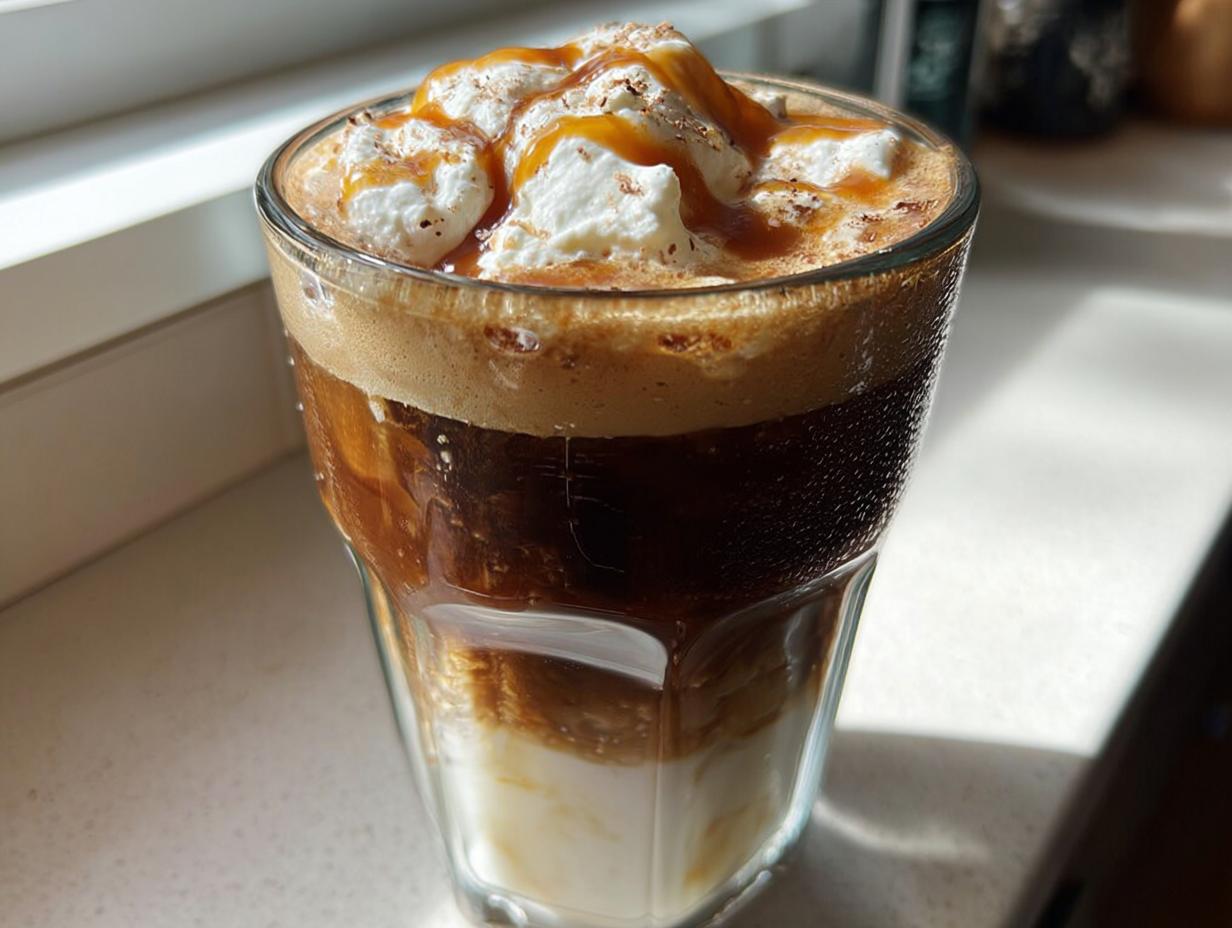
Once the syrup is cool, we move to assembly for **How to Make Starbucks Drinks Recipes Like a Pro (2025)**. Drizzle those two tablespoons of vanilla syrup right into your tall glass first. That sweet base is crucial! Next, pack that glass full of ice cubes—don’t be shy about freezing things solid.
Now, pour in your milk, leaving about an inch or two of space at the top for the espresso. Brew that lovely single shot of espresso—or your strong coffee concentrate—over a small dish so it stays hot. Here comes the tricky bit that separates the pros from the newbies!
Pro Tip for Perfect Layering
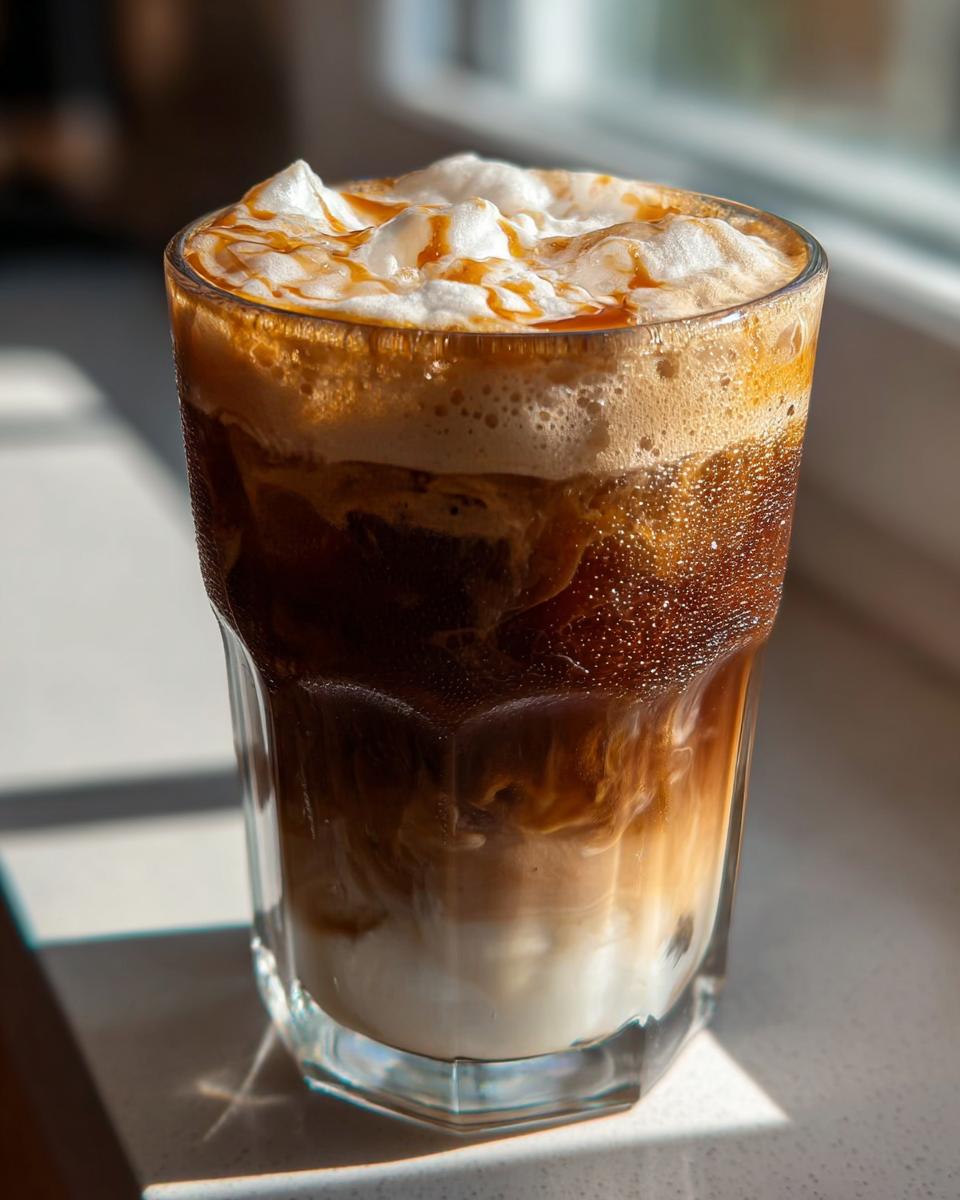
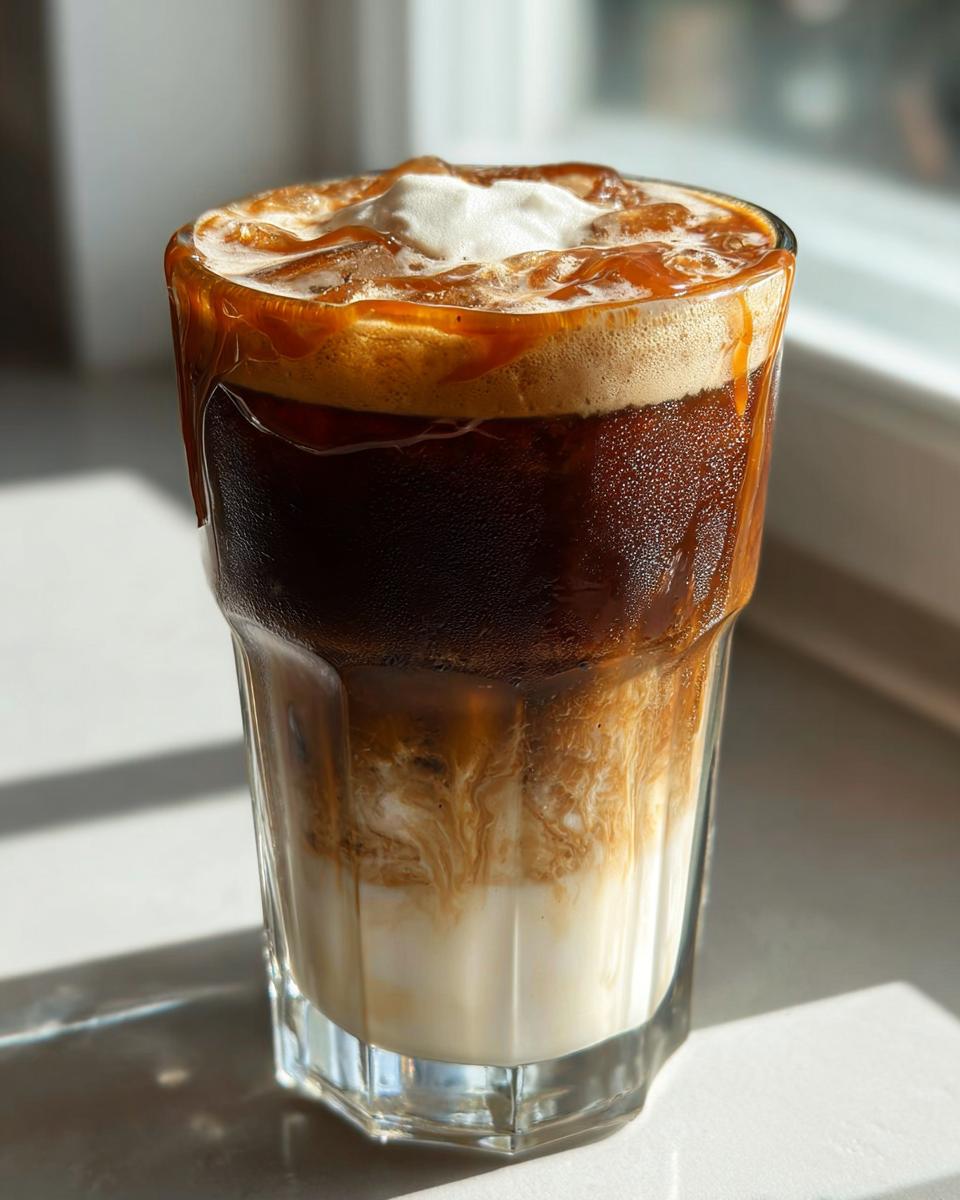
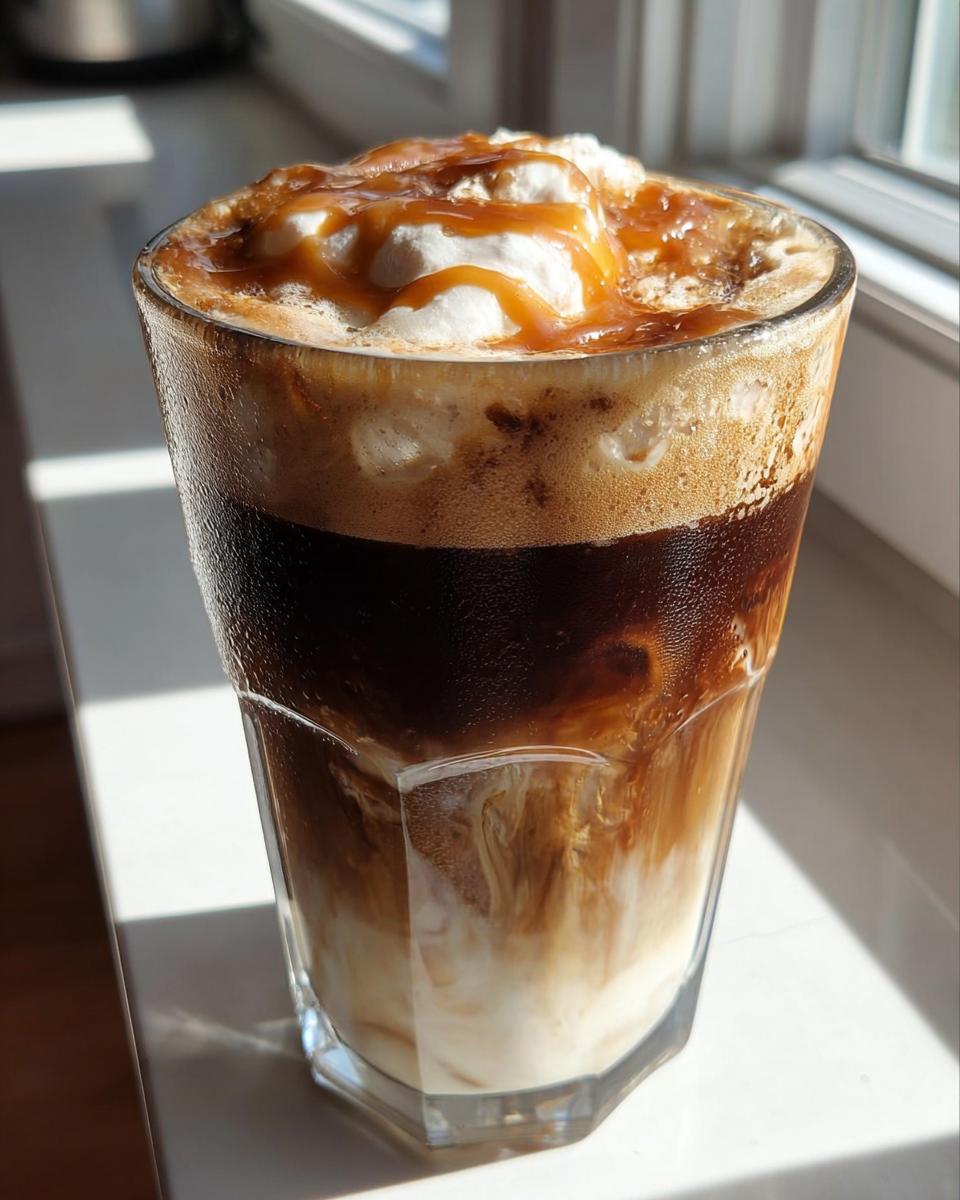
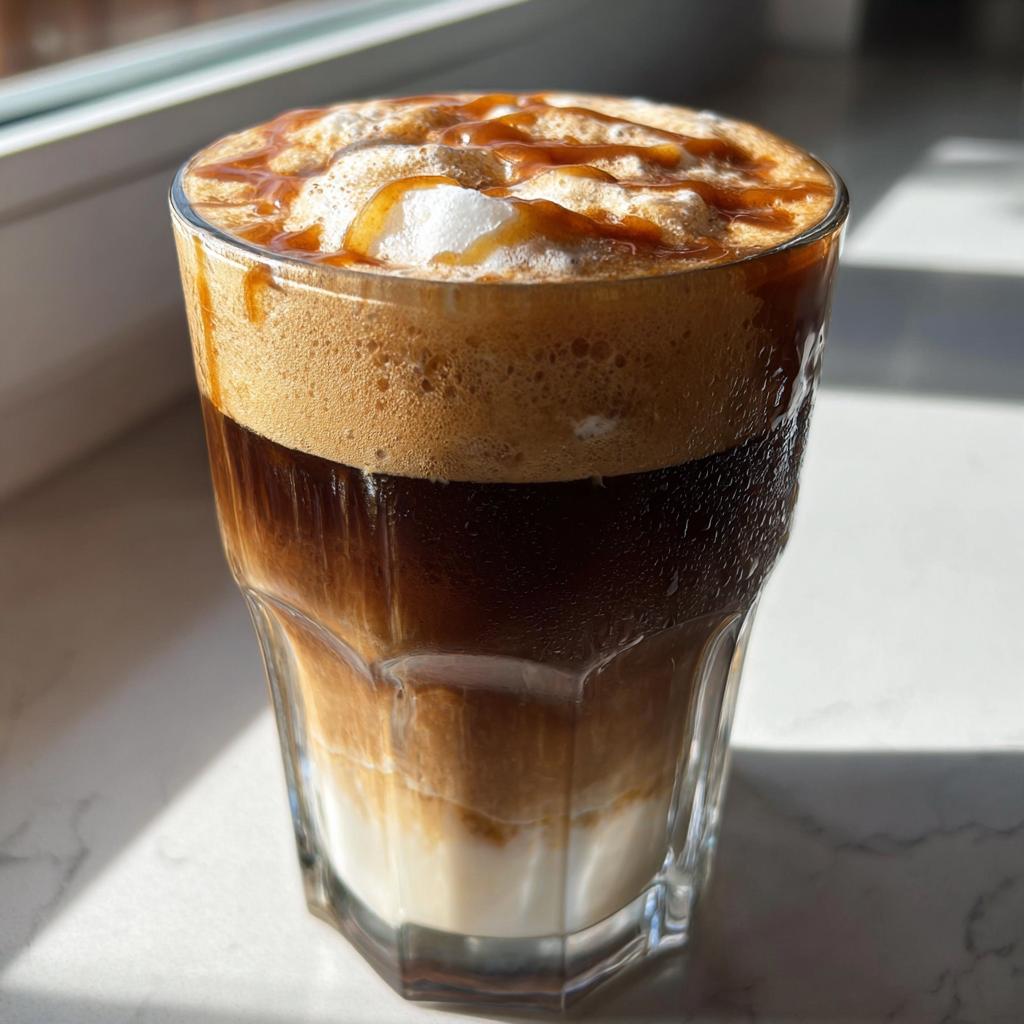
To get that signature, gorgeous layered look where the dark coffee sits right on top of the white milk, you need to use a spoon! Hold a teaspoon just barely touching the very top surface of the milk layer and slowly, slowly drizzle your hot espresso over the back of that spoon. The spoon disperses the liquid gently, preventing it from plunging straight through the milk. It should create a lovely, distinct layer. Finish it by taking your caramel sauce and making those beautiful, thin cross-hatch drizzles right across the top of the espresso. That final drizzle is what seals the deal!
If you’re interested in another simple coffee hack that keeps your routine easy, check out my easy order guide for Starbucks white mocha recipes!
Tips for Success When Learning How to Make Starbucks Drinks Recipes Like a Pro (2025)
Now that you know the steps, let’s talk about the small shifts that turn a good drink into a *great*, café-quality experience. When you are really diving into **How to Make Starbucks Drinks Recipes Like a Pro (2025)**, prepping ahead of time is your secret weapon.
My biggest tip is to triple the vanilla syrup recipe and keep the rest in a sealed jar in the fridge. It lasts for weeks, and those mornings when you’re rushing out the door? Having that ready to go is huge for maintaining clean energy habits. Also, don’t be shy about adjusting the sweetness! That two tablespoons of syrup is a starting point. Taste your milk layer before you add the espresso shot and adjust if you prefer it sweeter or less sweet.
Another crucial thing for **How to Make Starbucks Drinks Recipes Like a Pro (2025)** is the temperature of your espresso. It needs to be hot when you pour it over the cold milk/ice layer; this sharp temperature difference helps keep those layers distinct for longer. If you’re into experimenting with flavor combinations next, you need to peek at my post on the Starbucks secret menu drinks for inspiration!
Serving Suggestions for Your Homemade Coffee Creation
You just made an amazing iced caramel macchiato, and now you deserve a treat to go with it! Since we’re focusing on clean habits and intentional eating, this sweet sip pairs beautifully with something light but satisfying. I often grab one of my favorite grab-and-go breakfast ideas when making this. Think a simple hard-boiled egg or one of those clean energy bites.
It’s the perfect afternoon pick-me-up, too. Enjoy it slowly away from your desk, maybe while stretching or making a mindful transition into your evening routine. The richness complements salty snacks surprisingly well, but I usually keep my pairing simple so the coffee flavor really shines through!

Storage and Refreshing Your Home-Brewed Coffee
Because you’re making this Iced Caramel Macchiato fresh, the drink itself is meant to be enjoyed immediately—that perfect coldness and layered top won’t stick around forever, and that’s okay!
The real win for storage is that vanilla syrup we made. Pop any extra syrup into a clean, sealed jar and store it in the fridge. It’s ready for you all week long. If you happen to have any leftover milk or espresso, just ditch it; it never tastes quite right when you try to refresh cold coffee later on!
Frequently Asked Questions About How to Make Starbucks Drinks Recipes Like a Pro (2025)
I know you have questions! When you’re trying to move beyond just ordering and really learn **How to Make Starbucks Drinks Recipes Like a Pro (2025)**, the little details matter. I’ve gathered the most common things people ask me when they try this iced macchiato out for the first time.
Can I use cold brew instead of hot espresso?
You absolutely can! If you’re on the fence about using hot espresso, swapping in cold brew is a fantastic move, especially on a hot day. Just make sure your cold brew is concentrated enough to stand up to the milk and ice. If you want to see some other great ways to use cold brew, check out my list of 31 best iced coffee Starbucks orders!
How long does the vanilla syrup actually last in the fridge?
That homemade syrup is golden! Because it’s just equal parts sugar and water, it’s very shelf-stable. Sealed tightly in the fridge, you can easily get two or even three weeks out of it. It’s one of the best parts of learning **How to Make Starbucks Drinks Recipes Like a Pro (2025)** because you save so much time later in the week!
My layers keep mixing together—what am I doing wrong?
Oh, that’s usually an issue of temperature! If your milk is too warm, the hot espresso will mix right into it instead of sitting sweetly on top. Make sure your milk is chilled right out of the fridge, and pack your glass really full of ice so the espresso hits that cold surface immediately. Pouring slowly over the back of a spoon, like we discussed, is the real game-changer here.
What if I don’t want to use so much sugar in the syrup?
I totally get that! Remember, the syrup acts as both sweetener *and* a stabilizing agent, which helps with the texture. If you swap sugar for a zero-calorie alternative, you might find the drink a little less rich compared to learning **How to Make Starbucks Drinks Recipes Like a Pro (2025)** exactly as written. If you cut the sugar down by half, just start with less syrup in your drink, maybe just one tablespoon, and taste it first before adding the second!
Estimated Nutritional Snapshot
I always like to know what I’m putting into my body, which is why making things at home is just better! For one Iced Caramel Macchiato made using this recipe, you’re looking at roughly 250 calories. It has about 40 grams of carbs, 35 of those being sugar, and around 8 grams of protein.
Remember, these numbers are just a snapshot! Since you have total control over the milk fat content and the amount of vanilla syrup you use, your final count will vary. This is just a guide so you can enjoy your treat intentionally.
Share Your Home Café Creations
Now that you’ve mastered **How to Make Starbucks Drinks Recipes Like a Pro (2025)**, I seriously want to see what you whip up! Did you nail that caramel drizzle? Did you use oat milk and still get amazing foam? Drop a comment below and tell me how your first homemade iced macchiato turned out.
I love seeing your success stories in action! Don’t forget to tag me if you share photos—it always makes my day to know these simple, clean recipe swaps are fitting into your life!
By EMILIA, founder of MeltItClean.com
Hi, I’m EMILIA, the founder of MeltItClean.com – your digital space for natural weight loss, real wellness habits, and clean-living inspiration that actually fits your life.
For years, I struggled with the ups and downs of dieting. I tried everything — juice cleanses, low-carb crazes, fitness challenges — but I always ended up back where I started: tired, bloated, and frustrated. I didn’t just want to “lose weight” — I wanted energy, mental clarity, glowing skin, and confidence without sacrificing my joy or sanity.
After years of experimenting, learning, and unlearning, I discovered a simple truth: your body is already powerful — it just needs support, not restriction. That’s when I created Melt It Clean — a site dedicated to real transformation through clean, intentional, and nourishing daily habits that anyone can follow.
My goal was simple: build a place where people could feel informed, supported, and empowered without being overwhelmed by wellness fads.
Starbucks Copycat Iced Caramel Macchiato
Ingredients
Equipment
Method
- First, make the vanilla syrup. Combine the sugar and water in a small saucepan over medium heat. Stir until the sugar dissolves completely. Remove from heat and stir in the vanilla extract. Let it cool.
- Prepare your glass. Add the vanilla syrup to the bottom of a tall glass.
- Fill the glass with ice cubes.
- Pour the milk over the ice and syrup mixture.
- Brew your espresso shot. Slowly pour the hot espresso over the back of a spoon held just above the milk layer. This helps the espresso layer on top.
- Finish the drink by drizzling the caramel sauce over the top layer of espresso.


