
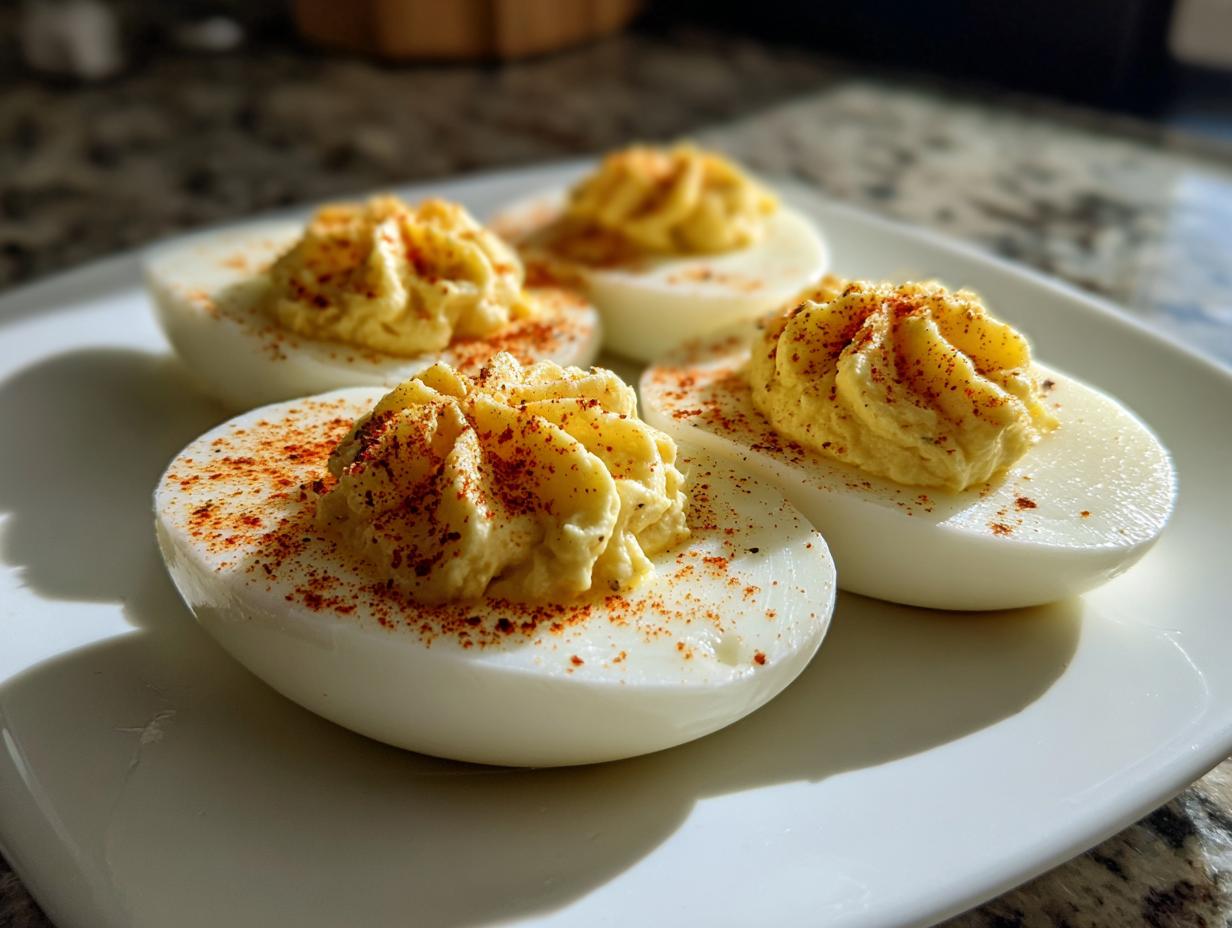
Oh, deviled eggs! Seriously, what’s not to love? They’re the ultimate party appetizer, aren’t they? That perfect bite of creamy yolk filling nestled in a tender egg white, always the first thing to disappear from the snack table. When I think about gathering with friends or family, I immediately picture a platter piled high with these beauties. This recipe for Classic Deviled Eggs is my go-to because it’s just so simple and utterly satisfying. It’s the kind of recipe that feels like a warm hug from the past – totally timeless and always a crowd-pleaser.
Why You’ll Love These Classic Deviled Eggs
Trust me, these classic deviled eggs are a winner for so many reasons:
- Super Easy to Make: Seriously, you can whip these up in no time. They’re perfect for when you need a last-minute appetizer.
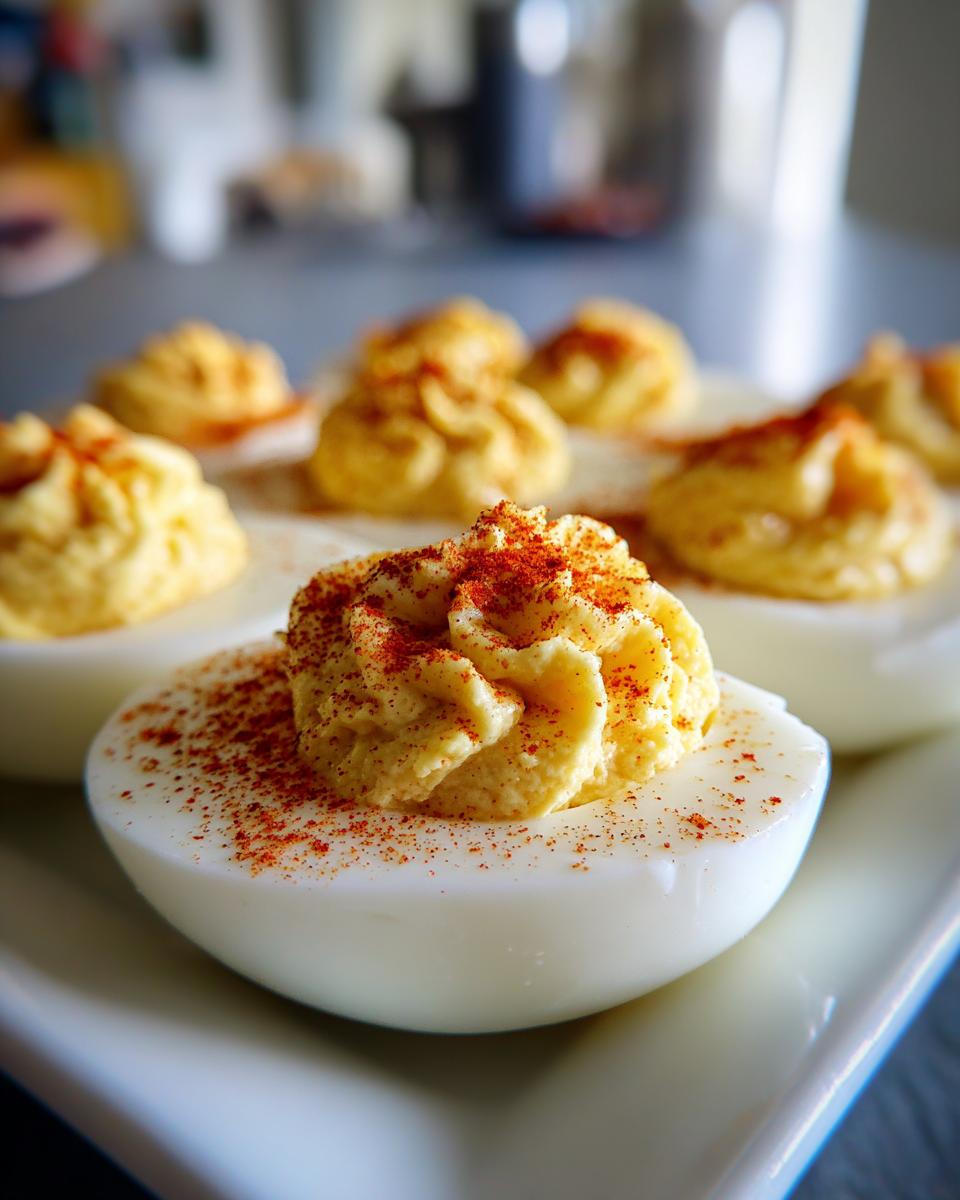
- Irresistibly Delicious: That creamy, tangy yolk filling? It’s pure perfection with the tender egg white. So good!
- Always a Crowd-Pleaser: You can bet these will be the star of any party or potluck. Everyone loves a good deviled egg!
- So Versatile: They work for brunch, BBQs, holiday gatherings, or just a simple afternoon snack.
Gather Your Ingredients for Classic Deviled Eggs
Okay, let’s get our ingredients ready for these amazing classic deviled eggs! It’s pretty straightforward, which is exactly what we love. Make sure you’ve got these handy:
For the Eggs:
- 6 large eggs
For the Filling:
- 1/4 cup mayonnaise (use your favorite, a good quality one makes a difference!)
- 1 teaspoon yellow mustard
- 1/2 teaspoon white vinegar
- Salt, just to taste
- Black pepper, also to taste
For Garnish:
- 1 pinch paprika (for that classic pop of color!)
Honestly, fresh ingredients really do make these pop. Using good mayo and fresh eggs is the secret to getting that fantastic flavor!
Essential Equipment for Making Classic Deviled Eggs
You don’t need a fancy kitchen for these classic deviled eggs, but a few basic tools will make the whole process a breeze! First up, you’ll want a medium saucepan – this is where our eggs will get perfectly cooked. Then, grab a simple bowl for mashing those beautiful yolks and mixing up our creamy filling. A trusty fork is essential for that mashing job, and it’s also great for mixing everything together nice and smooth. For a super pretty presentation, a piping bag with a star tip is a nice-to-have, but don’t worry, a spoon works just as wonderfully! And finally, a sharp knife is key for slicing those hard-boiled eggs neatly in half. That’s it, simple tools for a simple, delicious treat!
Step-by-Step Guide to Perfect Classic Deviled Eggs
Alright, let’s get our hands a little messy and make some magic happen with these classic deviled eggs! It’s really not complicated at all, and before you know it, you’ll have a platter full of these little delights. We’ll get them boiled, filled, and ready to impress. Follow along, and you’ll see just how easy it is!
Boiling and Cooling the Eggs
First things first, we need to get our eggs perfectly cooked. Put your 6 large eggs right into a medium saucepan. Cover them with cold water, making sure the water is about an inch above the eggs. Crank up the heat to high and bring it to a rolling boil. Now, here’s the secret: as soon as it starts boiling, take the pan off the heat, pop on the lid, and just let them sit for about 10 minutes. This stops them from getting that gross green ring around the yolk! After they’ve rested, drain all that hot water and run them under cold water until they’re cool enough to handle. This cold bath is super important because it helps them peel like a dream!
Preparing the Egg White Halves
Now for the fun part! Gently peel those cooled eggs – if you used the cold water trick, they should practically slip out of their shells. Slice each egg carefully in half lengthwise with your knife. You want a nice, clean cut. Then, very gently, scoop out all those lovely yellow yolks and pop them into a separate bowl. You can use a little spoon or even your fingers for this. Arrange the empty egg white halves, cut side up, on your serving platter as you go. They’ll be the perfect little cups for our yummy filling!
Creating the Creamy Deviled Egg Filling
This is where all the flavor comes from! Take those scooped-out yolks and mash ’em up really well with your fork in that bowl. You want to get them as smooth as possible – no one likes a lumpy yolk filling! Once they’re all mashed, stir in the mayonnaise, yellow mustard, and white vinegar. Mix it all up until it’s smooth and creamy. Now, taste it! Add salt and black pepper until it tastes just right to you. This is your chance to make it perfect! I sometimes add just a tiny bit more mustard if I’m feeling bold.
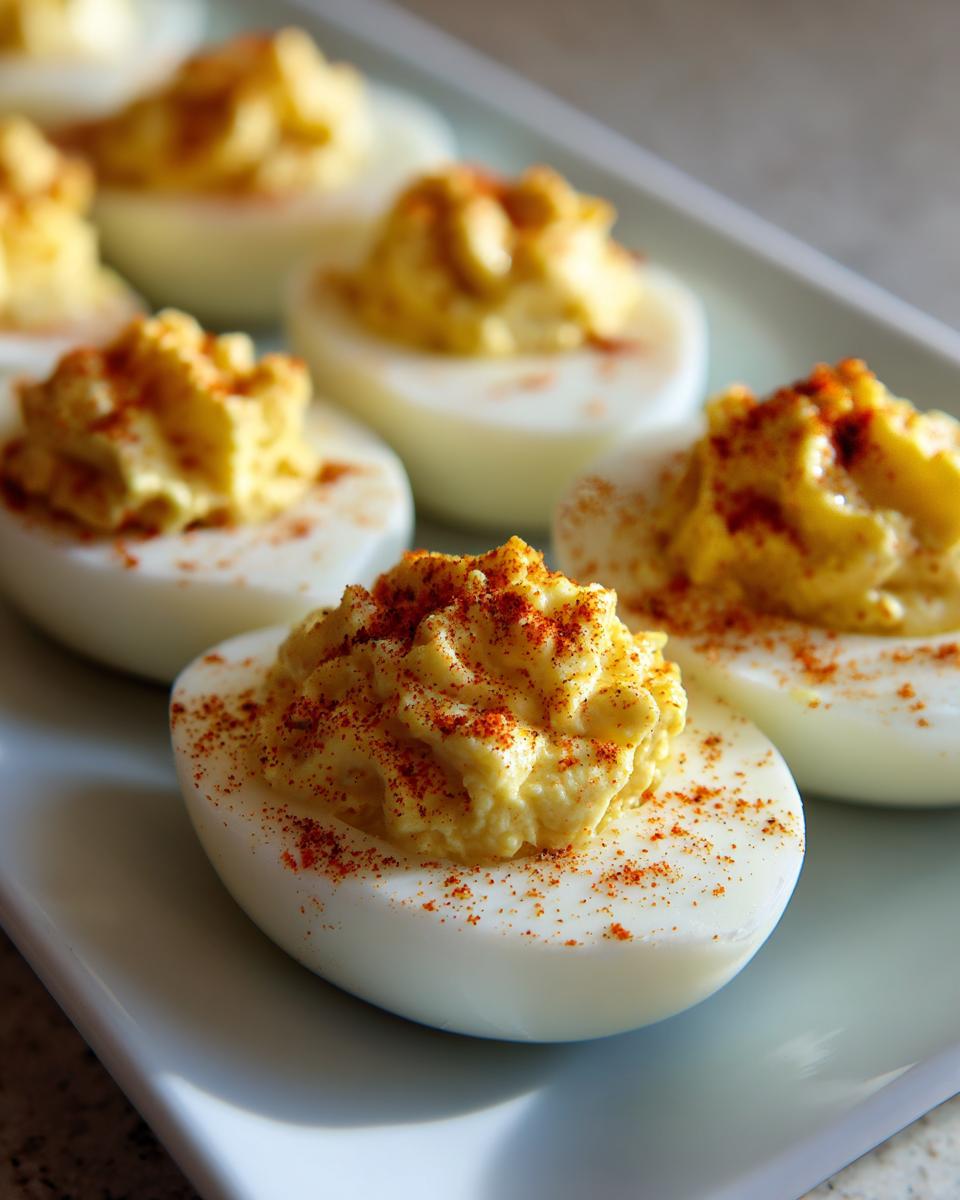
Assembling and Garnishing Your Classic Deviled Eggs
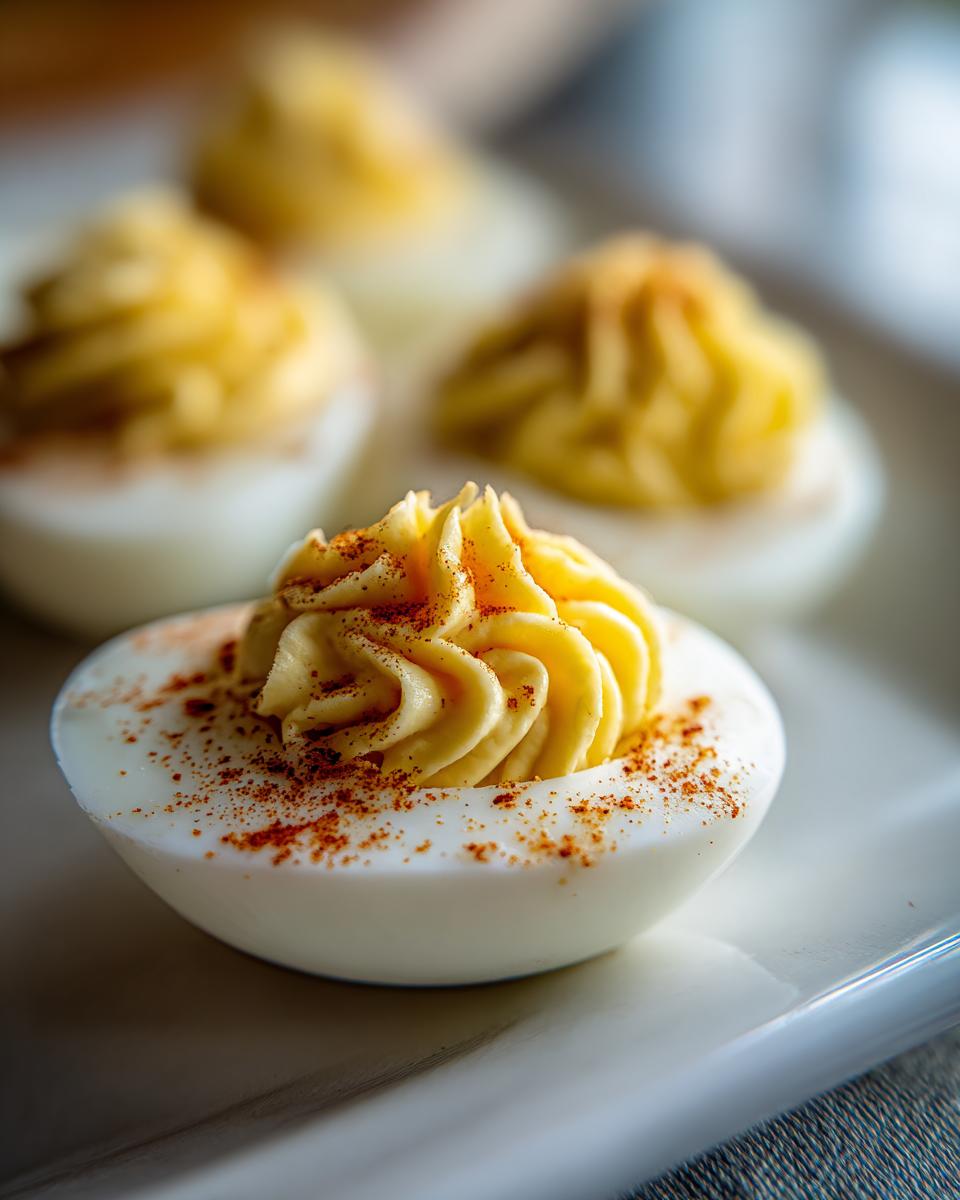
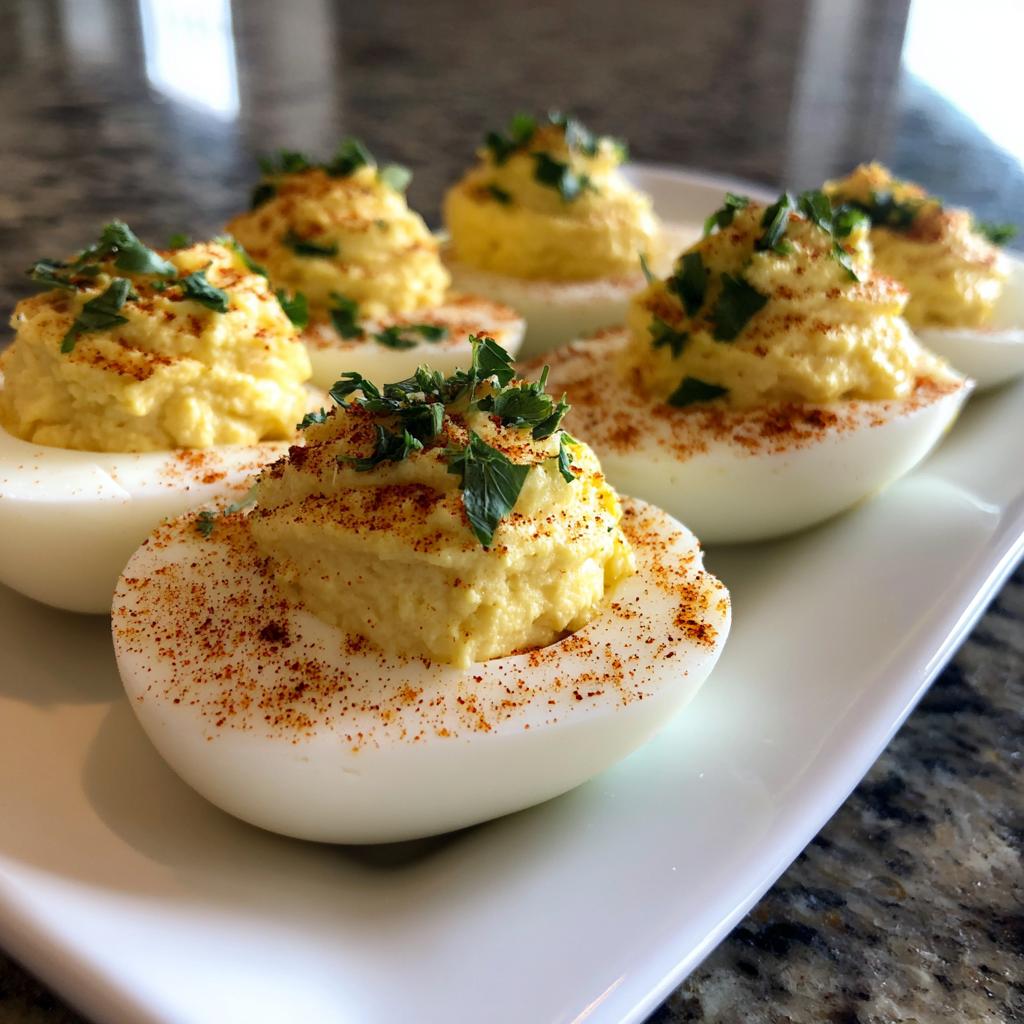
Time to bring it all together! You can either spoon the yolk mixture back into your egg white halves, or if you want to be fancy like me sometimes, use a piping bag fitted with a star tip for a really pretty, swirly look. Either way, fill them up generously! Once they’re all filled, take your paprika and give a little pinch over each one. It just gives them that classic, finished look – and a touch of flavor, of course! And voilà, your beautiful classic deviled eggs are ready to go. You can even check out my about me page for more of my kitchen adventures!

Tips for Perfect Classic Deviled Eggs Every Time
Okay, I’ve made my share of deviled eggs, and I’ve picked up a few tricks along the way to make sure they turn out absolutely perfect every single time. You want those eggs to be easy to peel, that filling super smooth, and no weird green rings, right? Well, listen up!
First off, remember that trick for boiling? Bring the water to a boil, then turn off the heat and cover? That’s your golden ticket to avoiding those dreaded green rings around the yolk. Also, plunging them into ice water right after cooking? It stops the cooking process dead in its tracks and makes peeling SO much easier – no more gouging out chunks of egg white stuck to the shell! For an extra special touch and a really professional look, don’t shy away from using a piping bag with a star tip for the filling. It makes them look like they came straight from a fancy catering spread! But honestly, even just spooning them in is totally fine. Don’t forget to taste your filling before you add it back into the whites – everyone likes their seasoning a little different, so adjust that salt and pepper (and maybe a bit more mustard!) until it’s just right for you. For a little something extra, I sometimes add a tiny squeeze of fresh lemon juice to the yolk mixture for a brighter flavor. You can find more amazing cooking tips on my dinner recipes guide!
Variations for Your Classic Deviled Eggs
Now, as much as I adore the classic version, sometimes it’s fun to get a little adventurous with these little bites! These classic deviled eggs are a fantastic base, and you can totally jazz them up. For a little kick, try stirring in a tiny pinch of cayenne pepper or a dash of your favorite hot sauce into the yolk mixture – it adds a lovely warmth without overpowering things. If you like a bit of crunch and tang, finely chopped dill pickles or sweet relish are game-changers! And don’t forget the herbs! Fresh chives, a little parsley, or even some dill can bring a lovely freshness. Just a sprinkle of these at the end, along with the paprika, makes them extra special!
Serving and Storing Your Deviled Eggs
These classic deviled eggs are best served chilled, so pop them in the fridge for at least 30 minutes before a party. They look absolutely stunning arranged on a platter, maybe with some crackers or fresh veggies on the side, as part of a bigger appetizer spread. As for leftovers? Keep them covered tightly in the refrigerator. They’re usually good for about 2 to 3 days, though honestly, they rarely last that long in my house! Just make sure they stay cool and creamy until you’re ready for another bite.
Frequently Asked Questions About Classic Deviled Eggs
Got questions about these little gems? I’ve got you covered! Making classic deviled eggs is pretty foolproof, but here are a few common things people wonder about:
How do I prevent my deviled eggs from sweating?
That “sweating” is just condensation, and it happens when the filling is too wet or the eggs have been in the fridge too long. Make sure your filling isn’t too watery – adjust the mayo if needed. Also, try not to make them *too* far in advance. They’re best served within a day or two of making them!
Can I make the filling ahead of time?
Oh, absolutely! The yolk filling can be made a day in advance and stored in an airtight container in the fridge. This is a total lifesaver for parties! Just spoon or pipe it into the egg whites right before serving so they stay fresh and look their best. You can even find more tips for making ahead on my contact page!
What’s the best way to peel hard-boiled eggs?
My trick is the “boil then ice bath” method I shared in the steps. Seriously, it works wonders! After they’ve sat in the hot water for 10 minutes, drain them and plunge them straight into a bowl of ice water. Let them chill for a few minutes, then crack the shell all over and gently peel under cool running water. They usually slip right out!
Can I use a different type of mustard?
You sure can! While yellow mustard gives you that classic deviled egg flavor, feel free to experiment. Dijon mustard adds a bit more tang and a richer flavor. Even a touch of whole grain mustard can be fun for a little texture and zest. Just start with a smaller amount and add more to taste, since different mustards have different strengths!
Nutritional Information (Estimated)
Just a little heads-up, these numbers are estimates, okay? They can totally change depending on the brands of mayo and anything else you use. But for about one classic deviled egg half, you’re looking at roughly: Calories: 50-60, Fat: 4-5g, Protein: 2-3g, Carbohydrates: 1g. For the full scoop on how I break down these numbers, check out my disclaimer page!
Ingredients
Equipment
Method
- Place eggs in a medium saucepan and cover with cold water by 1 inch. Bring to a boil over high heat.
- Once boiling, remove from heat, cover, and let stand for 10 minutes.
- Drain eggs and run under cold water until cool. Peel and slice in half lengthwise.
- Scoop out the yolks and place them in a bowl. Arrange the egg whites on a serving platter.
- Mash the yolks with a fork. Add mayonnaise, mustard, and vinegar. Mix until smooth.
- Season with salt and pepper to taste.
- Spoon or pipe the yolk mixture back into the egg white halves.
- Sprinkle with paprika before serving.


