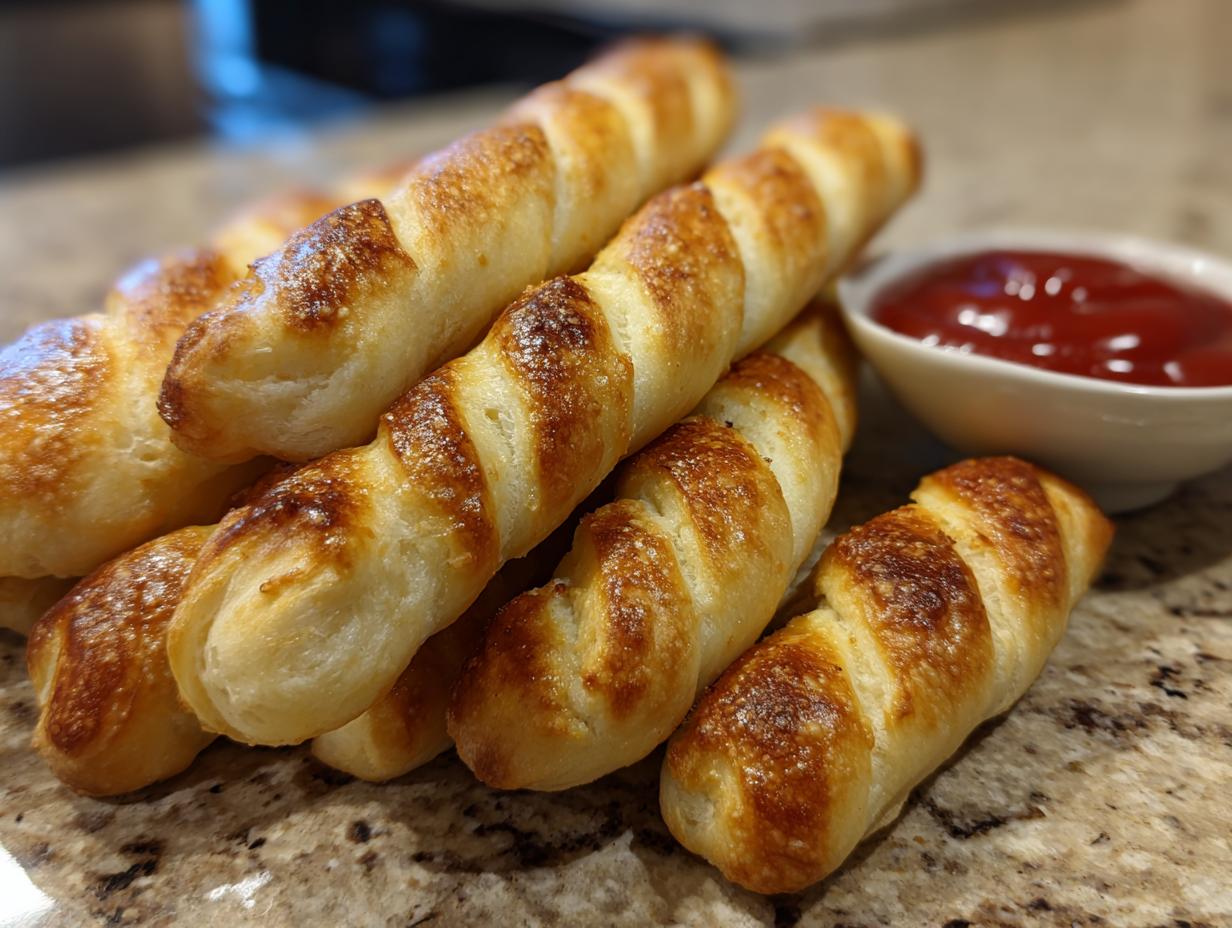
Oh my gosh, you guys, Halloween is COMING and you KNOW I’ve been brainstorming the most wonderfully creepy treats! This year, I’m obsessed with these *Witch-Finger Breadsticks (Step-by-Step Recipe)*. Seriously, they look SO spooky with their little almond fingernails and knobbly texture, but they taste absolutely divine. I remember making these for the first time last year for a neighborhood party, and the kids (and let’s be honest, the adults too!) went absolutely wild for them. They’re just cheesy, garlicky, and perfectly dippable, plus they add that perfect touch of creepy-crawly fun to any spooky spread. Trust me, they’re even easier to whip up than they look, and they’re guaranteed to be a hit!
Why You’ll Love This Witch-Finger Breadsticks (Step-by-Step Recipe)
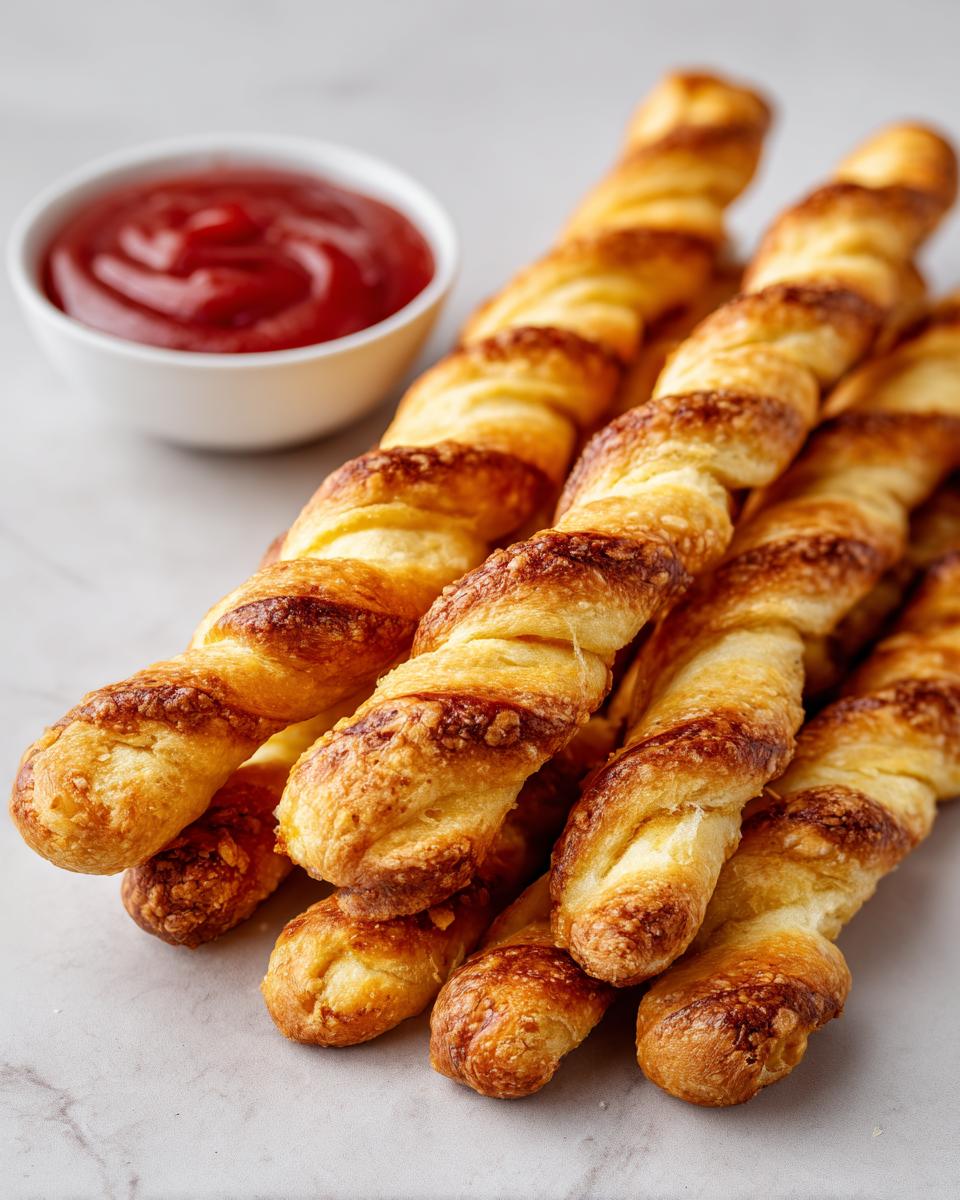
Why are these little guys my go-to for Halloween? Well, for starters, they are outrageously spooky with those knobbly lines and almond ‘fingernails’! But beyond the creep factor, they’re just SO darn easy to make, especially when you’re short on time before a party. Using refrigerated crescent rolls is a total game-changer, and they turn out perfectly golden and garlicky every single time. Plus, they are just begging to be dipped in some ketchup or marinara, making them a fun and interactive treat for everyone.

Ingredients for Your Witch-Finger Breadsticks
Okay, let’s get down to business! You won’t believe how simple the ingredient list is for these spooky delights. We’re talking common pantry staples here, mostly! You’ll need: one package (that’s 8 ounces, folks) of those handy refrigerated crescent rolls – they’re the magic base! Then, for that yummy flavor, we’ve got some melted butter, garlic powder, dried parsley, paprika, a pinch of salt and black pepper. And for the super-cool texture and cheesy goodness, grab some finely grated Parmesan cheese and fresh chives. Oh, and don’t forget the ketchup or marinara sauce for dipping – that’s essential!
Equipment Needed for Witch-Finger Breadsticks
Alright, to make these super spooky and totally delicious witch fingers, you don’t need a whole lot of fancy gadgets! Just grab a standard baking sheet – really, any one you have will do. Make sure you’ve got some parchment paper handy because that makes cleanup a breeze. You’ll also need a little small mixing bowl for our yummy butter mixture, a measuring spoon set so we get those seasonings just right, and of course, a sharp knife for scoring those knobbly bits. And one last thing: a baking sheet for our witchy creations!
Step-by-Step Guide to Making Witch-Finger Breadsticks
Alright, let’s get these spooky little guys made! It’s not complicated at all, trust me. We’ll go step-by-step so you can’t mess it up, even if you’re a total beginner. My own kids have helped me make these, and they turn out great every time, so you can totally do this!
Preparing the Dough and Flavor Base
First things first: let’s get that oven hot! Crank it up to 375°F (190°C). While it’s heating up, go ahead and line a baking sheet with parchment paper. This is my little trick to make sure nothing sticks and cleanup is a breeze – you’ll thank me later! Now, grab those refrigerated crescent rolls. Just unroll the whole package and separate them into those 8 little triangles. Easy peasy! In a tiny bowl, whisk together your melted butter with all those yummy seasonings: the garlic powder, parsley, paprika, salt, and pepper. Give it a good mix until it’s all combined.
Shaping and Decorating Your Witch Fingers
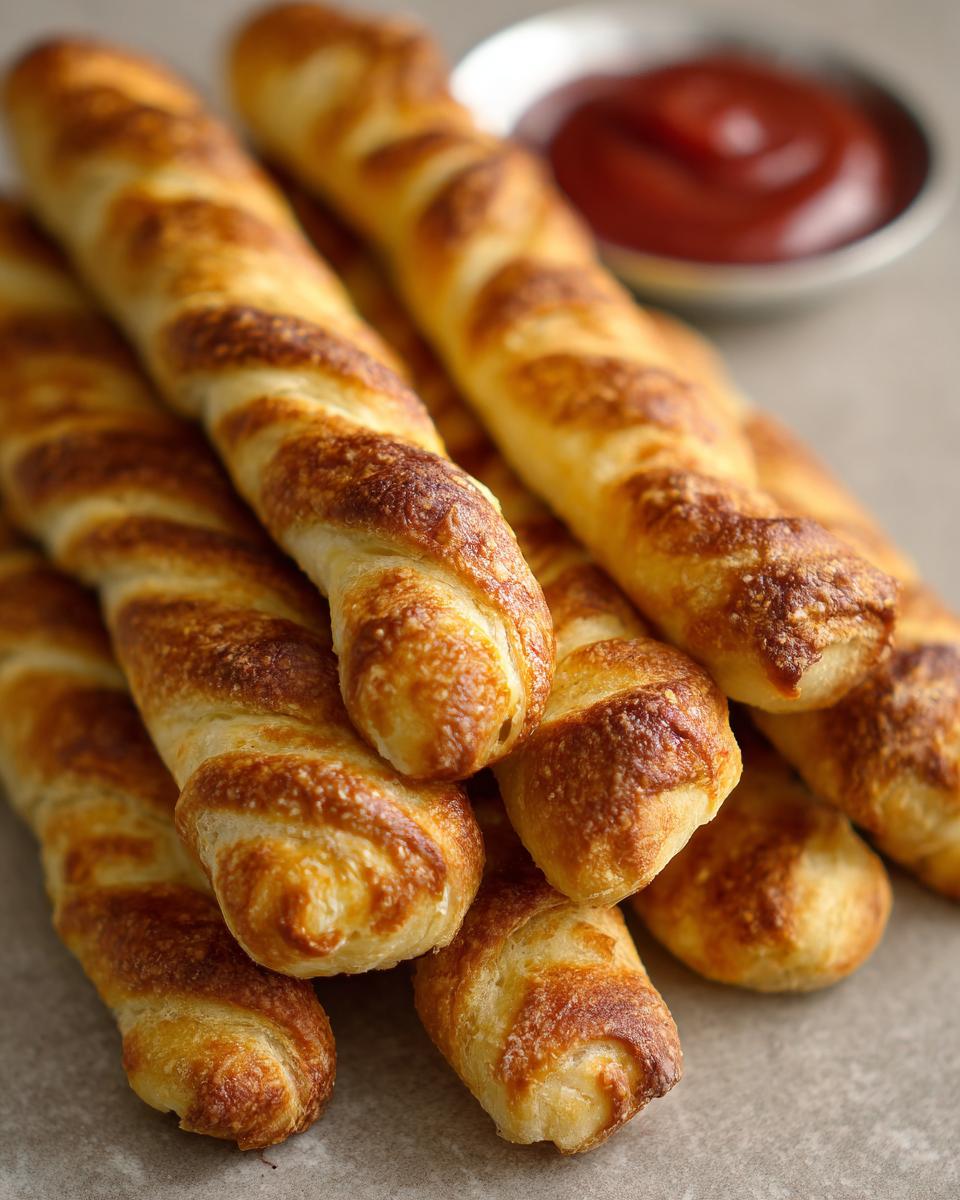
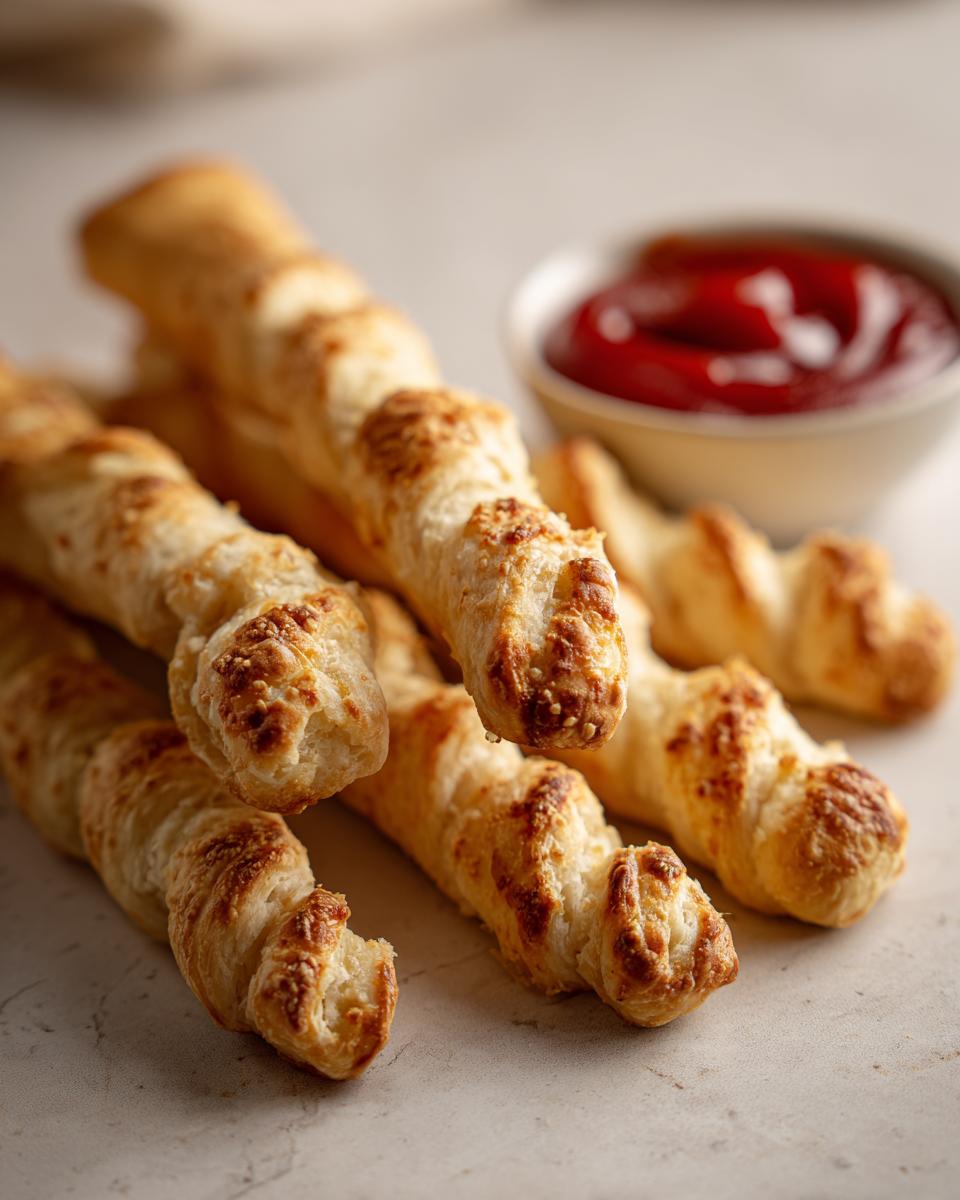
Now for the fun part – the transformation! Take that delicious butter mixture and brush it all over each crescent roll triangle. You want to get good coverage so every bite is flavorful. Then, sprinkle your grated Parmesan cheese and chopped fresh chives all over that buttery goodness. It’s like little green and cheesy magic! Starting from the wide end of each triangle, roll them up super tight. Think of it like rolling up a little doughy scroll. Place these rolled-up dough beauties seam-side down on your prepared baking sheet. So far, so good, right? Now, grab a knife and *gently* score some lines on the top of each breadstick. These are your knuckles, making them look all knobbly and witch-like! And for the grand finale – the fingernails! Just press a blanched almond sliver into one end of each breadstick. Make sure it’s tucked in there nicely so it doesn’t pop off during baking. You can grab a variety of spooky appetizers if you’re planning a whole Halloween spread!
Baking and Serving Your Spooky Treats
Pop that baking sheet into your preheated oven. You’ll want to bake these for about 12 to 15 minutes. Keep an eye on them – you’re looking for a beautiful golden brown color. That’s your cue they’re perfectly cooked through and ready to be devoured! Once they’re out, let them cool just slightly so they aren’t scorching hot. And for the ultimate witchy experience, serve them warm with your favorite ketchup or marinara sauce for dipping. They’re the perfect little finger foods for any Halloween party!
Tips for Perfect Witch-Finger Breadsticks
Alright, listen up, because I’ve learned a thing or two making these little creepy crawlies, and I want yours to be absolutely perfect! First off, that almond sliver “fingernail”? Make sure it’s pushed in really well. I like to give it a little wiggle to make sure it’s snug, otherwise, it might just fall off in the oven, and then we’ve got sad, nail-less fingers, which just isn’t as fun. Also, from the recipe notes, don’t forget you can totally use a toothpick to add extra little wrinkles and lines before you bake them. It makes them look even more gnarly and realistic, just like a real witch’s digits! And speaking of baking, keep a close eye on them towards the end. Crescent roll dough can go from golden to burnt pretty fast, so aim for that perfect toasty brown color.
Ingredient Substitutions and Variations
Even though these witch fingers are pretty fantastic as-is, sometimes you just want to mix things up, right? If you don’t have chives on hand, finely chopped green onions or even a bit of fresh parsley will work just fine! Feeling a bit more adventurous with flavors? Try adding a pinch of onion powder or a tiny dash of cayenne pepper to the butter mixture for a little kick. And for dipping sauces, while ketchup and marinara are classics, don’t be afraid to experiment! A spicy sriracha mayo or a creamy garlic dip could be super yummy alternatives for your spooky spread.
Storing and Reheating Your Witch-Finger Breadsticks
So, what happens if you actually manage to have leftovers of these creepy-crawly delights? Don’t worry, they store like a charm! Once they’ve completely cooled down – and this is important, you don’t want any steam trapped inside – pop them into an airtight container. They’ll keep nicely at room temperature for about two days. If you need them to last a bit longer, the fridge is your friend, but they might get a tiny bit less crisp. To bring them back to life, just pop them in a 350°F (175°C) oven for about 5-8 minutes. They’ll be warm and almost as good as freshly baked!
Frequently Asked Questions about Witch-Finger Breadsticks
Got questions about these spooky little guys? I’ve got answers!
Can I make the dough from scratch?
While using store-bought crescent rolls is super convenient for these *Witch-Finger Breadsticks*, you absolutely could make your own pizza dough or breadstick dough from scratch. Just make sure it’s a dough that bakes up nicely and isn’t too dense!
What other dipping sauces work well?
Besides the classic ketchup or marinara, these witch fingers are also amazing dipped in ranch dressing, a creamy garlic herb dip, or even a spooky green pesto sauce. Get creative with your Halloween spread!
How do I get the ‘fingernails’ to stick?
The trick is to press the blanched almond sliver firmly into the dough *before* baking. You can even give it a little gentle wiggle to make sure it’s snug. If the dough is soft from being handled, it’ll help it grip the ‘nail’ really well!
Estimated Nutritional Information
Now, I have to say, these estimates are not from a fancy lab or anything – they’re just a good ballpark idea of what’s in these delicious little guys! Because we’re using convenient ingredients like crescent rolls and Parmesan cheese, things can vary a bit depending on the exact brands you grab. But generally, one of these spooky witch-finger breadsticks comes in around 120 calories. You’re looking at about 7g of fat, 3g of protein, 12g of carbs, and roughly 250mg of sodium. So, enjoy your creepy treats!
Share Your Spooky Creations!
Have you made these amazing Witch-Finger Breadsticks? I would LOVE to hear all about it! Did they turn out perfectly spooky? Did the kids go bonkers for them? Snap a photo and tag me on social media, or better yet, leave a comment and a star rating right here on the page. Your feedback really helps other bakers out there!