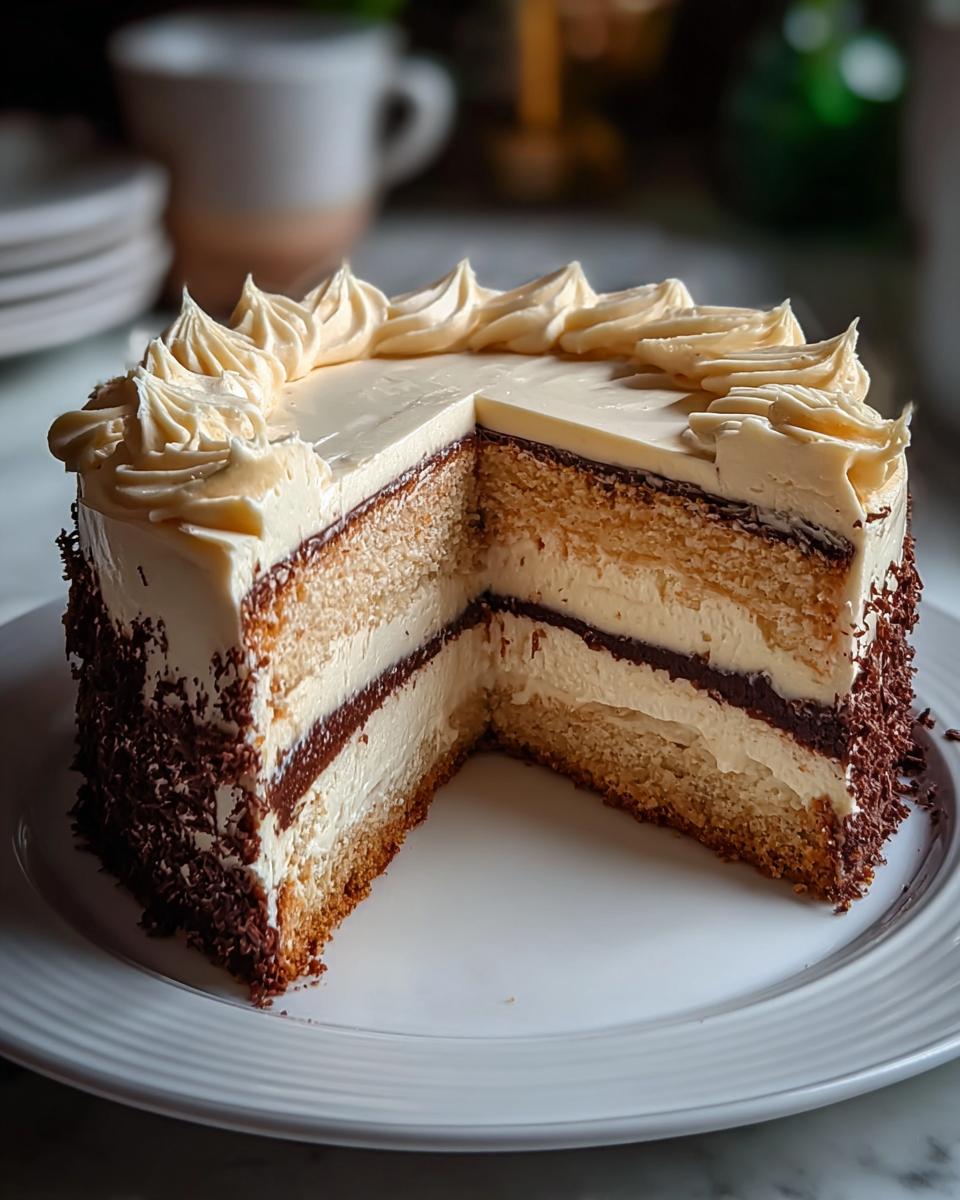
Don’t you just love walking into a fancy bakery or a nice restaurant, seeing that perfectly layered cake, and thinking, “I could never make something that flawless at home”? Well, I’m here to tell you that’s totally untrue! Achieving bakery-quality desserts is absolutely within your reach, and this recipe is your secret handshake to the pros. We are diving deep into the best Restaurant-Style Cake Ideas Recipes at Home (2025) today, focusing on texture and flavor that sings! Baking something truly special for friends and family just fills me with such energy; it feels like magic when it turns out incredible.
Who Will Love These Restaurant-Style Cake Ideas Recipes at Home (2025)?
Listen, if you’ve ever flipped through a cookbook or scrolled past a stunning layer cake online and thought, “That’s beautiful, but way too fiddly for me,” this is for you! This recipe is perfectly suited for the home baker who is ready to step up just a little bit beyond their usual Tuesday night dessert. We’re talking to those of you who enjoy a solid weekend baking project.
If you regularly host guests or just want to impress your family with something that genuinely tastes like it came from a high-end pâtisserie, you’re my kind of person. You’re not a beginner, but you’re definitely not a professional pastry chef. You appreciate high quality, and you want results that look and taste amazing without needing a culinary degree. Trust me, we build confidence with every perfectly level layer. For more inspiration on special occasion baking, check out some of my favorite ideas here!
Achieving Restaurant-Style Cake Ideas Recipes at Home (2025): Essential Equipment
You simply can’t fake a quality bake, and the tools you use make a massive difference when you’re aiming for that polished restaurant feel. For this recipe, we absolutely need two 9-inch round cake pans—do not try to cram this batter into one pan, or it won’t cook evenly!
Grab your trusty electric mixer because we’re creaming butter and sugar properly, and you’ll need a couple of sturdy mixing bowls for separating your wet and dry components.
My biggest non-negotiable tip for getting those clean, flat layers that look like they were made by a pastry artist? Invest in good quality, heavy-gauge pans. Thin, cheap pans create hot spots that lead to domes and sinking. You can browse my favorite kitchen gadgets over here!
Gathering Ingredients for Your Restaurant-Style Cake Ideas Recipes at Home (2025)
Okay, this is where we start building that amazing flavor profile that screams “expensive dessert.” In the wellness world, we always talk about quality input equals quality output, and that is 100% true for baking. Using the freshest butter and that good vanilla extract really elevates this so it feels genuinely restaurant-style. Remember, every tiny detail counts when you’re moving beyond everyday baking!
We need to keep our components separate—the cake layers are one world, and the dreamy frosting is another. Keeping your butter softened to room temperature is my biggest plea for both sections; cold butter ruins everything, believe me!
For the Cake Layers
For the delicious cake layers, you’ll need 2 cups of all-purpose flour, but make sure you have it sifted first; those lumps just aren’t welcome here. We’ll use 1.5 cups of granulated sugar, 1 cup of unsalted butter already softened, and 4 large eggs that you’ll incorporate one by one. Don’t forget 1 teaspoon of vanilla extract, 1 cup of whole milk, 1 tablespoon of baking powder for lift, and a half teaspoon of salt to balance everything out.
For the Buttercream Frosting
Now for the crowning glory! For the smoothest buttercream you’ve ever made, you need 1 cup of softened unsalted butter. You absolutely must have 4 cups of powdered sugar, and yes, please sift that stuff so it doesn’t turn gritty on you. We’ll also use a half teaspoon of vanilla extract and about 2 tablespoons of heavy cream, but have a little extra cream handy just in case!
If you’re looking for ways to lighten up ingredients without sacrificing flavor in your kitchen, check out some of my favorite swaps here.
Step-by-Step Instructions for Restaurant-Style Cake Ideas Recipes at Home (2025)
This is where the magic happens, and trust me, technique matters more than anything when you’re aiming for that gorgeous, professional crumb. We need to move methodically through this process to lock in that light, airy interior everyone expects from a top-tier dessert. Don’t rush the creaming step; that’s your foundation!
Preparing the Cake Batter and Baking
First things first, get your oven fired up to 350°F (175°C). While it warms up, you must properly prepare those two 9-inch round pans—grease them well and give them a good dusting of flour. In one bowl goes your sifted flour, baking powder, and salt; just whisk them to hang out together.
Now, in your big mixer bowl, cream that softened butter and sugar until it looks honestly lighter, maybe 3 to 5 minutes of really good beating. Next, take your time beating those four eggs in one by one, making sure each one is fully incorporated before adding the next. Stir in the vanilla extract right after the eggs. Here’s the tricky part: add your dry mix and your milk alternately. Start with a bit of the dry stuff, mix gently, pour in some milk, mix gently, and you must end with the dry ingredients. Mix only until you don’t see streaks—overmixing kills that delicate restaurant texture!
Divide the batter evenly between your ready pans. They bake for about 30 to 35 minutes. You’ll know they’re done when a toothpick slides in and comes out clean. Let them chill in the pan for exactly 10 minutes before flipping them out onto a wire rack to cool down completely—and I mean *completely*!
Making the Smooth Buttercream Frosting
While those cakes are taking their little break, let’s whip up the frosting. You want that other cup of butter softened nicely. Beat it until it’s smooth on its own, then start easing that sifted powdered sugar in really slow on a low speed—we don’t want a sugar cloud explosion across the kitchen!
Once it’s all mixed in, crank that speed up and watch it get fluffy. Add your vanilla and 2 tablespoons of heavy cream. If it seems too stiff to spread beautifully, just sneak in another teaspoon of cream until it’s heavenly light and spreadable. That’s the key to a smooth finish!
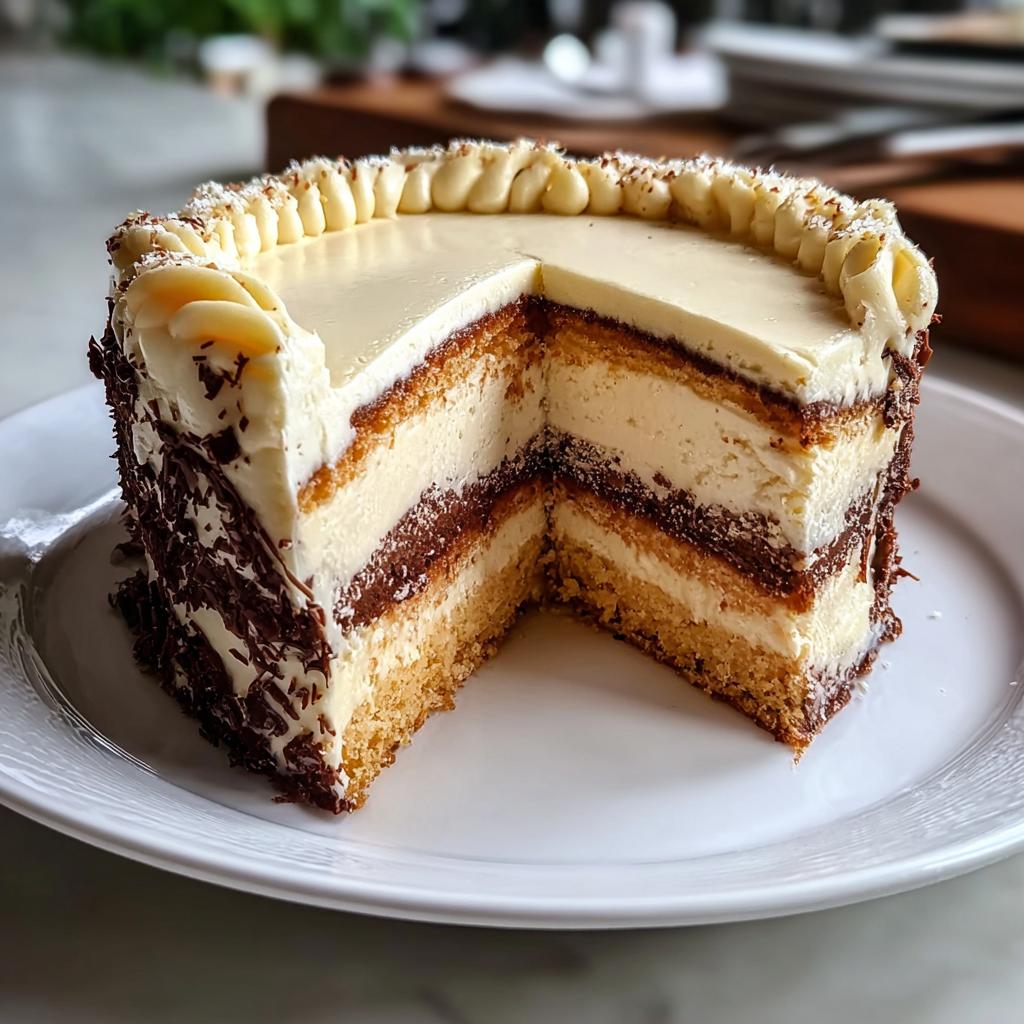
Assembling and Finishing Your Masterpiece
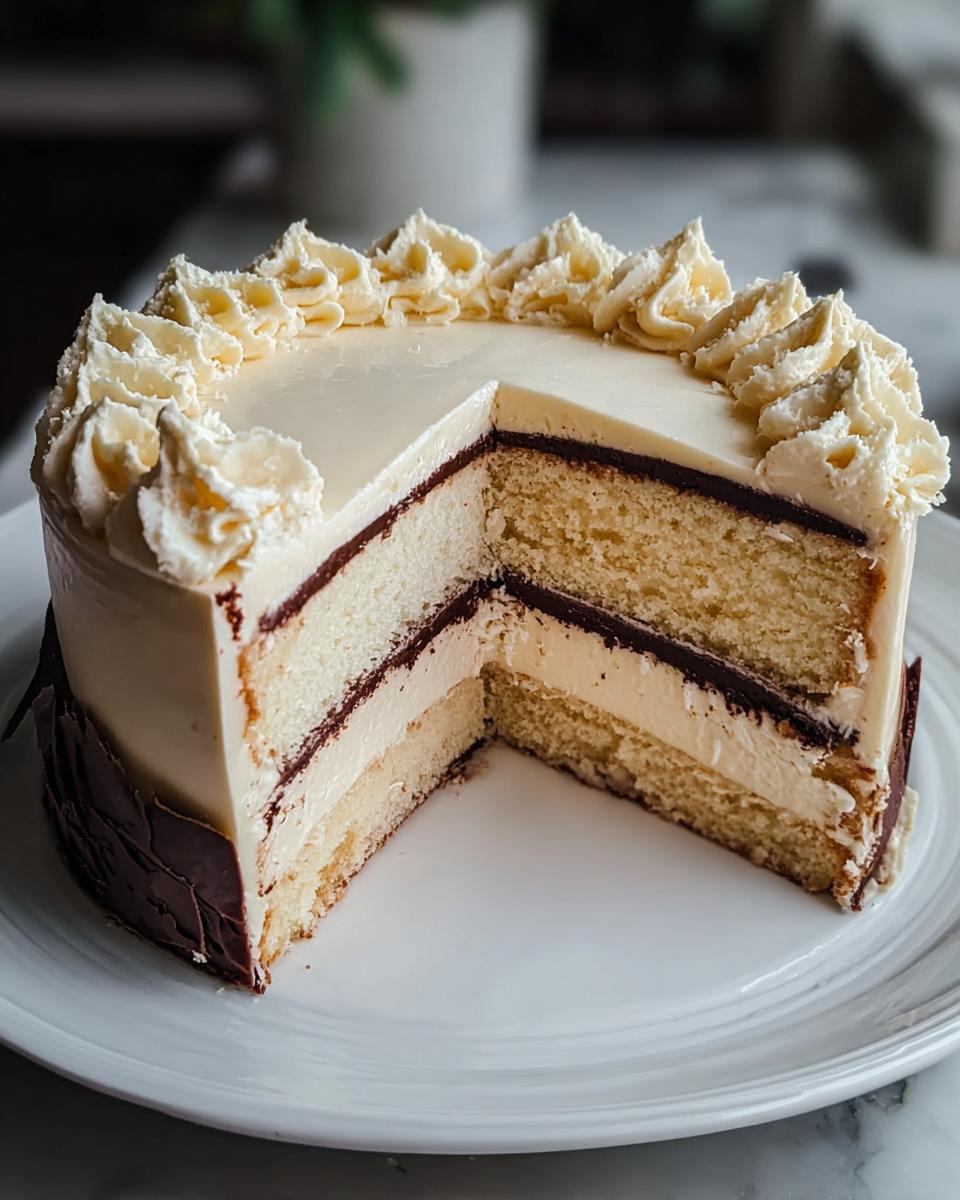
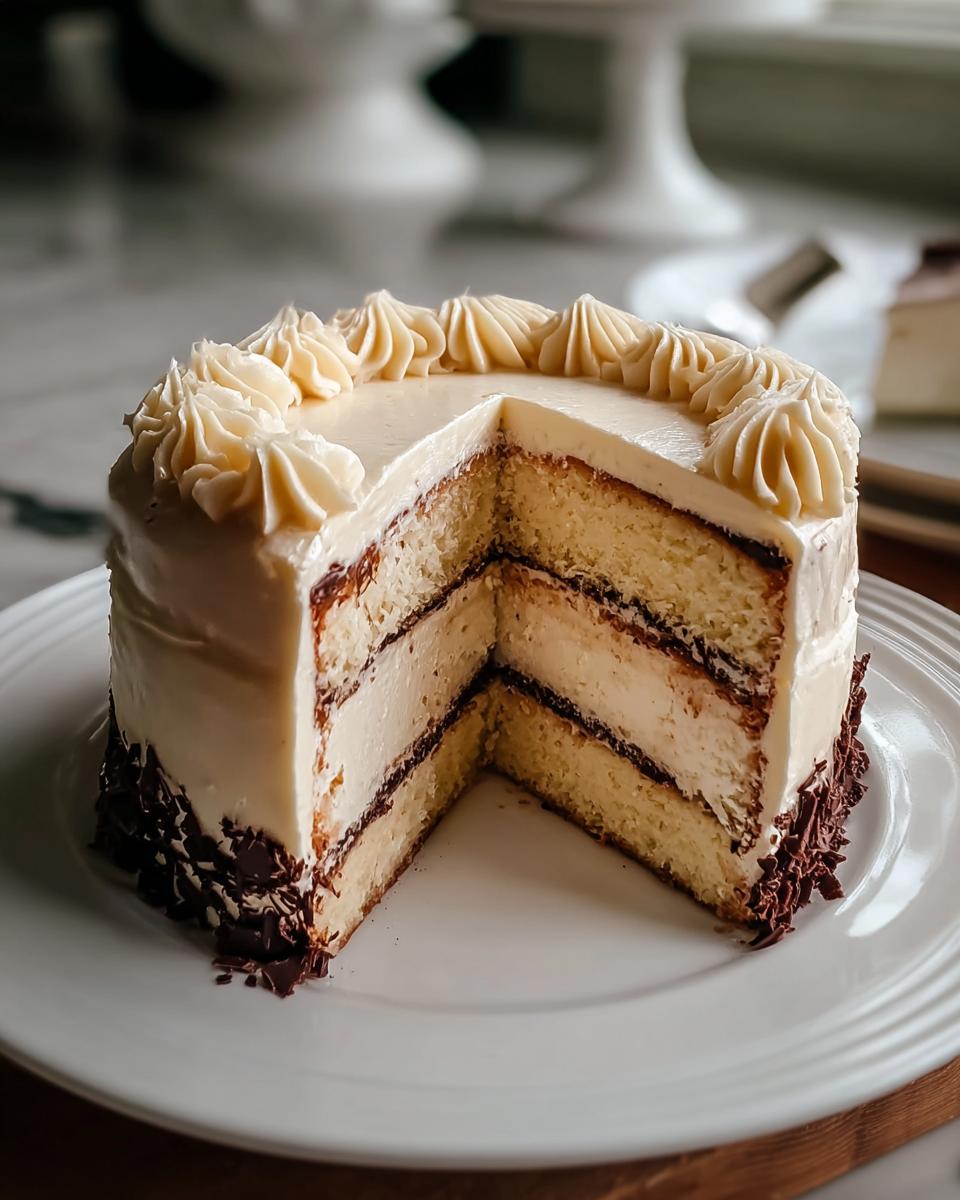
This step requires patience, so resist the urge to frost warm cakes! Once those layers are fully cooled, put the first one down on your serving plate. Slather on a generous, even layer of that fresh buttercream. Place the second layer carefully on top.
Now, use an offset spatula to cover the top and sides smoothly. That restaurant look is all about sharp edges and even layers, so take your time smoothing out the top. For more inspiration on making everyday bakes feel special, check out my favorite easy tips here.
Expert Tips for Perfect Restaurant-Style Cake Ideas Recipes at Home (2025)
Achieving that perfect, level layer that the pros manage is easier than you think, so don’t sweat it if your cakes dome a little! If you’re finding your cakes are baking with a big mound in the middle, try slightly filling the center of your batter pans a little less than the edges, or you can even use those nifty baking strips soaked in water around the outside of your pans—they insulate the edges so the cake bakes more evenly. That keeps things flat!
Also, that little note about the milk? You can absolutely swap that whole milk for buttermilk if you want a tangier crumb that really cuts through the sweetness of the buttercream. It adds a lovely depth! For anything that needs a little extra flavor boost without adding much fuss, I always reach for high-quality vanilla.
And a final, crucial tip for any cake striving for that restaurant status: make sure your layers are completely cool before you even *think* about frosting. If they are even slightly warm, that gorgeous buttercream melts into a greasy puddle! Check out some of my favorite ways to keep treats feeling light and delicious here.
Customizing Your Restaurant-Style Cake Ideas Recipes at Home (2025)
Part of the fun of baking at home is making a recipe truly *yours*, right? We don’t always have to follow things exactly, especially once we nail down that professional base texture. This standard cake is amazing, but we can play with it to create new favorites!
For example, if vanilla feels a little safe, try swapping out one of the teaspoons of vanilla extract for almond extract, or maybe use half vanilla and half lemon extract. Wow, does that ever brighten up the whole cake! If you do this, I highly recommend grating the zest of one lemon right into the butter and sugar when you cream them together—it infuses that bright citrus flavor deep into the crumb.
We can also get fancy with the frosting! This basic buttercream is sturdy, but have you ever thought about stabilizing it with a tiny bit of melted white chocolate? It gives the frosting a lovely silky mouthfeel reminiscent of those fancy mirror glazes you see in bakeries, though we won’t be aiming for a true mirror finish today!
Another fun twist is textural contrast. Fold in a cup of lightly toasted, chopped pecans or walnuts right at the end of mixing the batter. Just be careful not to overmix once you add them in! It gives you that satisfying crunch alongside the soft cake. You can find tons of inspiration for clean-living twists on desserts, including other amazing recipes, over on my main blog right here!
Storing and Serving Your Homemade Restaurant-Style Cake
Phew, you actually finished the entire thing! Now we need to make sure it stays gorgeous until you’re ready to serve it—we worked too hard for a stale slice.
Because this cake uses a classic buttercream, it generally prefers to hang out at cool room temperature for a day or two. Cover it lightly with a cake dome or just loosely tent it with foil so the edges don’t dry out. If you have to store it longer than two days, or if your kitchen is super warm, then pop it into the fridge.
The trick when refrigerating? You MUST let it sit on the counter for at least an hour before slicing. Cakes get hard when cold, and we need that creamy, restaurant-quality softness back! A quick 15-second zap in the microwave can also revive a slice if you’re in a hurry. Enjoy every bite!
Common Questions About Achieving Restaurant-Style Cake Ideas Recipes at Home
It’s totally normal to have a few burning questions when you’re aiming for that next level of baking perfection. I get so many messages from people who feel like they are *so* close but just can’t nail that flawless texture. Don’t worry; we’ve all been there! Let’s tackle some of the most frequent stumbles when trying to replicate those amazing dessert recipes at home.
Why is my cake dense instead of light and fluffy?
Density is usually a battle between overmixing and under-creaming. If you overmix your batter after adding the flour, you develop too much gluten, which results in a tough, heavy cake—definitely not what the restaurant vibe is about! Go back and re-read that alternating dry/wet steps section; you need to mix minimally after the flour goes in. Also, did you properly cream your butter and sugar until they were light and fluffy *before* adding anything else? That initial whipping creates essential air pockets!
My buttercream frosting keeps looking grainy, what am I doing wrong?
Oh, the dreaded grainy frosting! That almost always comes down to one thing: powdered sugar that hasn’t been sifted. Sifting removes those tiny clumps of sugar that refuse to dissolve, even with beating. Also, make sure your butter isn’t too warm, or the sugar just melts into oil instead of incorporating properly. If you’re still having issues, try beating the butter and powdered sugar together over a double boiler for just a minute to help things melt smoothly, then cool it slightly before beating it high speed for that airy finish.
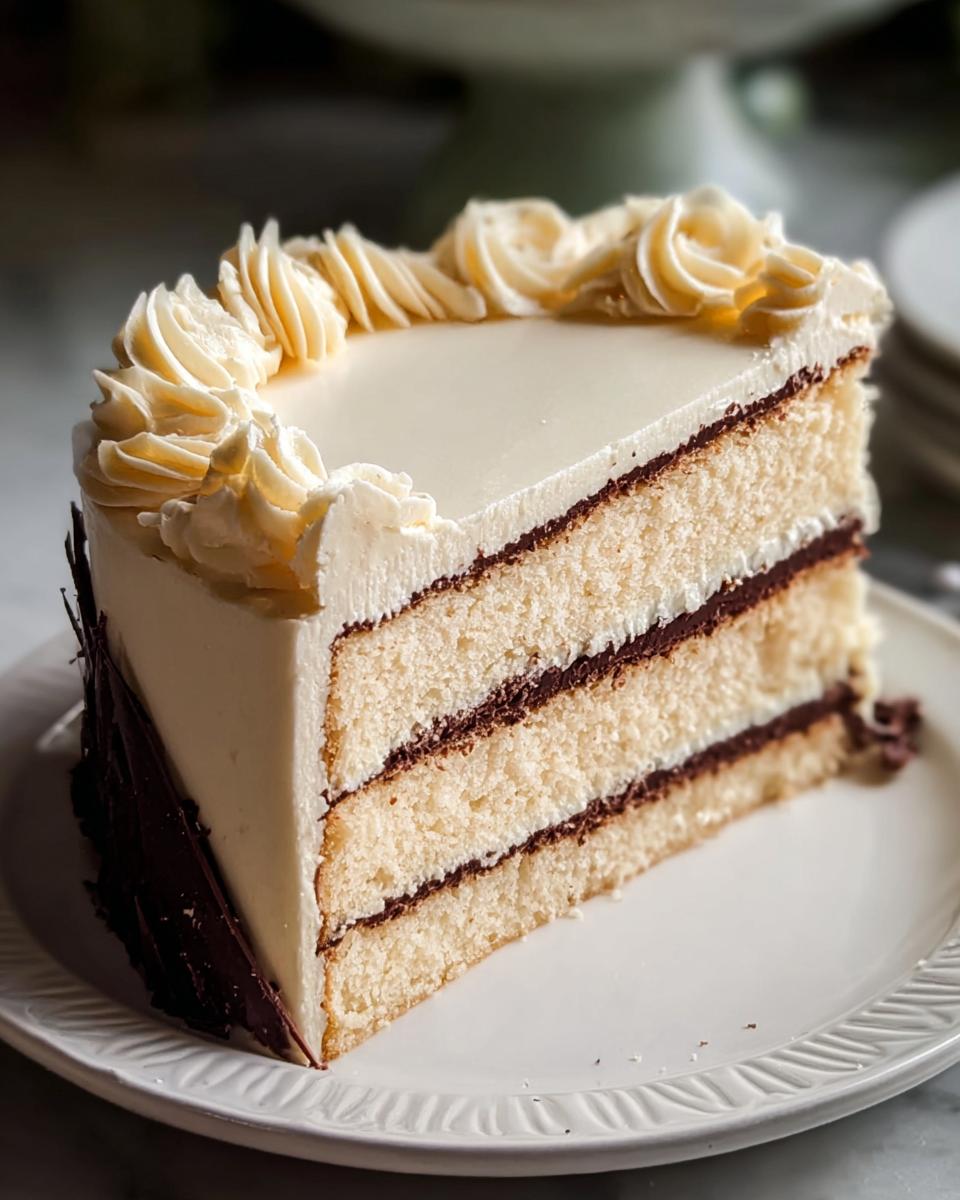
How can I ensure my layers are perfectly flat for easy stacking?
This is the secret weapon you need if you want professional-looking layers without a ton of slicing! If you don’t want to use the baking strips I mentioned earlier, try this trick: gently tap the filled pans firmly on the counter a couple of times after pouring the batter in. This settles the batter and pops any big air bubbles that cause those ugly domes. If you do end up with a slight dome, a long, serrated bread knife used gently can shave it right down once the cake is completely cold.
Can I make this cake a day ahead of time?
Absolutely, and I highly encourage it for a truly stress-free day! Once the layers are completely cooled, you can wrap each layer tightly in plastic wrap—like wrapping a precious gift—and keep them at room temperature for a full day, or freeze them for up to a month. If you freeze them, just thaw them wrapped on the counter overnight before frosting. Having cold, firm layers makes frosting and assembling your masterpiece so much easier! If weight loss goals are top of mind, you can review some healthier approaches to recipes here.
Sharing Your Culinary Success
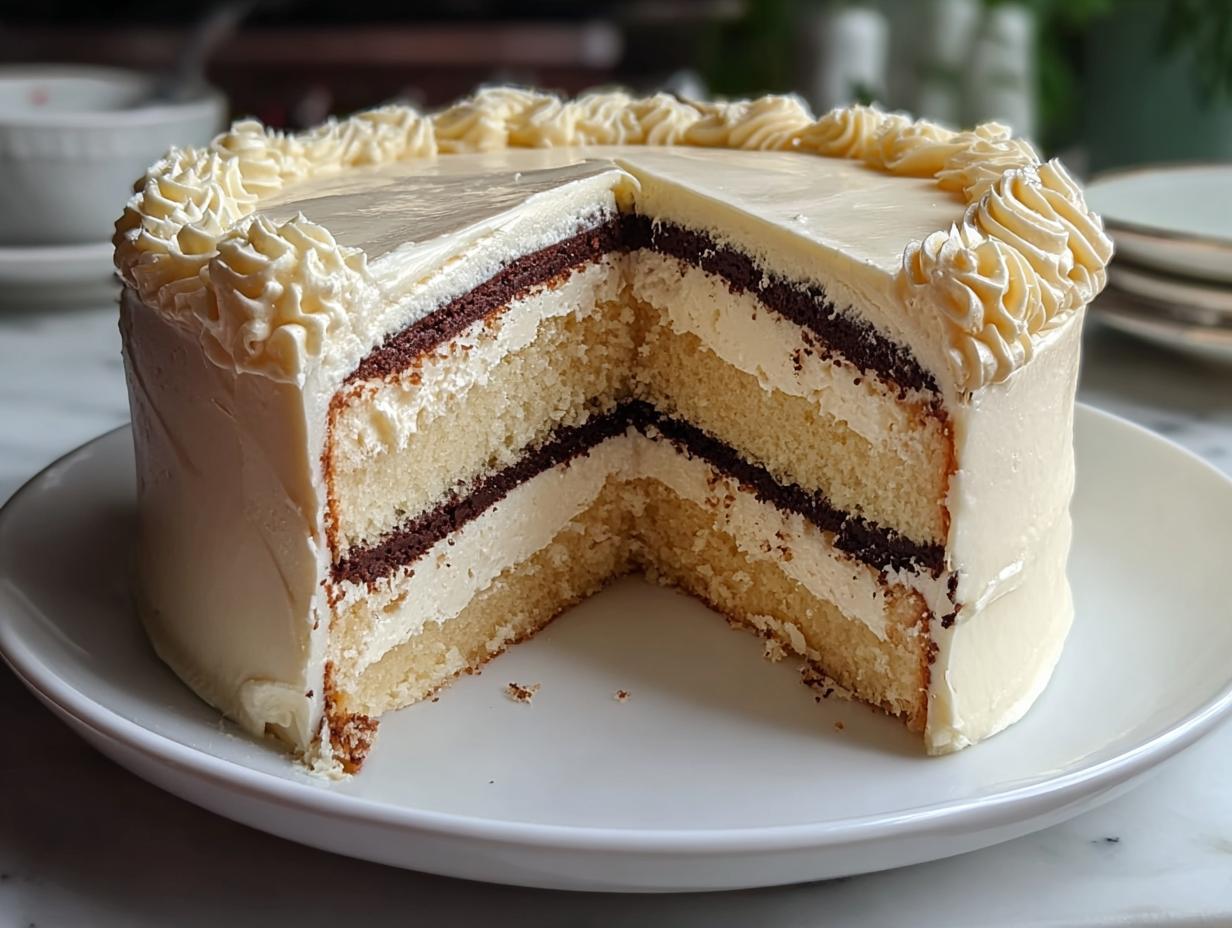
Whew! You made a truly restaurant-quality creation right there in your home kitchen. Believe me, I am so excited for you! Now that you’ve taken the time to bake this incredible Layer Cake, I really want to hear all about it.
Did you stick with the classic look, or did you go bold with some fun custom touches? Did you find the buttercream just spread like a dream?
Please take a moment and pop down into the comments section below. Tell me how your Restaurant-Style Cake Ideas Recipes at Home (2025) turned out! I absolutely love seeing photos of your bakes—tag me if you share them online—your successes inspire me every single day!
By EMILIA, founder of MeltItClean.com
Hi, I’m EMILIA, the founder of MeltItClean.com – your digital space for natural weight loss, real wellness habits, and clean-living inspiration that actually fits your life.
For years, I struggled with the ups and downs of dieting. I tried everything — juice cleanses, low-carb crazes, fitness challenges — but I always ended up back where I started: tired, bloated, and frustrated. I didn’t just want to “lose weight” — I wanted energy, mental clarity, glowing skin, and confidence without sacrificing my joy or sanity.
After years of experimenting, learning, and unlearning, I discovered a simple truth: your body is already powerful — it just needs support, not restriction. That’s when I created Melt It Clean — a site dedicated to real transformation through clean, intentional, and nourishing daily habits that anyone can follow.
My goal was simple: build a place where people could feel informed, supported, and empowered without being overwhelmed by wellness fads.
Restaurant-Style Cake
Ingredients
Equipment
Method
- Preheat your oven to 350°F (175°C). Grease and flour two 9-inch round cake pans.
- In a medium bowl, whisk together the flour, baking powder, and salt. Set this aside.
- In a large bowl, use an electric mixer to cream the softened butter and sugar together until the mixture is light and fluffy, about 3 to 5 minutes.
- Beat in the eggs one at a time, mixing well after each addition. Stir in the vanilla extract.
- Gradually add the dry ingredients to the wet ingredients, alternating with the milk. Begin and end with the dry ingredients. Mix until just combined; do not overmix.
- Divide the batter evenly between the prepared cake pans. Bake for 30 to 35 minutes, or until a toothpick inserted into the center comes out clean.
- Let the cakes cool in the pans for 10 minutes before inverting them onto a wire rack to cool completely.
- To make the frosting, beat the softened butter until smooth. Gradually add the powdered sugar, mixing on low speed until incorporated, then increase speed to medium-high.
- Add the vanilla extract and heavy cream. Beat until the frosting is light and spreadable, adding more cream if necessary for a softer consistency.
- Once the cakes are completely cool, place one layer on a serving plate. Spread a layer of frosting over the top. Place the second layer on top and frost the top and sides of the entire cake.