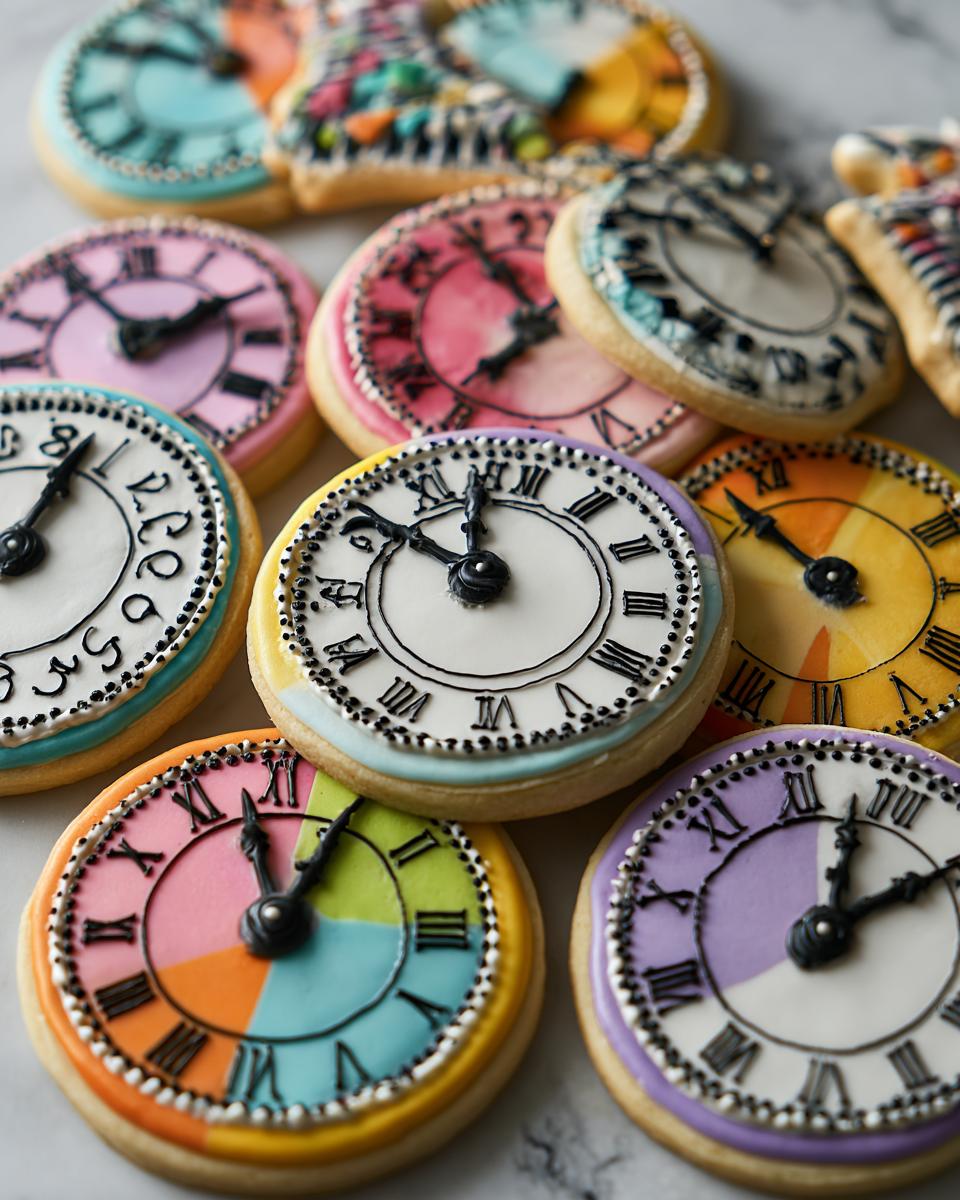
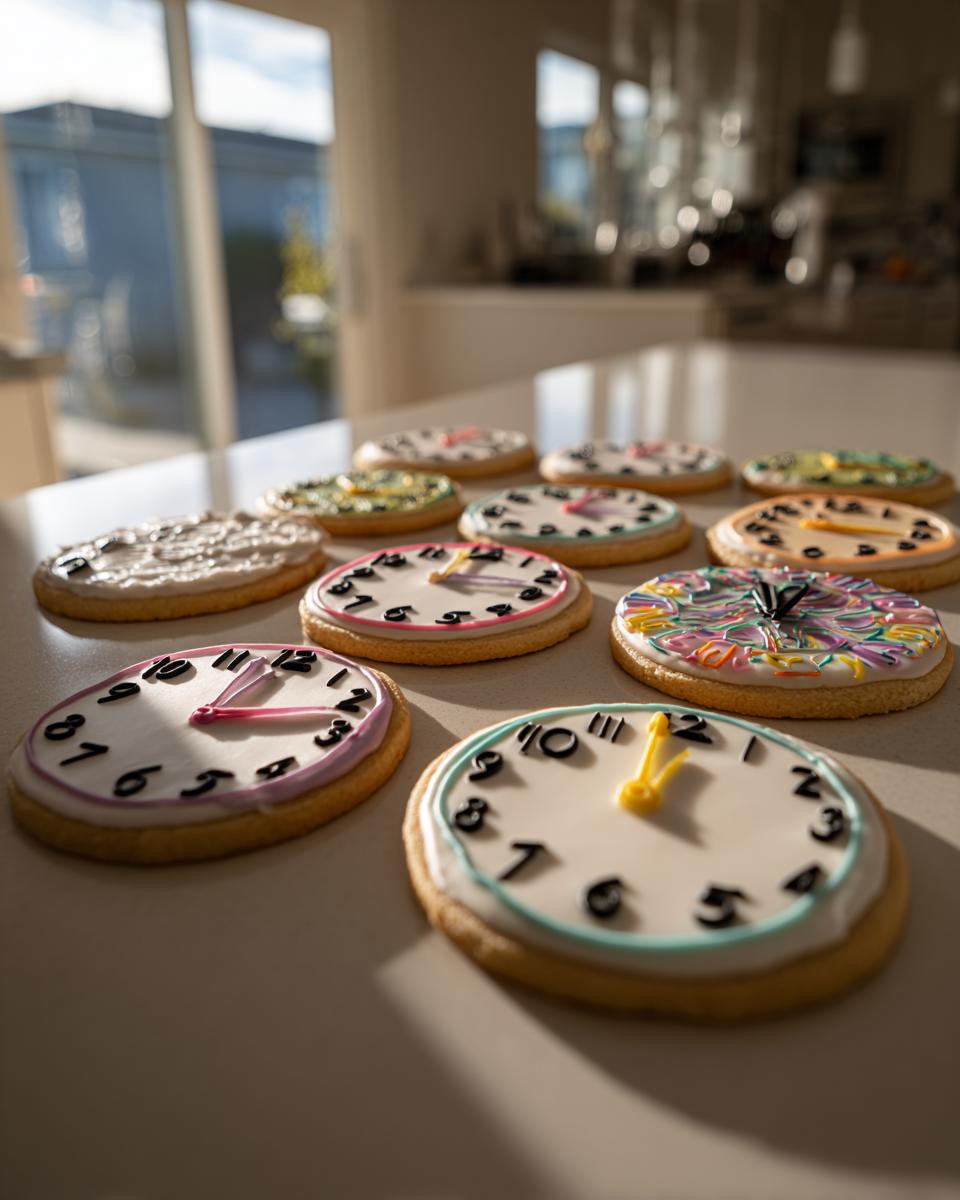
You know, there’s something so magical about ringing in a new year, right? It always feels like a big event, and I love making it extra special with themed treats! That’s why these Clock Face Countdown Cookies are just perfect for New Year’s Eve parties or any time you need a fun way to count down. Seriously, baking and decorating these little guys takes me back to my own childhood, full of excitement and anticipation. They’re not just cookies; they’re a little bit of edible joy and a whole lot of fun for everyone gathering around.
Why You’ll Love These Clock Face Countdown Cookies
Seriously, these Clock Face Countdown Cookies are a total winner! Here’s why:
- They’re super fun and festive for any countdown party!
- Decorating them is a blast (and surprisingly easy!).
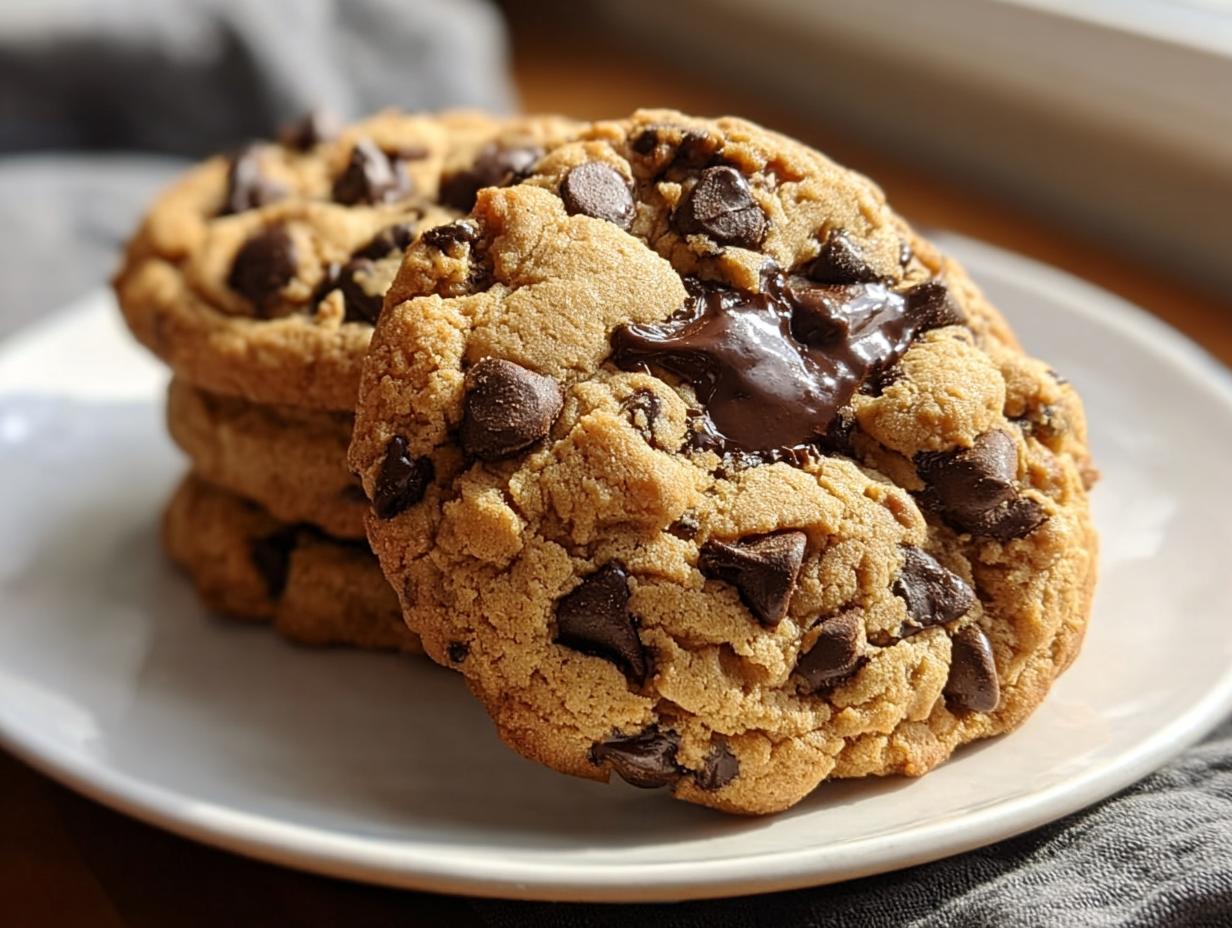
- They taste absolutely delicious – a perfect buttery, sweet treat.
- They make your celebration table look incredibly special.
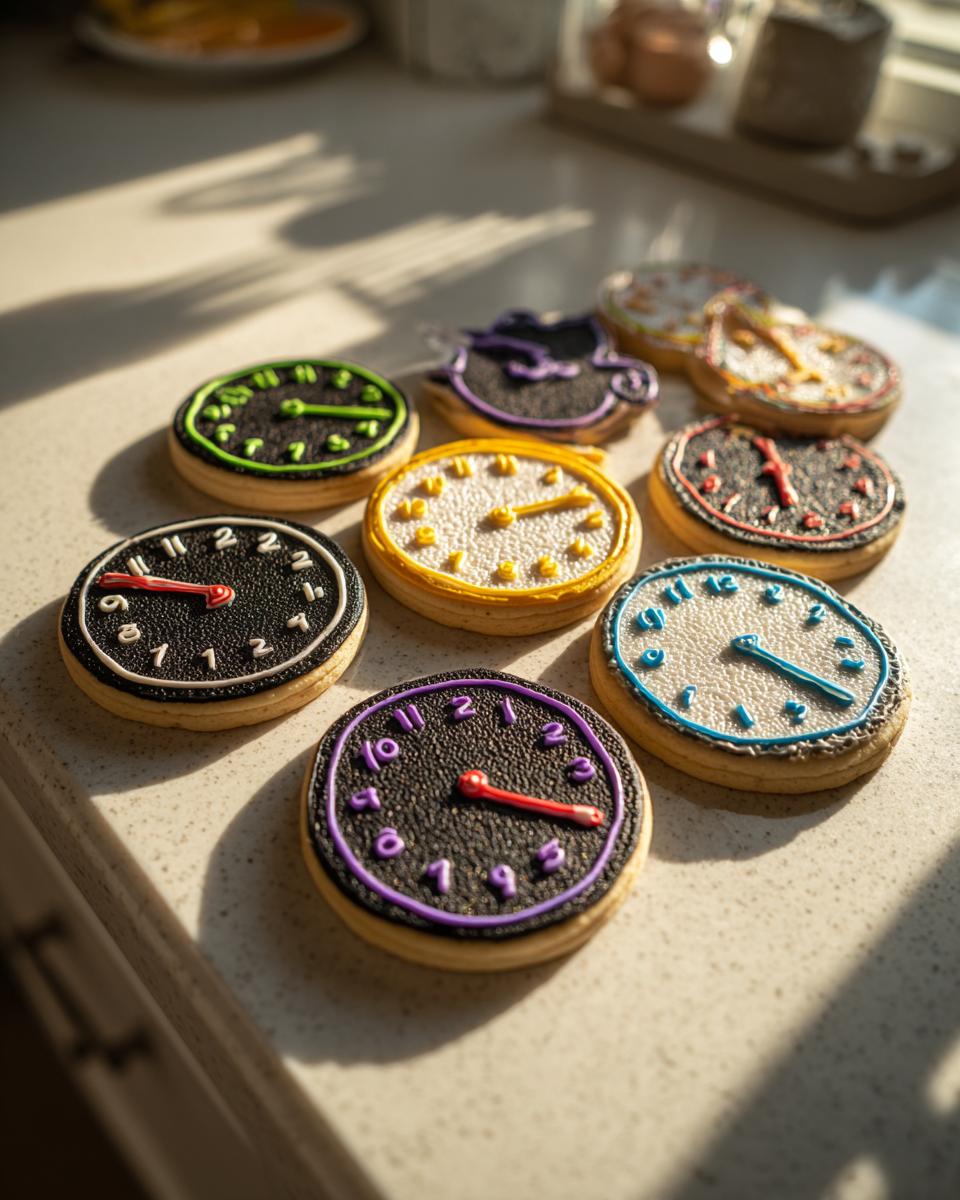
- You can customize the times on the clocks for extra fun.
- Everyone always raves about them!
Gather Your Ingredients for Clock Face Countdown Cookies
Alright, let’s get our ingredients ready! You’ll want to have everything measured out before you start mixing, trust me, it makes life so much easier. For the cookies themselves, we’re going with a classic sweet dough that holds its shape beautifully. You’ll need about 3 cups of all-purpose flour, 1 teaspoon of baking powder, and half a teaspoon of salt. Then comes the good stuff: 1 cup of softened unsalted butter (make sure it’s nicely softened, not melted!), 1 cup of granulated sugar, 2 large eggs, and a teaspoon of pure vanilla extract.
Now for the fun part – the icing! We’ll whip up about 4 cups of powdered sugar with 1/3 cup of milk until it’s smooth and just the right consistency. A teaspoon of vanilla extract is a must, and I like adding a tiny bit of almond extract too, just for that extra kick (but it’s optional!). And of course, for our clock faces, you’ll need some food coloring: black, red, and blue are perfect for numbers and hands. You can even leave a little bit white if you’re feeling artistic!
Essential Equipment for Making Clock Face Countdown Cookies
Before we dive into the fun, let’s make sure you have all your tools ready. Having the right gear makes baking so much smoother! You’ll definitely want a couple of mixing bowls on hand, and an electric mixer makes creaming the butter and sugar a breeze. A good rolling pin is key for getting that perfect dough thickness, and of course, some round cookie cutters (I like a few different sizes!) are a must. Baking sheets, parchment paper for easy cleanup, and piping bags for precise decorating are also super important. Oh, and don’t forget those little food coloring bottles!
Step-by-Step Guide to Crafting Your Clock Face Countdown Cookies
Alright, let’s get down to business and make these amazing cookies! It might seem like a lot of steps, but trust me, it’s so worth it. We’ll go from a simple dough to these super cute clock faces that’ll be the star of your party. Just follow along, and you’ll see how easy it can be!
Preparing the Cookie Dough
First things first, grab a medium bowl and whisk together your flour, baking powder, and salt. Set that aside. Now, in a bigger bowl, let’s cream together that softened butter and sugar. Beat ’em ’til they look light and dreamy, then add the eggs one by one, followed by that lovely vanilla extract. Pour in your dry stuff and mix until it just comes together. Don’t overmix! The dough will be pretty stiff, that’s totally normal. Then, divide it in half, flatten each part into a disc, wrap ’em up tight, and pop them in the fridge for at least an hour. This chilling part is super important, it makes the dough easier to work with!
Rolling, Cutting, and Baking Your Clock Face Countdown Cookies
Okay, oven time! Preheat it to 350°F (175°C) and line a couple of baking sheets with parchment paper – makes clean-up a breeze! Grab one of your chilled dough discs and roll it out on a lightly floured surface to about a quarter-inch thick. Now for the fun part: use your round cookie cutter (around 3 inches usually works great!) to cut out your cookies. Gently place them onto the prepared baking sheets. Bake them for about 10 to 12 minutes. You want the edges to be just a little golden. Let them hang out on the baking sheets for a few minutes before carefully moving them to a wire rack to cool completely. Patience here means pretty cookies later!
This is a great time to check out our guide to cooking temps and tips to make sure everything’s just perfect!
Crafting the Perfect Icing
While those cookies cool down, let’s whip up the icing. It needs to be thick enough to pipe but smooth enough to spread. In a medium bowl, whisk together your powdered sugar, milk, vanilla, and that optional almond extract. Stir it all up until there aren’t any lumps and you’ve got a nice, smooth consistency. If it seems too thick, add a tiny splash more milk. Too thin? A bit more powdered sugar will do the trick. Easy peasy!
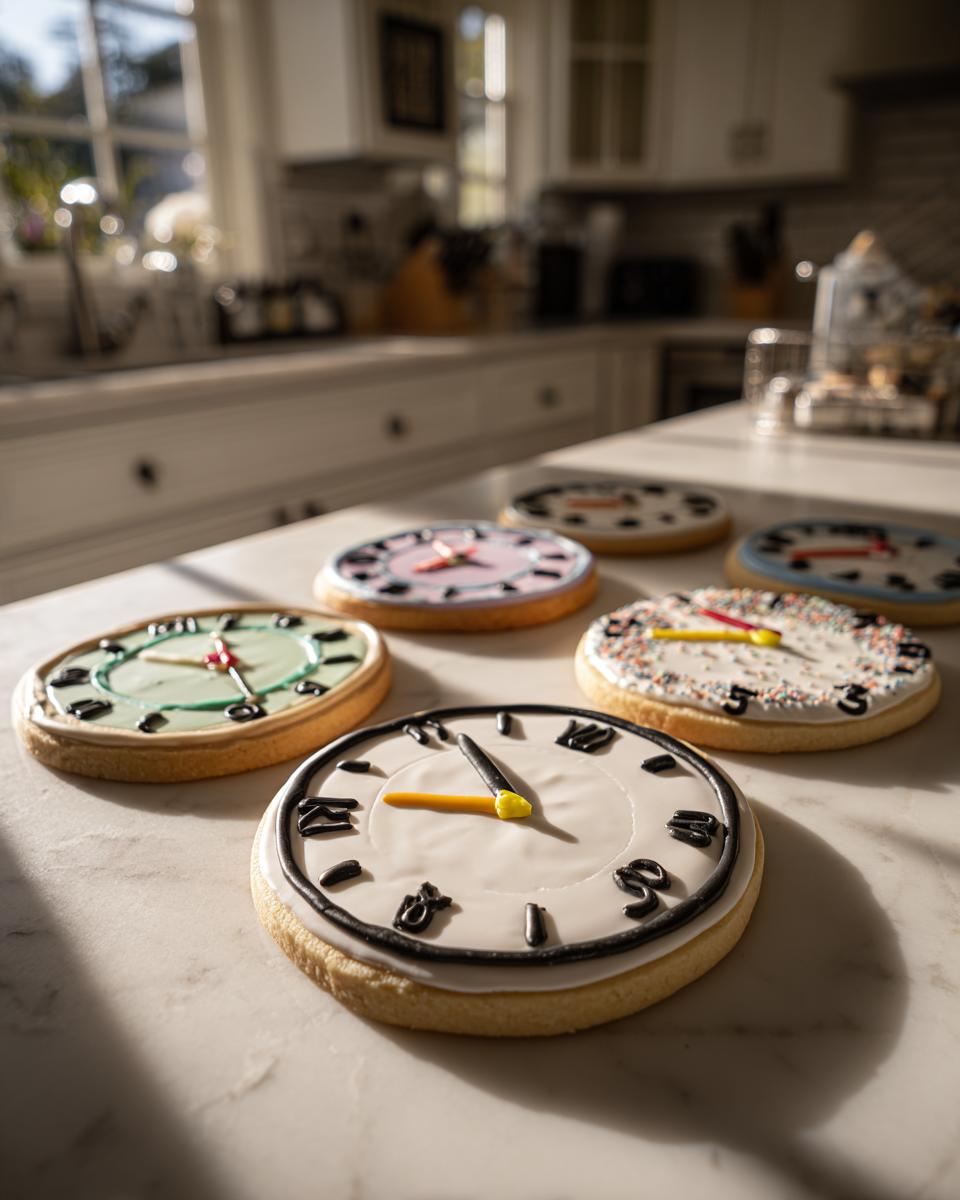
Decorating Your Clock Face Countdown Cookies
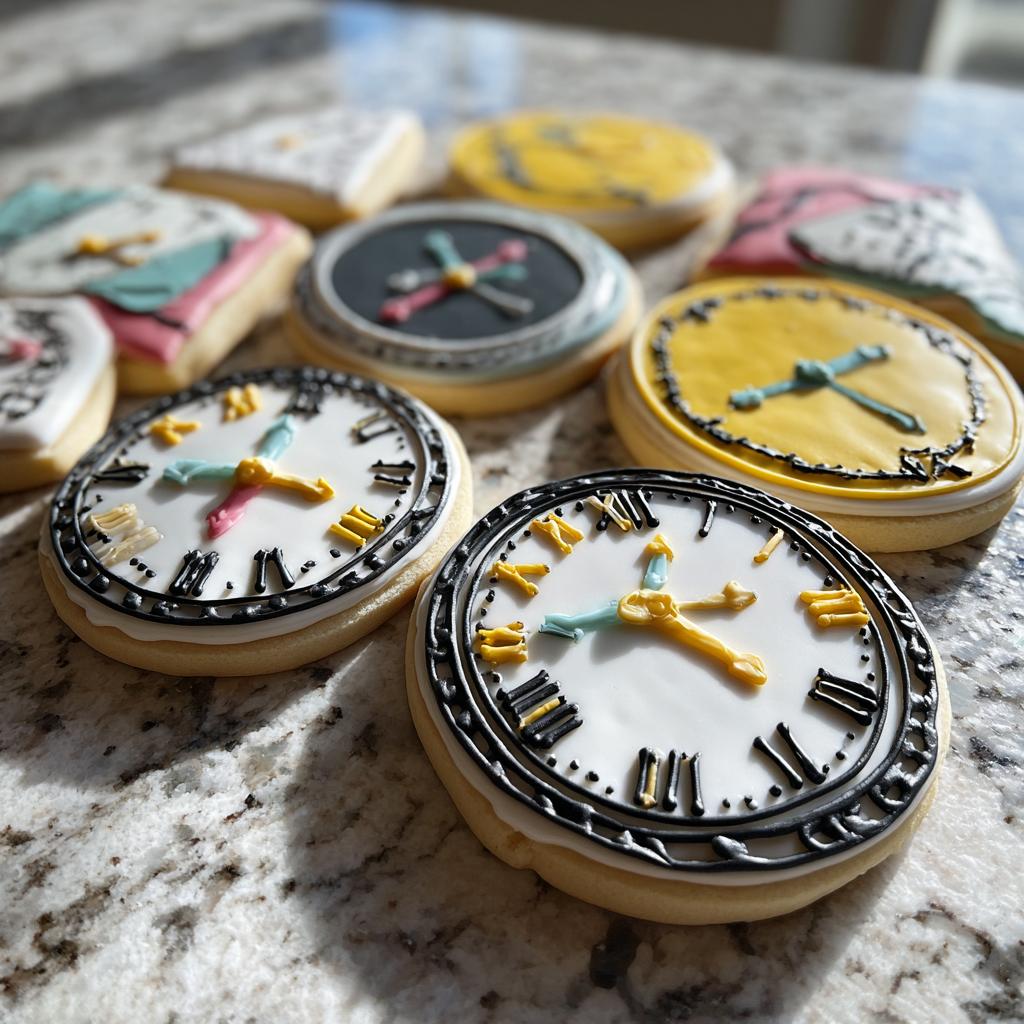
Now for the grand finale! Once your cookies are totally cool (this is important, otherwise, the icing will melt!), it’s time to get creative. Grab your piping bags – divide your icing into three bowls and tint them black, red, and blue. You can leave a little white too. Start by piping the black icing around the edge of the cookie to make the clock outline. Then, carefully pipe on the numbers 1 through 12. This takes a steady hand, but don’t worry if they aren’t perfect! Finally, use your red and blue icing to draw on the clock hands, pointing to different times. You can make them all show midnight, or mix it up!
Tips for Perfectly Decorated Clock Face Countdown Cookies
Okay, so making these Clock Face Countdown Cookies is super fun, but sometimes those little details can be tricky, right? Don’t worry, I’ve learned a few things along the way that make it so much easier! First off, your icing consistency is everything. If it’s too thin, it’ll just run everywhere, and if it’s too thick, you’ll have a hard time piping. Aim for something like toothpaste – thick enough to hold its shape but still smooth. If it’s too runny, just whisk in a little more powdered sugar, little by little. Too stiff? A tiny splash of milk or water should do the trick.
When you’re piping, try to hold the bag steady but relaxed. For the numbers and hands, remember that small, controlled movements work best. It’s okay if they aren’t super neat; on a clock, things can be a little whimsical! Also, make sure your cookies are COMPLETELY cool before you even think about icing them. Seriously, I learned that the hard way! A warm cookie is a melted icing disaster waiting to happen. And if you ever want more tips on making perfect baked goods, check out this guide; it’s a lifesaver!
Ingredient Notes and Substitutions for Your Cookies
Sometimes you might be missing something or want to tweak a recipe a bit, and that’s totally okay! For these Clock Face Countdown Cookies, the softened butter is pretty important for texture, but you can use a good-quality margarine if you need to. As for the milk in the icing, any kind will work – even a dairy-free option like almond or soy milk is fine. And that almond extract? It gives a little something extra, but if you don’t have it or aren’t a fan, just double up on the vanilla. Easy swaps!
Frequently Asked Questions about Clock Face Countdown Cookies
Got questions? I’ve got answers! Making these Clock Face Countdown Cookies is usually pretty straightforward, but here are a few things folks sometimes ask:
Can I make these cookies ahead of time?
Oh, absolutely! You can bake the cookies a day or two ahead of time and store them in an airtight container at room temperature. The icing needs to be fully set before you store them, though. It’s actually a great way to get ahead of your party prep!
How do I store decorated cookies?
Once your beautiful clock face cookies are completely dry, store them in an airtight container. You can even put parchment paper between layers if you’re stacking them to prevent the icing from sticking. They stay good at room temperature for several days, which is perfect for New Year’s Eve festivities!
What if my icing is too thin or too thick?
This is a common one! If your icing is too thin and runny, just stir in a little more powdered sugar, a tablespoon at a time, until it’s thick enough to pipe. If it’s too thick and won’t come out of the piping bag, add a tiny splash of milk or water until it reaches the right consistency. It should be like thick toothpaste!
Can I use a different cookie cutter shape?
You totally can! While round cutters are best for a clock face, you could get creative with squares or even star shapes. You’d just need to pipe the numbers and hands differently. For the classic look, stick with round cutters – they make the most convincing clocks!
Nutritional Information
Just a little reminder that these numbers are approximate! Since every kitchen uses slightly different ingredients and brands, the exact nutritional breakdown for these Clock Face Countdown Cookies can vary. Generally, you’re looking at around 200-250 calories per cookie, with about 10-12g of fat, 30-35g of carbs, and a couple of grams of protein. For precise details, you’d want to plug your specific ingredients into a nutrition calculator. You can find more info on our general disclaimer page.
Clock Face Countdown Cookies
Ingredients
Equipment
Method
- In a medium bowl, whisk together the flour, baking powder, and salt. Set aside.
- In a large bowl, cream together the softened butter and granulated sugar until light and fluffy. Beat in the eggs one at a time, then stir in the vanilla extract.
- Gradually add the dry ingredients to the wet ingredients, mixing until just combined. The dough will be stiff.
- Divide the dough in half, flatten each half into a disc, wrap in plastic wrap, and refrigerate for at least 60 minutes.
- Preheat your oven to 350°F (175°C). Line baking sheets with parchment paper.
- On a lightly floured surface, roll out one disc of dough to about 1/4-inch thickness. Use a round cookie cutter (about 3 inches in diameter) to cut out cookies. Place the cookies on the prepared baking sheets.
- Bake for 10-12 minutes, or until the edges are lightly golden. Let the cookies cool on the baking sheets for a few minutes before transferring them to a wire rack to cool completely.
- While the cookies are cooling, prepare the icing. In a medium bowl, whisk together the powdered sugar, milk, vanilla extract, and almond extract (if using) until smooth. The icing should be thick but pourable.
- Divide the icing into three small bowls. Tint one bowl black, one red, and one blue. You can leave a small portion white if desired.
- Once the cookies are completely cool, use piping bags or spoons to decorate them. Outline the cookies with black icing to create the clock face. Then, pipe on the numbers 1 through 12. Use red and blue icing to create clock hands pointing to different times.
- Let the icing set completely before serving or storing.