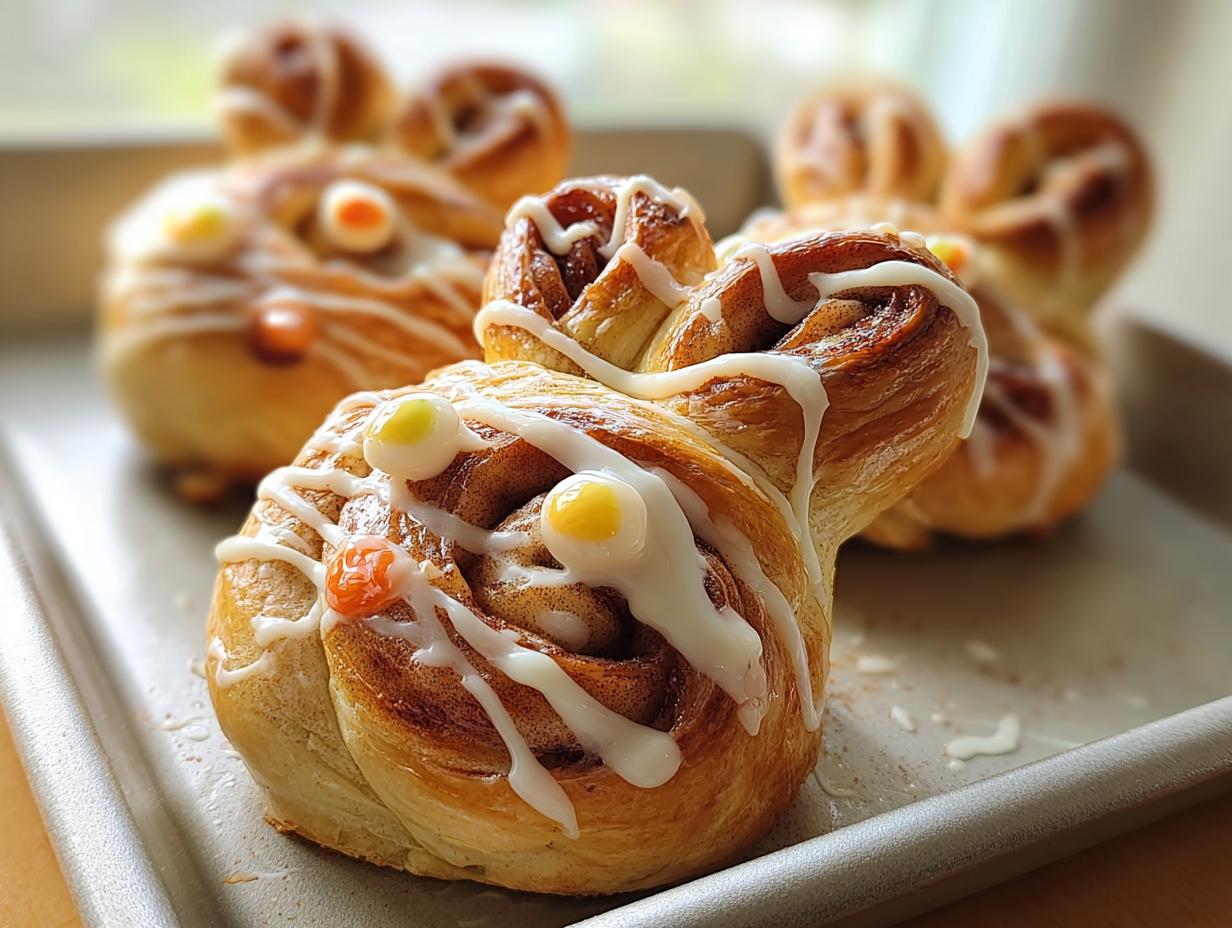
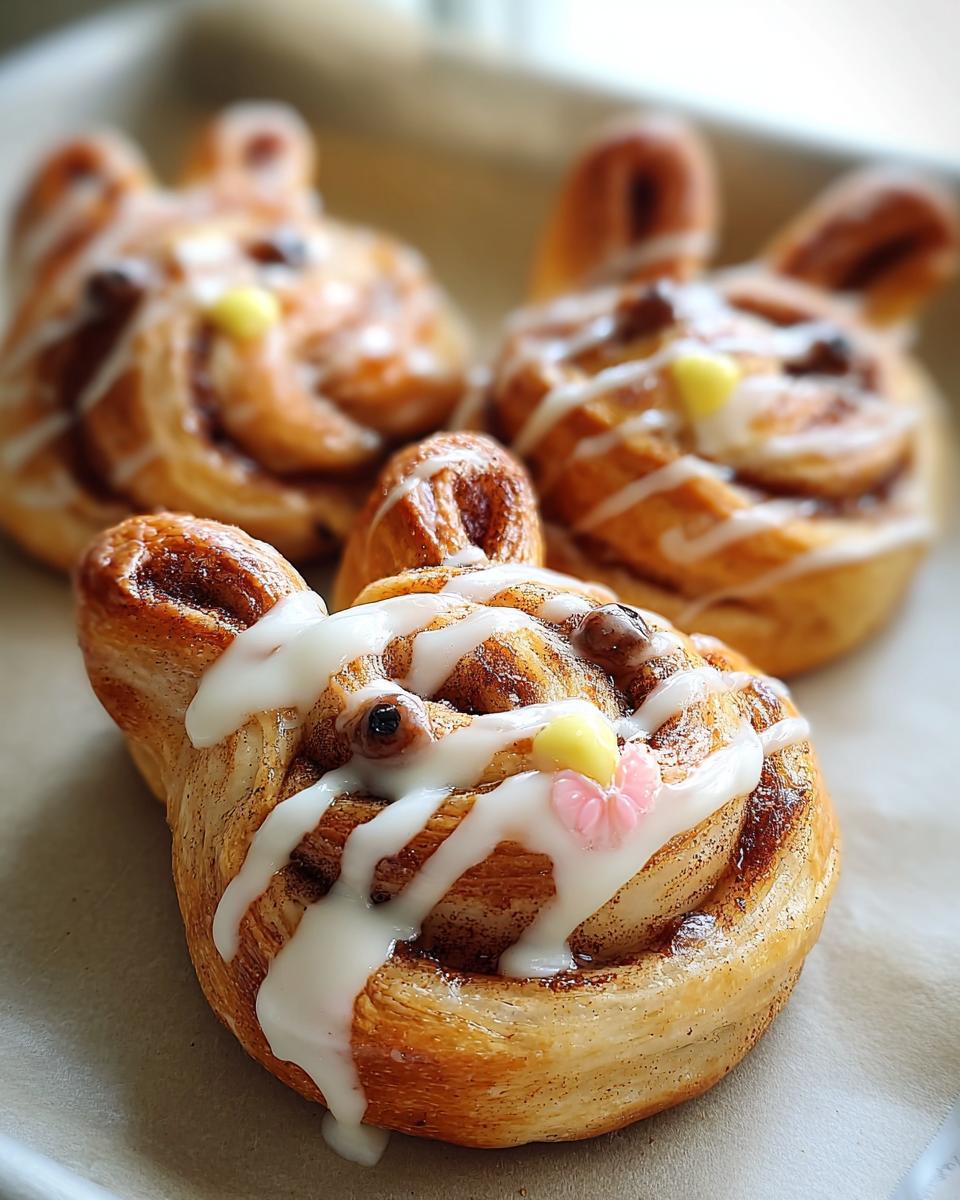
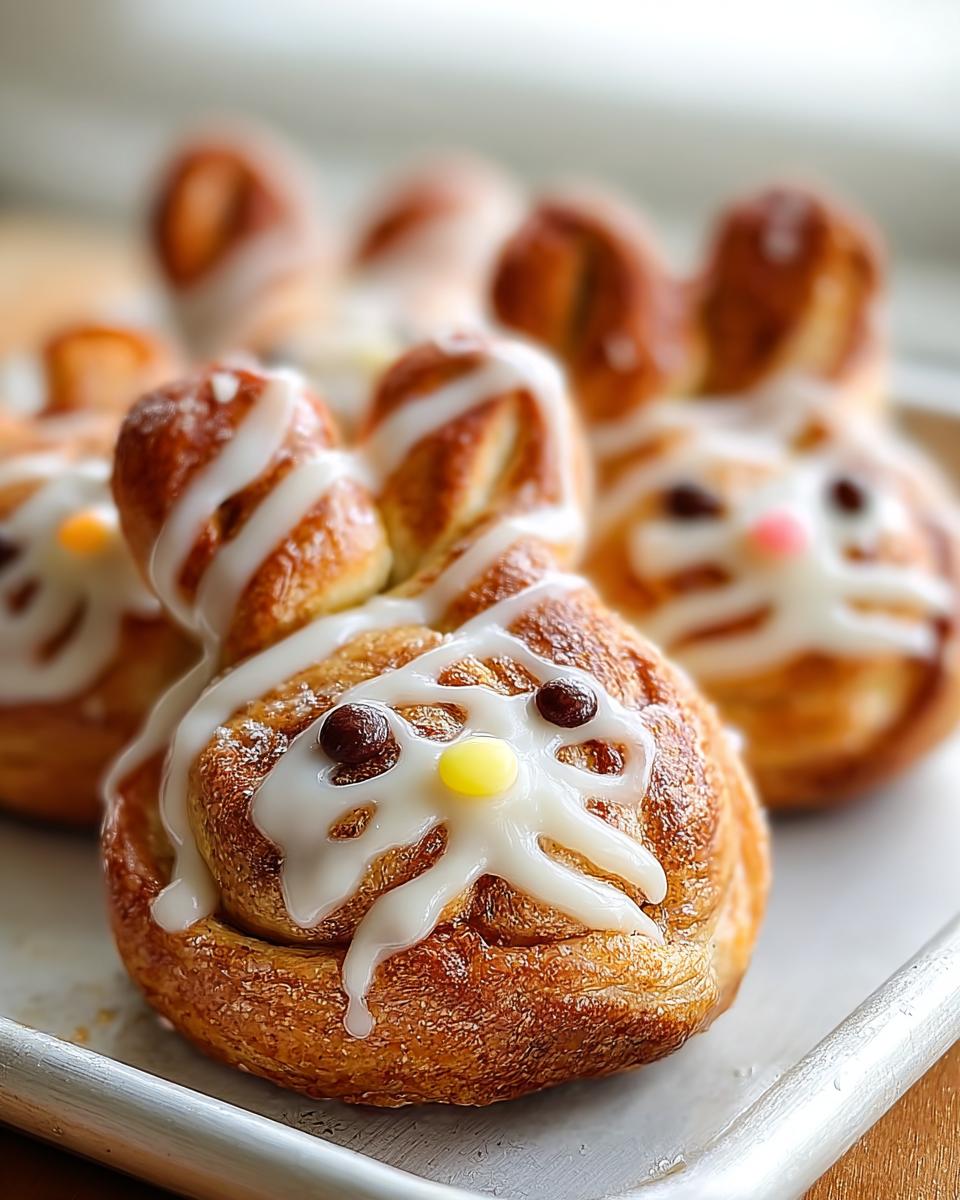
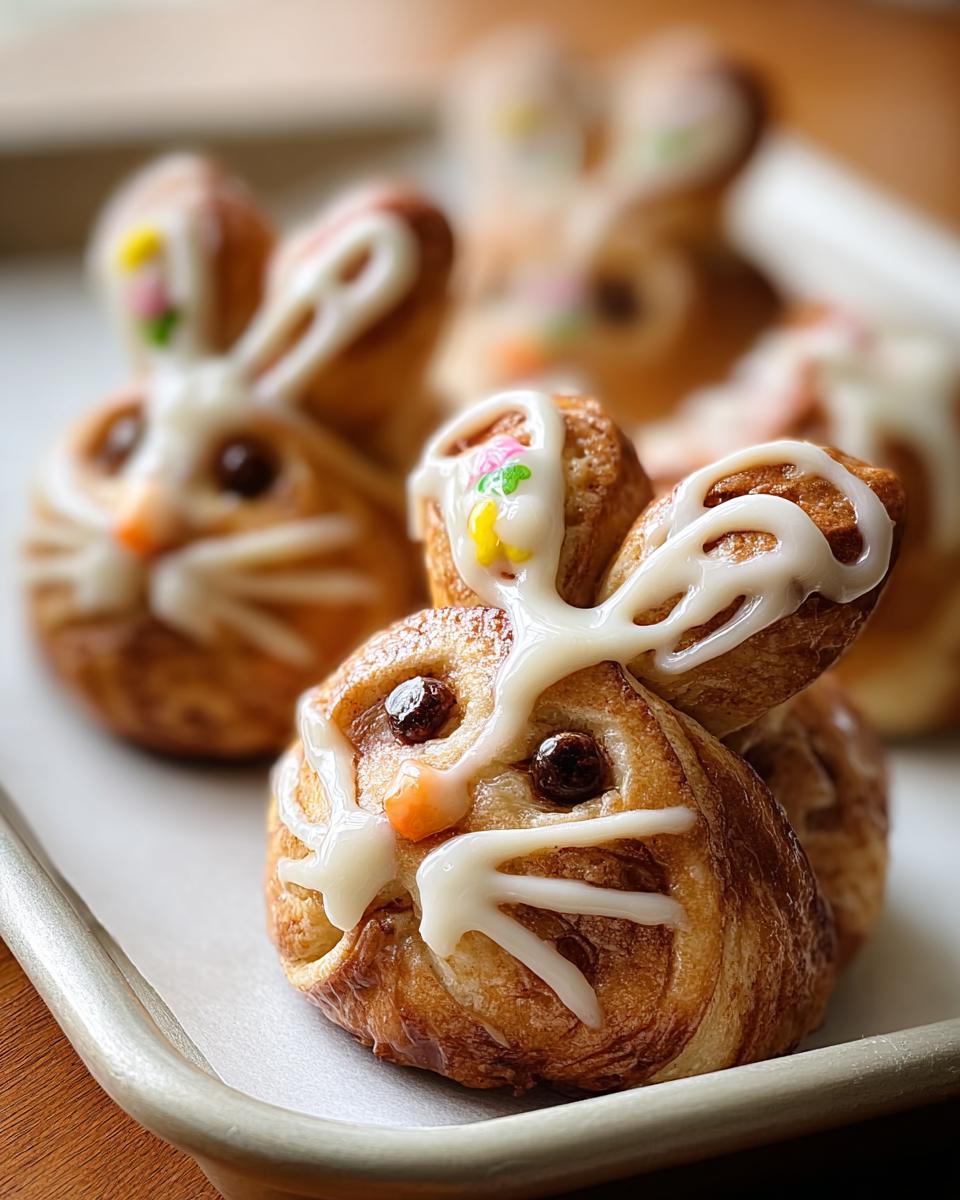
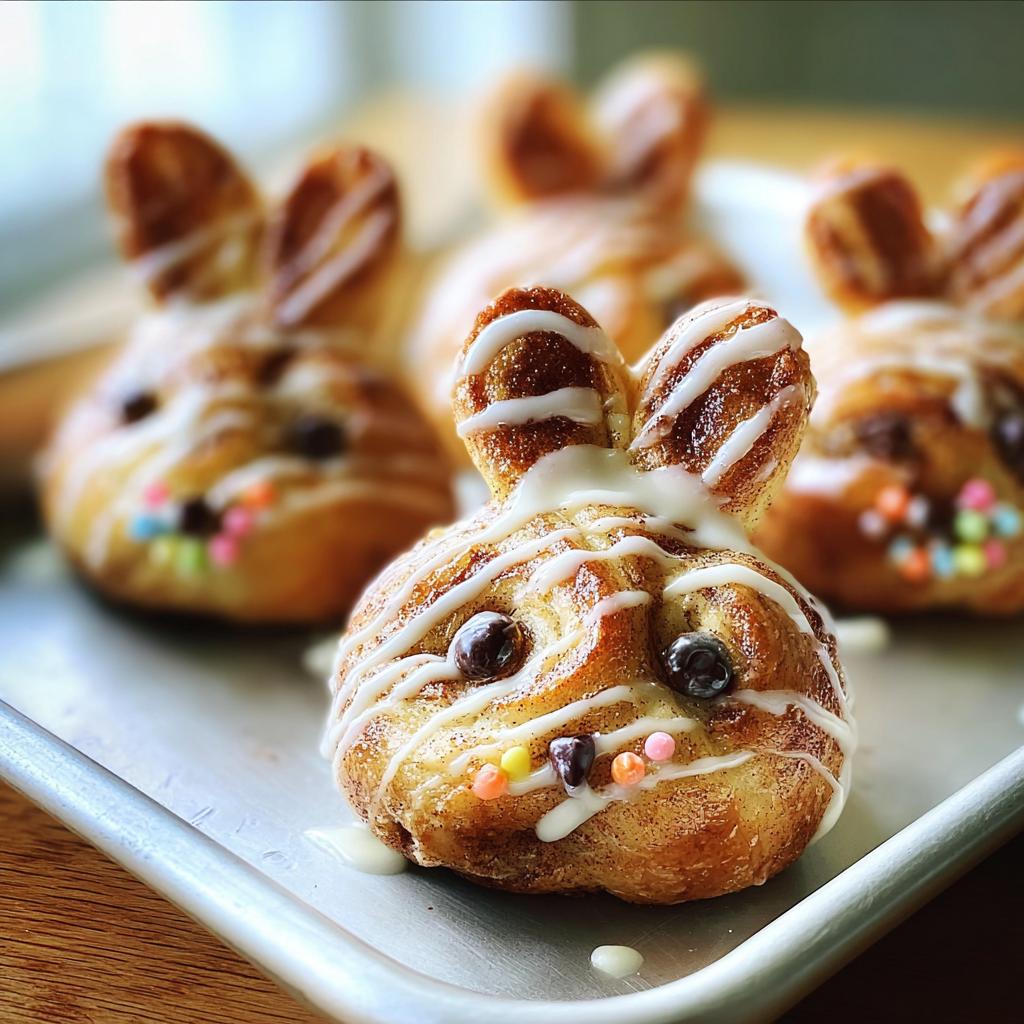
Okay, confession time! There are certain things in my kitchen that just bring pure, unadulterated joy, and these adorable little Cinnabunnies are absolutely one of them. Forget boring old cinnamon rolls for a second – imagine fluffy, warm dough swirled with cinnamon and sugar, baked until golden, and then topped with a dreamy cream cheese icing. But here’s the magic: we shape them to look like little bunnies! Seriously, what’s not to love? They’re almost too cute to eat… almost! They’re my go-to for making breakfast feel extra special, especially on a lazy Sunday morning, or when I just need a little pick-me-up. If you’re anything like me, you love creating those “wow” moments around food, and these Cinnabunnies totally deliver!
Why You’ll Love These Cinnabunnies
Seriously, these Cinnabunnies are a game-changer! Here’s why you’ll be obsessed:
- Super Fun Shape: They’re not just cinnamon rolls, they’re adorable little bunnies! Perfect for adding a playful touch to any breakfast or brunch, especially for kids (and the young at heart!).
- Irresistible Flavor: That classic gooey cinnamon-sugar swirl paired with a rich, tangy cream cheese icing? It’s pure heaven in every bite. Trust me, the combination is amazing.
- Surprisingly Easy: While they look fancy, the steps are really straightforward, especially if you use a stand mixer. They taste like they took hours, but you can totally whip them up without a fuss.
- Special Occasion Worthy: Easter morning, birthdays, or just a special weekend treat – these Cinnabunnies make any occasion feel a little more magical. They’re a real crowd-pleaser!
Gather Your Cinnabunnies Ingredients
Alright, let’s get our kitchen prepped! To make these adorable Cinnabunnies, you’ll want to round up a few things. Don’t worry, most of this is probably already in your pantry!
For the Dough
We’re starting with the fluffy base, so make sure you have:
- 3/4 cup milk
- 1/3 cup butter
- 3 1/4 cups all-purpose flour
- 1/4 cup white granulated sugar
- 1/2 teaspoon salt
- 1 package active quick-rise yeast
- 1 egg
For the Filling
This is where all that cozy cinnamon-sugar goodness comes from:
- 4 tablespoons butter, melted
- 3/4 cup light brown sugar, packed
- 2 tablespoons ground cinnamon
For Assembling
Just a little something extra to make them extra soft:
- 1/4 cup heavy cream
For the Icing
Because no cinnamon roll, or bunny, is complete without it!
- 4 ounces cream cheese, softened
- 1/2 cup unsalted butter, softened
- 2 cups powdered sugar
- 2 tablespoons milk or heavy cream
Crafting Your Perfect Cinnabunnies
Alright, let’s get our hands a little floured and make some magic happen! This is where the fun truly begins, transforming simple ingredients into those adorable Cinnabunnies everyone will rave about. From dough prep to that final drizzle, I’ll walk you through every step!
Preparing the Cinnabunnies Dough
First up, we need to get our dough happy and ready. In a small saucepan, gently warm your milk and butter over medium heat until the butter is all melty and everything is just lukewarm – not hot! Pour this into your mixing bowl. Now, grab a separate bowl and whisk together 2¼ cups of the flour, your sugar, salt, and the quick-rise yeast. Pour the warm milk mixture into the dry ingredients and give it a little stir. Then, crack in that egg and mix it all up until it’s *just* combined. Now for the kneading! If you’ve got a stand mixer, pop on that dough hook and knead it for about 5-7 minutes, gradually adding the remaining cup of flour. You’re looking for a dough that’s soft, a little sticky, but pulls away from the sides of the bowl. If you’re kneading by hand, just turn it out onto a lightly floured surface and go for it – it might take a bit longer, but it’s totally worth it! For more cinnamon roll inspiration, check out these copycat Cinnabon rolls!
Creating the Sweet Filling
While our dough is having a little party (or resting, if you prefer!), let’s whip up the best part: the filling! Just melt your 4 tablespoons of butter and pour it into a small bowl. Toss in your packed light brown sugar and the ground cinnamon. Give it a good stir until it’s all nicely combined. Easy peasy!
Assembling Your Adorable Cinnabunnies
Okay, this is where the “bunny” part comes in! First, let your dough rest for a quick 10 minutes. While it’s resting, go ahead and preheat your oven to 350°F (175°C). Now, lightly flour your surface and roll that dough out into a nice rectangle, maybe about 9×13 inches. Spread that yummy cinnamon-sugar mixture all over the dough, leaving a tiny border clear along one of the long edges. Starting from the opposite long edge, roll up that dough nice and tight, like you’re making a jelly roll. Once it’s rolled up, pinch that seam closed. Now, cut that log into about 12 equal strips. For each strip, gently fold the two cut sides into the middle, then pinch them together to seal. These are your bunny “ears”! To make the body, gently shape the rest of the strip into a spiral, making sure to pinch the bottom seam to seal it shut. Place your little bunny shapes onto a baking sheet lined with parchment paper. Then, pour that ¼ cup of heavy cream all over them – this little trick makes them extra soft and moist while they bake! You might also like these other fun air fryer cinnamon roll bites!

Baking and Icing Your Cinnabunnies
Pop those adorable Cinnabunnies into your preheated oven. They’ll need about 15-20 minutes to bake. You want them to be lightly golden brown and look beautiful. While they’re baking, let’s whip up the icing! In a medium bowl, beat together the softened cream cheese and softened butter until they’re super smooth and creamy. Gradually add the powdered sugar, a little at a time, alternating with the milk or cream, and beat until it’s all smooth and wonderfully drizzly. As soon as your Cinnabunnies come out of the oven, let them cool for just a few minutes, then drizzle that luscious icing all over the warm rolls. The warmth of the rolls will melt the icing just enough. Ooh, they smell amazing already!
Tips for Perfect Cinnabunnies Every Time
Alright, let’s talk about making sure your Cinnabunnies turn out absolutely perfect every single time. It’s all about a few little tricks I’ve picked up over the years! First off, yeast is alive, so make SURE your milk mixture is just lukewarm – too hot and you’ll kill it, too cold and it won’t get going. You want it to feel warm, never hot, against your wrist. When you’re kneading, don’t be afraid of adding a *tiny* bit more flour if the dough feels way too sticky, but try to keep it on the softer side. That’s where the fluffiness comes from! Watch them while they bake; ovens can be so different, and we don’t want these little guys to get too dark. A light golden brown is what we’re aiming for. And for the icing, if it seems too thick, just add a tiny splash more milk – and too thin? A little more powdered sugar will do the trick!
Ingredient Notes and Substitutions for Cinnabunnies
Let’s chat about some of these ingredients for our Cinnabunnies, just in case you need a little tweak or substitution! For the yeast, I always use active quick-rise, but if you only have instant yeast, you can often skip the warming step and mix it right in with your dry ingredients. Just make sure it’s fresh! If you’re out of all-purpose flour, a good quality 1-to-1 gluten-free baking blend usually works well, though the texture might be slightly different. For the dairy in the icing, creamy dreaminess can still happen without it! You can totally swap the cream cheese and butter for dairy-free alternatives, and use a plant-based milk or even a bit of oat milk for the drizzle. The filling is pretty forgiving, but regular granulated sugar can be used if you don’t have light brown sugar – it’ll just have a slightly less complex flavor.
Frequently Asked Questions about Cinnabunnies
Can I make Cinnabunnies ahead of time?
Oh, you totally can! You can prepare the dough the night before, let it do its first rise in the fridge, and then shape and bake them first thing in the morning. Or, shape them and let them do their final rise in the fridge overnight. Just pull them out about 30 minutes before baking so they come to room temp. They might not be *quite* as fluffy as fresh, but still delicious!
What if my Cinnabunnies dough is too sticky?
Don’t freak out! Dough consistency can be funny sometimes depending on humidity. If it’s super sticky and won’t come together, just add a tablespoon of flour at a time while kneading until it forms a soft, slightly tacky ball that pulls away from the bowl. Avoid adding too much, though, or they can get tough!
How do I store leftover Cinnabunnies?
Once they’ve cooled down a bit, store any leftovers in an airtight container at room temperature. They’re best enjoyed within a day or two, but they’ll last for up to 3 days. If you’ve iced them, make sure they’re fully cooled before boxing them up!
How long do Cinnabunnies stay fresh?
Honestly, they’re best eaten the day they’re made when they’re warm and gooey. But if properly stored in an airtight container at room temperature, they should stay pretty good for about 2-3 days. After that, they tend to get a little drier.
Storage and Reheating Instructions
Got some leftover Cinnabunnies? Lucky you! The best way to keep them fresh is to store them in an airtight container at room temperature. They’re usually at their best for about 2 to 3 days. If you want to reheat them, just pop a couple in the microwave for about 15-20 seconds until they’re warm and gooey again. You can also give them a quick warm-up in a low oven (around 300°F or 150°C) for a few minutes if you’re reheating a larger batch!
Share Your Cinnabunnies Creations!
Okay, now it’s YOUR turn! I seriously can’t wait to see what you do with this Cinnabunnies recipe. Did they turn out super cute? Were they as delicious as we hoped? Please, please, please leave a comment down below and tell me all about it! I love hearing from you. And if you snap a picture (and you totally should, because they’re adorable!), tag me over on social media. Seeing your creations makes my whole day!
Nutritional Information Disclaimer
Just a little note about the nutrition info for these Cinnabunnies! Since everyone uses slightly different ingredients and portion sizes can vary, any nutritional details you might see are just an estimate. Think of it as a general guideline, not a strict rule. For the most accurate info, you’d want to calculate it based on the specific ingredients and amounts you use in your own kitchen. For more details, you can check out our general disclaimer.
Cinnabunnies
Ingredients
Equipment
Method
- In a saucepan over medium heat, add milk and butter. Stir until melted and remove from heat.
- In a mixing bowl, combine 2¼ cup all purpose flour, sugar, and salt. Add yeast and lukewarm milk mixture. Combine. Add egg until just combined.
- Using the dough hook attachment on your mixer, knead while gradually adding in 1 cup flour until the dough forms a ball and pulls away from the edges of the bowl. You can also knead by hand.
- Let dough rest for 10 minutes. Preheat oven to 350°F.
- Roll the dough into a rectangle. Spread melted butter on top. Combine cinnamon and sugar and sprinkle on top, leaving a small border clear.
- Cut the dough into strips. Roll each strip into a spiral and pinch the seam to seal.
- Cut the smaller portion of dough into strips, fold each side to meet in the middle, and seal with water. Adhere these folded pieces to the spiral rolls to create bunny shapes. Pinch to seal.
- Place the Cinnabunnies on a baking sheet and pour ¼ cup heavy cream over them.
- Bake for 15-20 minutes, or until slightly golden.
- While the Cinnabunnies bake, mix the icing ingredients until smooth.
- Drizzle the icing over the warm Cinnabunnies.