
Oh my gosh, when the afternoon slump hits, there is nothing worse than scrambling for something decent to grab! Seriously, those store-bought snacks are usually packed with things I can’t even pronounce, and honestly, they just don’t stick with you.
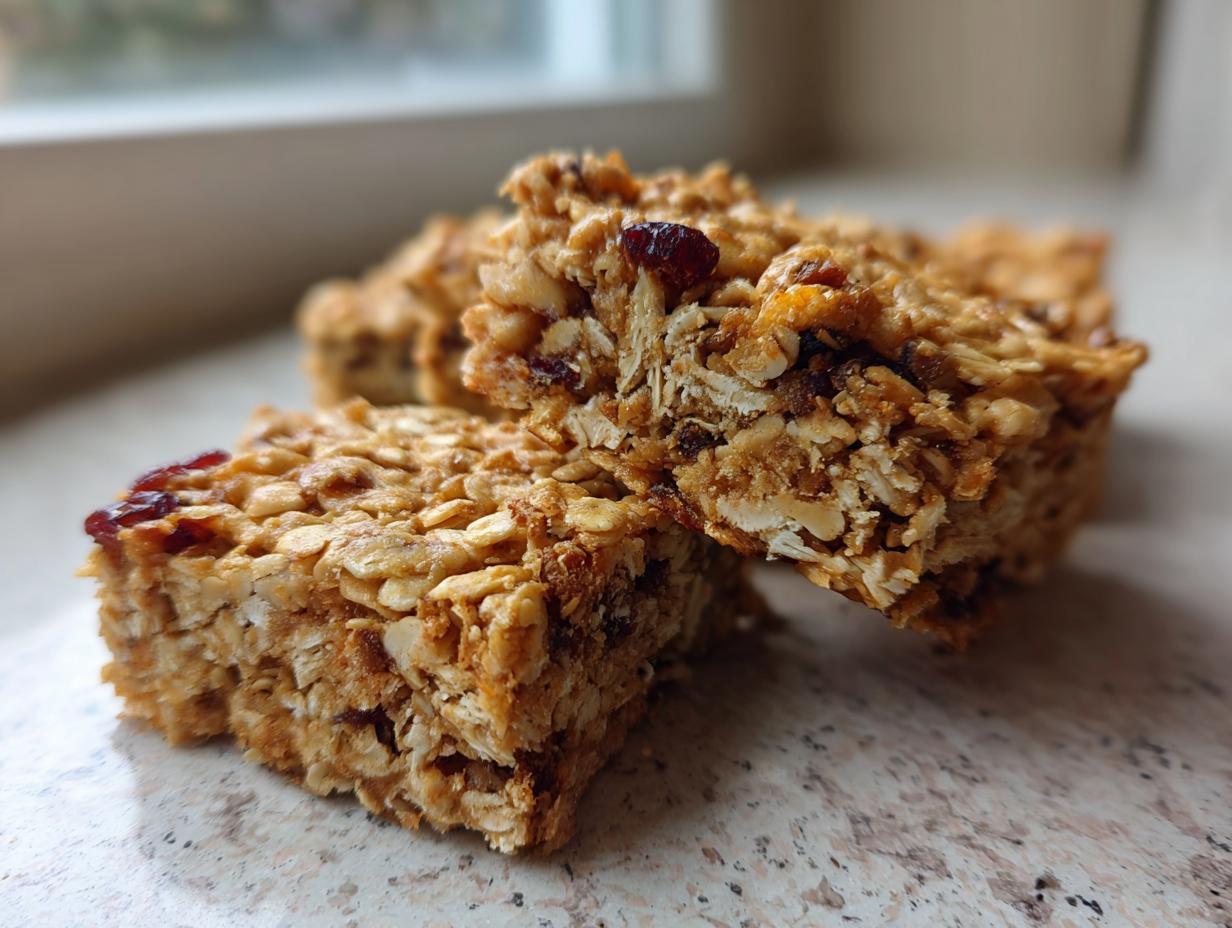
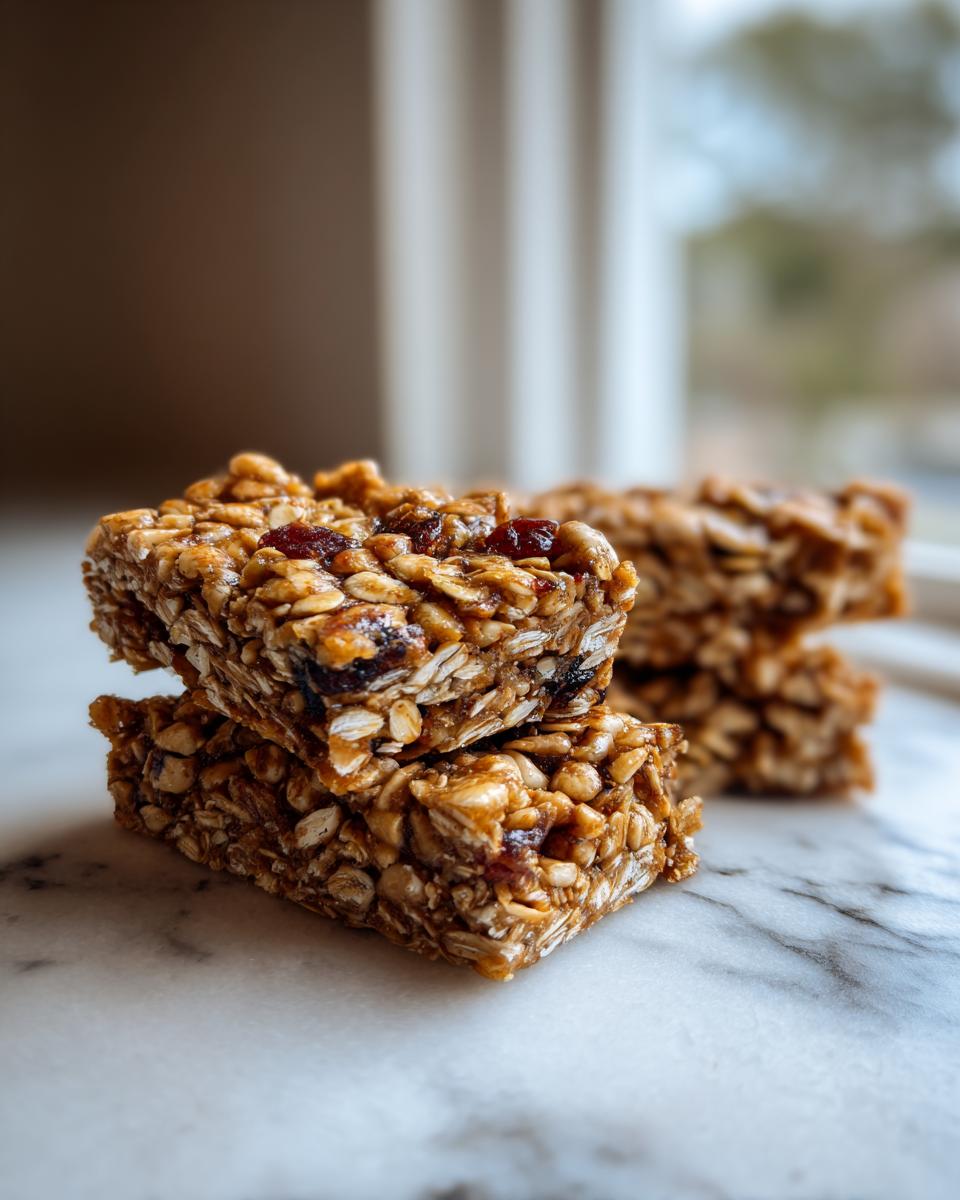
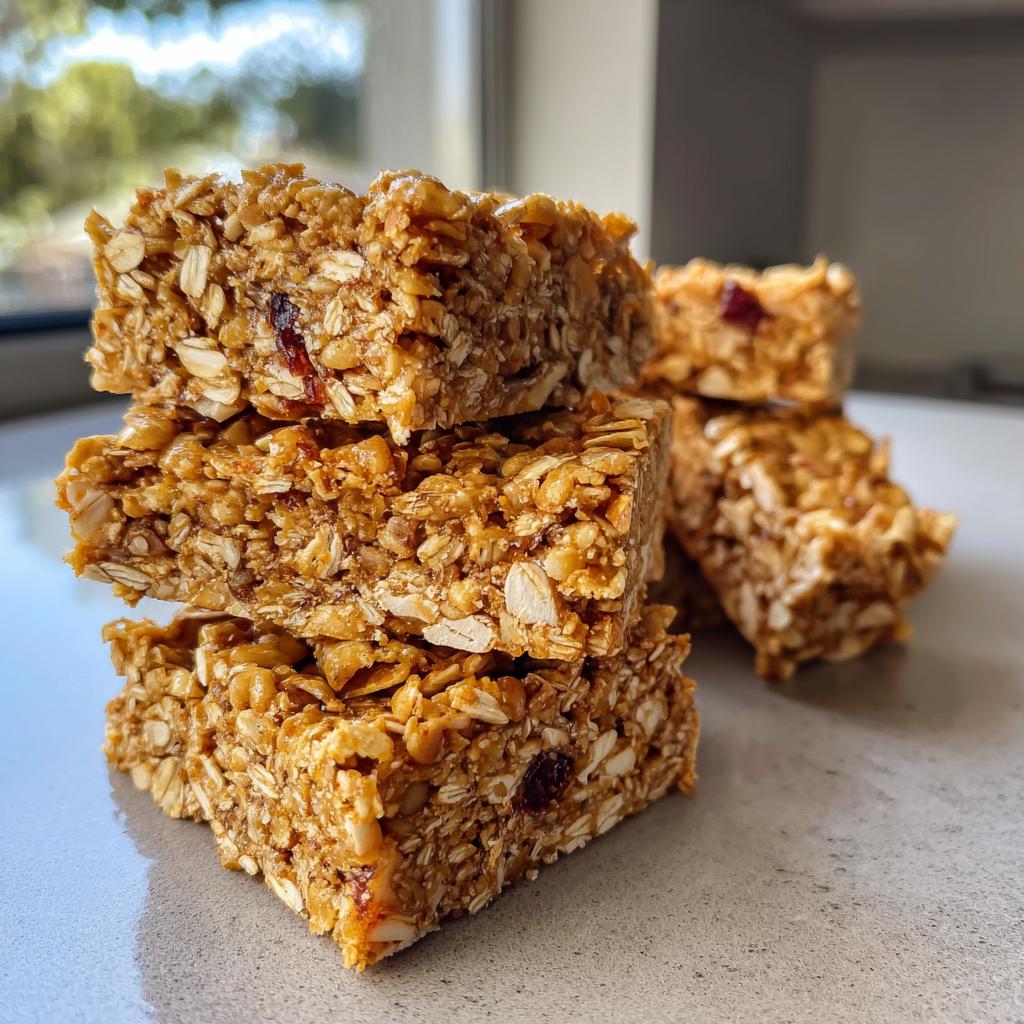
That’s why I live and breathe my recipe for **Easy Homemade Granola Bars**. Making them myself has completely changed snack time around here. I’ve spent years tweaking my ratios—trying to find that perfect spot between chewy and crisp—and I finally nailed it. These aren’t those crumbly dry things; these are dense, delicious, and so customizable you’ll never get bored.
If you’re looking for that perfect, reliable template for a fantastic homemade snack that actually holds together, you’ve truly hit the jackpot. I’m sharing the secrets I’ve gathered from years of testing so you can make the very best batch on your first try. We’re starting this journey at my favorite place—the kitchen!
Why You Will Love These Easy Homemade Granola Bars
I truly believe these are the best oat bars you’ll ever make at home. Forget the hassle of complicated steps; this recipe is quick and fuss-free!
- They set up perfectly—chewy, not crumbly.
- You control every single ingredient that goes in.
- The required baking time is super short, which I love!
- They taste way better than anything store-bought, period.
- You can swap out the nuts and dried fruit endlessly.
Seriously, they are ready in under an hour total, making them the perfect reliable homemade snack for busy mornings.
Essential Ingredients for Perfect Easy Homemade Granola Bars
When you’re making something as deceptively simple as Easy Homemade Granola Bars, the quality and type of ingredient really shine through. Trust me, I learned this the hard way when I first tried swapping out the oats! For these bars to hold that perfect structure, we need a sturdy base and a powerful binder. If you’re looking for more reliable snack templates, check out my tips on making those tiny banana bread minis—it uses some similar principles!
Dry Ingredients Breakdown
This is the backbone of our bar structure. We need volume and just a little bit of crunch here. Don’t skip the notes!
- 3 cups rolled oats (Old-fashioned work best—they give you the chew you want!)
- 1 cup chopped nuts or seeds (I usually use a mix of pecans and sunflower seeds for flavor.)
- 1 cup mix-ins (This is where you get creative: chocolate chips, dried cherries, or toasted coconut flakes fit perfectly here.)
Binding Wet Ingredients for Your Easy Homemade Granola Bars
This part is crucial. We’re mixing fats and sugars gently to create that sticky glue that holds everything together so your bars don’t fall apart when you grab them.
- 1/2 cup honey or maple syrup (Your choice for the sweetener, but honey tends to bind a little tighter.)
- 1/2 cup nut butter (Peanut butter or smooth almond butter works great.)
- 1/4 cup melted coconut oil (This adds richness when set.)
- 1 teaspoon vanilla extract
- 1/2 teaspoon salt (Don’t forget this! It really wakes up the sweetness.)
Step-by-Step Instructions for Making Easy Homemade Granola Bars
Okay, this is where the magic truly happens! Once you see how simple this process is, you’ll probably wonder why you ever bought those expensive plastic wrappers again. I always put on some good music while I’m making these because it’s just that fun. When you’re ready to bake, remember, these Easy Homemade Granola Bars need a little patience at the very end so they don’t fall apart later. If you’re making a big batch for an event, I have some great tips over here on how to manage handling a large volume of bar cookies!
Preparation and Combining Dry Ingredients
First things first, we need to get the oven warm. Preheat it to 350°F (175°C). You absolutely must line your 9×13 inch baking pan with parchment paper. I always leave a little overhang on the sides. This is your handle later—trust me, it saves so much cleanup and prevents sticking! Once lined, just toss your rolled oats, your chopped nuts, and all your fun mix-ins into your biggest mixing bowl and give them a quick stir to combine.
Creating the Binder for Your Easy Homemade Granola Bars
Now for the sticky stuff! Grab a smaller saucepan and put it over low heat. We’re going to warm the honey (or maple syrup), the nut butter, and your coconut oil together. You just want them warm enough so they melt into a smooth, glossy liquid—no boiling allowed! Once they look perfectly blended, pull it off the heat immediately and quickly stir in that vanilla extract and the salt. That salt tip really makes the difference, so don’t skip it!
Baking and Setting the Easy Homemade Granola Bars
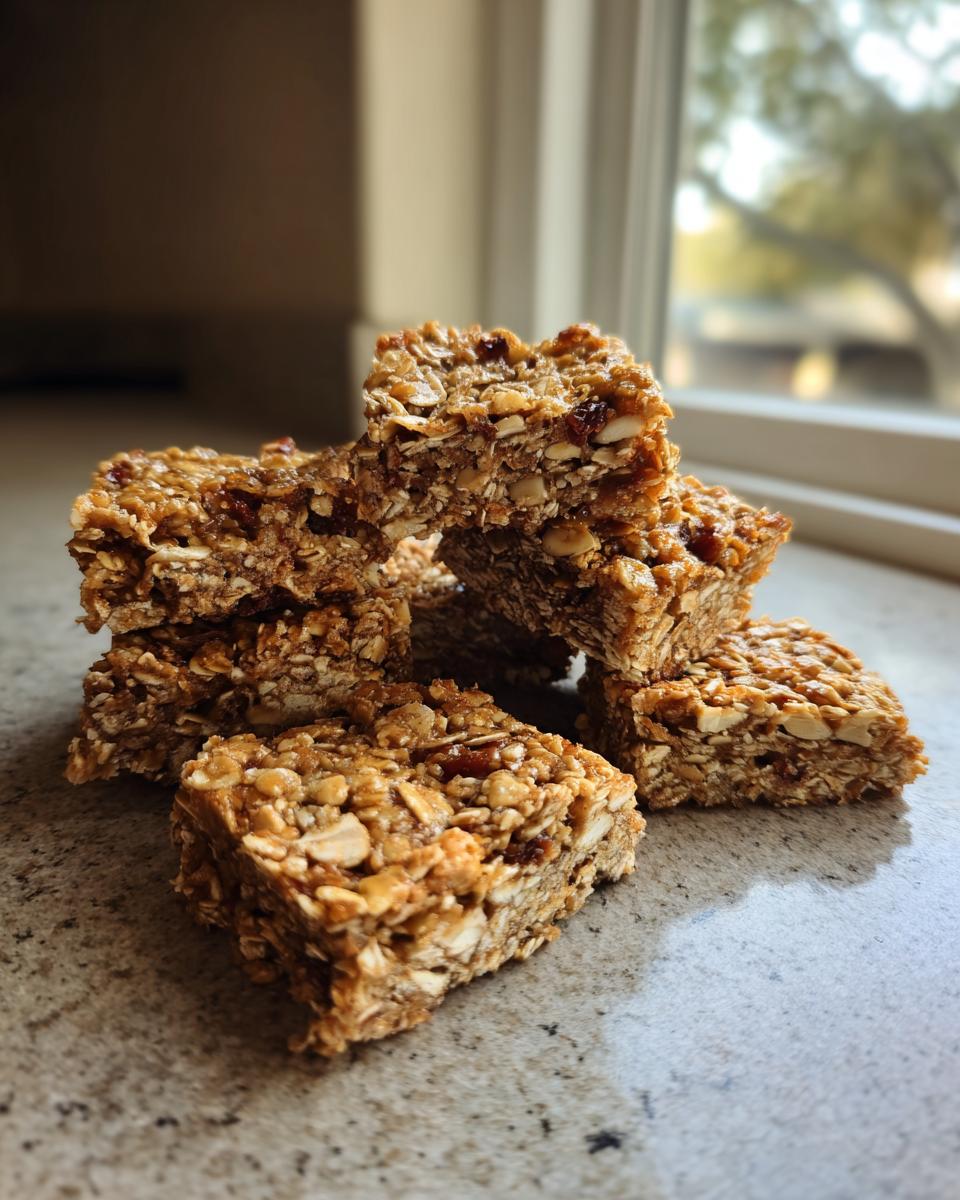
Pour that lovely warm wet mixture right over your dry oat mixture. Stir it really well until every single oat flake looks coated. Then, transfer everything into your prepared pan. This next part is essential: Use the back of a sturdy spatula or even another piece of parchment paper and press the mixture down HARD. You need to pack it tightly so the bars don’t turn into crumbs later! Bake this for about 20 to 25 minutes until those edges look just barely golden. The absolute last, most crucial step is letting them cool completely in that pan on a rack. Resist the urge to cut them warm—if you wait until they are totally cool, they will slice beautifully into perfect Easy Homemade Granola Bars.
Expert Tips for Perfect Easy Homemade Granola Bars
I know I stressed cooling earlier, but honestly, baking is all about the little tweaks that turn a good bar into an amazing bar. After making way too many hard, crunchy granola fails in my younger days, I figured out a few non-negotiables for getting that perfect texture every time. If you’re trying to get the best texture—chewy, slightly soft, but still holding its shape—read these tips!
For more advice on making sure your bake is solid, especially when dealing with sticky batters like this, you should check out my general tips for baking with peanut butter; the logic is the same!
Here are the three things I always do:
- Low and Slow is Never the Answer Here: Resist the urge to bake these super low and slow to dry them out. Baking them at 350°F for just those 20-25 minutes is what keeps the interior tender. If you bake them until they are deeply brown, they will turn rock-hard once cooled. We want golden edges, not dark brown edges!
- Compression is Your Best Friend: When pressing the mix into the pan, go hard. I mean it. Use a metal spatula or the bottom of a dry measuring cup to really compress the mixture down into the parchment paper. If you don’t press tightly enough, air pockets remain, and you end up with a pile of loose crumbs instead of a bar.
- The Essential Cool Down: This can’t be rushed. Seriously, popping the pan into the fridge or freezer *after* it’s cooled on the counter for an hour will help solidify the coconut oil and nut butter binder faster, giving you much cleaner cuts. Wait until it’s completely cold before slicing, or wear rubber gloves to handle it if you must cut it warm!
Follow those three rules, and I promise your Easy Homemade Granola Bars will be perfectly textured.
Customizing Your Easy Homemade Granola Bars with Mix-Ins
This is my favorite part, honestly, because it means you can make a completely different snack every time you bake a batch of Easy Homemade Granola Bars! The base recipe is wonderful—it’s reliable and basic—but the mix-ins are where you add your own flair. Think of that 1 cup allotted for “mix-ins” as your permission slip to get silly!
I often switch things up depending on what the kids are requesting that week. If we’re heading out on a long hike, I grab the darker dried cherries and some toasted almonds. If it’s a cozy weekend, I dump in mini peanut butter chips and coconut flakes. The main thing to remember is that you have a total of 2 cups dedicated to texture and flavor additions—1 cup for nuts/seeds and 1 cup for things like chocolate or fruit. Don’t be tempted to overdo it, though, because too many bulky mix-ins can mess with how tightly the bars pack!
If you’re ever wondering how to swap out ingredients in similar recipes—like maybe using zucchini instead of blueberries—I have a whole guide on safe substitutions over here. It’s saved me a lot of guesswork!
Here are a few combinations that I’ve tested repeatedly and know work perfectly in these Easy Homemade Granola Bars:
- The Tropical Dream: Use macadamia nuts in place of other nuts, and use dried pineapple and toasted coconut flakes for your 1 cup mix-in. It tastes like a vacation!
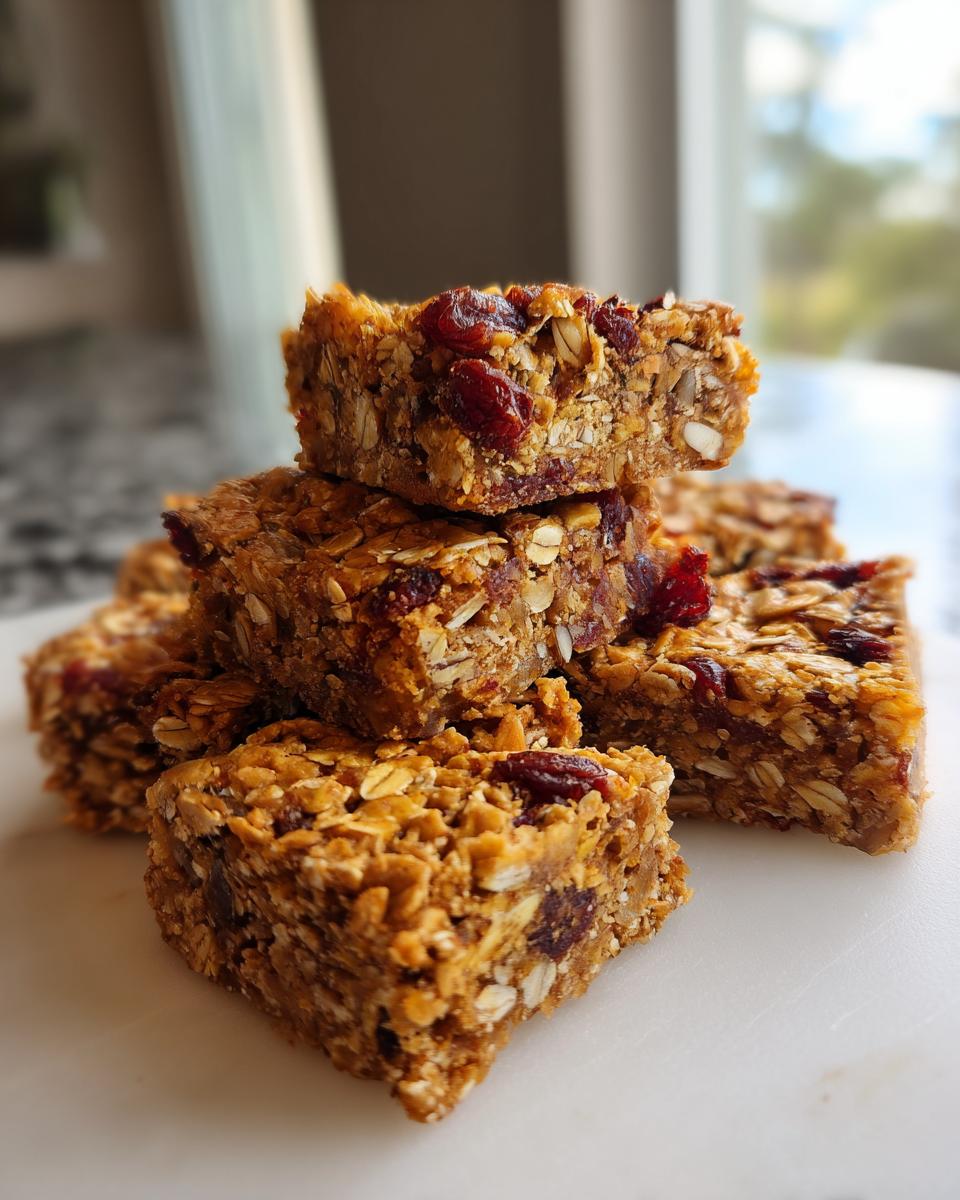
- Trail Mix Classic: Almonds, pepitas (pumpkin seeds), and dried cranberries. I usually add a pinch of flaky sea salt on top right before baking for that perfect sweet-salty hit.
- Morning Mocha: Swap the vanilla extract for a tiny splash of espresso powder mixed into the wet ingredients early on. Then, use walnuts and miniature dark chocolate chips as your mix-ins. It’s decadent but still a great homemade snack.
Remember, the bulk of the structure comes from those oats and the binder, not these additions, so aim to keep your total additions under that 2-cup mark to guarantee they stay firm!
Storage and Making Ahead with Your Easy Homemade Granola Bars
Okay, once you’ve cut those perfect bars—and trust me, you will get perfect cuts if you let them cool—you need to know how to keep them tasting fresh. I always make a double batch because these Easy Homemade Granola Bars disappear faster than anything else in my pantry. They are fantastic for meal prepping a week’s worth of snacks!
The note I keep taped right next to my recipe card says they last about a week at room temperature, but I find they are best when I give them a little chill time. For my family, we usually keep them in the fridge, honestly, because we like that slightly firmer snap they get when cold.
If you want to learn how to best prep other things ahead of time—like potatoes, believe it or not—I have some great make-ahead tips over on this post!
Here is my simple storage plan for these oat bars:
- Airtight is Key: You must store them in an airtight container. If they are exposed to air, they will start to dry out around the edges, and we definitely don’t want that.
- Room Temperature Test: They will absolutely stay fresh at room temperature for up to one week, provided your house isn’t too hot or humid. If they feel soft or sticky, move them straight to the fridge.
- For Longer Freshness (The Fridge Method): I stack mine between layers of parchment paper inside a sealed container and put them in the refrigerator. When stored this way, they stay perfectly fresh for nearly two weeks! They still taste great straight from the fridge, but I sometimes let one sit out for five minutes before grabbing it if I want it softer.
I’ve never tried freezing them because they never last long enough in my house to find out, but I bet they’d freeze beautifully if you wrapped them individually first. Happy snacking!
Troubleshooting Common Easy Homemade Granola Bars Issues
Even with the best plans, sometimes things go a little sideways in the kitchen, right? Don’t panic if your Easy Homemade Granola Bars don’t come out exactly like the picture the first time. Usually, a little tweak in technique fixes any issue, and I’ve definitely made my share of imperfect batches!
Here are the two biggest snags people run into when making homemade oat bars and how to fix them right away. Remember, these bars are forgiving!
Problem 1: My Bars Are Crumbly and Fall Apart When I Cut Them
Ugh, the worst! You go to lift that glorious slab out of the pan, and it just disintegrates into a million pieces. This almost always points back to one thing: packing or cooling.
- The Fix: Press Harder Next Time. The number one cause of crumbles is not compressing the mix enough before baking. Remember how I said to use the back of a spatula? You need to put your weight into it! Pack it down like you are setting concrete.
- The Chill Factor: If you cut them while they are even slightly warm, the binder hasn’t fully set, so they crumble. Make sure they are completely room temperature, or even better, chill them for an hour first. Seriously, wait!
Problem 2: My Easy Homemade Granola Bars Came Out Rock Hard
This is the opposite problem! You bite into it, and you might break a tooth. It’s chewy on the inside, but the outside is tough as leather. This happens when you bake them too long or use the wrong kind of oats.
- Watch the Edges: If you see the edges getting dark brown, pull them out immediately. That extra baking time dehydrates the oats and makes them brittle. We are only looking for light gold around the perimeter.
- Oat Choice Matters: If you substituted quick-cooking oats for the old-fashioned rolled oats, they bake much faster and release less structure. Stick to the old-fashioned ones for the best chewiness.
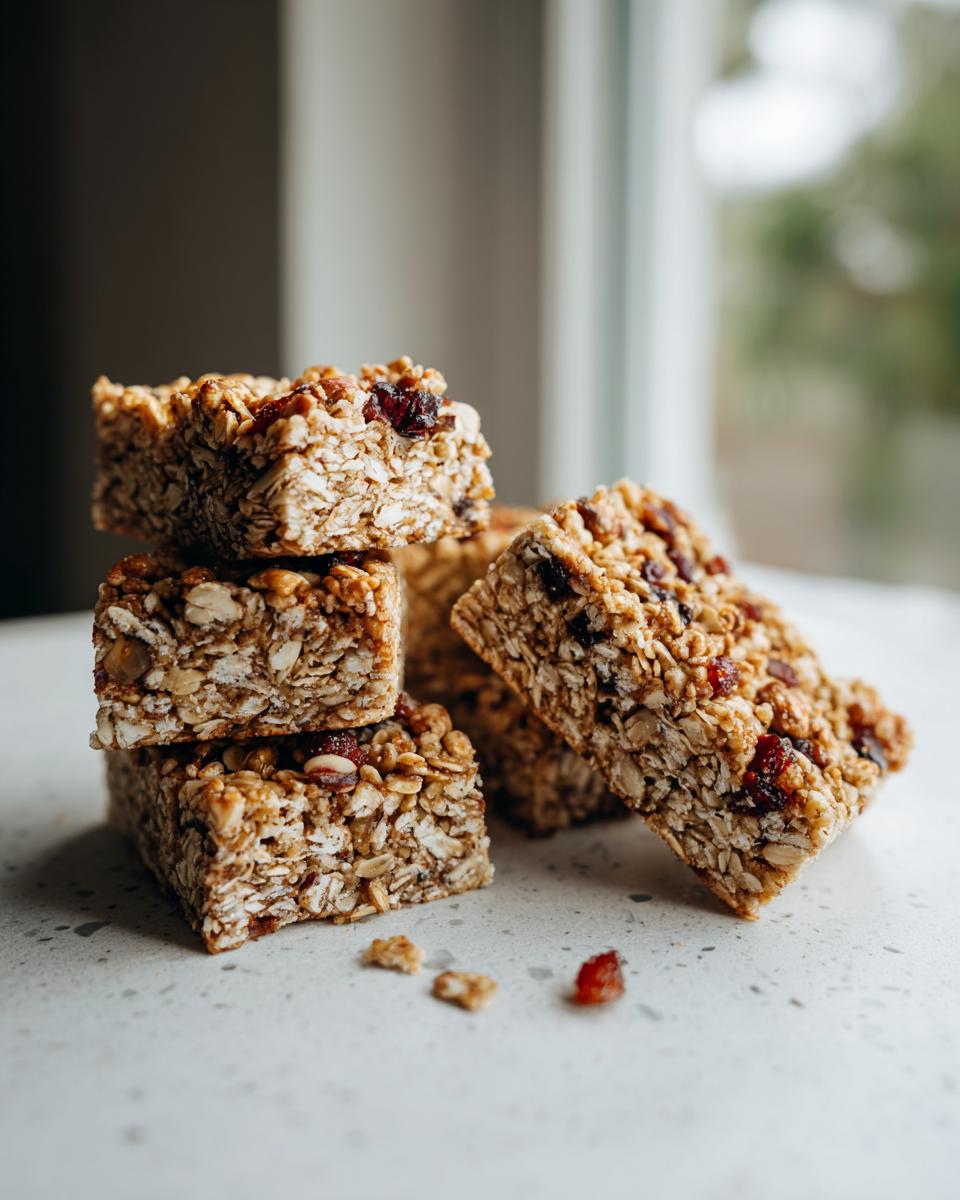
It usually only takes one batch where they crumble or get too hard to figure out your oven’s personality. Just remember the compression and cooling rules, and you’ll have those perfect, satisfyingly-chewy Easy Homemade Granola Bars next time!
Frequently Asked Questions About These Oat Bars
I get so many messages asking about variations and little process questions once people start making these Easy Homemade Granola Bars, so I thought I’d gather the most common ones right here! It just shows how many of you are looking for fantastic, reliable homemade snack options!
Can I make these bars without any nut butter?
If you have a nut allergy or just ran out, yes, you absolutely can! The nut butter is a key binder, so if you ditch it, you need a replacement that does the same job. I recommend replacing the 1/2 cup of nut butter with an extra 1/4 cup of coconut oil *plus* 1/4 cup of sunflower seed butter (if tolerated) or even tahini if you don’t mind a slightly earthier flavor in your oat bars. You might need to press them slightly harder, but they still set up nicely!
Do I have to use rolled oats, or can I use instant oats?
Please, stick to the rolled oats, preferably the old-fashioned kind, for these Easy Homemade Granola Bars. Instant oats (or quick oats) are too small and break down way too much when mixed and baked. If you use them, your final product will be much denser and more crumbly because they don’t provide that necessary chew structure. They are fine for oatmeal porridge, but for a firm homemade snack bar, old-fashioned is the winner.
Can I bake these bars without a binder like honey? I want lower sugar.
This is a tricky one. If you remove the honey or maple syrup, you remove the sticky component that glues everything together. Without it, you are essentially making baked oatmeal, which will turn into a pile of dry clumps when you try to cut it. If you want less sugar, try swapping the honey for an equal amount of mashed ripe banana and a touch more coconut oil—the banana will offer some binding power, though the texture will definitely lean softer and more like a cake bar.
What’s the best way to get that nice golden top?
It comes down to baking time and temperature, really. Since we are baking them at 350°F (175°C), you’re looking for the color on the edges to be a nice, light golden brown—not dark brown yet! If you want a little extra color, you have two options: First, make sure your oven temperature is accurate—I actually check mine because ovens lie! Second, after they come out and cool for about 30 minutes, you can pull them out of the pan and put them directly under the broiler for maybe 30 seconds, watching like a hawk, just until the top gains some color. For more complex baking science, check out my tips for baking with whole wheat; the principles of dry heat are similar!
Can I make these bars chewy instead of crunchy?
Absolutely! The recipe as written leans towards chewy, provided you don’t overbake them past the 25-minute mark. The key to chewiness relies on two things: the honey/syrup ratio and the cooling process. A slightly higher ratio of wet binder to dry oats will keep them soft. And remember my biggest rule: don’t cut them until they are completely cold. If you cut them warm, they steam and dry out, leading to a harder final product.
Nutritional Estimates for Homemade Snack Bars
Now, I know you’re busy, and you probably want to know what exactly you’re fueling up with when you grab one of these Easy Homemade Granola Bars. Providing exact nutrition feels impossible because we all customize these, right? If I use almond butter and walnuts, that’s going to look very different from using peanut butter and craisins!
But, I wanted to give you a very rough snapshot so you know you’re making a smarter choice than grabbing that candy bar from the checkout line. These estimates are based on the core recipe using the higher end of the fat/sweetener content—so yours might be lighter if you use maple syrup instead of honey, for example.
For more detailed breakdowns on specific family recipes, I sometimes look into posts like this one about nutrition comparisons, just to get a sense of the balancing act. When you’re customizing, remember that adding something like dark chocolate chips will immediately increase the sugar and fat counts!
Here is a very rough snapshot for one of these oat bars, cut into 12 pieces, using peanut butter and almonds as the main additions:
- Estimated Calories: 250–280 Calories
- Estimated Fat: 12–14 grams
- Estimated Protein: 6–8 grams
- Estimated Carbohydrates: 30–35 grams
A Big Important Disclaimer! Look, I’m a cook, not a certified nutritionist, and these numbers are truly just an estimate based on the core bulk ingredients. The final nutrition for your Easy Homemade Granola Bars will change drastically depending on whether you toss in dried fruit, what kind of nut butter you use, or if you sneak in extra chocolate chips (which I fully support, by the way!). Use these numbers as a general guideline for fueling up!
Easy Homemade Granola Bars
Ingredients
Equipment
Method
- Preheat your oven to 350°F (175°C). Line a 9×13 inch baking pan with parchment paper, leaving an overhang on the sides for easy removal.
- In a large bowl, combine the rolled oats, chopped nuts or seeds, and your chosen mix-ins.
- In a small saucepan over low heat, gently warm the honey (or maple syrup), nut butter, and coconut oil until they are smooth and fully combined. Remove from heat and stir in the vanilla extract and salt.
- Pour the wet mixture over the dry ingredients. Stir well until everything is evenly coated.
- Press the mixture firmly and evenly into the prepared baking pan. Use the back of a spatula or another piece of parchment paper to pack it down tightly.
- Bake for 20 to 25 minutes, or until the edges are lightly golden brown. Do not overbake, as this can make the bars hard.
- Remove the pan from the oven and let the bars cool completely in the pan on a wire rack. Cooling is important for them to set properly.
- Once completely cool, use the parchment paper overhang to lift the entire block out of the pan. Cut into 12 even bars.


