

There’s just something magical about a perfectly decorated cookie, isn’t there? That moment when you see a batch of simple sugar cookies transform into edible works of art is pure joy! For me, the secret weapon in making those intricate designs a reality has always been a good batch of Royal Icing for Decorated Cookies. This isn’t just any icing, oh no. This recipe creates a finish that dries hard and smooth, giving you that gorgeous, professional look you see in bakeries, and it’s honestly not as scary as it sounds!
I remember my first attempt at decorating cookies for a friend’s baby shower. I was so nervous, convinced I’d end up with a sticky, gloppy mess. But this recipe? It delivered! The icing held its shape beautifully, and the cookies looked so professional, everyone kept asking who I’d ordered them from. Trust me, with this royal icing, you won’t be disappointed.
Why This Royal Icing for Decorated Cookies Recipe is a Must-Try
Honestly, if you’re looking to up your cookie decorating game, you *need* this royal icing recipe in your life. Here’s why it’s my go-to:
- Super Easy to Make: Seriously, it comes together in minutes with basic pantry staples. No fancy techniques required!
- Dries Hard and Smooth: This is the magic part! It dries to a beautiful, hard finish, perfect for stacking cookies or making those crisp lines.
- Incredibly Versatile: Whether you’re flooding large areas or piping delicate details, this icing does it all. You can even divide it and color it for endless designs!
- Professional Results, Every Time: Even if you’re a beginner, this icing makes your decorated cookies look like they came straight from a high-end bakery.
Gathering Your Ingredients for Perfect Royal Icing for Decorated Cookies
Alright, let’s get our ingredients together for this glorious royal icing! It’s really just a handful of things, and you probably have most of them already. The key here is good quality ingredients – they really do make a difference. So, grab your measuring cups and spoons, and let’s get ready to whip up some magic for your cookies!
Here’s what you’ll need:
- 3 large egg whites: Make sure they’re pasteurized! This is super important for food safety since we’re not cooking the icing. You can usually find pasteurized egg whites in a carton at the grocery store.
- 4 cups powdered sugar: You absolutely *must* sift this. Trust me, nobody wants little lumps of sugar in their beautifully smooth icing. Sifting makes all the difference.
- 2 teaspoons lemon juice: This adds just a tiny bit of tang and helps the icing set up nicely.
- 1/4 teaspoon cream of tartar: This is like a secret weapon for helping the egg whites get really strong and stable. It helps prevent that gritty texture too!
- 1 tablespoon water: And maybe a little more! We use this to get the consistency just right.
Step-by-Step Guide to Making Flawless Royal Icing for Decorated Cookies
Okay, deep breaths! Making this royal icing really is super straightforward, and I’m going to walk you through it every step of the way. My goal is for you to end up with that perfectly smooth, workable icing that makes cookie decorating feel like a dream, not a nightmare. Let’s get started!
First things first, grab a nice, big bowl. Toss in your pasteurized egg whites, that little bit of lemon juice, and the cream of tartar. Now, get your electric mixer going on about medium speed. You want to beat it until it gets nice and foamy, kind of like bubbles forming on top of a cappuccino. This is just getting everything ready to whip up.
Here comes the sugar! Start adding your sifted powdered sugar, but do it slowly. I like to add it about a cup at a time, still beating on low speed. This helps it incorporate without making a huge sugar cloud explode in your kitchen! Keep going until it’s all mixed in.
Now we crank it up! Switch your mixer to high speed and let it go for a good 5 to 7 minutes. You’ll see the icing start to get really thick, glossy, and beautiful. It should hold its shape on the beater – that’s your cue that it’s ready!
This is where you become the icing whisperer! If it seems way too thick for what you want to do – maybe for flooding – add just a tiny bit of water, like a teaspoon at a time, and mix it in. If it’s too thin and runny, add a tablespoon of powdered sugar. You’re looking for that perfect ribbon stage. You can check out some cool decorating blogs, like the ones over here, for visual examples of what to aim for!
Use your beautiful icing right away if you’re decorating! If you need to save it for later, here’s the trick: lay a piece of plastic wrap directly onto the surface of the icing in the bowl. This stops that dreaded crust from forming. It’ll keep nicely like that for a day or two.
And don’t forget the whole point! Once decorated, your cookies need time to dry. This royal icing needs about 2 hours, or even longer depending on humidity, to get good and firm. Patience is key here for those crisp designs!
Achieving the Perfect Consistency for Royal Icing for Decorated Cookies
This is honestly the most important part, so pay attention! Getting the right consistency makes all the difference for what you can do with your icing. If you’re flooding cookies, you want it thinner – think about the consistency of honey. When you lift your spatula, the icing should fall off in a thick ribbon and then slowly melt back into itself within about 10-15 seconds. For piping outlines, you want it much thicker, like toothpaste. It should hold its shape when you cut the tip of your piping bag. It really just takes a little bit of water or powdered sugar, added just a tiny bit at a time, until it feels and looks right for your project.
Tips for Success with Your Royal Icing for Decorated Cookies
Okay, let’s chat about making this royal icing sing! I’ve learned a few tricks over the years that really make decorating so much smoother. First off, use the best ingredients you can find. Pasteurized egg whites are non-negotiable for safety, but also, good quality powdered sugar really does make a difference – make sure it’s sifted super well! I learned that the hard way after one too many lumpy batches.
When it comes to coloring, skip the liquid stuff. Seriously. Gel food coloring is your best friend here. You only need a tiny bit, and it won’t mess with your icing’s perfect consistency. For more tips on ingredient temps and whatnot, check out this guide; it’s super helpful!

And storage? Keep it airtight! Plastic wrap pressed right on the surface is a must. If a skin *does* form, just scrape it off before you use the icing. You’ve got this!
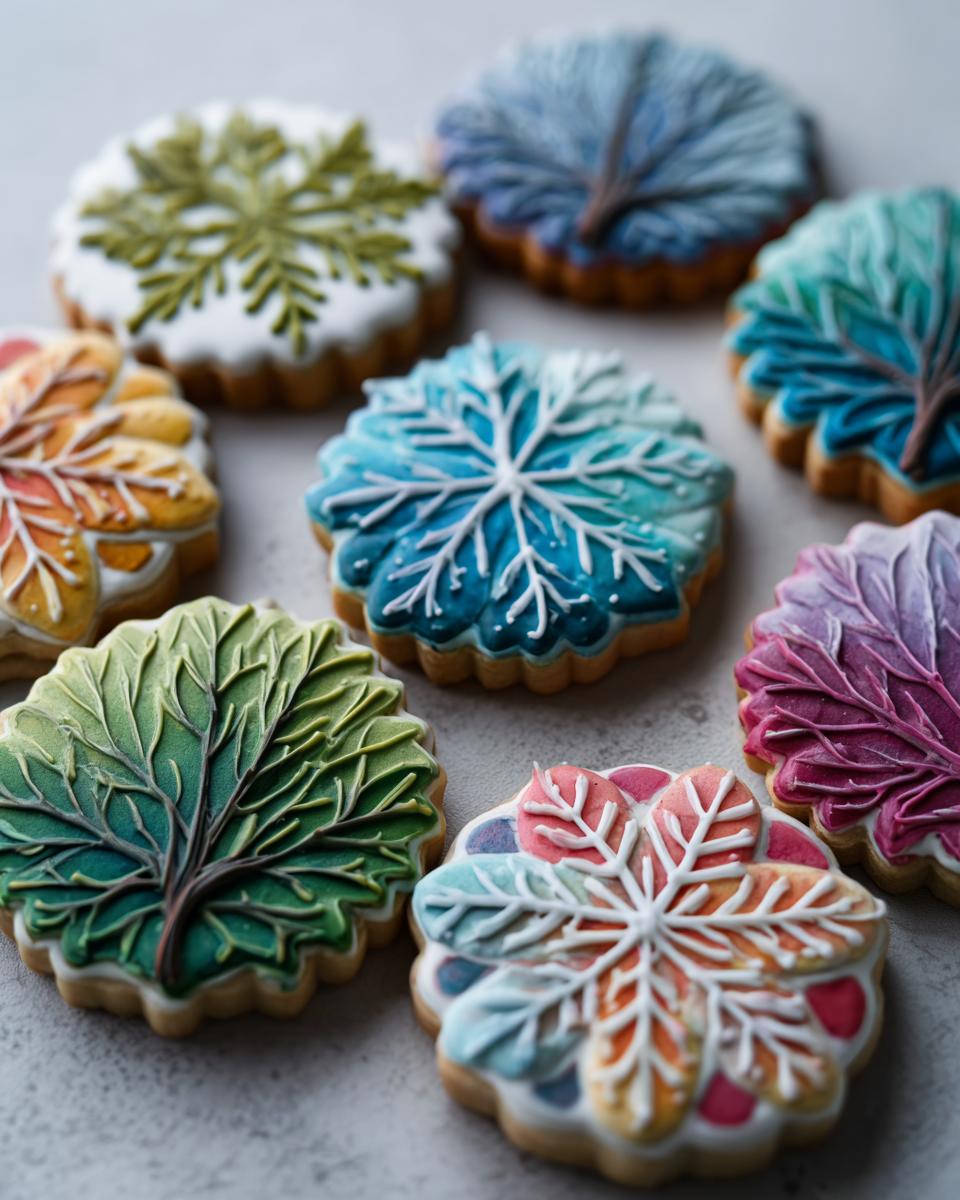
Decorating Ideas Using Your Royal Icing
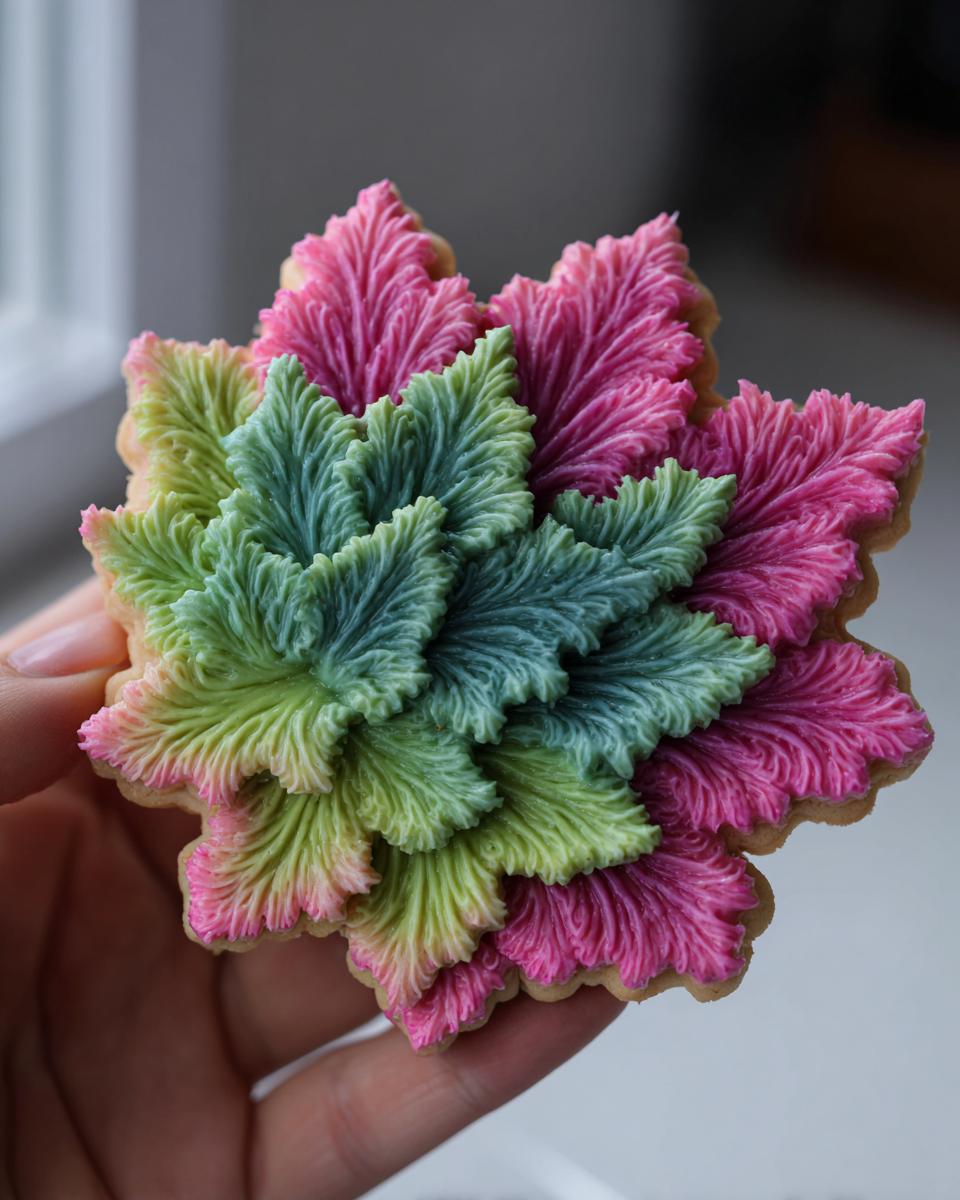
Now that you’ve got this amazing royal icing, the cookie decorating possibilities are endless! For simple elegance, try flooding your cookies with a slightly thinner consistency of icing. You can use a scribe tool or a toothpick to create beautiful, swirling wet-on-wet designs before it dries. Or, just gently shake the cookie to let the icing settle into a smooth, glassy finish. For more detail, switch to a thicker consistency in a piping bag. You can create classic dots, delicate borders, or even write little messages!
Think about holidays: candy canes for Christmas, little hearts for Valentine’s Day, or bright flowers for spring. Even simple stripes or polka dots can make your cookies look super special. Have fun with it!

Storing and Reheating Your Royal Icing
Alright, so you’ve made a batch of glorious royal icing, and maybe you have a little leftover. Don’t even think about tossing it! Storing it properly is super easy and means you’ll have more deliciousness ready for your next cookie decorating adventure. The biggest enemy here is air, so we need to keep it out!
The absolute best way is to press a piece of plastic wrap directly onto the surface of the icing in its bowl or container. Seriously, make sure it’s touching every bit of icing. Then, cover the whole thing with another layer of plastic wrap or pop it into an airtight container. This stops that frustrating skin from forming. And good news – it doesn’t need the fridge! Just keep it at room temperature.
If, despite your best efforts, a little skin *does* form, don’t panic! Just gently scrape it off with a spatula before you use the icing. It happens to the best of us. Reheating isn’t really a thing for royal icing; it’s already ready to go once it’s at room temp and smooth. You might need to stir in a drop or two of water if it seems a bit stiff from sitting out, but that’s it!
Frequently Asked Questions About Royal Icing for Decorated Cookies
Can I use pasteurized egg whites for this royal icing recipe?
Oh, absolutely yes! In fact, I really, *really* recommend it. Since this royal icing for decorated cookies isn’t baked, using pasteurized egg whites is the safest bet. They’ve been treated to kill off any harmful bacteria. You can usually find them in a carton in the refrigerated section of your grocery store. It makes a big difference for peace of mind!
My royal icing is too thick! How do I make it thinner?
Don’t you worry, this is super common and easy to fix! If your royal icing is too thick for flooding or piping the way you want, just add a tiny bit of water. I mean, like, a *teaspoon* at a time, mixing it in gently after each addition. You can also use a little bit of lemon juice or even milk if you have it. Keep adding tiny amounts until you reach that perfect, droppable consistency. Patience is key here, you don’t want to go from too thick to too thin in a flash!
How long does royal icing for decorated cookies actually take to dry?
This is the million-dollar question, and the answer is: it depends! For basic flooding and outlining, you’re usually looking at about 2 to 4 hours in a relatively dry environment. But if you’re doing multiple layers or adding intricate details on top, you’ll want to let it dry completely, which can take up to 24 hours, sometimes even longer if your kitchen is humid. My best tip is to let them dry overnight if you can. That way, you know they’re good and solid!
What happens if a skin forms on my royal icing?
Ugh, that skin! It’s so annoying, right? But totally fixable. If you see a hard or crusty layer forming on top of your stored royal icing, just gently scrape it off with a spatula. Make sure you get all of it out. Sometimes, you might need to stir in a tiny bit of water or lemon juice into the remaining icing to get it back to its smooth, workable consistency. It happens, just don’t let it stop you from decorating!
Nutritional Information
Here’s an estimated nutritional breakdown for a serving of this royal icing for decorated cookies:
- Calories: Approximately 60-70 kcal
- Fat: 0g
- Protein: Less than 1g
- Carbohydrates: 15-18g
Keep in mind these are just estimates! The actual values can wiggle around a bit depending on the exact brands of ingredients you use.

Royal Icing for Decorated Cookies
Ingredients
Equipment
Method
- In a large bowl, beat the egg whites, lemon juice, and cream of tartar with an electric mixer on medium speed until foamy.
- Gradually add the sifted powdered sugar, one cup at a time, beating on low speed until combined.
- Increase the mixer speed to high and beat for 5-7 minutes, or until the icing is stiff and glossy.
- If the icing is too thick, add water, one teaspoon at a time, until it reaches your desired consistency. If it’s too thin, add more powdered sugar, one tablespoon at a time.
- Use immediately for decorating cookies, or cover tightly with plastic wrap pressed directly onto the surface of the icing to prevent a skin from forming.


