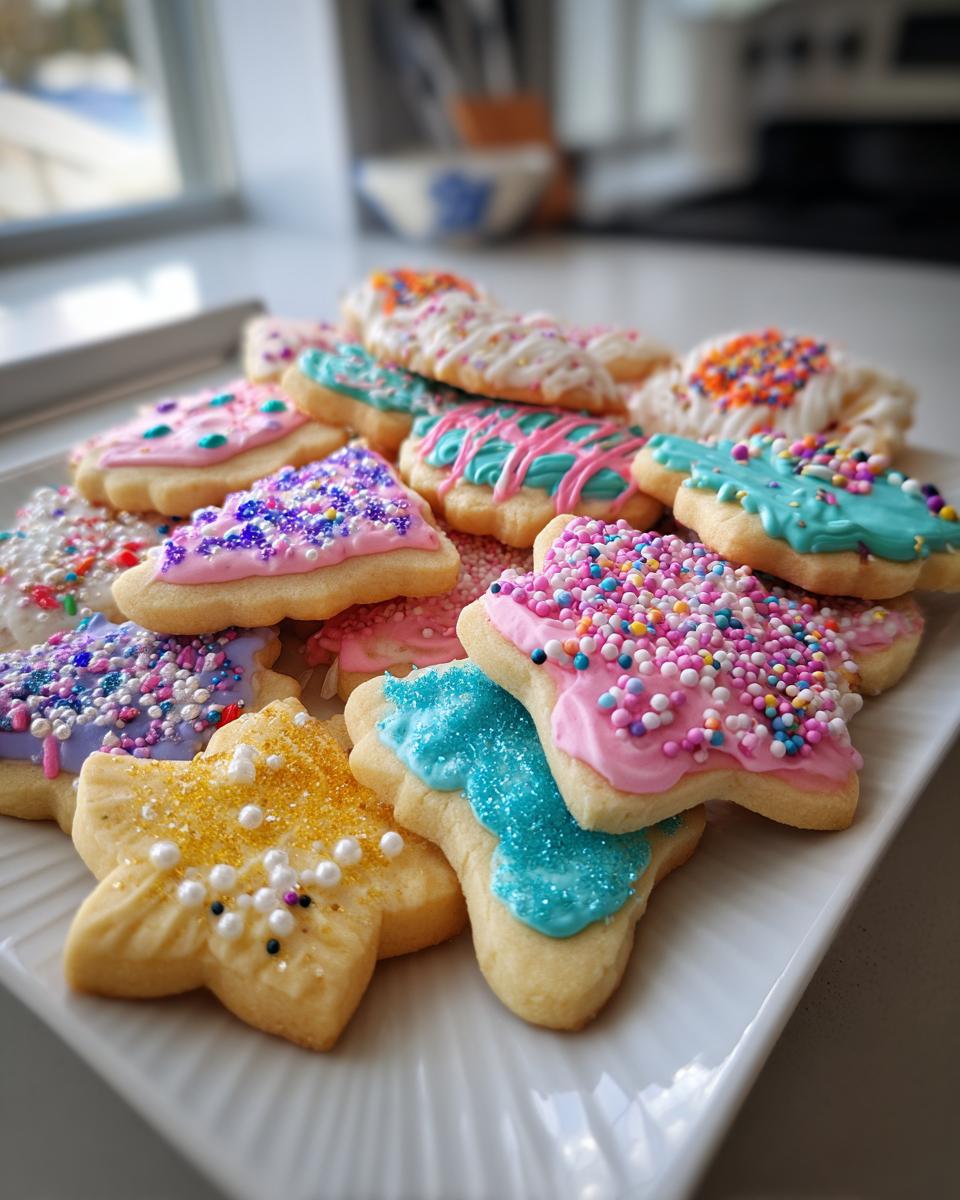
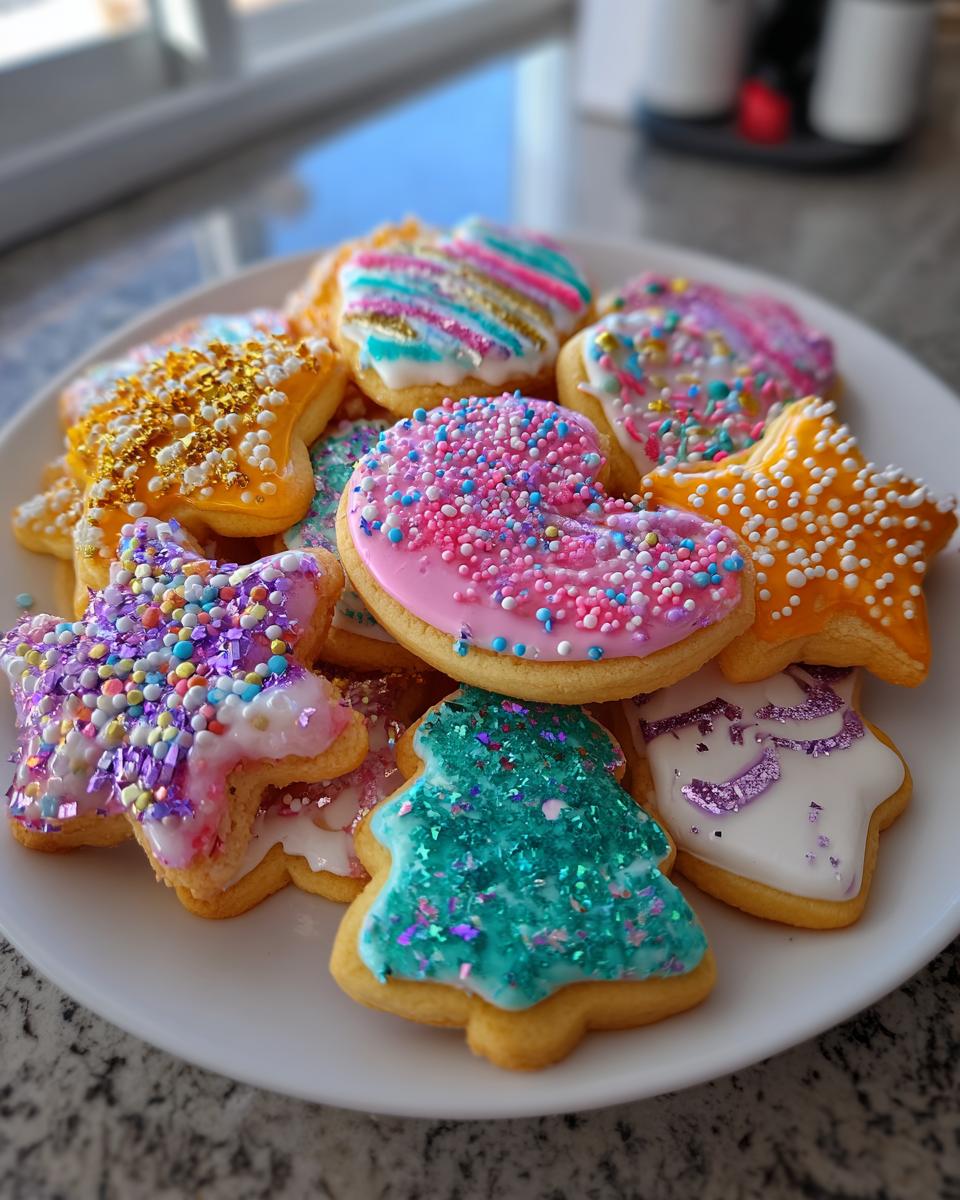
Okay, so New Year’s Eve! The air is always buzzing with excitement, right? It’s that one night where glitter is practically mandatory, and sparkles are just… expected! And what better way to celebrate than with some seriously fun and sparkly New Year’s Eve cookies? I remember one year, my little one was so excited about the countdown, and all she kept asking was if we had “fairy cookies” for midnight. That’s how these Sparkly & Fun New Year’s Eve Cookies were born! They’re not just pretty; they taste absolutely dreamy – buttery, sweet, and just perfect for that midnight toast. Trust me, these are the cookies that will make your celebration pop!
Why You’ll Love These 12 New Year’s Eve Cookies (Sparkly & Fun)
Honestly, these cookies are little edible firecrackers for your New Year’s Eve bash! Here’s why you’re going to be obsessed:
- Super Easy to Make: Even if you’re not a baking queen (or king!), these come together surprisingly fast. No fancy skills needed!
- Seriously Dazzling: Hello, glitter and sparkles! They’re practically designed to catch the light and add that YES! factor to your party table.
- Deliciously Buttery: Beyond the bling, they’re just darn tasty. A perfect, slightly sweet cookie that pairs beautifully with bubbly.
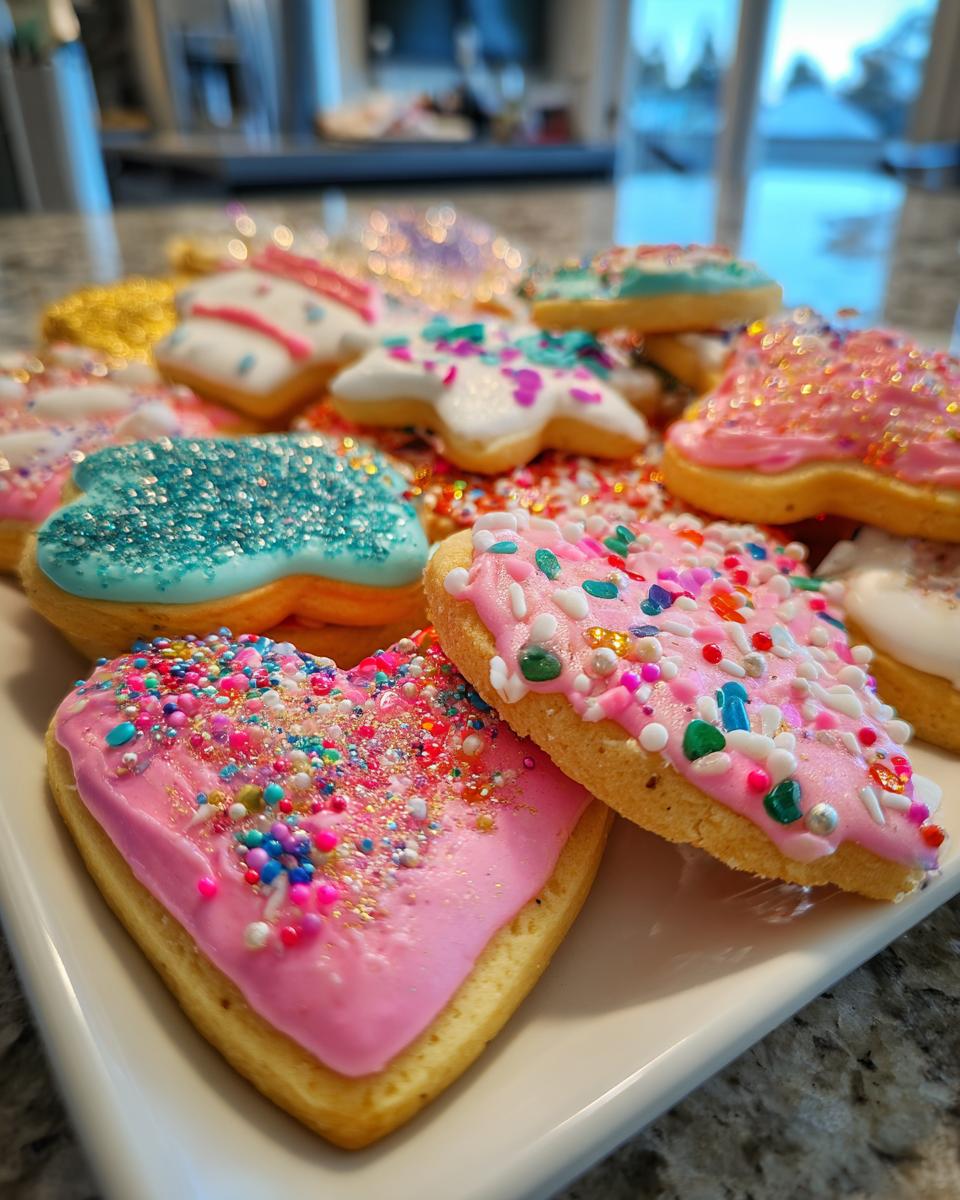
- Celebration Ready: They’re festive, fun, and totally scream ‘Happy New Year!’ Kids and adults alike will go crazy for them.
Gather Your Ingredients for 12 New Year’s Eve Cookies (Sparkly & Fun)
Okay, friends, let’s talk ingredients! For these sparkly New Year’s Eve cookies, we’re keeping it pretty straightforward. You probably have most of this in your pantry already, which is always a win, right? I always try to use the good stuff – like real butter and good quality vanilla – it really does make a difference. Here’s what you’ll need to snag:
For the Cookies:
- Unsalted Butter: 1 cup, make sure it’s nice and soft so it creams up beautifully.
- Granulated Sugar: 1 cup, for that perfect sweet foundation.
- Large Eggs: 2 of them! These bind everything together.
- Vanilla Extract: 1 teaspoon. Use the real stuff, trust me!
- All-Purpose Flour: 3 cups, make sure it’s measured correctly.
- Baking Powder: 1 teaspoon, for just a little lift so they’re not too dense.
- Salt: 1/2 teaspoon, to balance all that sweetness.
For the Decoration:
- Powdered Sugar: 1 cup, for our simple glaze.
- Milk: 2-3 tablespoons – start with 2 and add more if it’s too thick!
- Vanilla Extract: 1/4 teaspoon, just a little kiss of flavor for the icing.
- Edible Glitter: 1 jar. Ooh, the sparkle! Go for silver or gold, or even both for maximum New Year’s cheer!
- Sprinkles: 1/2 cup. Grab some fun New Year’s Eve themed ones if you can find them – clocks, stars, little “2024”s or whatever you fancy!
Essential Equipment for Making Sparkly & Fun New Year’s Eve Cookies
Alright, let’s get our kitchen ready for some cookie magic! Having the right gear makes this whole process so much smoother, trust me. You don’t need anything super fancy, just the basics. Make sure you’ve got:
- Baking Sheets: You’ll want at least 2 of these so you can bake cookies in batches while others are cooling.
- Parchment Paper: Cookie lifesaver! This makes cleanup a breeze and stops those sparkly treats from sticking.
- Mixing Bowls: A couple of good-sized ones will do – one for the wet stuff, one for the dry.
- Electric Mixer: A hand mixer or stand mixer really helps get that butter and sugar perfectly fluffy.
- Rolling Pin: For getting that dough just the right thickness.
- Cookie Cutters: This is where the fun really starts! Grab some festive shapes – stars, numbers, whatever screams New Year’s Eve to you!
Step-by-Step Guide to Your 12 New Year’s Eve Cookies (Sparkly & Fun)
Alright, let’s get these dazzling cookies into existence! Honestly, putting these together is almost as fun as eating them. Just follow these steps, and you’ll have a batch of pure New Year’s Eve magic ready to go.
Cream it Up: Grab a big mixing bowl. You want to cream together that softened butter and sugar until it’s all light and fluffy. Think pale yellow, like a soft sunrise! This is your first step to a tender cookie, so really give it a good go with your mixer.
Add the Eggs and Vanilla: Now, beat in your eggs one at a time. Make sure each one is fully incorporatedbefore adding the next. Then, stir in that lovely vanilla extract. Yum!
Whisk the Dry Stuff: In a separate bowl, give your flour, baking powder, and salt a good whisk. This just ensures everything is evenly distributed so you don’t get random pockets of something. It’s a little step that makes a big difference.
Combine Wet and Dry: Slowly add the dry ingredients to your buttery, sugary mixture. Mix it on low speed, or even by hand if you prefer, until it’s *just* combined. Seriously, don’t overmix here! We want tender cookies, not tough ones. A few little streaks of flour are okay.
Chill Out Time: Divide the dough right in half. Flatten each half into a disk – this makes it easier to roll out later. Wrap them up snugly in plastic wrap and pop them in the fridge for at least 60 minutes. Trust me, this chilling time is crucial! It makes the dough so much easier to handle and stops the cookies from spreading into sad puddles in the oven. Your patient self will thank you later!
Preheat and Prep: While the dough is chilling, get your oven preheating to 350°F (175°C). Line your baking sheets with parchment paper. You’ll thank yourself for this later during cleanup – less scrubbing, more celebrating!
Roll and Cut: Lightly flour your surface. Roll out one disk of dough to about 1/4-inch thickness. This is your sweet spot for a cookie that’s not too thin and not too thick. Now, have fun with those cookie cutters! Stamp out your festive shapes.
Lay Them Out: Carefully place your cut-out cookies onto the prepared baking sheets. Give them a little space between each one – they might puff up just a tad. You can find more baking tips on temperature and timing that apply here too!
Bake to Perfection: Pop those sheets into the oven and bake for about 8-10 minutes. You’re looking for the edges to be just *lightly* golden. Don’t let them get too brown, or they might get too crispy!
Initial Cool Down: Let the cookies hang out on the baking sheets for a few minutes. This lets them firm up a bit before you move them. Then, gently transfer them to a wire rack to cool completely. This step is super important – warm cookies and icing are a disaster waiting to happen!
Whip Up the Glaze: While those cookies are cooling, let’s make the icing. In a small bowl, whisk together the powdered sugar, 2 tablespoons of milk, and the vanilla extract until it’s smooth. If it looks too thick, add milk just a tiny bit at a time until it’s a nice, drizzle-able consistency. We want it fluid enough to spread, but not so thin it runs right off!
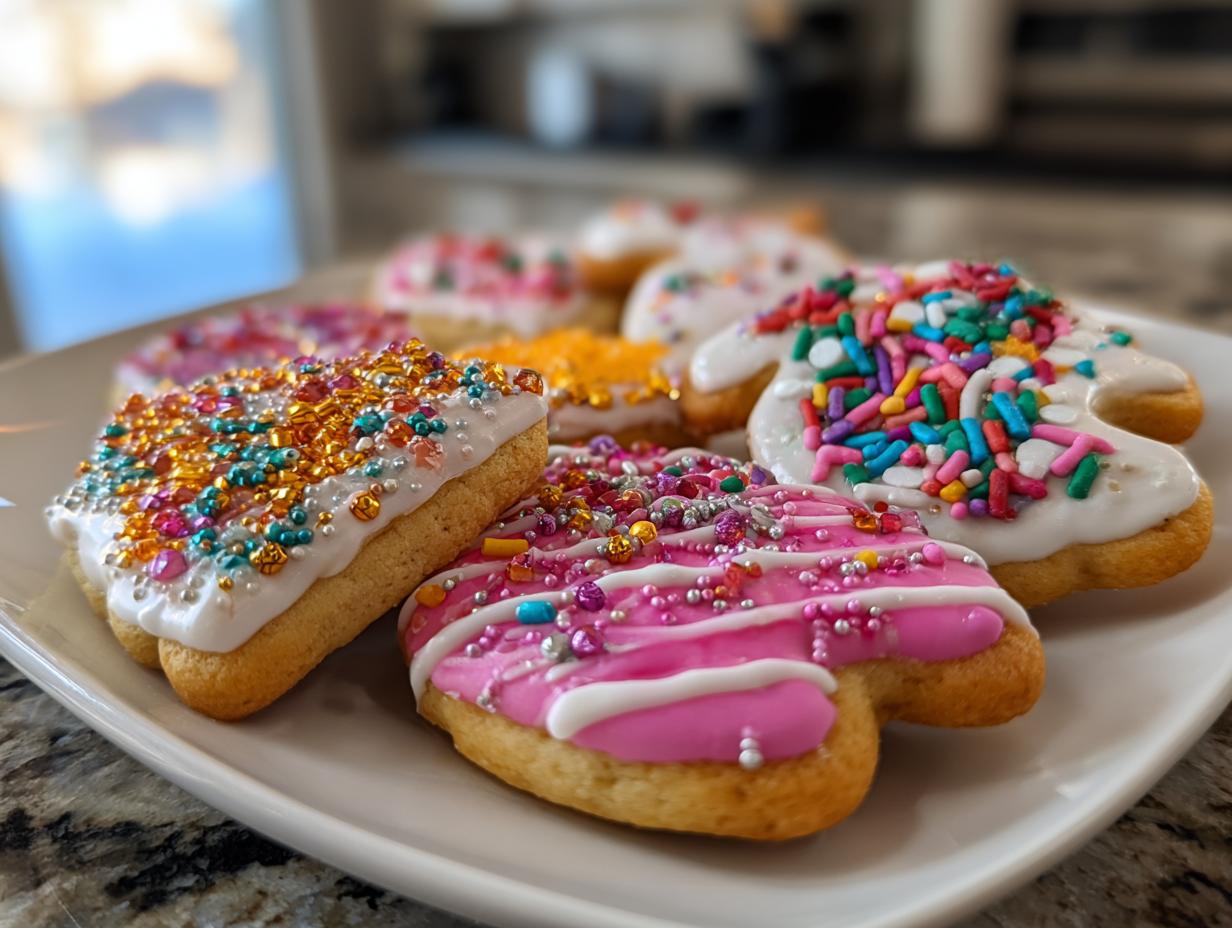
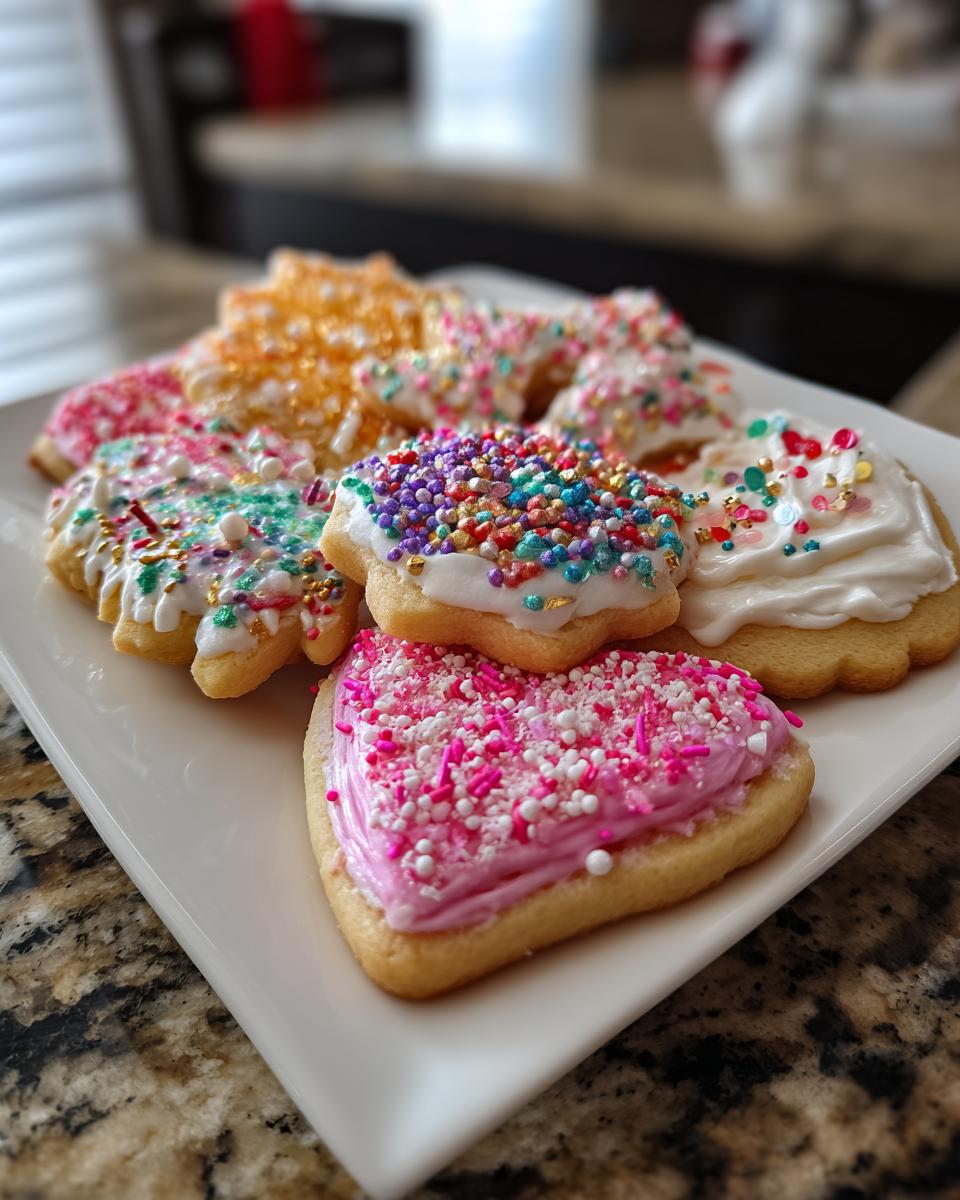
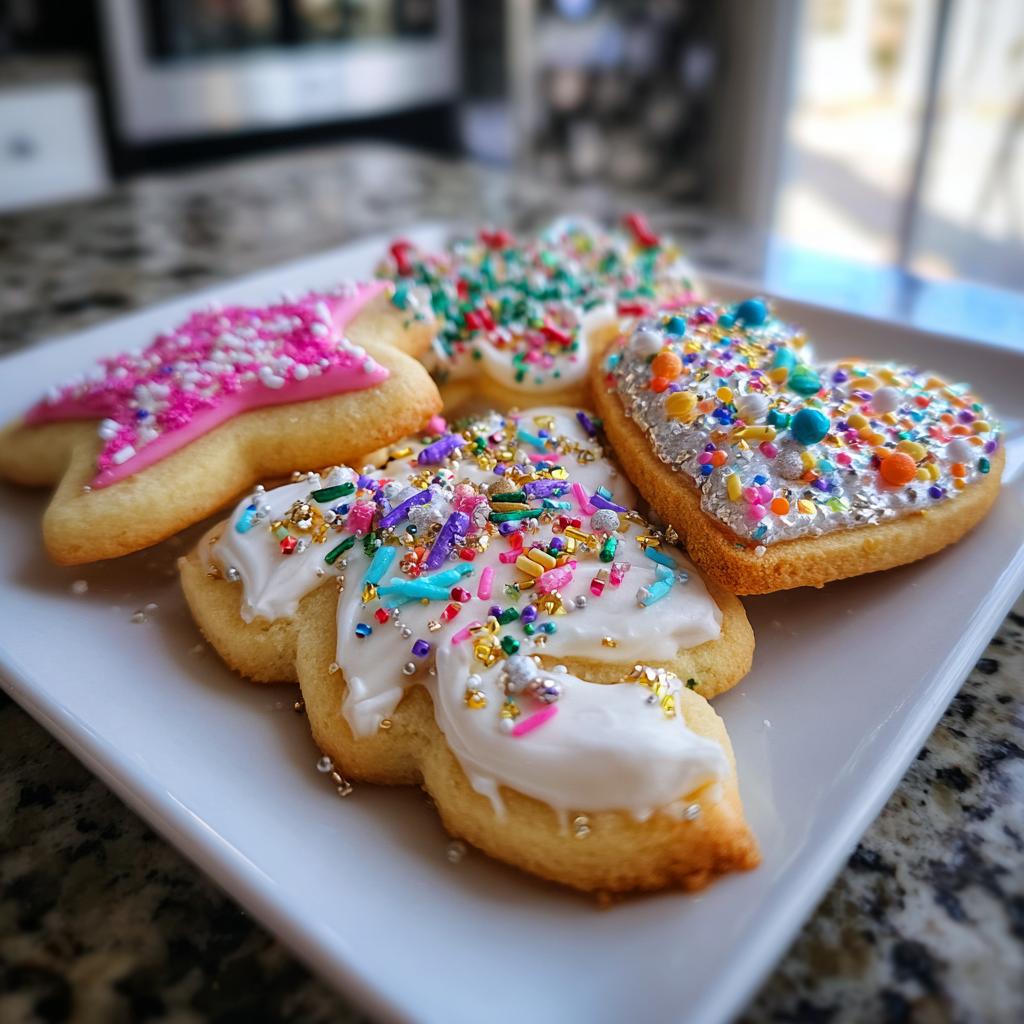
Decorate Away! Once your cookies are totally, completely cool – repeat that: COMPLETELY cool – it’s time for the fun part! Spread or drizzle on that lovely icing. And before the icing sets, go wild with your edible glitter and sprinkles! This is where they really transform into New Year’s Eve showstoppers.
Tips for Perfectly Sparkly & Fun New Year’s Eve Cookies
Making these sparkly New Year’s Eve cookies even more amazing is all about a few little tricks. They help make sure your cookies look as good as they taste, celebrating the new year in style!
When you’re rolling out the dough, don’t shy away from a little flour on your surface. It’s your best friend for preventing sticking! If the dough gets too soft while you’re working with it, just pop it back in the fridge for 10-15 minutes. Cold dough cuts cleaner and bakes up better.
For that perfect icing consistency, think thick enough to coat, but thin enough to drizzle nicely. If it’s too thick, a tiny splash more milk works wonders. If it gets too thin, just whisk in a little more powdered sugar. And for the glitter and sprinkles? Work fast! Apply them right after the icing so they stick without sliding off. You want max sparkle, after all!
Ingredient Notes and Substitutions for Your Festive Cookies
Let’s chat real quick about a couple of these ingredients for our sparkly New Year’s Eve cookies. Sometimes you might be a little short on something, or just curious! The baking powder, for instance, is what gives these cookies just the slightest bit of lift. If you’re out, you *could* try using a tiny bit of baking soda with an acid like cream of tartar, but honestly, baking powder is pretty key for getting that perfect texture, so I’d really recommend picking some up if you’re out!
And for the milk in the icing? Totally flexible! If you don’t have milk on hand, a little bit of water works in a pinch, or even some non-dairy milk like almond or oat milk. Whatever you do, just add it slowly until you get that luscious, drizzle-able consistency. It’s all about that perfect glaze!
Storing Your Sparkly & Fun New Year’s Eve Cookies
Okay, so you’ve made these gorgeous sparkly cookies, and you want them to stay looking fabulous until midnight (or even beyond!). Easy peasy. Just pop your cooled, decorated cookies into an airtight container. They’re pretty happy at room temperature, and this will keep them fresh and that glitter gleaming. Honestly, they’re usually gone long before storage becomes an issue!
Frequently Asked Questions About These New Year’s Eve Cookies
Got questions about these sparkly little treats? I totally get it! Let’s clear a few things up so your New Year’s Eve cookie-making is as smooth as possible.
Can I make these cookies ahead of time?
Absolutely! These New Year’s Eve cookies are perfect for making ahead. Once they’re fully cooled and decorated, store them in an airtight container at room temperature for up to 3-4 days. The glitter and sprinkles will stay put!
What kind of cookie cutters work best?
Honestly, any kind works! But for New Year’s Eve, I’m a huge fan of star shapes, little clock faces, or even just simple circles and squares that you can load up with sprinkles. Metal cutters tend to give cleaner edges than plastic ones, especially with sugar cookie dough.
How do I get the icing to set faster?
The good news is the icing usually sets pretty quickly on its own, especially once you add those sprinkles and glitter – they kind of help it along! If you’re in a super big rush, you can pop the decorated cookies into the fridge for about 10-15 minutes. Just make sure they’re completely dry before putting them in a container afterwards so they don’t get sticky.
Can I use different types of sprinkles?
Oh, definitely! While themed sprinkles are super fun, you can totally use whatever you have. Jimmies, nonpareils, sanding sugar – they all look great and add that festive sparkle we’re going for. Just have fun with it!
Nutritional Information Disclaimer
Just a little heads-up about the nutrition info for these sparkly cookies! All the numbers you might see are just estimates, you know? They can change depending on the specific brands you use, how you measure things, and even how perfectly you follow the recipe (wink!). So, think of them as a ballpark guide, not gospel truth. Enjoy your delicious, festive treats!
Sparkly & Fun New Year’s Eve Cookies
Ingredients
Equipment
Method
- In a large bowl, cream together the softened butter and granulated sugar until light and fluffy.
- Beat in the eggs one at a time, then stir in the vanilla extract.
- In a separate bowl, whisk together the all-purpose flour, baking powder, and salt.
- Gradually add the dry ingredients to the wet ingredients, mixing until just combined.
- Divide the dough in half, flatten each half into a disk, wrap in plastic wrap, and refrigerate for at least 60 minutes.
- Preheat your oven to 350°F (175°C). Line baking sheets with parchment paper.
- On a lightly floured surface, roll out one disk of dough to about 1/4-inch thickness. Cut out shapes using cookie cutters.
- Place the cut-out cookies onto the prepared baking sheets.
- Bake for 8-10 minutes, or until the edges are lightly golden.
- Let the cookies cool on the baking sheets for a few minutes before transferring them to a wire rack to cool completely.
- While the cookies are cooling, prepare the icing. In a small bowl, whisk together the powdered sugar, milk, and vanilla extract until smooth. Add more milk if needed to reach desired consistency.
- Once the cookies are completely cool, spread or drizzle the icing over them. Immediately sprinkle with edible glitter and themed sprinkles before the icing sets.